Hope everyone had a fabulous Valentine’s Day! I took Hartley to get her nails painted for the very first time and she LOVED it. She got one hand pink and one hand red with sparkles on-top (of course). If you’ve been following my blog for a while I am superstitious and have to have my nails painted OPI Big Apple Red for Valentine’s Day, since my first date with Willie (13 years ago, oh my gosh) he picked me up from the nail salon and I had that color and we’ve been going strong since. Hartley was so proud and showed EVERYONE her nails at dinner, ahhh she melts my heart.
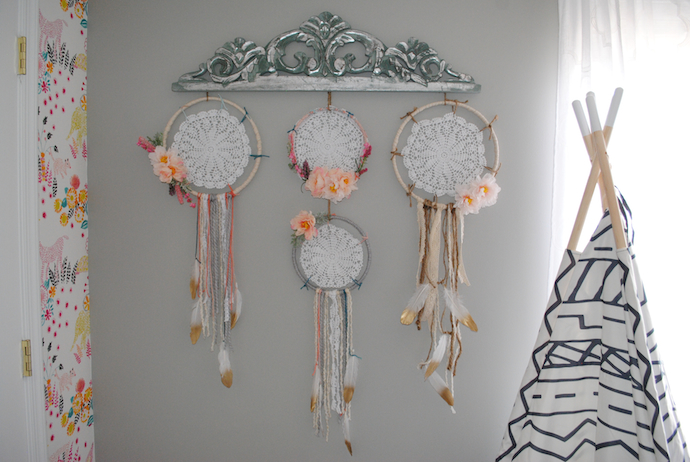
I’m ecstatic for this dreamcather project to be done because it means I’m that much closer to finishing Hartley’s big girl room! I’ve been procrastinating finishing her room because she is so good in her crib that I kind of want to leave her in there forever (can I?). And as a mom, I feel like leaving the crib is a HUGE milestone, that I may tear up for a bit. This was the last major piece I wanted to finish before putting everything on the walls. Thanks to Pinterest I had some fabulous inspiration and gathered numerous ideas from different bloggers to create my unique take on the DIY Doily Bohemian Dream Catcher.

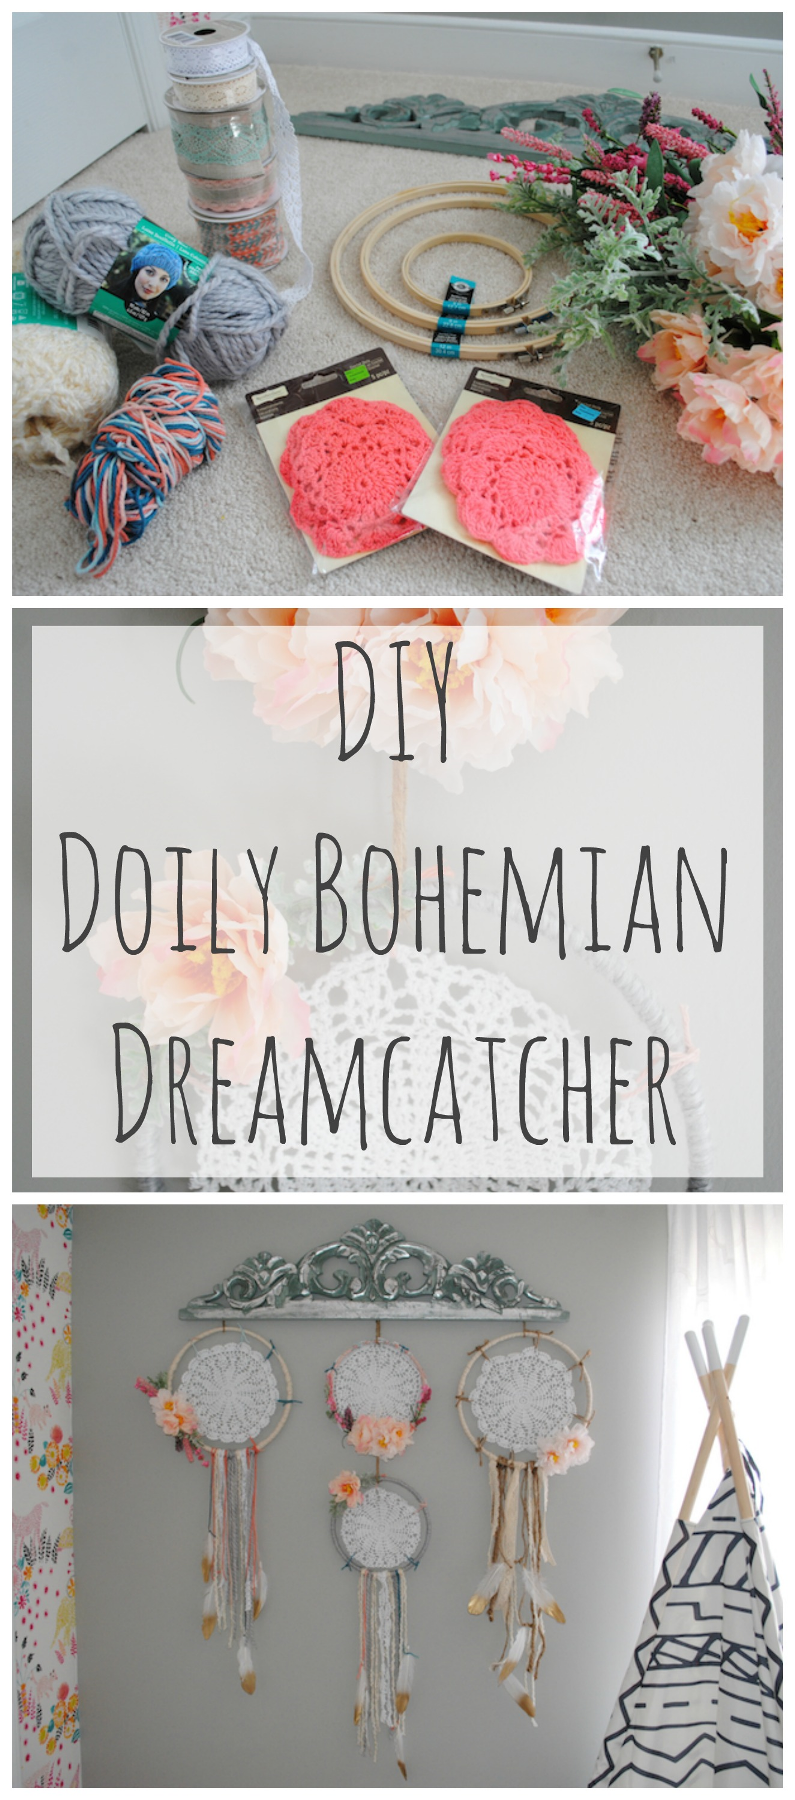
For mine, I incorporated store-bought doilies (you can use vintage ones if you can find at an antique market or thrift store, I even thought of using my grandmother’s handmade ones, but thought lightning would strike me if I did that!), flowers, lace, ribbon, and feathers (I re-used the feathers from my Thanksgiving tablescape). I also saw lots of people using wood as their top hanging piece, but I found this beautiful molding at the At Home store that I thought would make a better topper for the boho/vintage look I was going for. You also don’t need this piece if you are just creating a single dreamcathcer. Just follow the tutorial and stop when connecting the multiple embroidery hoops.
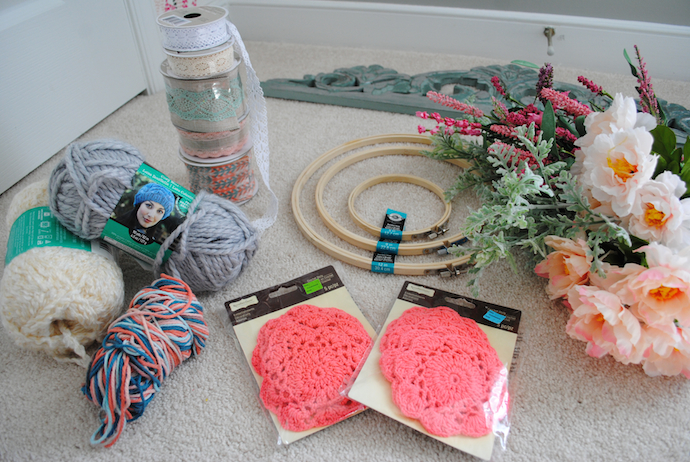
Here is what you will need:
- Wood/Molding Topper – mine was a little pricy at $24.99, but you can slash this cost using wood or twine
- Embroidery Hoops
(I bought 2″ for the pink doilies but didn’t end up using, so for what I created I used 9-Inch and 12-Inch)
- Doilies (I found the 2” pink ones on clearance at Michaels for $2.99 for 4pk (I didn’t end up using these but have mini ones for a gift or something) and then ordered the 4pc- 9 Inch White Doilies
ones for $12 – I have seen these at the thrift but I did not have luck on my recent trips)
- Torn fabric to wrap around hoop (you can use ribbon but that would get expensive, try using an old drop cloth, pillowcase, linen shirt or tablecloth) – I used a mix of cut ribbon and a dropcloth by cutting thin long pieces
- Yarn (thin
for attaching doilies and thicker
version for hanging pieces)
- Ribbon (go straight to the $1.99 bin of ribbon first) – Michaels has a fabulous selection
- Hot Glue Gun and Glue
- Artificial Flowers (optional)
- Feathers (optional)
Total Cost was about $65 (like I mentioned I went ALL OUT on mine, but you can make a version of this much cheaper but excluding items and/or using a different hanging method)
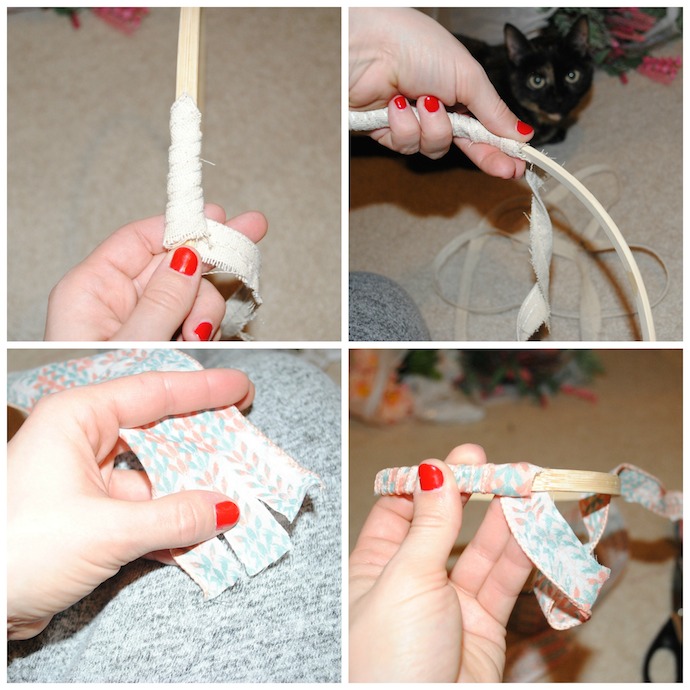
How to create:
- Start with wrapping all the embroidery loops with the torn fabric , glue the start and try using long enough pieces to make it fully around the loop, then glue the end.
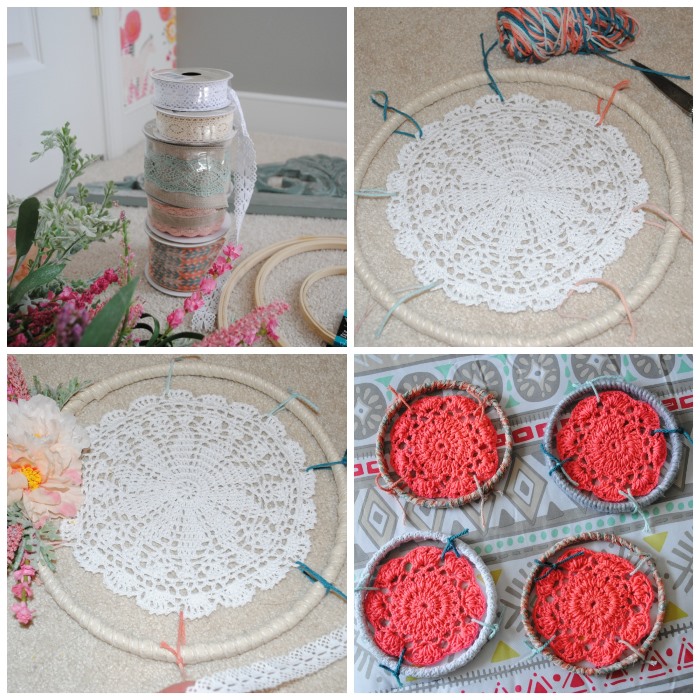
- Once fully wrapped, start connecting the doilies using a thinner yarn on the edges. Just loop the yarn through the doily hole and knot on the edge. For the lower hanging dreamcatcher on the 9″ loop, I cut of .5″ around the edge to make it smaller then the one on-top of it.
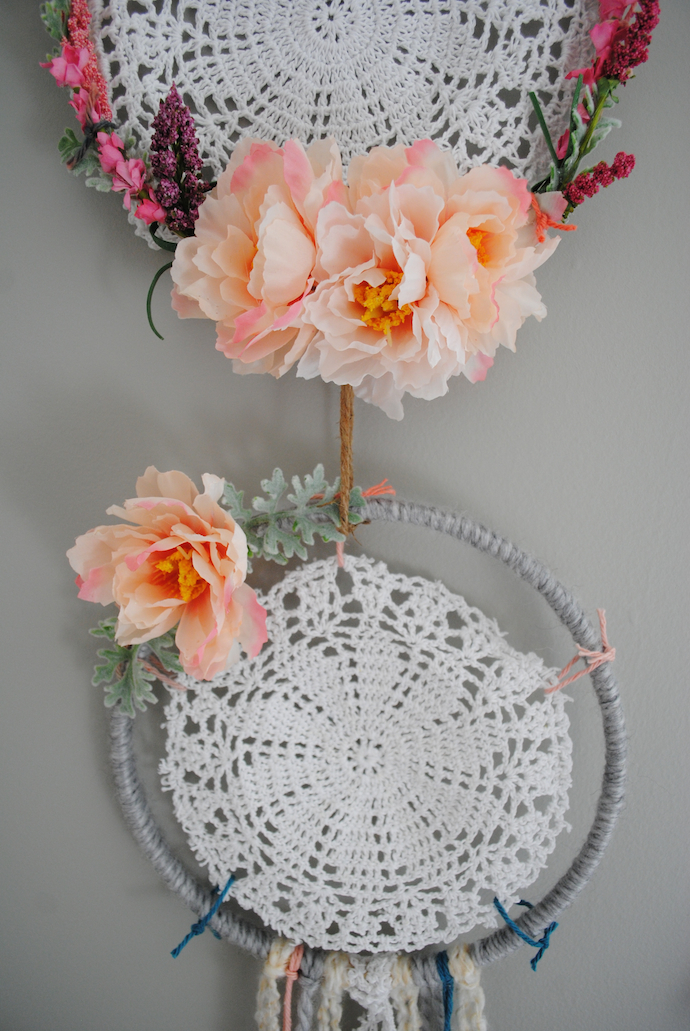
- If you are doing a multiple version like I was, map out your placement before you add the embellishments. You will not want to add hanging embellishments for those that are connected at the top. For those that have the ability to get hanging ribbon, and lace…start adding by simply cutting a long enough piece to fold in half (not perfect) and attach by a loop-pull-through over the hoop on the bottom. Add the feathers by just using the ends of the twine or yarn to make tight knots. Add flowers by disconneting the stem and cutting off the hard green piece (you will know what this is once you have them) and attach to the loop with hot glue.
- Once all the dreamcatchers are completed, finish by connecting the individual ones to connect to one another in the design template you created. I was orginally going to use the small hot pink ones, but didn’t like them, so I just had to connect one.
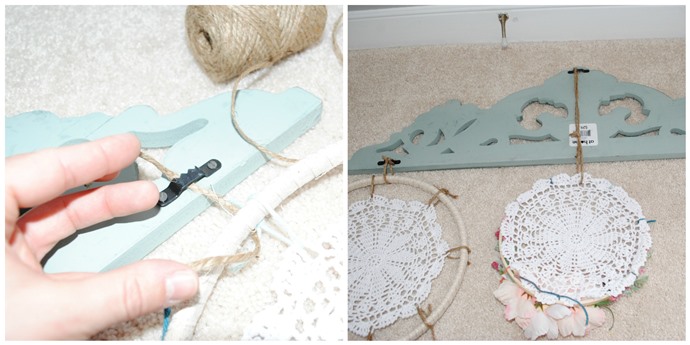
- Finally connect the dreamcathers to your molding, I lucked out because there was already hangers on the back so I just connected the the three top dreamcathers with twine and knotting around the hangers, but you can wrap around, add nail hangers, or glue on.
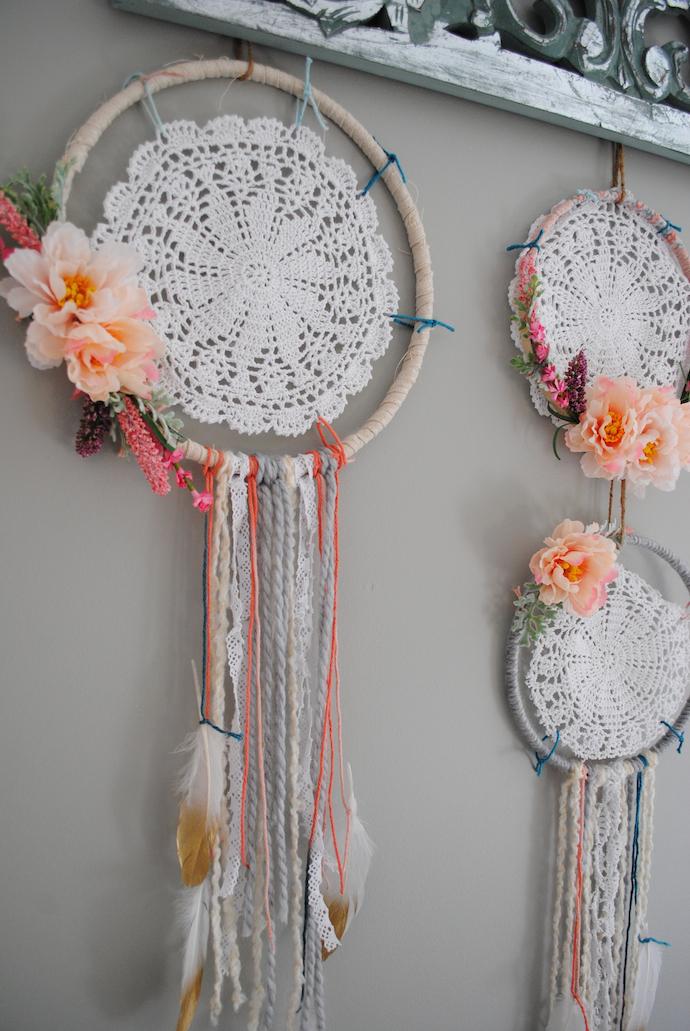
Finally make your nail hole on the wall and voila! A beautiful boho chic dreamcather any girl would love. I love the way this turned out and super excited for her room to be done since it’s been such a pouring of love and sweat to make her room just as perfect as she is (cheesy…I know). Hope you enjoy creating one of your very own!


[…] Dreamcatchers are very popular and as such, the classic design can quickly become a little too predictable. Give your dreamcatcher a unique and charming look by placing a doily right in the middle of it so that it defines the whole piece, as seen at Loves the Find. […]