
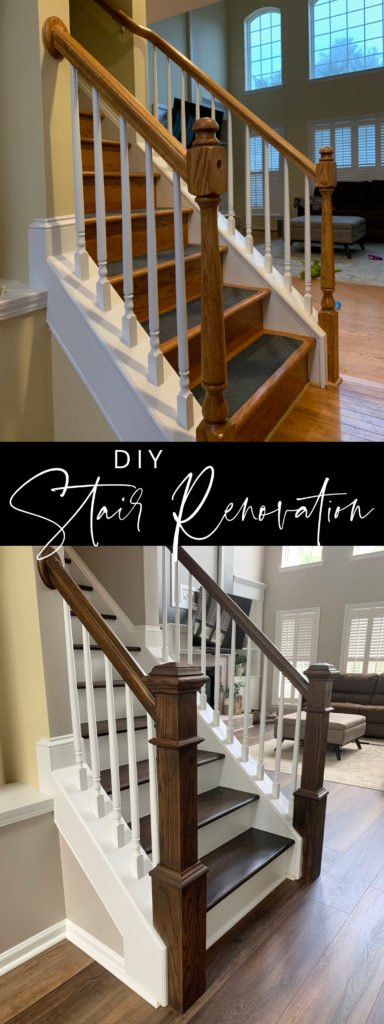
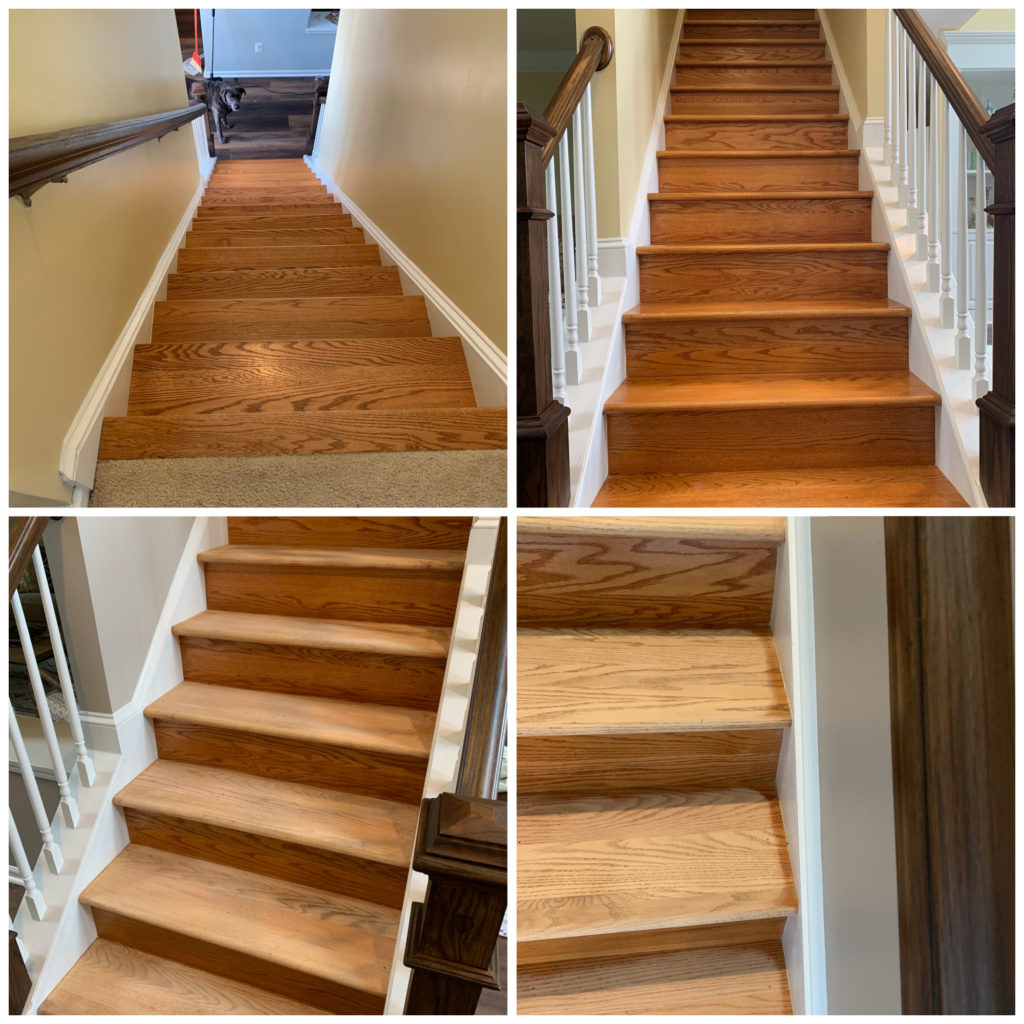
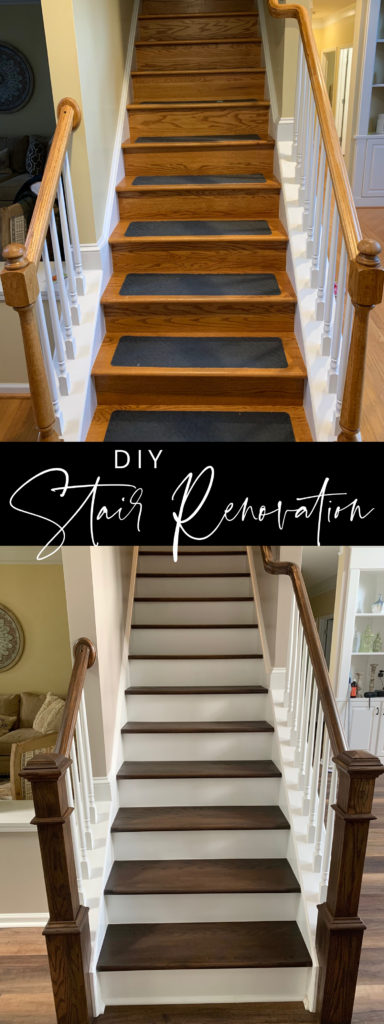
The stair renovation project is FINALLY complete and let me tell you it was a LONG one. My quote to do all the stair work was almost $3,000 so I decided to tackle this true DIY style. This project took total about 2 months with a lot of learning curves, OH SHITS, and normal DIY life with children. I also said aloud multiple time, “This is why people have DIY blogs, to tell people what not to do”.
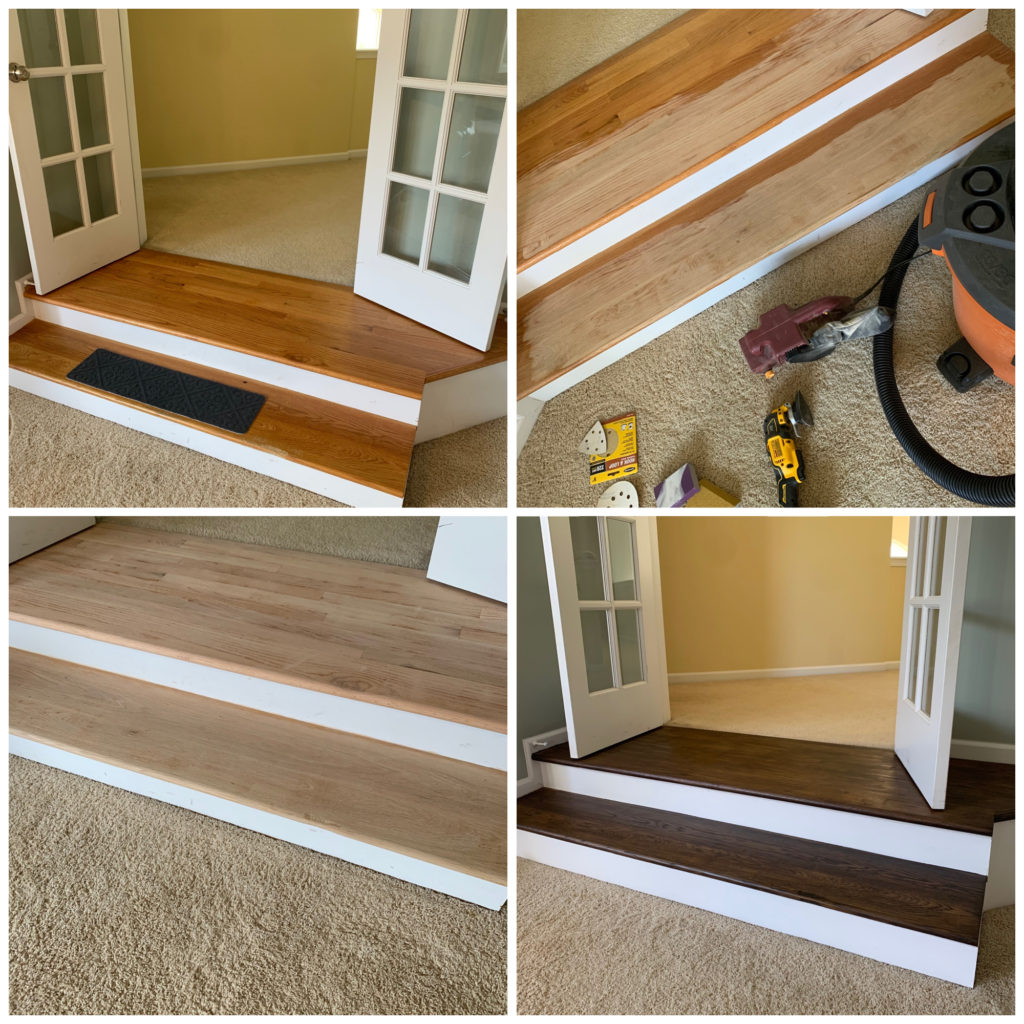
I did a test run on the upstairs landing into the playroom, which tuned out great. I was even able to sand down and make the dog chewed tread less noticeable without having to pay to have the tread replaced. After testing everything I felt confident in moving forward, but boy was I not ready for the full stairs haha.
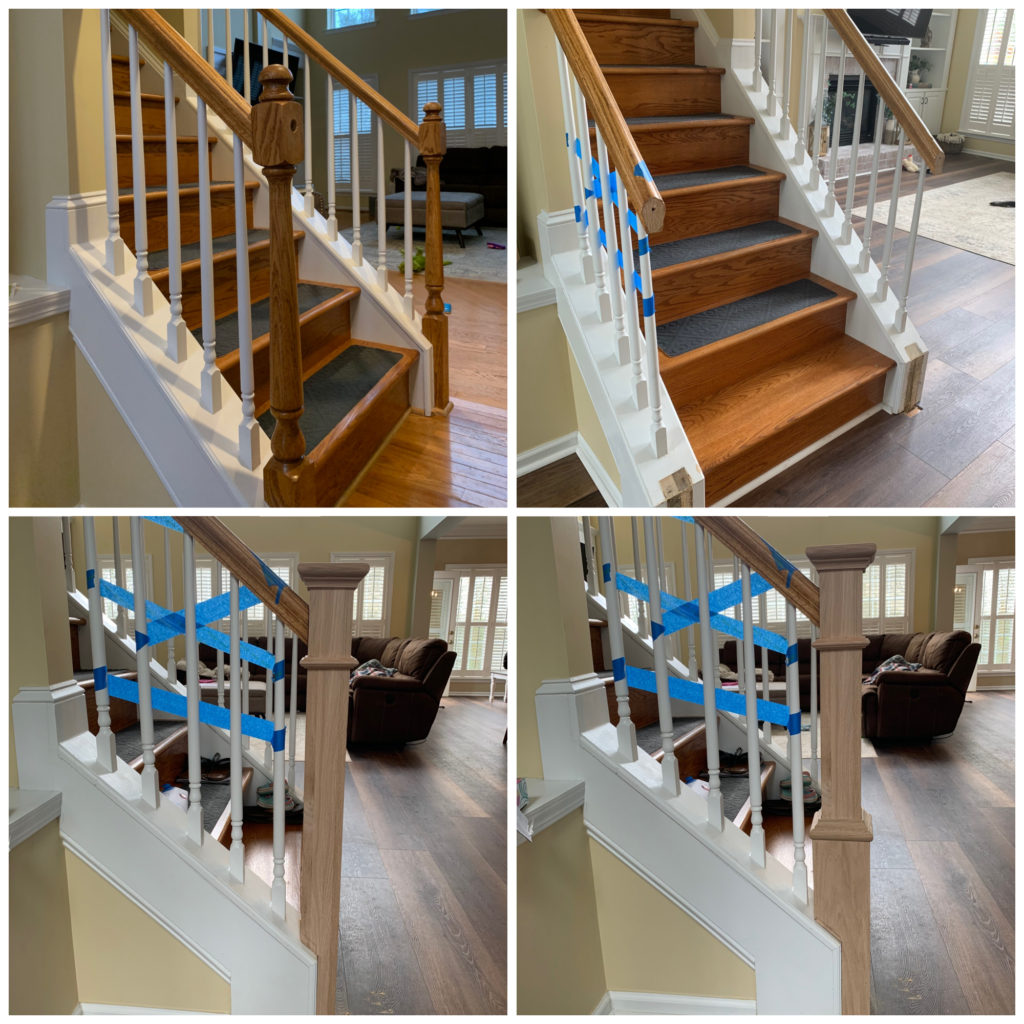
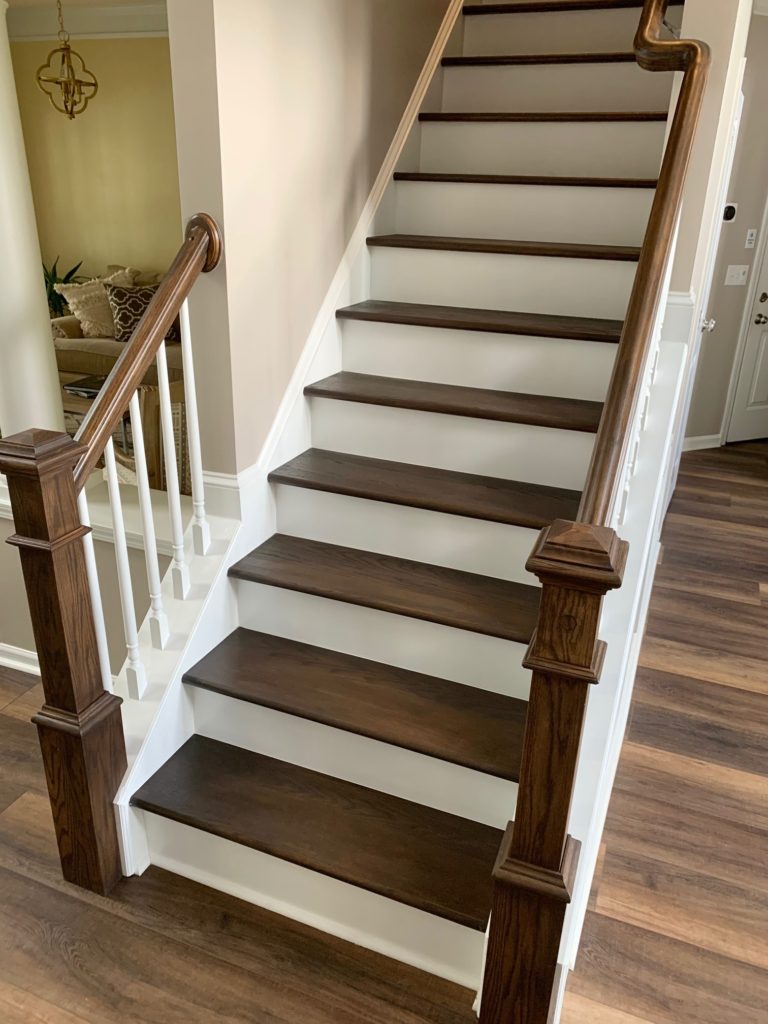
First, we removed the posts right before we had the new LVP floors installed. Then figuring out how to attach the first craftsman post took about a week to work math and geometry. The biggest lesson learned was that Willie and I should have paid attention more learning about angles and school…because WOW…not good. This I can’t really give much a tutorial because it was complete guessing and about 50 tries on the cuts. But first off, we did cut the posts down about 9” because they were way too tall. Then, we used the old banister as a template and started with that cut using a jigsaw saw. These posts were especially hard because it was two pieces, it had the post insert that went into the bottom craftsman box. We debated about just having the post, but I thought the outer molding made it look so much more custom, so onto the a million cuts of fitting the two together went.
But once those were up and steadied the banister itself I started sanding the banisters by hand with 60 grit to get down to the bare wood, then sanded everything with 220 grit for a smooth finish. I used the General Finishes Oil Base Gel Stain (Java) that I used on my last house but tried to wipe the excess more because I wanted to see the wood grain. After the second coat I realized the color was not matching my floors. It had a red tint which wasn’t as noticeable last house maybe because I put it on so thick it was a dark reddish brown. So I decided to switch to a Miniwax gel stain in a dark brown color, then all HELL broke loose. I’m not sure it was the change in brand or me and gel stain don’t get along but even after waiting at least 12 hours between coats, I found the stain super sticky and then with me trying to wipe the stain it was blotchy and looked like an absolute disaster. Sooooo I re-sanded everything. About an extra 3 hours of extra work. After everything was sanded down I went with what I had used on the playroom floors (Stain and Finishing Oil All in one Cappucino) and just tried to be extra careful since this is very thin liquid compared to the gel. It will splatter and just having my house foyer painted I was like ughh what was I thinking (facepalm). *Note – after completing the stairs and knowing I wanted the wood grain, I would have diluted the oil with the natural color of stain from the beginning and do two or 3 coats with the dilution. It brings more of a sheen and not having to worry as much wiping excess and creating light/dark areas* But after 2 coats of the 100% cappuccino and letting it sit 5 minutes before wiping excess, I thought they looked SO much better than the gel that it was worth it and move onto staining the new posts, which I’m still debating painting white, but for now that are staying stained.
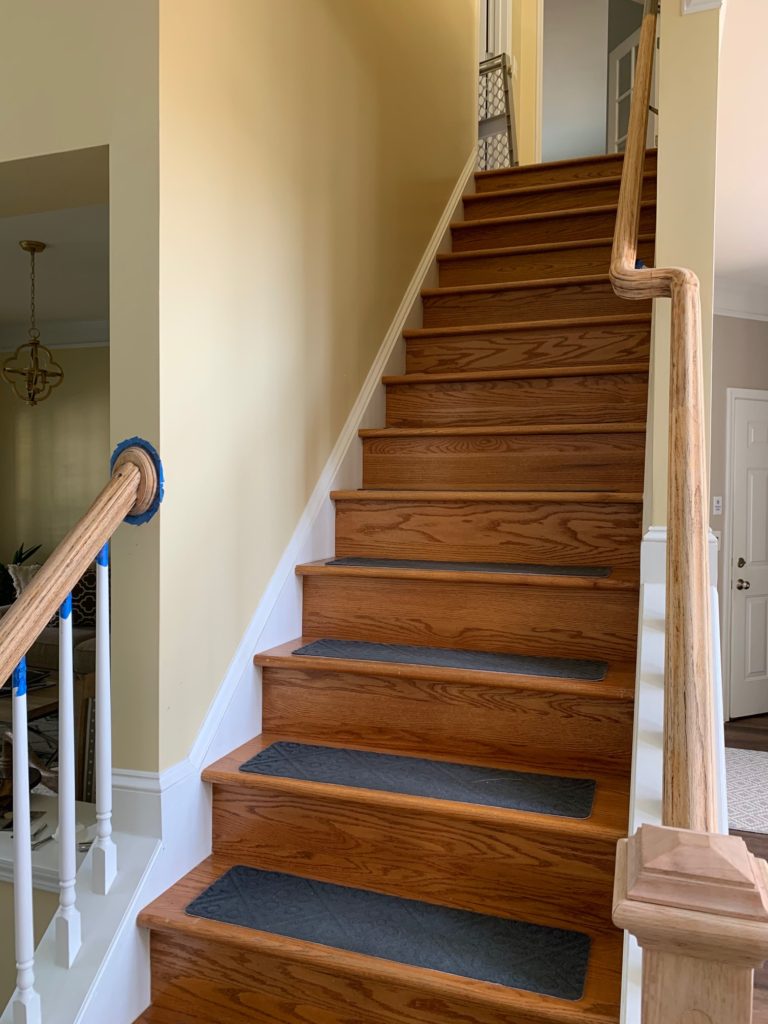
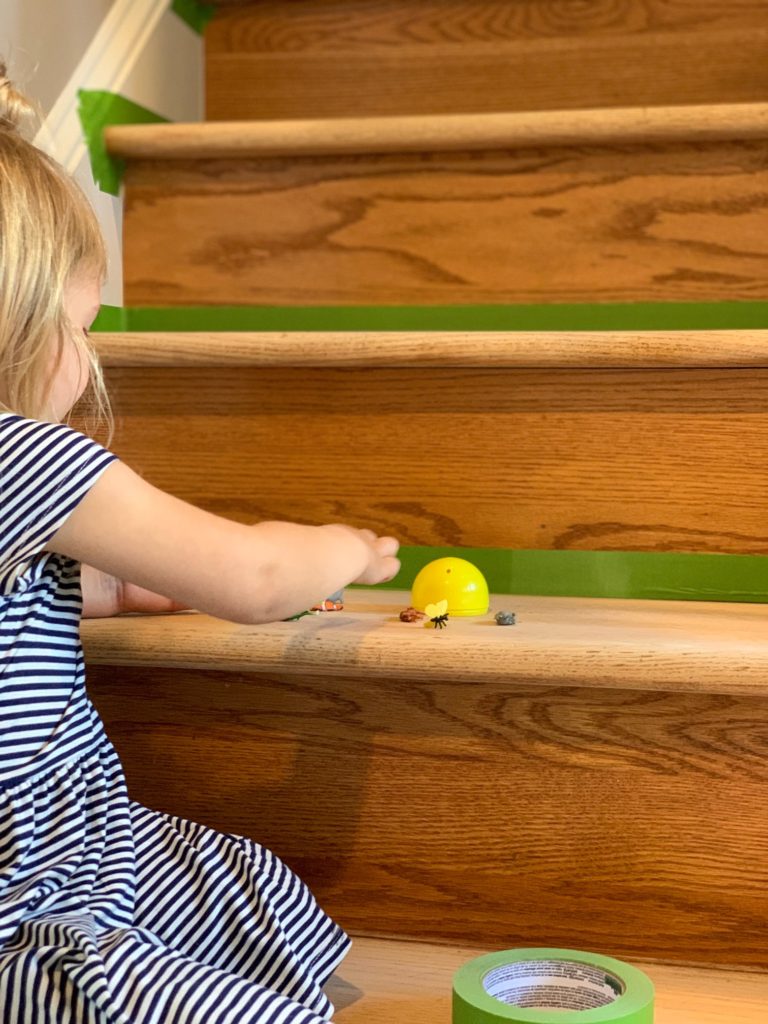
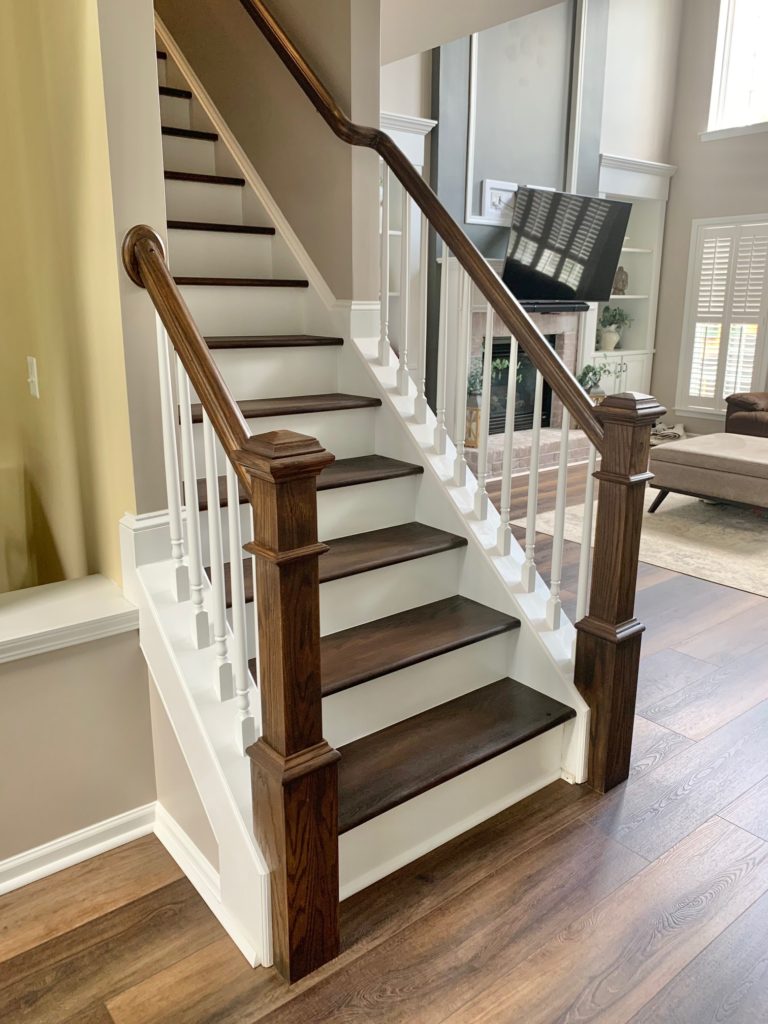
Once everything was dry, I gave it a good week to dry, then Willie and I took an entire Sunday to sand the stairs. We tried buying a “sand-less sander” which did not work at all. So I went back to my $30 orbital hand sander “ol’ trusty rusty best sander EVER”! It’s tiny but mighty and literally has done about 15 projects for me. I did the sanding while Willie followed me with the shopvac. We used the same 60 grit and 220 grit method and had to hand sand all the edges (which took FOREVER). After all the sanding was complete, they stayed bare until the following weekend. Which just as a caution if you have a large dog (another lesson learned) they can scratch the bare wood deeper which will show through your first coat of stain, which you will have to re-sand those treads affected. We also did all the stain coats alternating stair treads so we could walk up the stairs. We marked the “good” stairs with a little blue tape making kids only go on the blue marked stairs. However, I still ended up with two stairs with little finger prints of someone who decided to step on blue but crawl up on a wet hahahaha…Just a little side note there…Anyways, 1 coat pure cappuccino and it looked very matte to me which is when I tried the 50/50 combo of cappuccino and natural stain. This combo I think would have been what o use for the entire project. Easier to manage the excess and wood grain transparency and added sheen. Brush on the stain, let sit and wipe off the excess with a staining pad. This is very important, lint is a real thing! Use the staining pads. Also use the green tape not the blue tape.
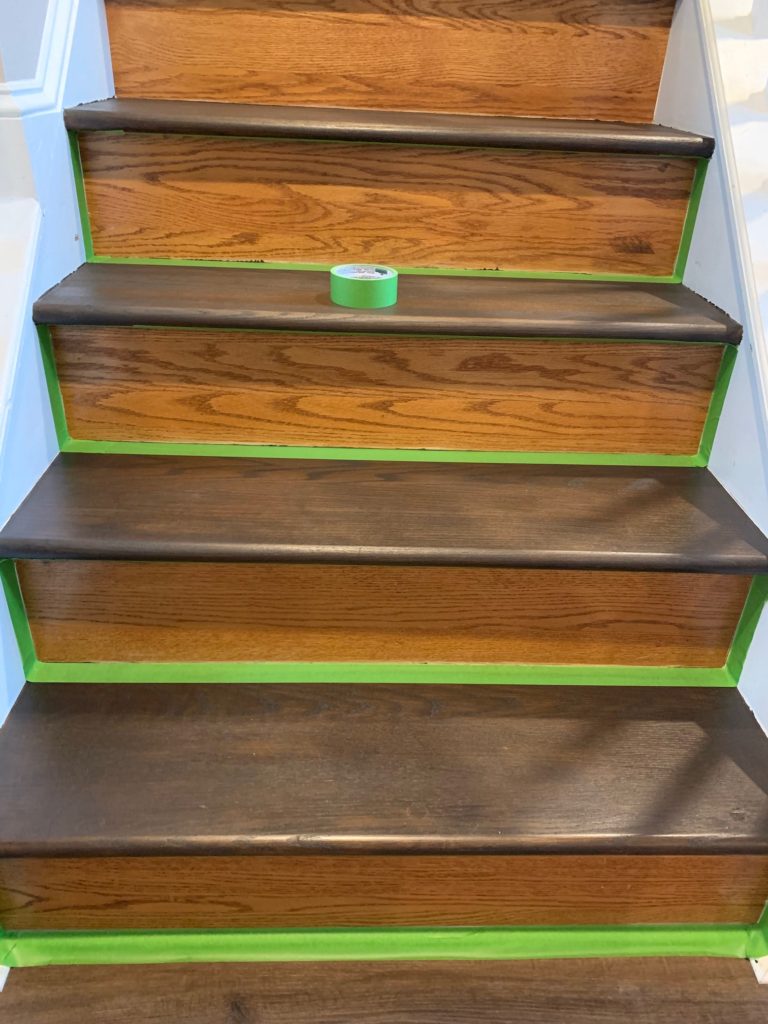
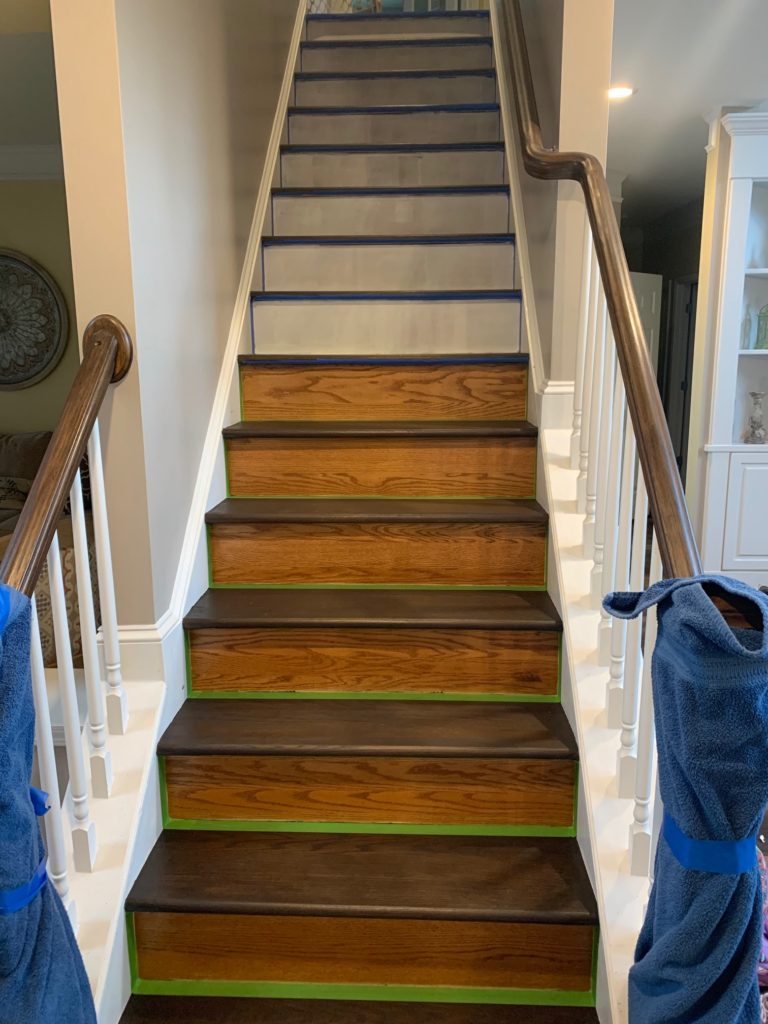
Once all your stain is dry. Give it at least 5 days from the last group of stairs you did. You are ready to paint the stair risers WHITE! I used Sherwin William ProBlock Oil-Based and their white Emerald Urethane Trim Enamel. USE THE GREEN TAPE. I used a chip brush for all the corners and then a small roller for the rest of the riser. One coat of primer and 2 coats of the white enamel paint. Primer dried fast maybe 2 hours but give the paint at least 8 hours between coats. Remove tape about an hour or two into dry time. Don’t let dry fully but you don’t want wet paint everywhere. LAST STEP = chalk all the edges. I taped a very small strip and Willie chalked and used his finger to smear. With the chalk, you end up with professional straight lines. This step is the GAME CHANGER. Covers all the bleeds and makes it look so complete. Then really last step, if you were like me, use your enamel white paint to paint any baseboards, molding and spindles that may have received overspray from the stain. And VOILA, DIY stair renovation for about $500, saving about $2,500 for FUN!

$109 x two Natural Red Oak Stair Newel Post
$100 brushes/staining pads/tape/rollers/sanding disks
$75 Fusion Mineral Paint Products (2 cans of cappuccino and 1 of natural – $25 each)
$100 Sherwin William ProBlock Oil-Based and Emerald Urethane Trim Enamel (you will have TONS left, I bought the gallons)
TOTAL = $500.00 (ish)
We invested in a jig saw for cutting the posts ($150) so if you don’t have, this is an extra expense but we will use for other projects. And I already hand the orbit sander, but if you don’t get yourself one like this (around $30) and I LOVE Harbor Freight for these types of items, brushes, stain pads, sanding disks, etc. Their prices are amazing!
Hope you enjoyed laughing and learning from me!

Speak Your Mind