
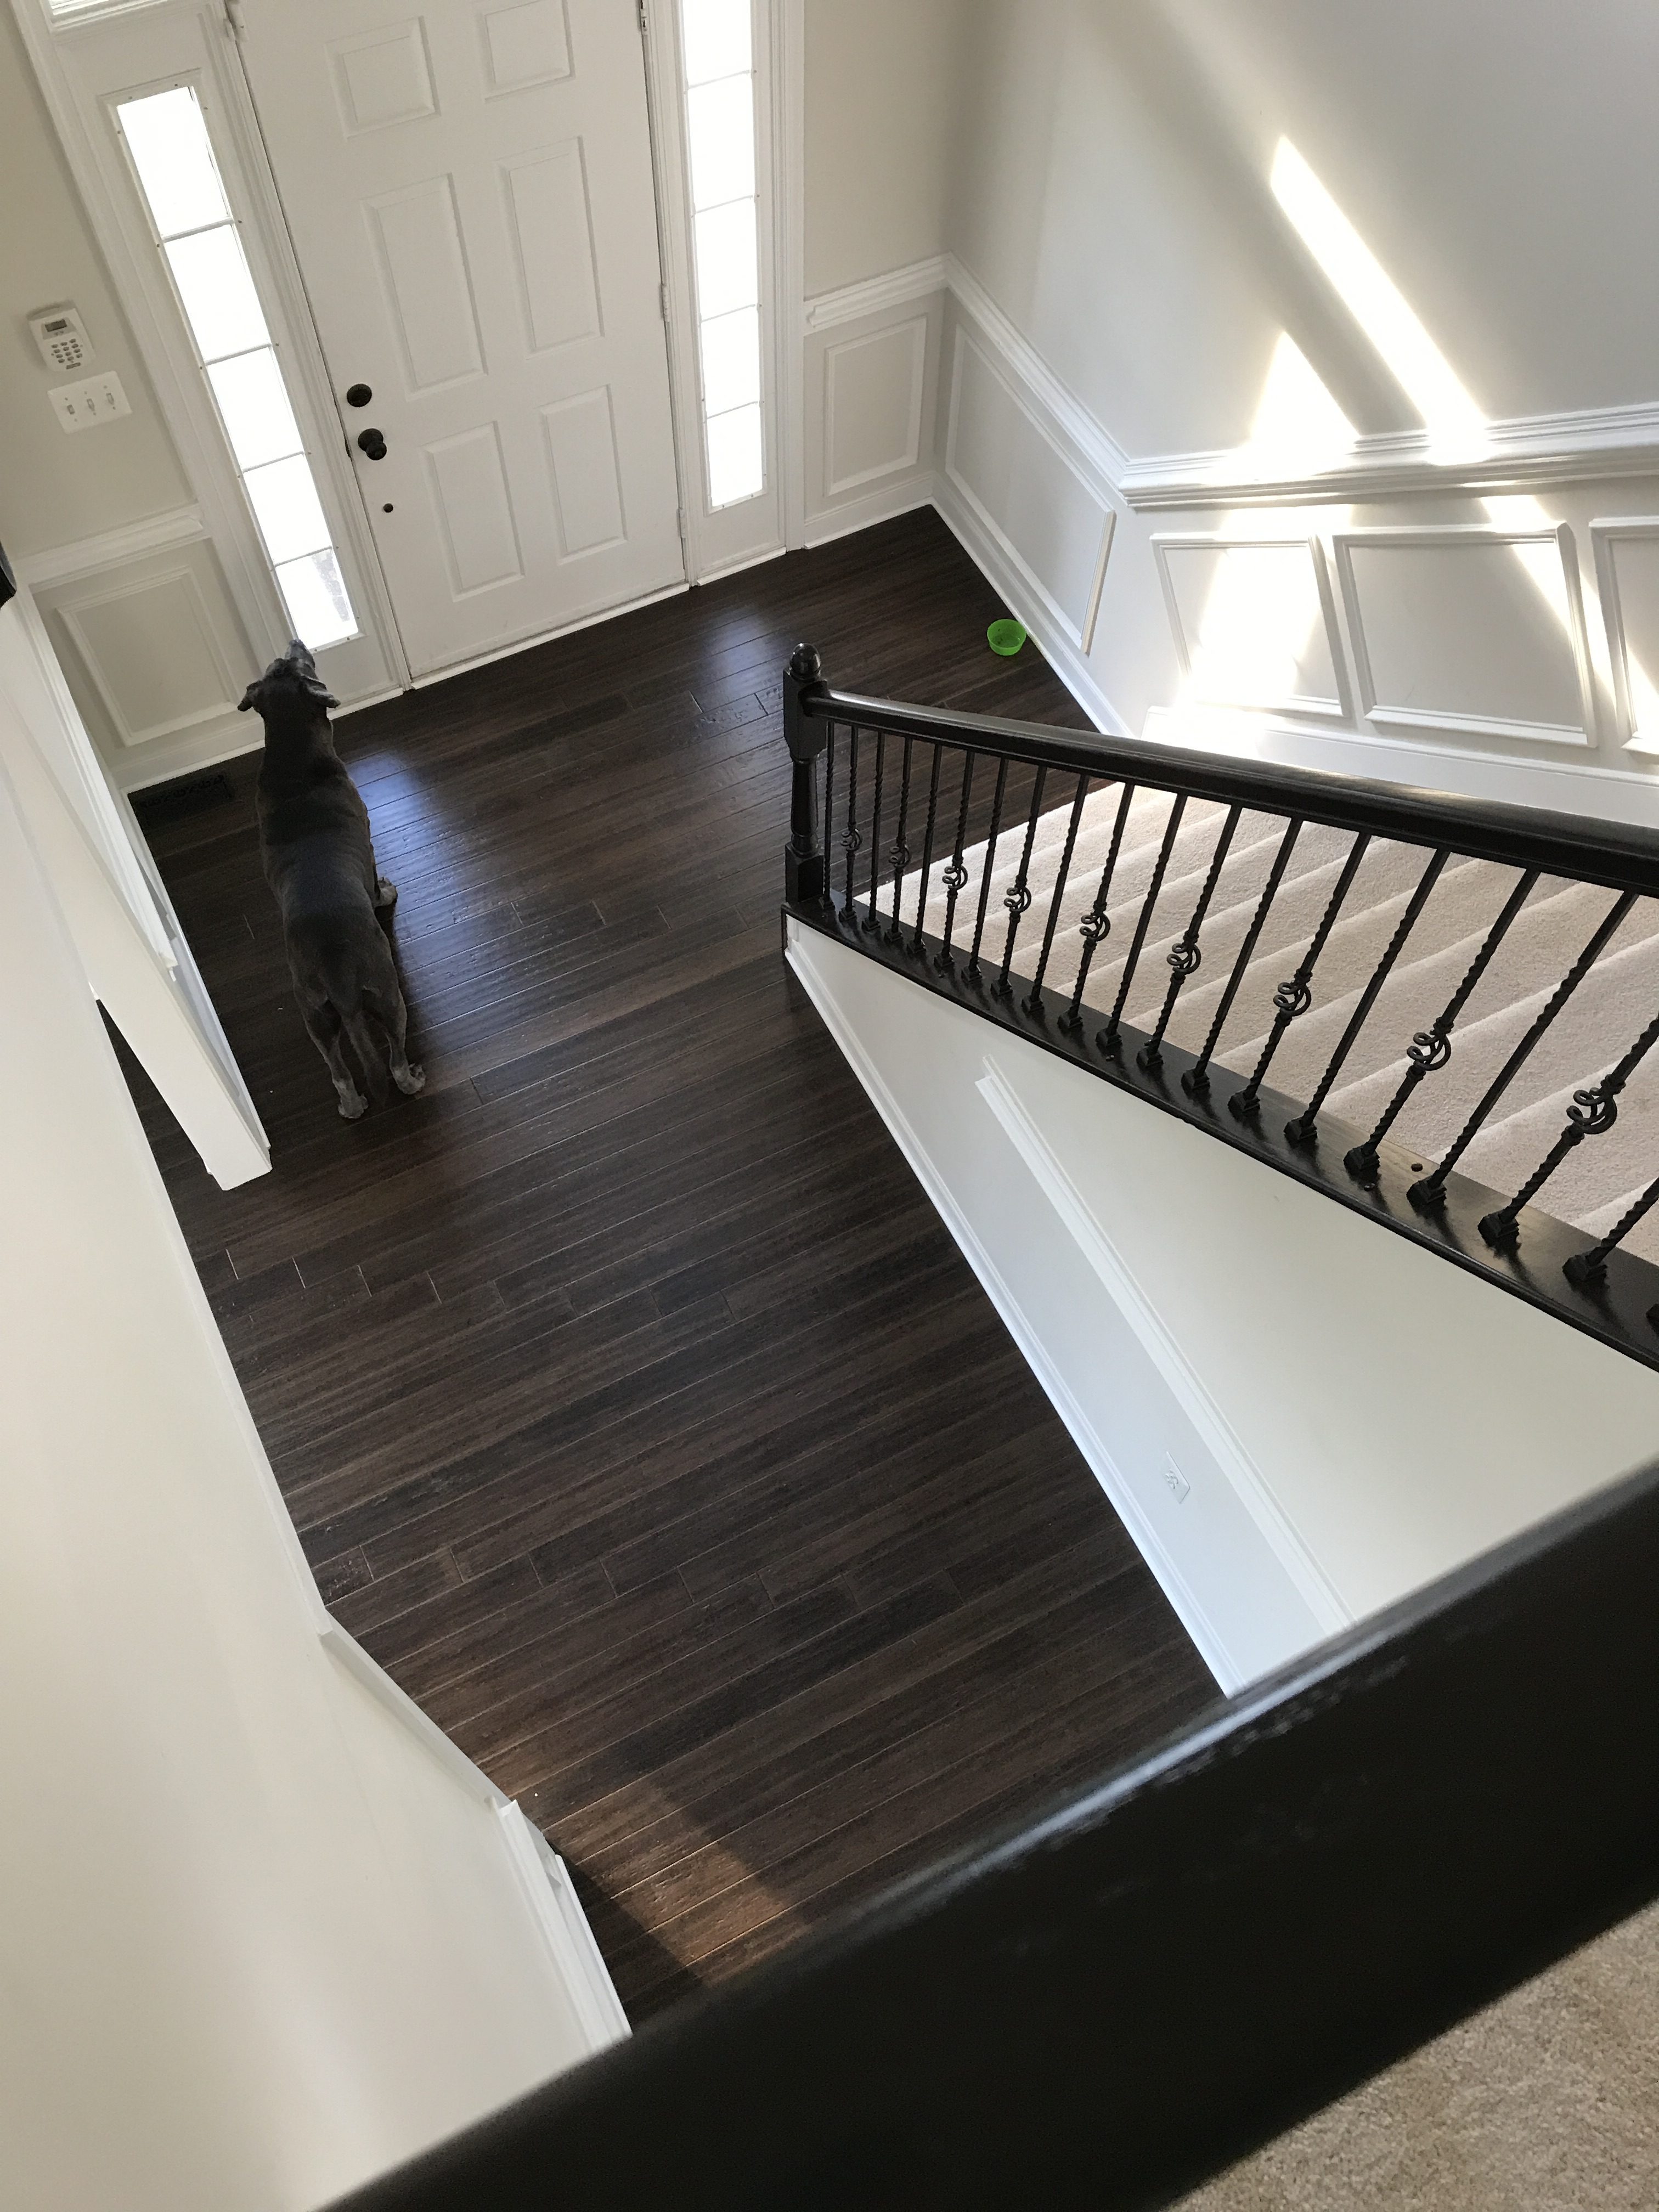
Our stairway remodel is finally done! Thank goodness! This project that started as a Mother’s Day weekend endeavor took us about 3 weekends and some days to complete. The process was grueling and met with some challenges, however I am ecstatic with the results. The foyer is going to be completely different once we have new hardwoods in the darker palette to match the handrails. 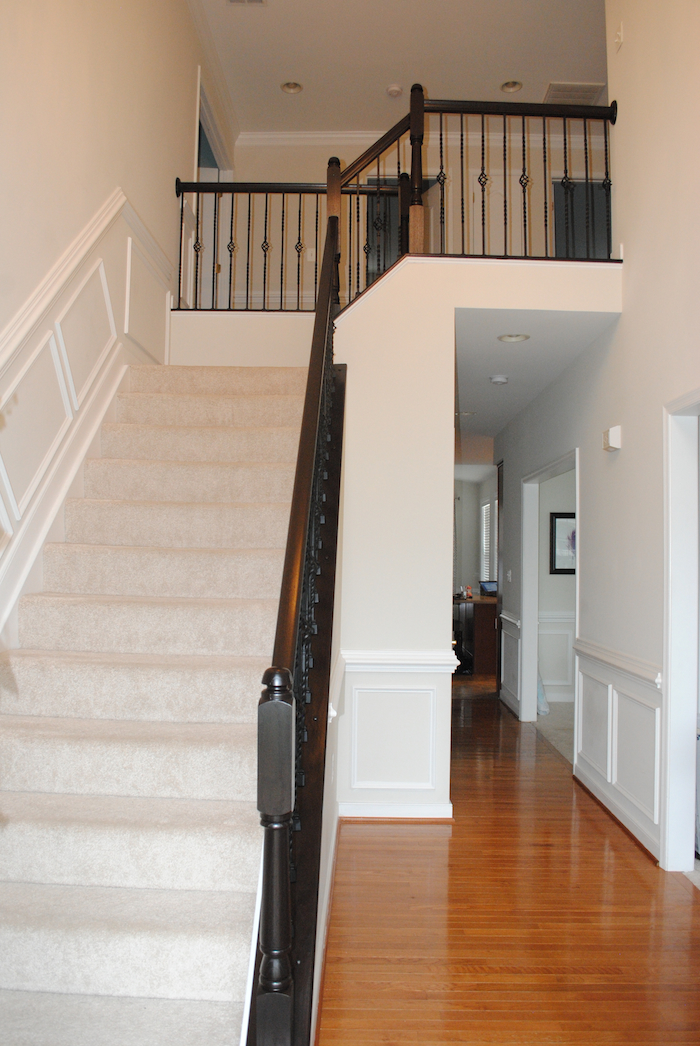
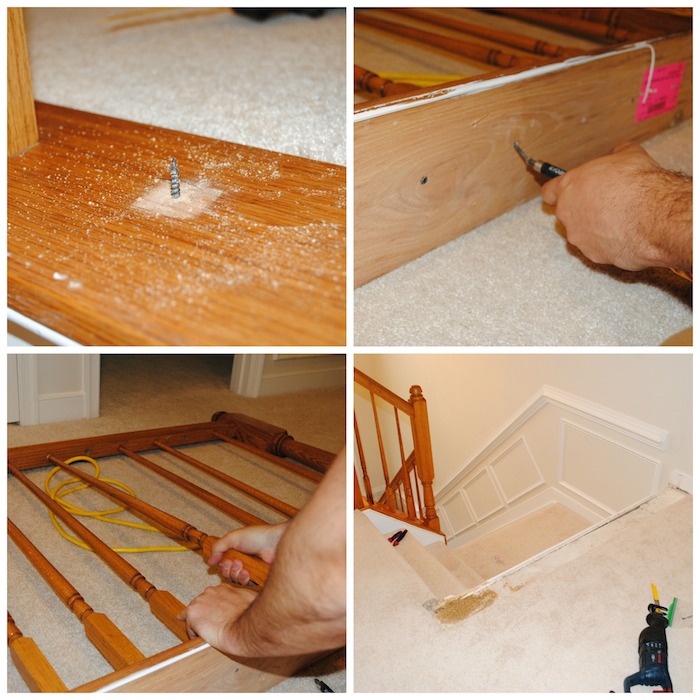
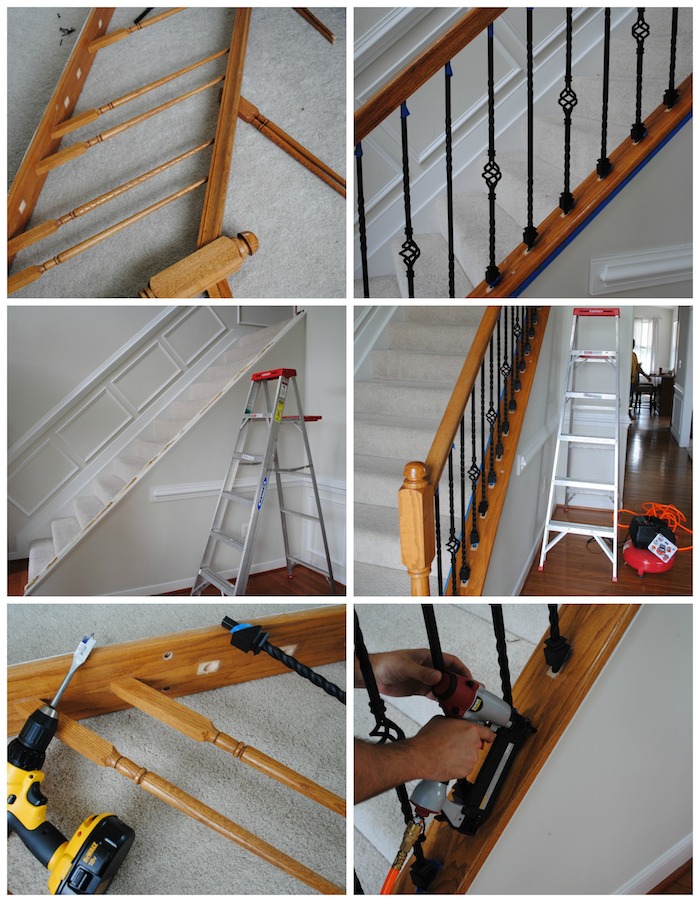
 To start, our friends completed this project successfully and were able to lend some tips…until we found out that our balusters were screwed in from the bottom, which was a HUGE complication that we couldn’t find any guidance on in our YouTube video or blog searches. So, unfortunately the only solution we found was to remove the entire stair sections to unscrew the wooden balusters from the bottom. To do this Willie used a variety of methods (saw, hammering a wedge in-between, nail cutters, etc.) but these little suckers were glued and had finishing nails in them, so this was a huge time sink. The one large piece took him, his dad, and me almost 3 hours to remove! However, if you are lucky like most of the bloggers and DIY videos, your balusters should be “peg-like” in the bottom and just be able to saw through and turn the top and bottom piece out of there holes. This also eliminates and issue of losing levelness, angle of stairway, oh and just the minor detail of securing these babies back on! I won’t get too much in the detail of removing and re-attaching because I pray you won’t have this issue and honestly it’s complete trail-and-error and patience to get these on and off.
How to Replace Wooden with Iron Balusters:
- Remove wooden baluster (saw through and wiggle pieces out, or unscrew from bottom)
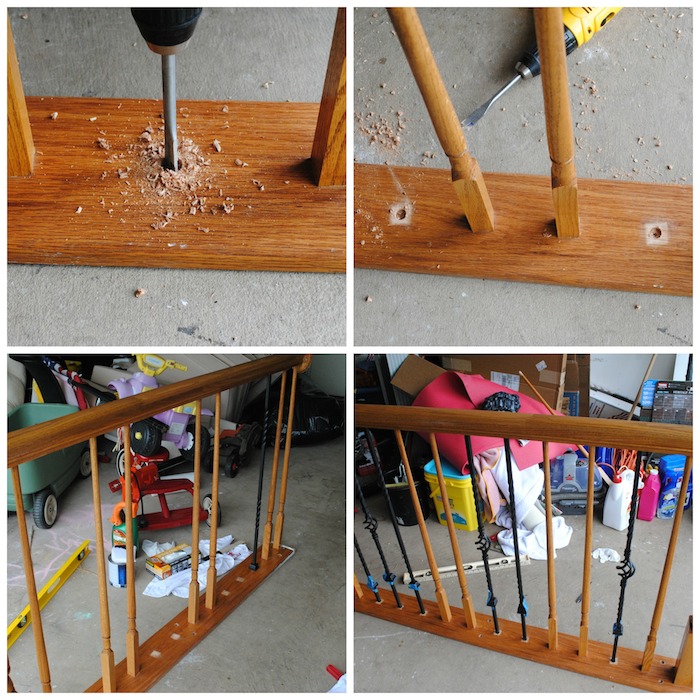
- Create hole for new iron baluster (if pegged it may fit already, but for us since there was no hole we used a 5/8″ spade bit
to create a hole) – we also could only do a few out a time to ensure we didn’t lose the levelness of the top part, so this delayed the project again.
- Measure iron baluster (use an one wooden one for rough guidance making a pencil mark where to cut, then you can measure down – remember to get this all the way up in the top hole before thinking it’s too long – we learned that hard way)
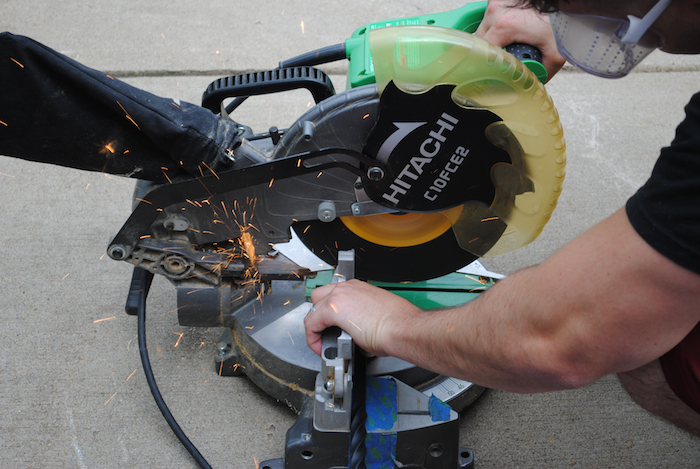
- Cut iron baluster to length (we used our miter saw
and a metal blade
– also wear goggles and gloves)
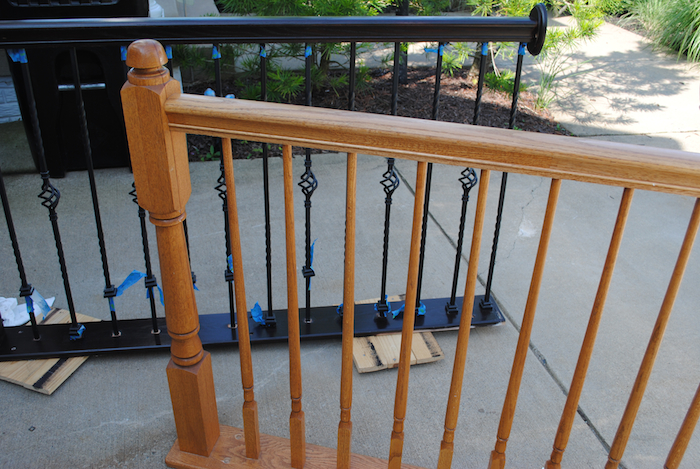
- Once baluster fits snuggly in the two holes, you are ready to secure. But first, add the shoes. We used tape to hold it up because I had to stain later, but this is not necessary if you are just doing the balusters. Also, you can do a shoe at the top if desired as well.
- Then secure top and bottom with epoxy glue. If you get any on the iron, you will want to wipe it off because it will show.
- Let dry 24 hours and you can go back and secure the shoes with clear epoxy if needed.
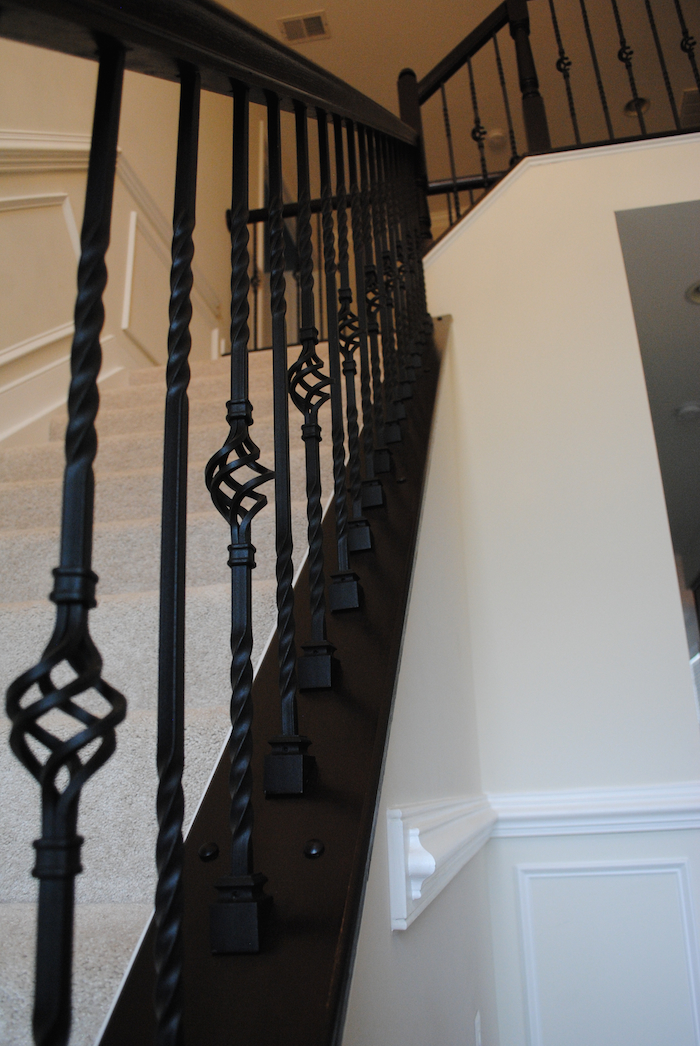
- We alternated the double twist baluster and the single basket baluster. Flat baluster shoe and angled baluster shoe.
Gel Stain:
I used the General Finishes Java Gel Stain like many bloggers recommended. This product does work well if you don’t want to sand much, but if I had thought about more AND because we ended up having to remove everything, I would have sanded and used a traditional stain for a more lasting wood grain textured look. The General Finishes paint required 3-4 coats so it is super dark, which once I get darker hardwoods probably won’t be as noticeable but right now it’s a little drastic. The top coat also requires sanding in-between, which honestly I did not do, so I will have to see how the wear is without sanding in-between the 3 coats of topcoat I did. After staining and topcoat, we had to touch up our baseboards from getting the staircases removed and re-chalk.
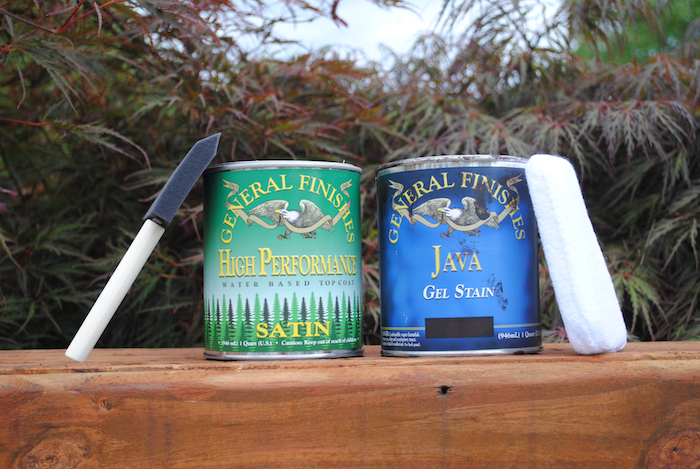
- General Finishes Java Gel Stain
- General Finishes High Performance Water Based Topcoat, Satin
- Stain Pads
- Foam Brushes
- Painters Tape
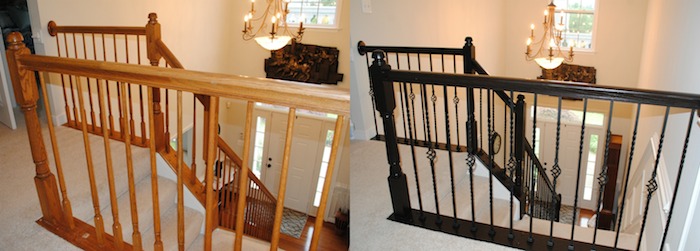
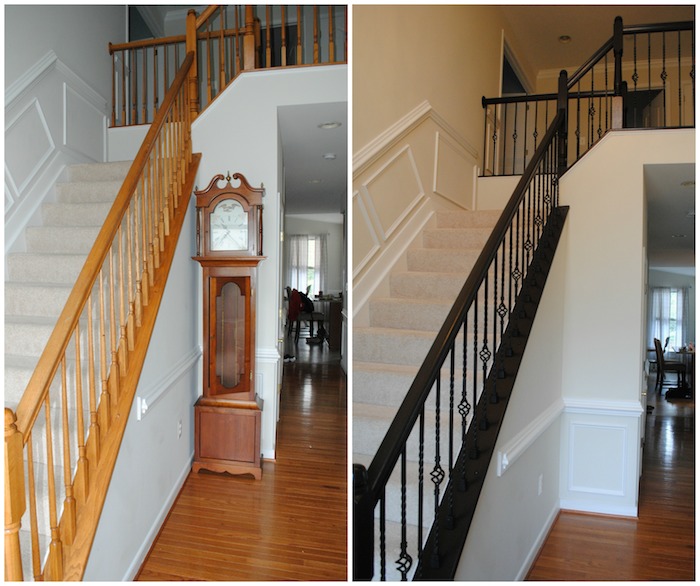
So what do you think?!?! Here are some good before and afters!
 update with floors!
The before and after pictures were amazing. The difference really shows a much more elegant staircase then before and adds so much for style. Yes, I am sure it was a lot of work; however, well worth it. Thanks for sharing.