Kathy is one of my best friend’s aunt who has started a fabulous blog centered around the remembrance of a beloved family member. She loves a bargain, DIY projects, and crafting. She is here on the blog today to share her Easy Farmhouse Style TV Stand Makeover. I am LOVING the transformation for under $50! You always get such inspiration from others creativeness. Hope you enjoy her project!
Hello everybody! My name is Kathy and I can usually be found writing for the Our Amore Blog. My family and I started blogging after our dear mother/nanny passed away. AMORE stands for, “A Memory of Rose Etc.…” She was such an inspiration to us with her wonderful crafting abilities and the woman could cook like you would never believe. We come from one big Italian family and thought the blog would be a great way to keep in touch with family members out of town and inspire others to do what makes them happy. I am a second grade teacher by day and an HGTV junkie by night. I must admit I am OBSESSED with Chip and Joanna Gaines show “Fixer Upper” and secretly I think my husband is too (Wink Wink). I love scouring Instagram and other blogs for ideas ranging from decorating ideas to teaching ideas. I also LOVE a good bargain and can often be found at local thrift stores and garage sales. When my sweet niece Nicole told me about Ashlyn’s blog, I knew I had to become a follower. I love her creative ideas and I am always amazed at the good deals she finds.
Tutorial:
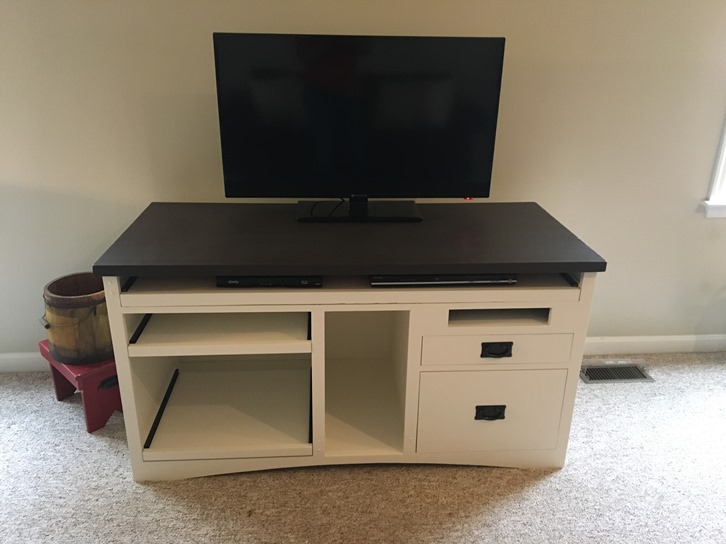
Recently I found an entertainment console at our local Goodwill. I had been wanting to get rid of our giant oak entertainment center that we had in our family room, but had no idea what I would put in the space. When I saw this console I knew it had good “bones” and when my husband said to buy it that was all it took. I don’t know about you, but when the “Mr.” says to buy something I don’t think twice! I remembered seeing Ashlyn’s post about painting her dining room table so I thought I would give it a try. We of course need a MUCH bigger television and I need to style the wall and console, but overall, I am pleased with how it turned it out and think once the space is styled it will look even better.
Step-by-Step
- Here is what it looked like when my husband took it out of the car. At the top right corner you can see where the old gaming systems would connect. My husband simply popped it out and left the space empty. He jokes and calls it a mail slot, but it is where I am going to put our many remotes.
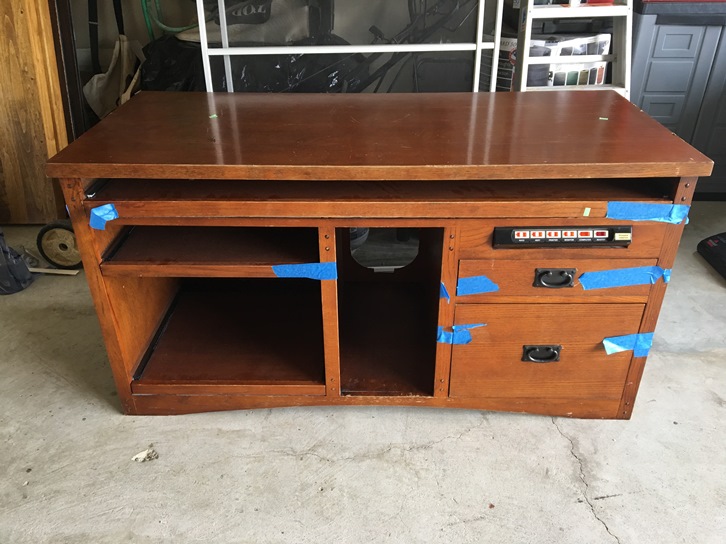
- The next thing we did was remove the drawers, the fronts and their hardware. Getting these things removed makes it easier to paint.
- We removed the back and my husband made a new back out of some old plywood.
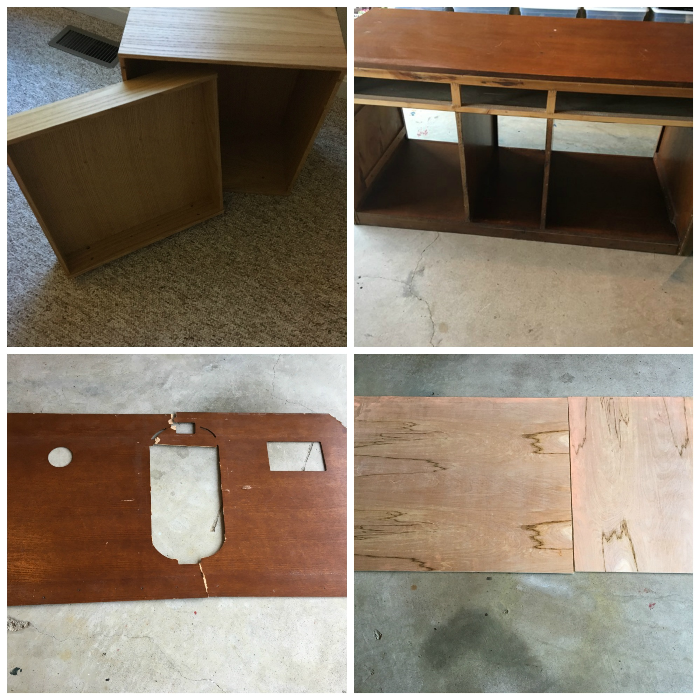
- He thought it needed a light sanding
, but I actually think it would have been fine either way.
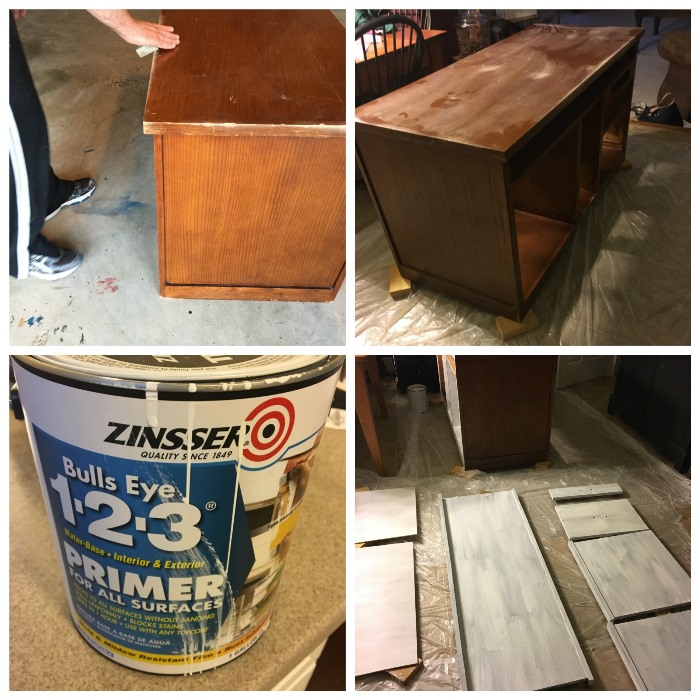
- We don’t usually paint furniture and do projects like this in our kitchen, but we were having such rainy weather, that we thought it was too humid outside.
- I highly recommend that before you paint any piece of furniture (unless it is bare wood that has never been painted or stained) that you prime it first. Our go to primer is by “Zinsser
” and it can be found at Home Depot.
- After a nice coat of primer your furniture is ready to paint.
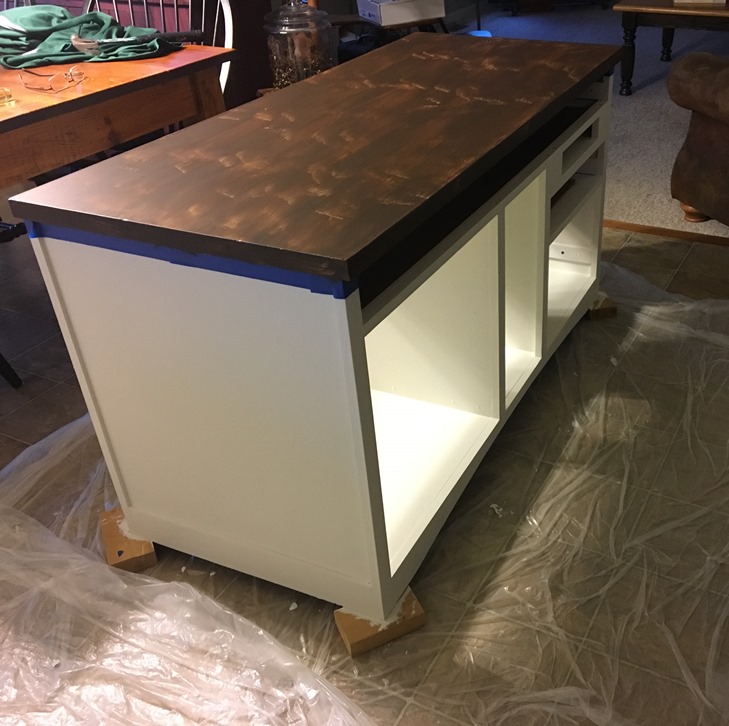
- Here it is painted. I used Behr paint, found at Home Depot, in Swiss Coffee for the bottom. The top in this picture only has one coat and as you can see we had to apply two coats. The top is also a Behr paint called Havana Coffee.
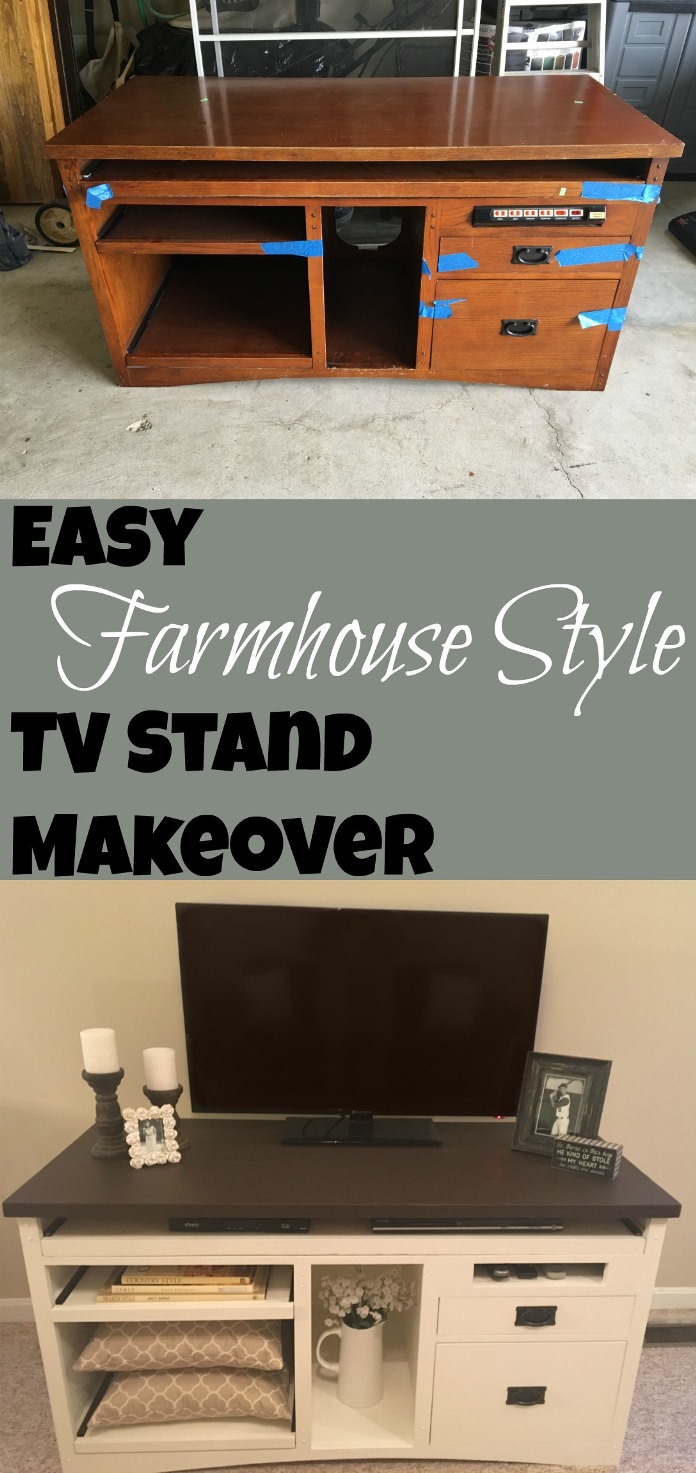
- The finished project. The total cost of this project, including the entertainment center, was under $50.00, so I think that is a WIN!!
Thanks again Ashlyn for allowing me to be a guest on your blog. You are such an inspiration to many.
Connect with Kathy!
Pinterest and SHARE this post on Pinterest!


Speak Your Mind