My beautiful friend’s Kimberly and Brittney (twins) turned 28 this year. This year was HUGE for both of them…they both got married!! So what a better way to share another milestone and good luck into their first year of newly-wed bliss then a small family birthday celebration with a fabulous cake! Kimberly has been gluten-free for years now, so I made sure that she could enjoy it along with tasting amazing that everyone else would not know it was specially made for her J
The recipe we used was modified slightly from Gluten Free Recipe Box’s Yellow Cake Mix Recipe (We used 1 cup and 2 tablespoons of sugar, since Kimberly likes it a little sweeter). Then the icing was just those pre-made white icing jars (totally your preference on brand, but the thicker the better). Most all the ready to spread icings I’ve seen are gluten-free, but if you have a sensitivity just read your labels. It was a hot night we made this too, so it looks a little runny, but just remember to ice only when your cakes are completely cooled and keep icing chilled.
- Mix & bake the batter according to the recipe you choose to use. We doubled the recipe mentioned above and were able to split the batter into two 9″ circle cake pans.
- Wait until completely cooled (big must!) our icing turned a little runny because we were being inpatient!
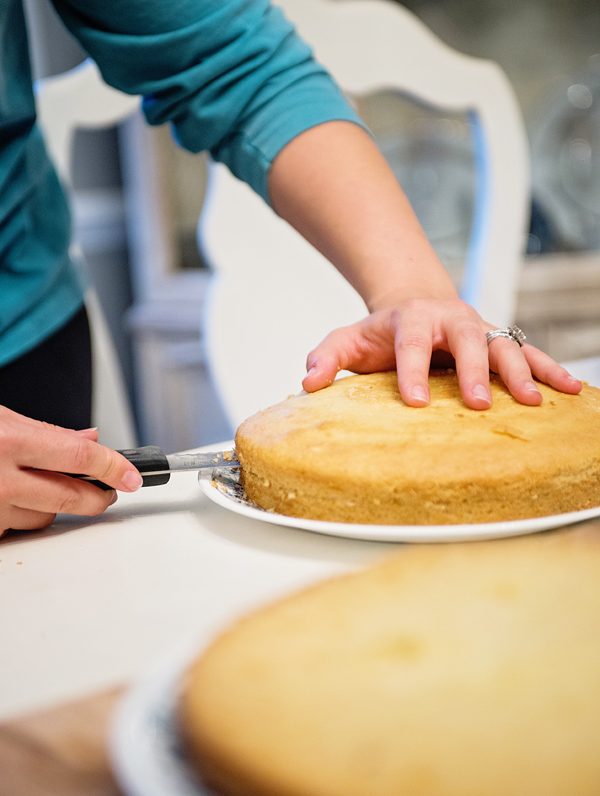
- On the two cakes cut the “hump” top off so they have a flat surface.
- Then, cut each cake into 2 so you have 4 small cake layers for stacking.
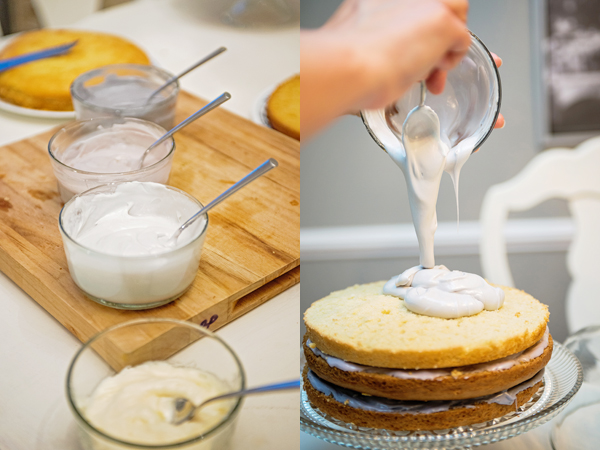
- We did 4 color layers on this cake since we had 4 cake layers instead of 3. So split your icing into 4 bowls to create the colors.
- Once you have the 4 color variations you like, you are ready to start assembling!
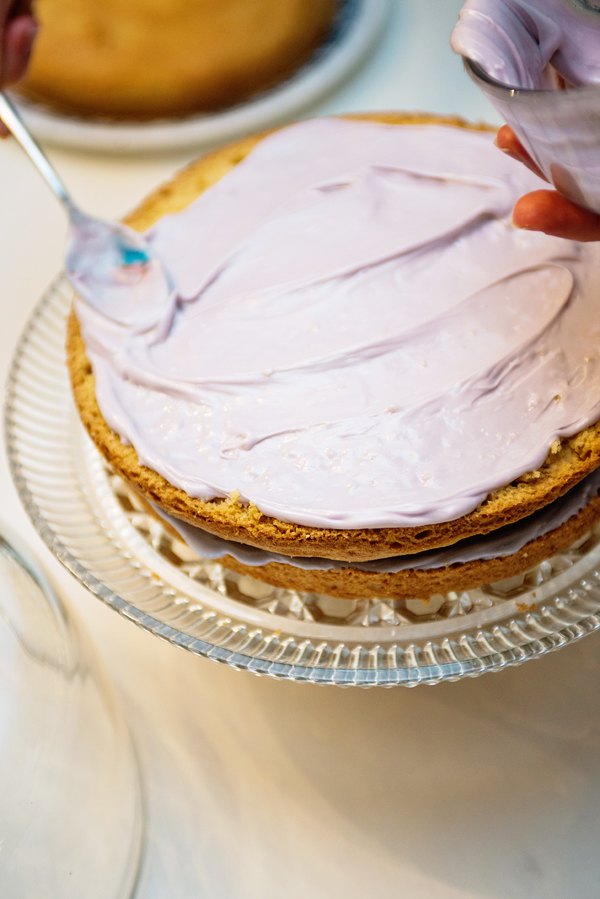
- Put the bottom cake layer on your stand and then put a thin layer of your darkest color icing on top. This will show in ombre on the inside too, but you can use white icing if you don’t want this.
- Then, your next layer of cake with the second darkest color icing.
- Then, your next layer of cake with the lightest color icing.
- Then, your final layer of cake on top. You then want to do a crumb layer of icing all around the cake (we just used the white version from the icing jar).
- Once you have all your layers in place and the icing set, you can decorate!
- I used gallon sized ziplock bags and just snipped enough of the end off to fit your 1M tip but you can also use special patry bags.
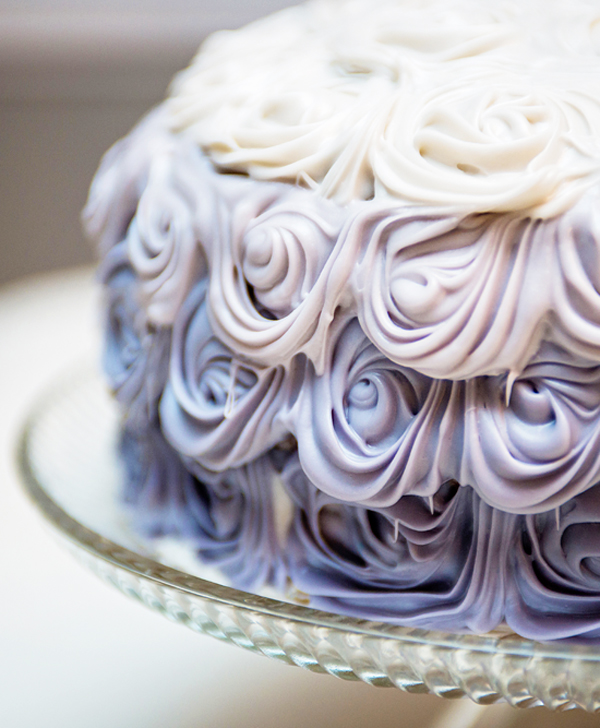
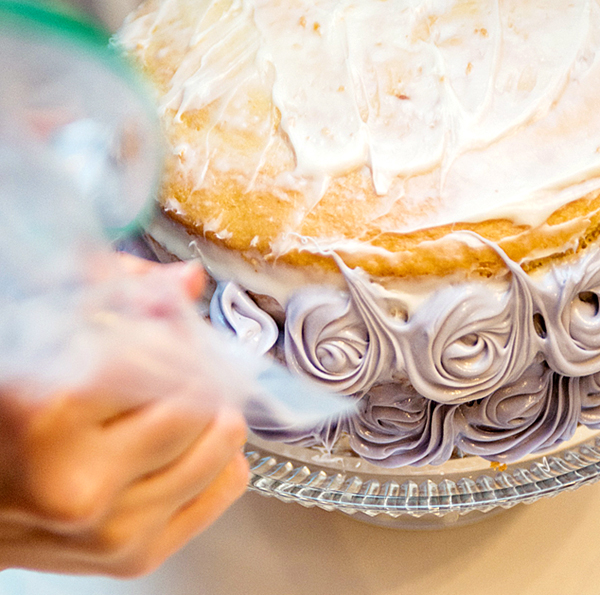
- Start at the bottom with your darkest icing color. Starting in the center of where your rosette will be (I eyeballed, but you can outline this using a round cookie/biscuit cutter), begin piping a circular swirl outward until you reach the outer border of how long your want your rosette. Then, move right on to the next circle. Keep going around the bottom layer until your rosettes meet.
- With your next layer of icing start in-between the rosettes you created from your first layer, so you have a overlap look. Go all the way around again until they meet.
- Your lightest color is next. Remember to start in between the layer you just finished and go all the way around until your rosette layer touch.
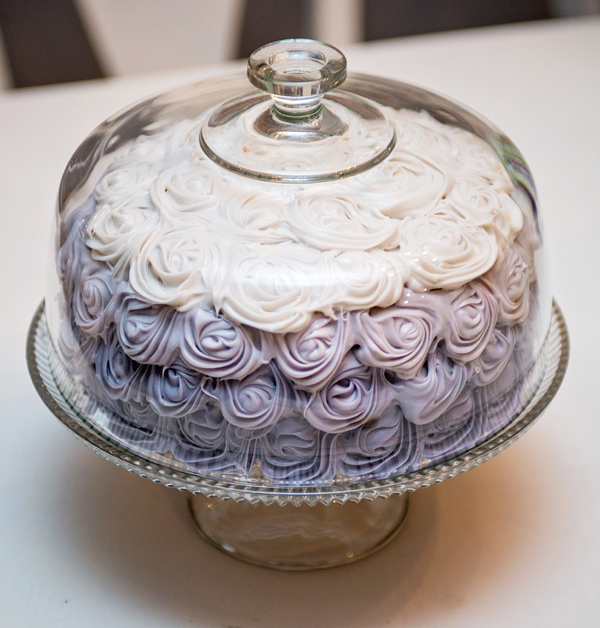
- Last one!! For this final icing layer, we just used the white. Keep your rosette making up to the top and just make sure you are alternating and able to overlap so your whole cake is covered in beautiful rosettes.
- Finished…whew. The directions are much longer then what it will actually take, I promise 🙂






This looks beautiful! This would make a really pretty bridal or baby shower cake! 🙂
Thank you Kelly!