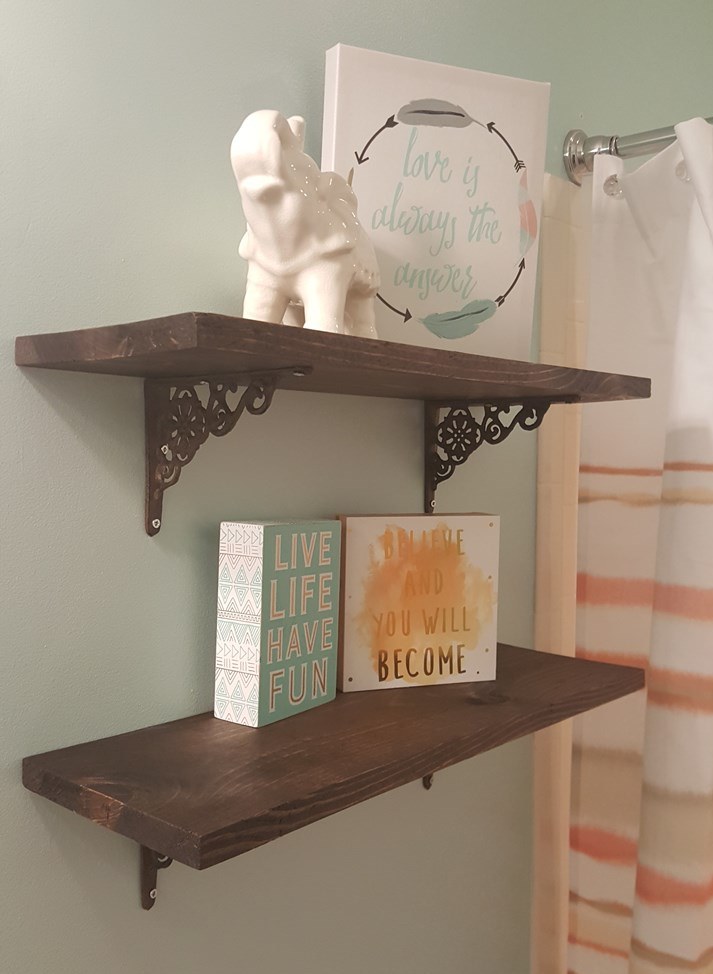
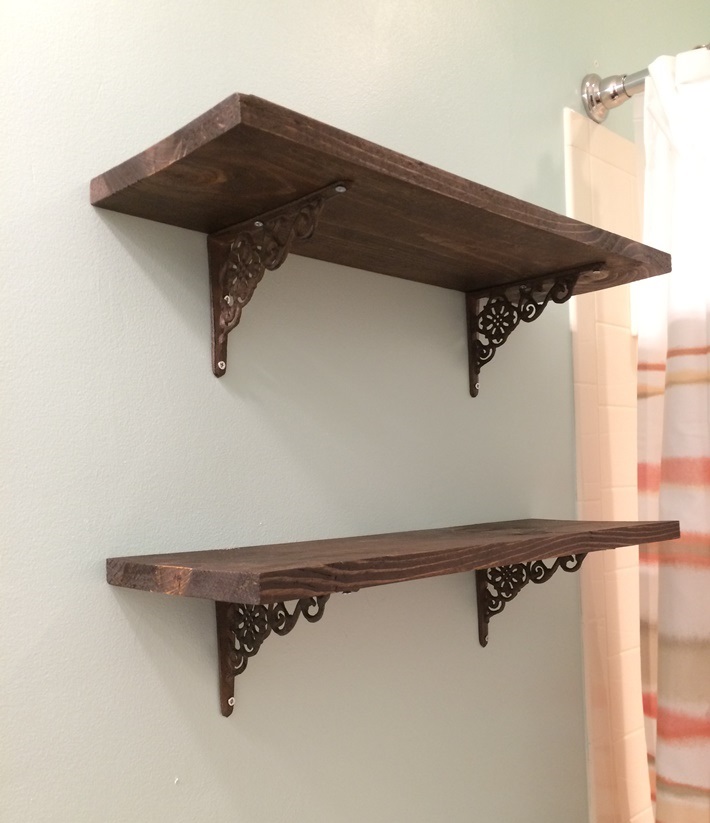
I jokingly refer to these shelves as my vacation brain shelves. Originally when I started designing this bathroom I wanted to just buy a white storage cabinet and get it hung. But when our beach crew hit up the local TJ Maxx in our beloved Outer Banks over 4th of July and found these adorable quote pieces and the cutest elephant, I knew I had to display them somehow. So I was on a mission, and to my luck, I found the perfect brackets at a local store called Class and Trash (special thanks to my crew for running back to get them for me when I finally made an executive decision haha). This store had the most stunning pieces. I literally could have bought EVERYTHING! So thanks OBX for some wonderful inspiration!
To start out I bought a 1″x8″x8′ piece of whitewood lumber. For each shelf I decided on a length of 22″, which I measured and cut accordingly. I sanded
all the edges to clear any roughness from cutting. Then, I used a staining rag
to apply minwax’s
espresso color stain. This went on super easy and I only did one liberal coat getting all the grooves well covered. Once applied, I did one last dry rag wipe down to remove excess and dried overnight. Motherhood lesson/
husband I told you so moment– clean up anything and everything…my little toddler thought finding my stain can and shaking and throwing it against our deck and her leg was so much fun!
Then for the placement on the wall. We couldn’t decide center of the wall or center of toilet (both looked a little odd in the scheme of everything) so we compromised and put it just where we thought it looked good and just directly screwed in the brackets with the level on top…and hey it worked out!
Aren’t they the greatest? I love them so much and you can easy change the display over the years and add baskets, mason jars, etc.
The total cost for the shelves was about $30. $5 stain + $11 lumber (I have leftovers) + $17 for the 4 brackets. I had the screws from the hubby’s tool shed so we were all good!


Speak Your Mind