Wednesday, August 31, 2016

DIY Bubble Inspired Birthday Cake

Creating a special 2nd birthday cake for my precious daughter was so much fun and she absolutely loved it! I knew we weren’t having a party since we are still getting things at the new house settled and everyone is just always so busy end of August it’s hard to plan something. So just super low key this year with just the grandparents and a photo shoot, which upon the dismay of my husband, I am trying to make family photos an annual occurrence. Her birthday is the perfect millstone for those photos right now and I cannot wait to share some that my wonderful Kimberly took!

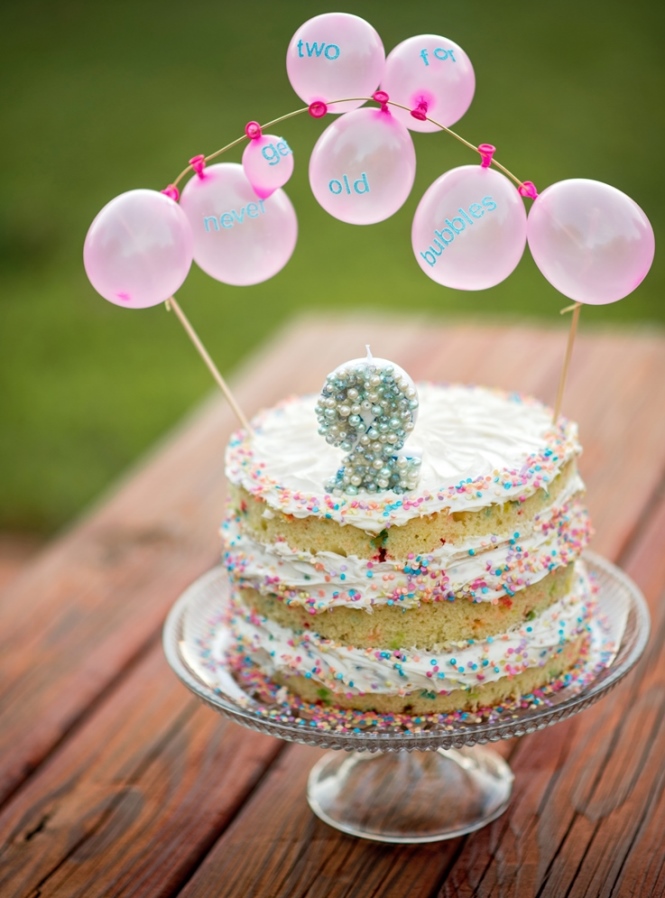
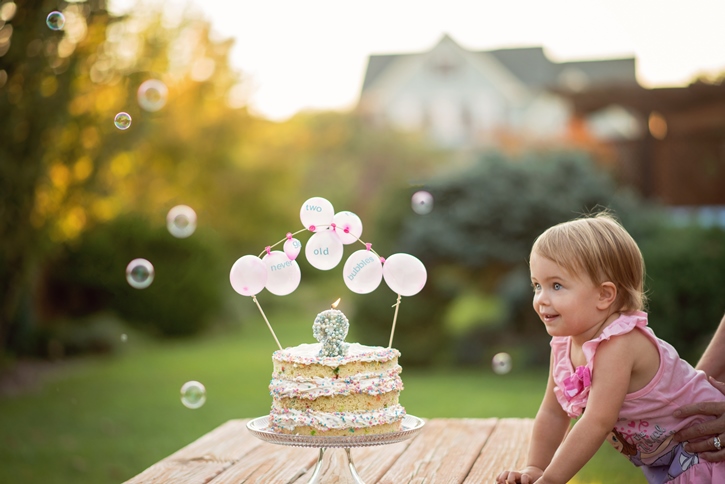
So what do you make for a bubble obsessed toddler? How about a fun bubble inspired cake!?!

The DIY glam bubble candleand cake topper were so perfect on top of the naked funfetti cake I made. Here is how I did it…

The cake was super simple. I used two boxes of the funfetti cake mixand made three batches using a 9″round cake pan. Once they cooled I followed inside the outer circle outline to get rid of the brown edges to expose the colorful inside. Then I started stacking the cakes filling each layer with a tremendous amount of rainbow chip frosting(I LOVE icing, so it was more for me than anything cake decorating wise…you will need about 3 tubs of icing if you put around the same amount as I did). I used a butter knife on the top icing layer to make swirls and finished the corners and edges with multi-colored confetti sprinkles.

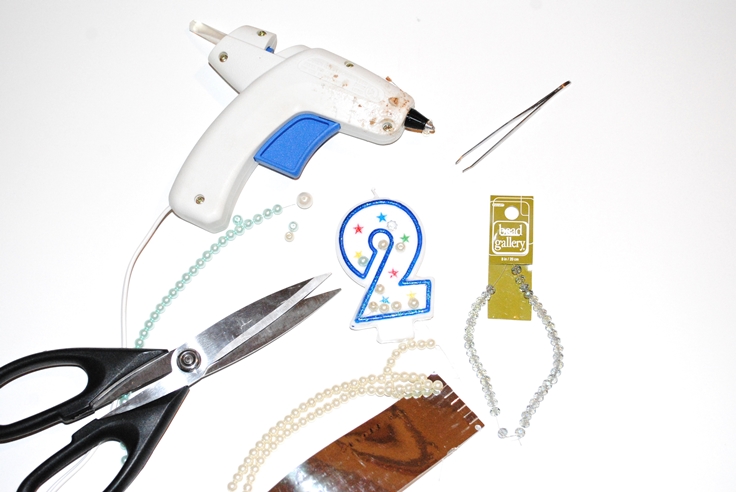
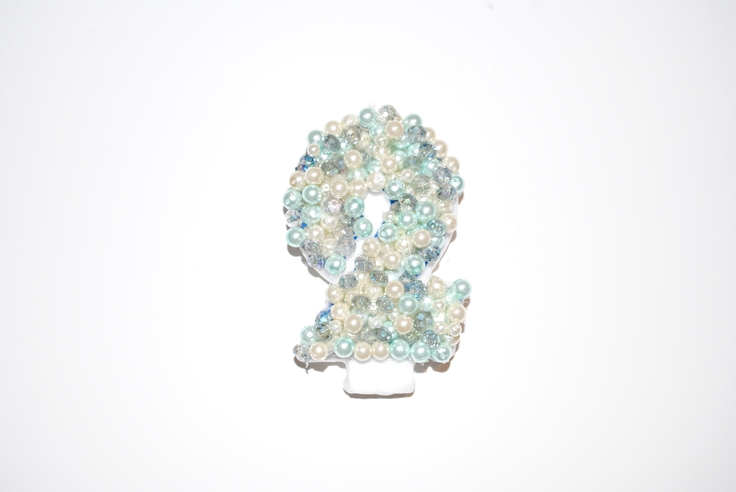
For the glam bubble inspired candle I took a cheap dollar
store candleand just hot glued the beads of choice onto the candle
layering and alternating the colors and sizes of the beads. At first I freaked
out, because duhh…wax melts, but be patient! Once you get a few on, it will
start building upon one another and start coming together. I was able to do the
beginning layer by just putting hot glueenough for about 5-6 beads directly on
the candle and then just sprinkled them on randomly. Once you do the first
layer you can start building upon with more precision one at a time either
pinching with your fingers (be careful, I took some stings from the glue) or
buy $1 store tweezers and use those for the precision areas.

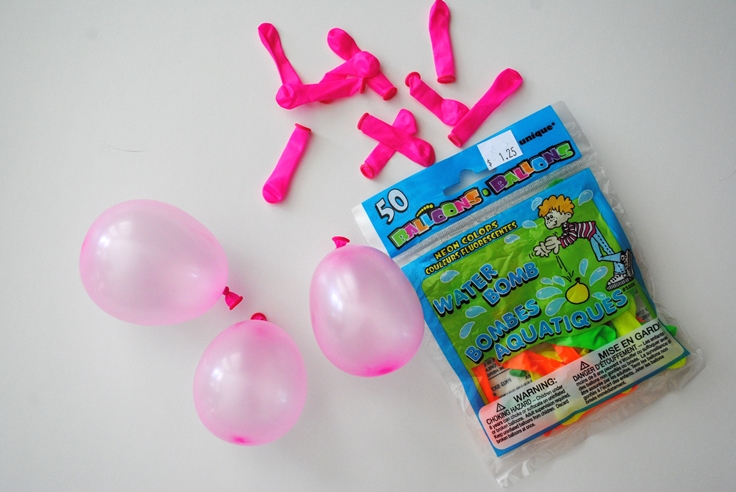
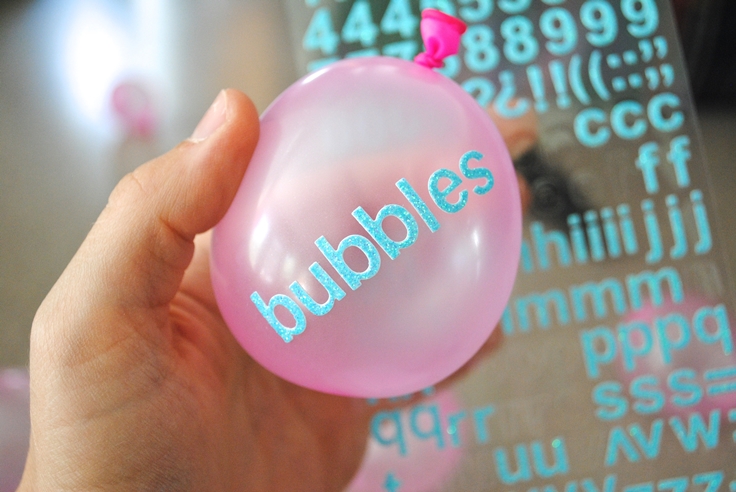
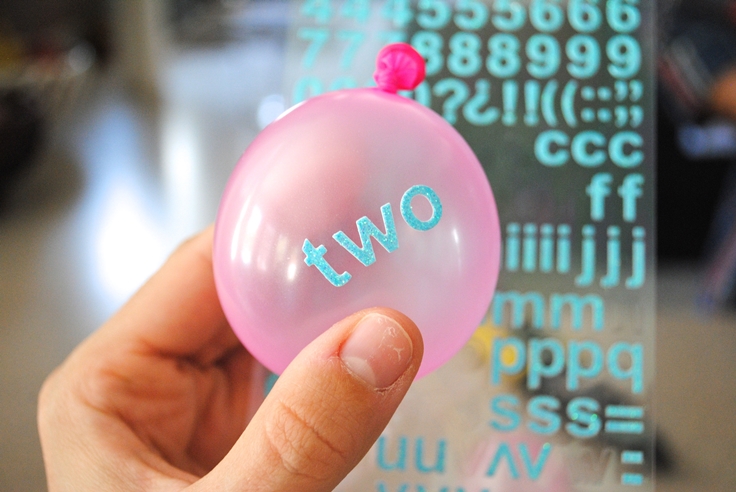
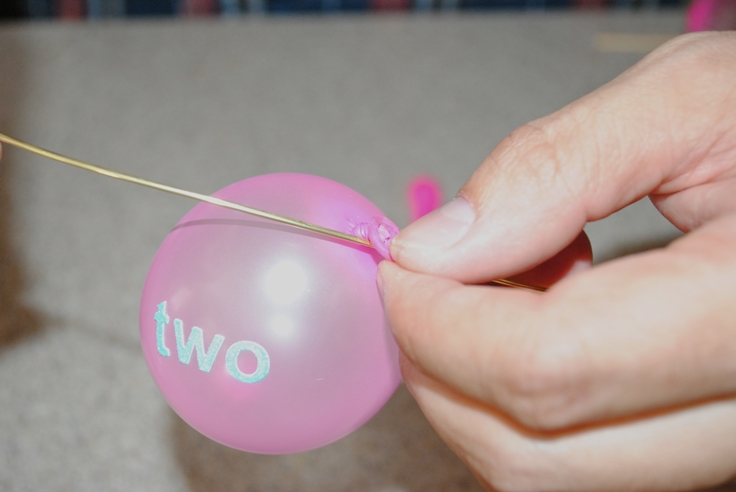
For the cake topper I actually found small water balloonswere the perfect size and extremely reasonable than paying for mini or regular balloons. I got a bag of 50 balloons 25% off $1.25 so it was practically a steal!  I chose to use the neon pinks colored ones and just blew all of them up (well not me, Willie blew them up for me) in random sizes and picked the best ones I liked to apply the stickers to. I used aqua glitter letter stickersfrom Michaels and put one word on each balloon to have the full quote of “never get TWO old for bubbles” across the cake. Once you put the balloons on the wire, you can always make adjustments to the word orientation if some balloon won’t go in the direction you want them to. Once all the words were on the balloons, we pierced the balloon ends carefully with a brass wireto attach each balloon in the order we wanted. I did a blank balloon on each side of the quote just as a little filler. Then just attach the wire to some long bamboo skewersor straws, place in your cake, and viola the most fun cake topper EVER!

Hartley absolutely loved her cake and for the following days went around the house yelling “cake, cake, cake, eat, cake”!! I cannot believe I have a 2-year-old daughter. Time is going way too fast and I’m trying to not miss a second. The pressure of being a working mom has gotten to me recently, but all you can do is try you best and embrace every moment you can spend with your children. I cannot wait to see what the next year brings us. I hear the 2s are the worst, but fun days like this and creating something magical for her is totally worth all the tantums I am about to endure. Wish me luck!

Cake photos: Kimberly Lyddane Photography
Speak Your Mind

*