When I get a vision of how I want something to look, it’s pretty hard to change my mind (as my mother and husband know very well). It is probably both a pro and con of my personality. I get determined on my plan and follow it through. Well, our triple birthday cake was one of those visions. I wanted something tiered, simply decorated, easy, budget-friendly, and a way to announce our pregnancy.
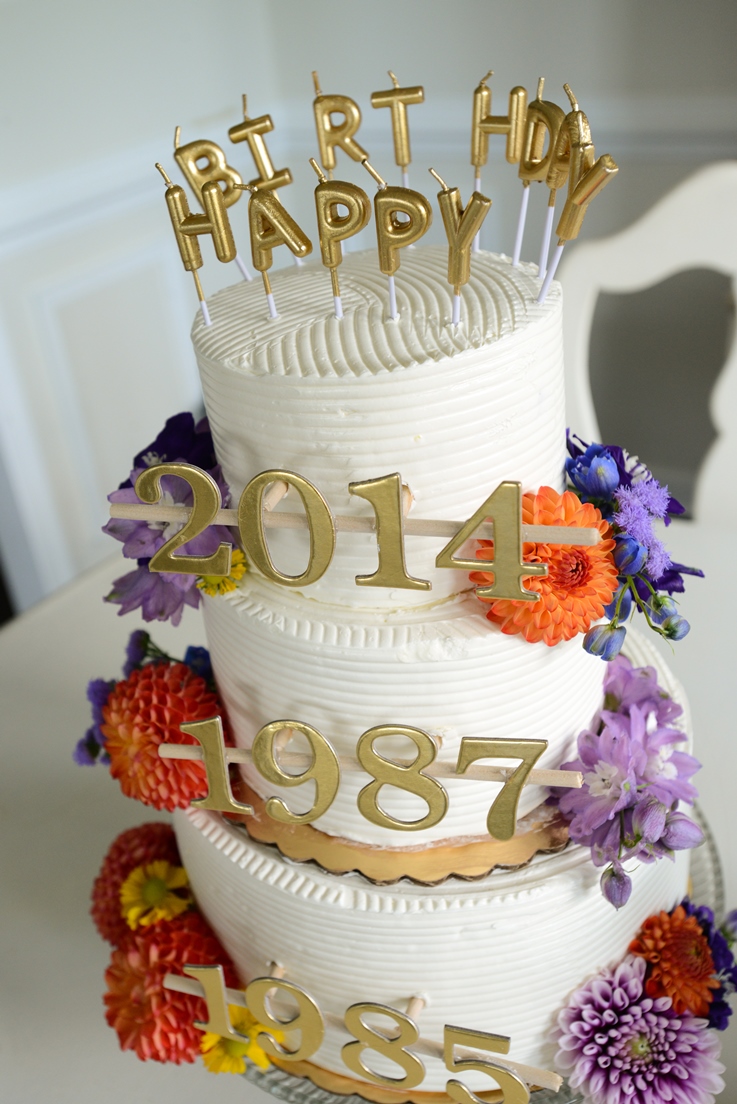
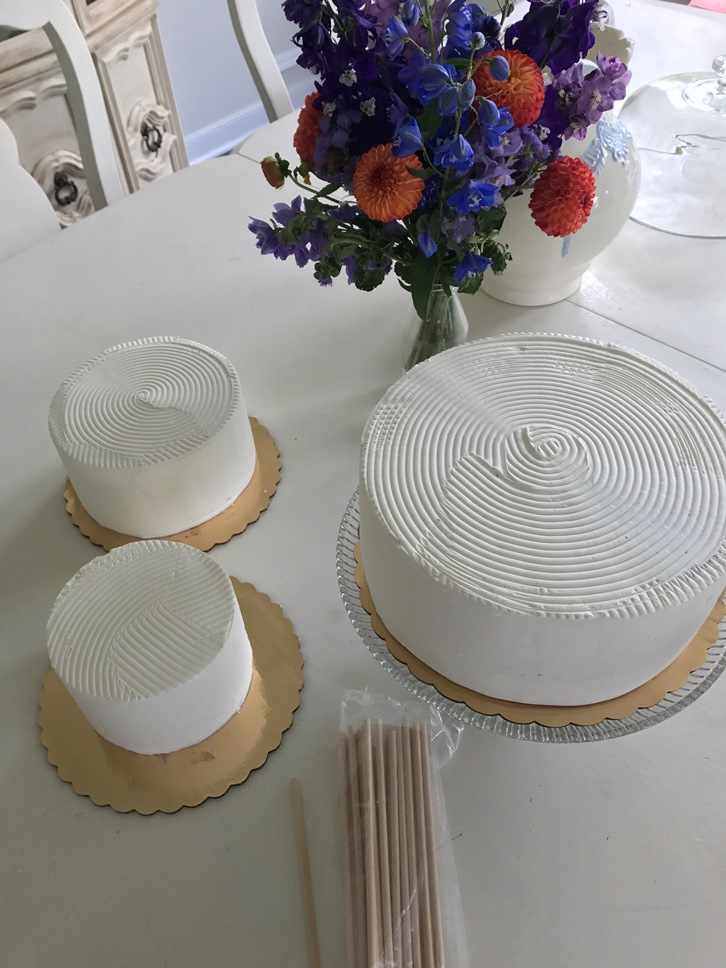
After a bunch of market research to specialty cake stores and grocery stores, I learned that designer cakes would cost about $200 and a lot of traditional grocery cakes did not have the ability to create multiple different sizes of round cakes. Then one of my many lunch trips to Whole Foods, I just figured I would ask…and behold…they did do 9”, 6”, and 4” round cakes that the bakery manager said I could tier myself at home for around $60 compared to the tiered wedding cake they could make for about $200. YES!! I was ecstatic. Having the ability to order each of the 3 layers with different special flavors for each of us (Willie got vanilla triple berry, I got chocolate chocolate ganache, and Hartley got vanilla boston crème) then they used the same buttercream outside for cohesiveness worked out perfectly. Ohh and in the long-run probably only cost me about $30 more by the time I bought pans, ingredients, and cake piping materials…oh and about 100% less stress.
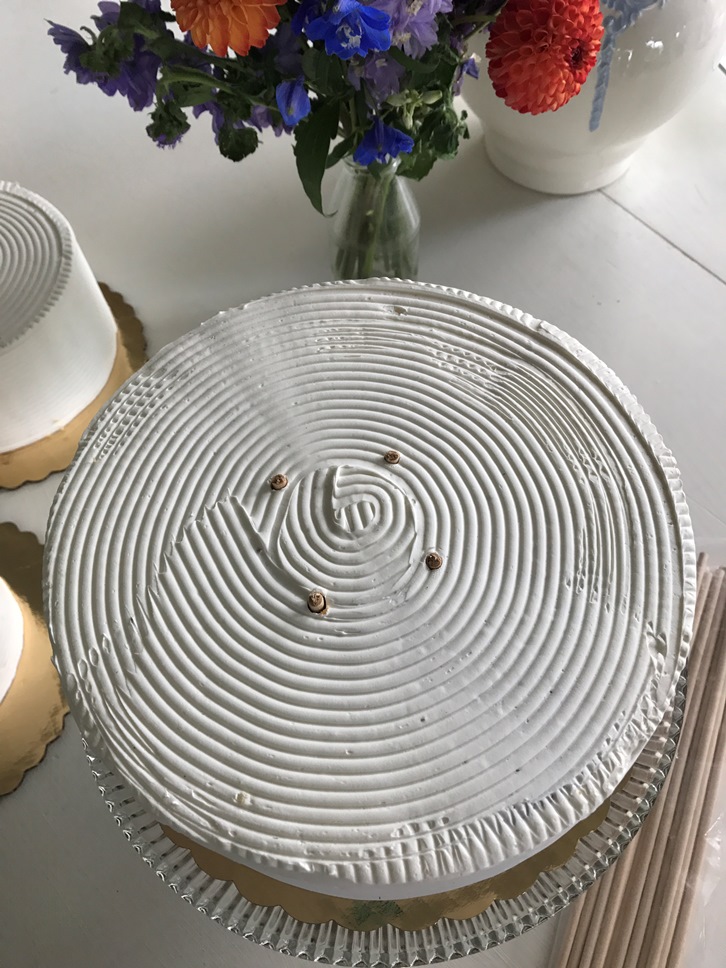
So when I got them home the morning I kept them in the fridge until about 2 hours before the party started. Then all I did was start with the 9” on my thrift store cake stand. Then, I placed a wooden dowel
from the top all the way until it hit the stand to measure where I needed to cut. You want the wooden dowel to be right level or a tad below the top of your cake (notice the below pic…this is too high, I needed to cut off more to be flush with top). I placed 4 wooden rods in my 9” base cake. I also decided to leave the base cake board
on the 6” to layer just for ease or transfer and it matched the gold theme we had going. But this is not necessary if you want to tier cake to cake. I did the same measuring for the 6” dowels and placed 3 to hold the 4” topper. Then, I carefully used a spatula and fingers to transfer the 4” from its cardboard base to the top of the 6” cake.
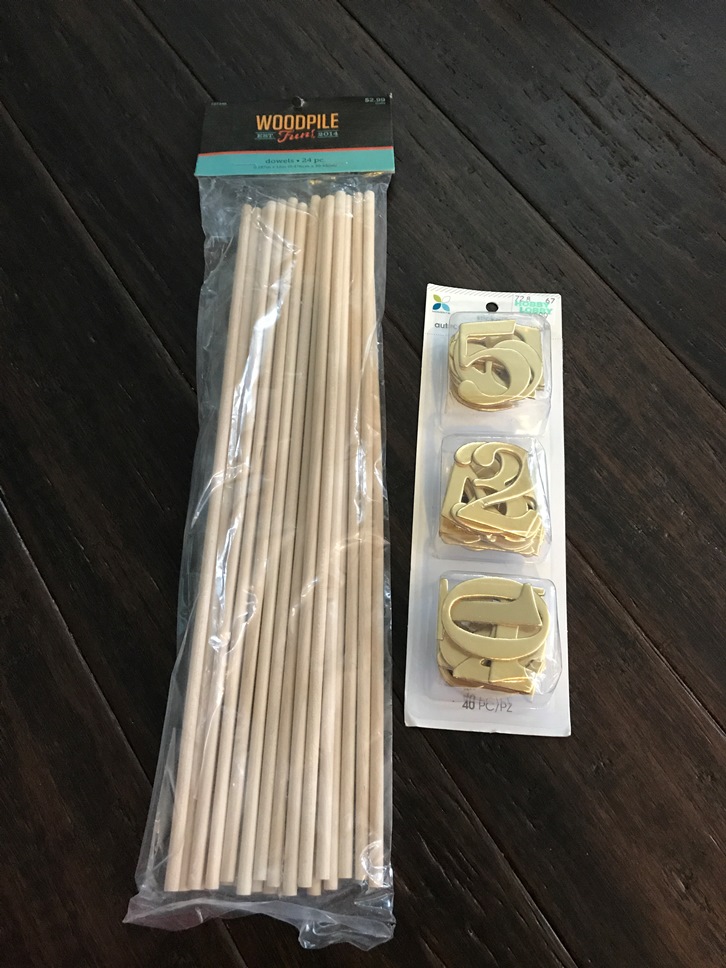
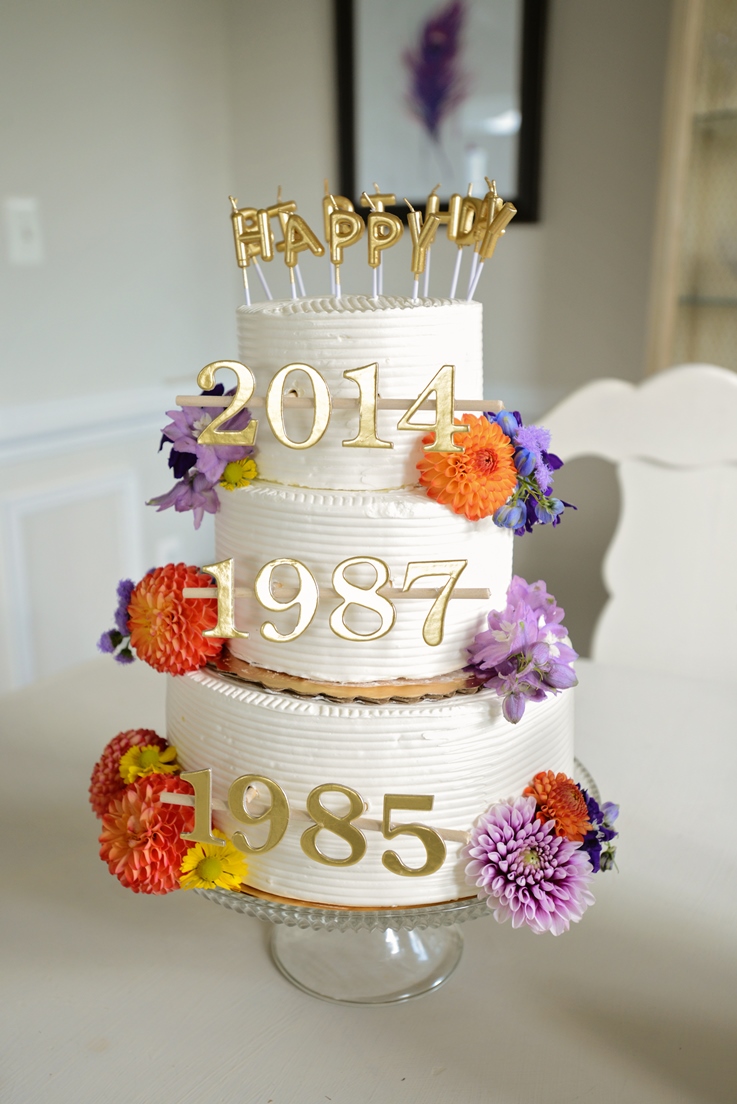
Finally once it was all tiered, I decorated using my stunning farmers market flowers I got for the party. Having a good assortment of greenery and flowers allows for the most creativity. There really is no specific technique to placement, just snip about an inch from the bloom so you have some of stem to stick into the side or bottom of the cake. Then layer different colors and sizes to your preference. I finished with the year “toppers” for each cake that I made with numbers, wooden dowels, and hot glue. Then lastly, the Happy Birthday gold candles.
I had stashed the 2018 year in my china cabinet which Willie smuggled out along with the sprinkle cupcake. So when we got behind the bar, I just placed the 2018 on top so I could grab and SURPRISE! It was perfect. And just luckily the cupcake fit flawlessly on the top in-between the candles.
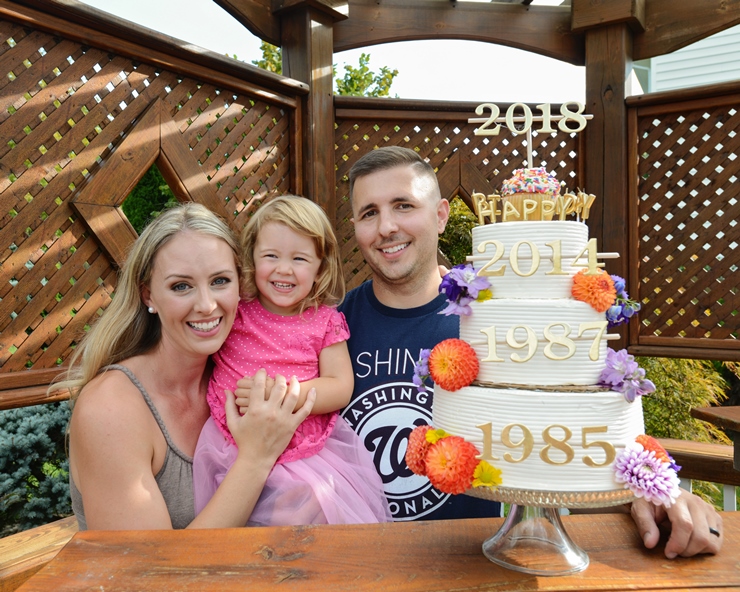
So for $60 for the cake (9” was $30, 6” was $20, and the 4” was $10) plus $6 in flowers, $3 candles, and $5 in numbers and dowels that I multi-purposed to use for my cake rods…I think it was a stunning DIY version of a decorated cake! Don’t underestimate the power of store-bought cakes. You can tier and decorate yourself for a custom vision of your own! DIY Playbook has a great naked cake version if you want to check that out too!
Photos: Myself and Kimberly Lyddane Photography

Speak Your Mind