This shop has been compensated by Collective Bias, Inc. and its advertiser. All opinions are mine alone. #BrewToPerfection #MrCoffeeDay #CollectiveBias
For the crazy project filled weekend we had…This easy veggie & protein packed breakfast with lots of coffee using my new Mr. Coffee® 12-Cup Programmable Advanced Coffee Brew Coffee Maker was the only way we survived. The kitchen is a construction zone…literally we have exposed insulation and only half of our countertops. We are prepping for new backsplash and countertops…yippee! Willie also worked about 12 hours trying to get a playground assembled for Hartley. It was her fabulous birthday gift from her grandparents and we are super excited to get it set-up. I just keep saying a few more weeks of crazy project-filled weekends and we will be done. We will have an AMAZING new kitchen and the BEST playground for Hartley in our own backyard! Ekkkk I’m so excited for the reveal of both these HUGE projects.

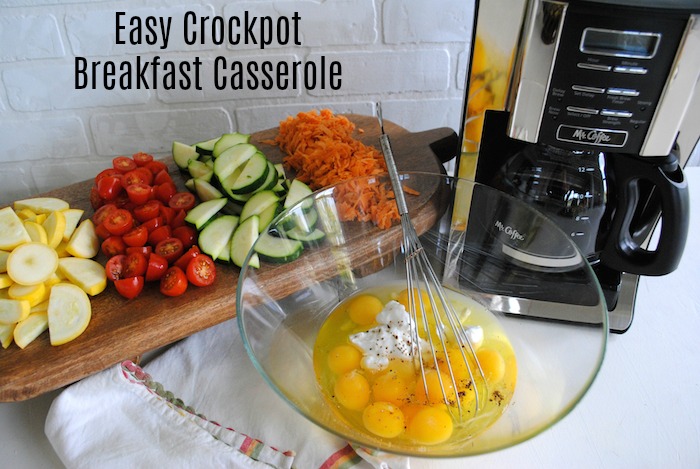
Here’s what you will need to make this delicious make-ahead breakfast in the crockpot:
Ingredients:
- 1 dozen eggs
- Can of coconut cream
- 1 zucchini
- 1 squash
- 1 sweet potato
- 1 pint of cherry tomatoes
- 1 pound of ground pork
- 1 tsp. olive oil
- 1/2 tsp. of garlic powder, italian seasoning, and ground mustard (you can add fennel too if you like)
Recipe:
- Brown ground pork with olive oil, spices and salt & pepper (doesn’t have to be cooked all the way through since it will have time in the crockpot)
- Set pork aside and let cool
- Wash and cut squash, zucchini and tomatoes into bite site pieces
- Wash, peel, and shred sweet potato with grater
- Crack 12 eggs in separate bowl with lots of pepper and salt and the 1/2 cup of coconut cream (the coconut cream gives it a almost custardy texture…ummmm ymmmm)
- Whisk egg mixture together (kitchen helper pictured…hehe) – it will look chunky
- Grease crockpot with coconut oil or ghee
- Layer everything in crockpot…I did pork, veggies then egg mixture
- Set for 6-8 hours on the low setting
- Drain fat liquid from top before cutting and serving (you can drain pork after cooking, but I like the flavor it gives to the dish cooking with it)
- Also – if you’re not strict on Paleo/Whole30…add a little cheesy deliciousness for an extra boost of flavor
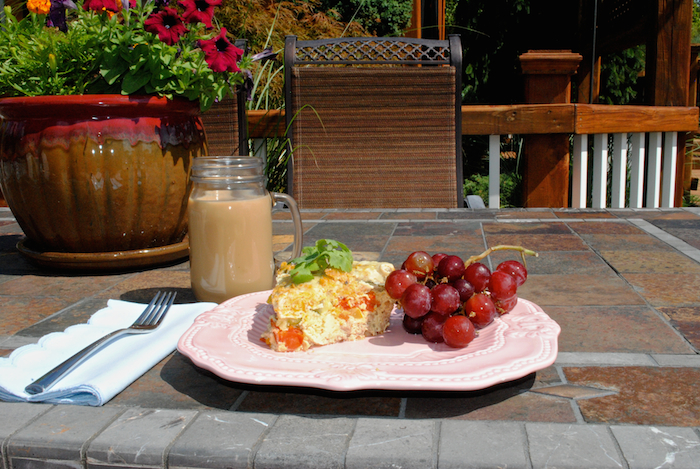
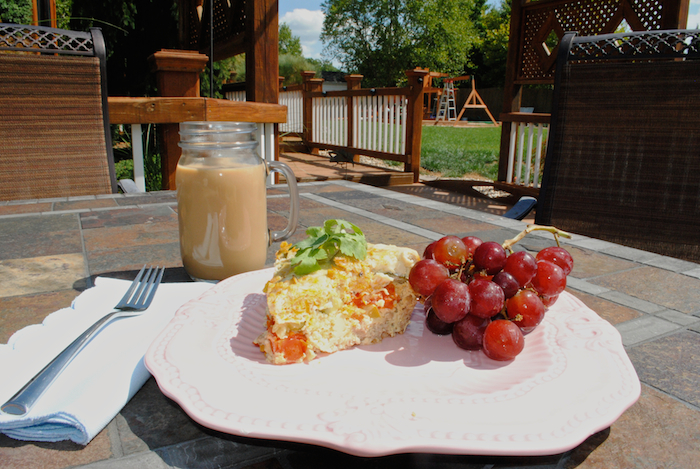
- Cut like a pie or plop big spoonfuls in a bowl and ENJOY!
*Bonus – with this huge crockpot meal, you are set-up for meal prep for your work week 🙂
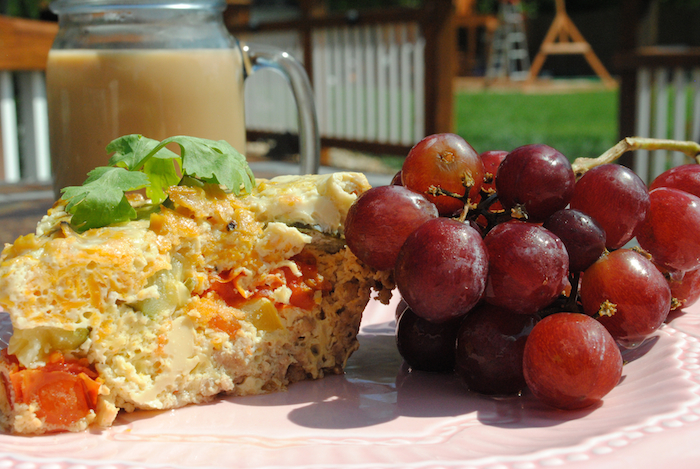
Before – Set your coffee and egg casserole the night before for a yummy easy morning!
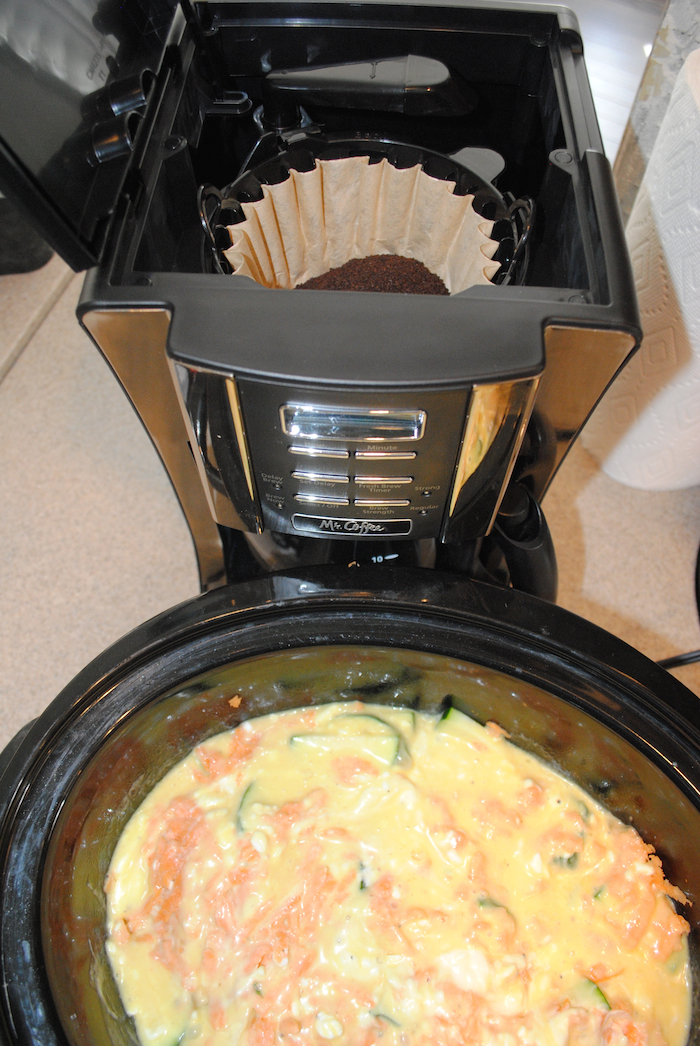
After – How amazing to wake up to freshly made coffee and breakfast already made!

I’m sure all you moms and dads can relate when you pour a hot cup of coffee, but by the time you actually get to it it’s cold. Having a home cooked meal ready for you right when you wake up forces you to take a morning breather and actually sit and relish your coffee and breakfast. All you have to do when you wake-up is sit and sip. Since August is National Coffee Month, I encourage you to take a moment and savor your coffee, because all of us lead busy lives, and sometimes you just need a #MrCoffeeDay!
If you don’t follow Mr.Coffee on social media yet they have great recipes and ideas, especially on how to incorporate coffee in celebration of National Coffee Month. Follow on Facebook, Pinterest (OMG…the Coffee Infused Treat board is pretty much HEAVEN), Instagram (@mrcoffee), and YouTube.
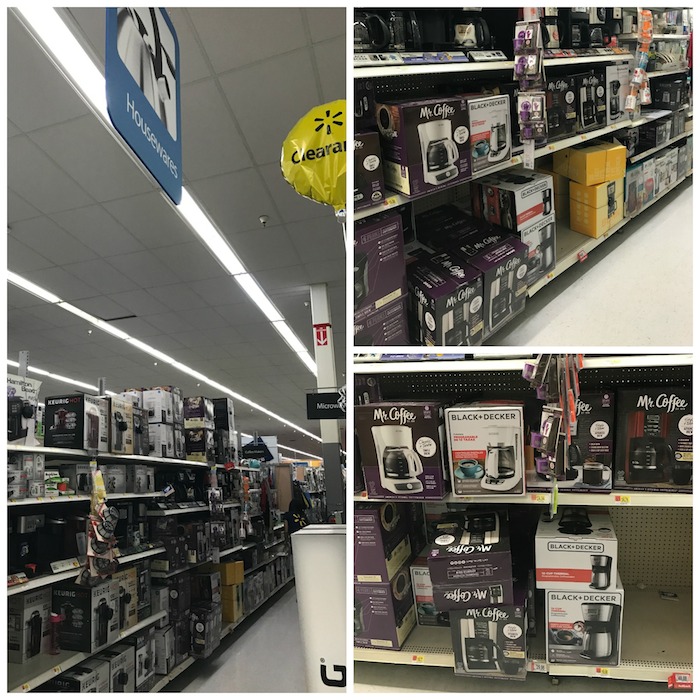
Right now Walmart is offering a a $5 coupon on all Mr. Coffee® Coffeemakers and Espresso Units over $29. Find it in the housewares aisle at your local store. Also, keep a lookout for Mr. Coffee® Product Demo’s at their local Walmart. Having a programmable coffee maker is a lifesaver for a busy mom like me. Go ahead a treat yourself to a fabulous cup of coffee to celebrate National Coffee Month with Mr. Coffee®!
 Pin this recipe for later!



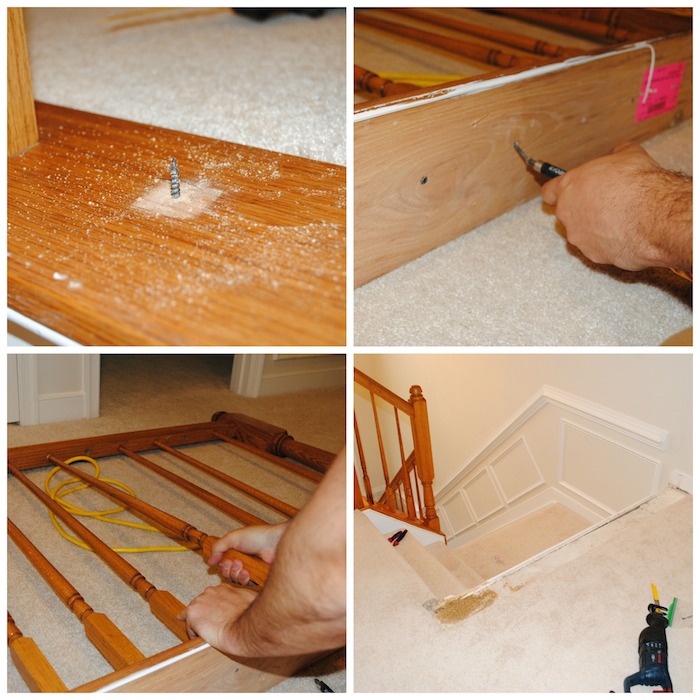
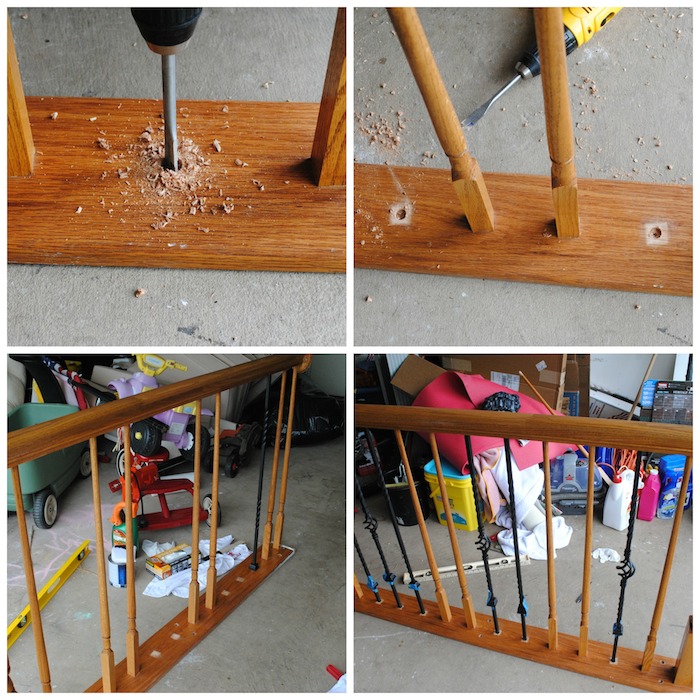
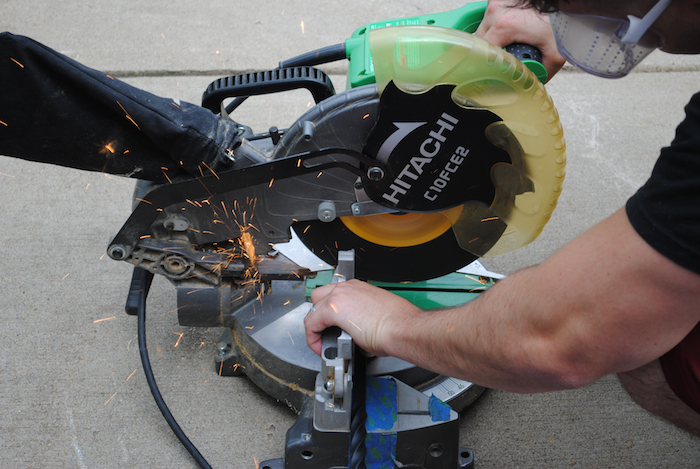
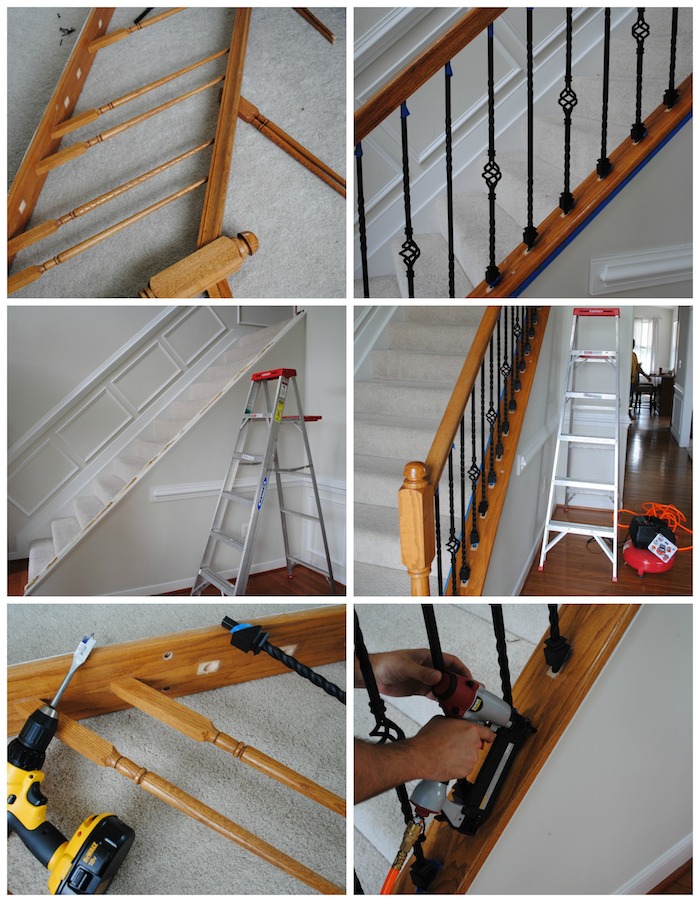
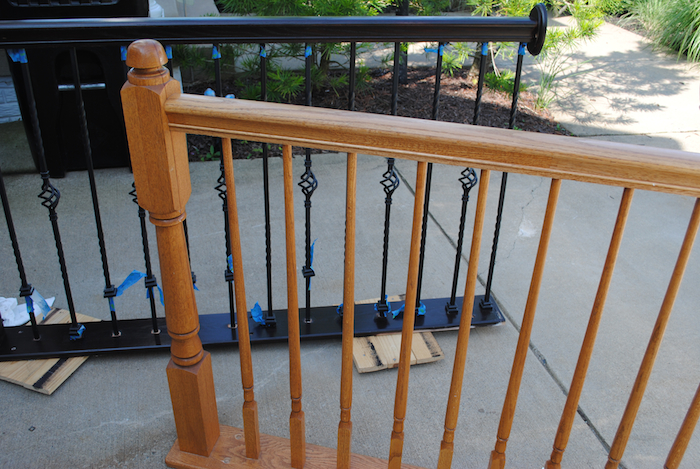
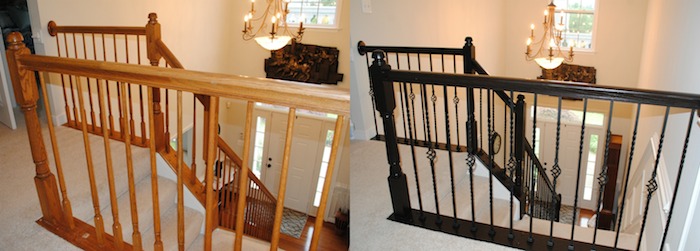
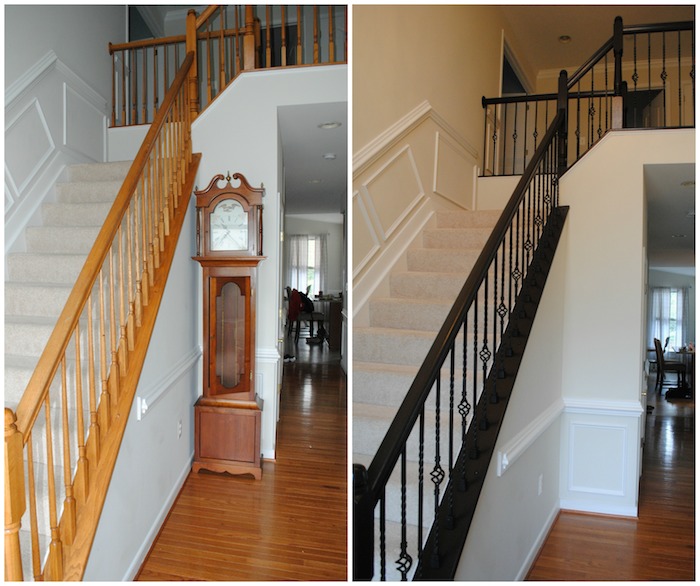
 To start, our friends completed this project successfully and were able to lend some tips…until we found out that our balusters were screwed in from the bottom, which was a HUGE complication that we couldn’t find any guidance on in our YouTube video or blog searches. So, unfortunately the only solution we found was to remove the entire stair sections to unscrew the wooden balusters from the bottom. To do this Willie used a variety of methods (saw, hammering a wedge in-between, nail cutters, etc.) but these little suckers were glued and had finishing nails in them, so this was a huge time sink. The one large piece took him, his dad, and me almost 3 hours to remove! However, if you are lucky like most of the bloggers and DIY videos, your balusters should be “peg-like” in the bottom and just be able to saw through and turn the top and bottom piece out of there holes. This also eliminates and issue of losing levelness, angle of stairway, oh and just the minor detail of securing these babies back on! I won’t get too much in the detail of removing and re-attaching because I pray you won’t have this issue and honestly it’s complete trail-and-error and patience to get these on and off.

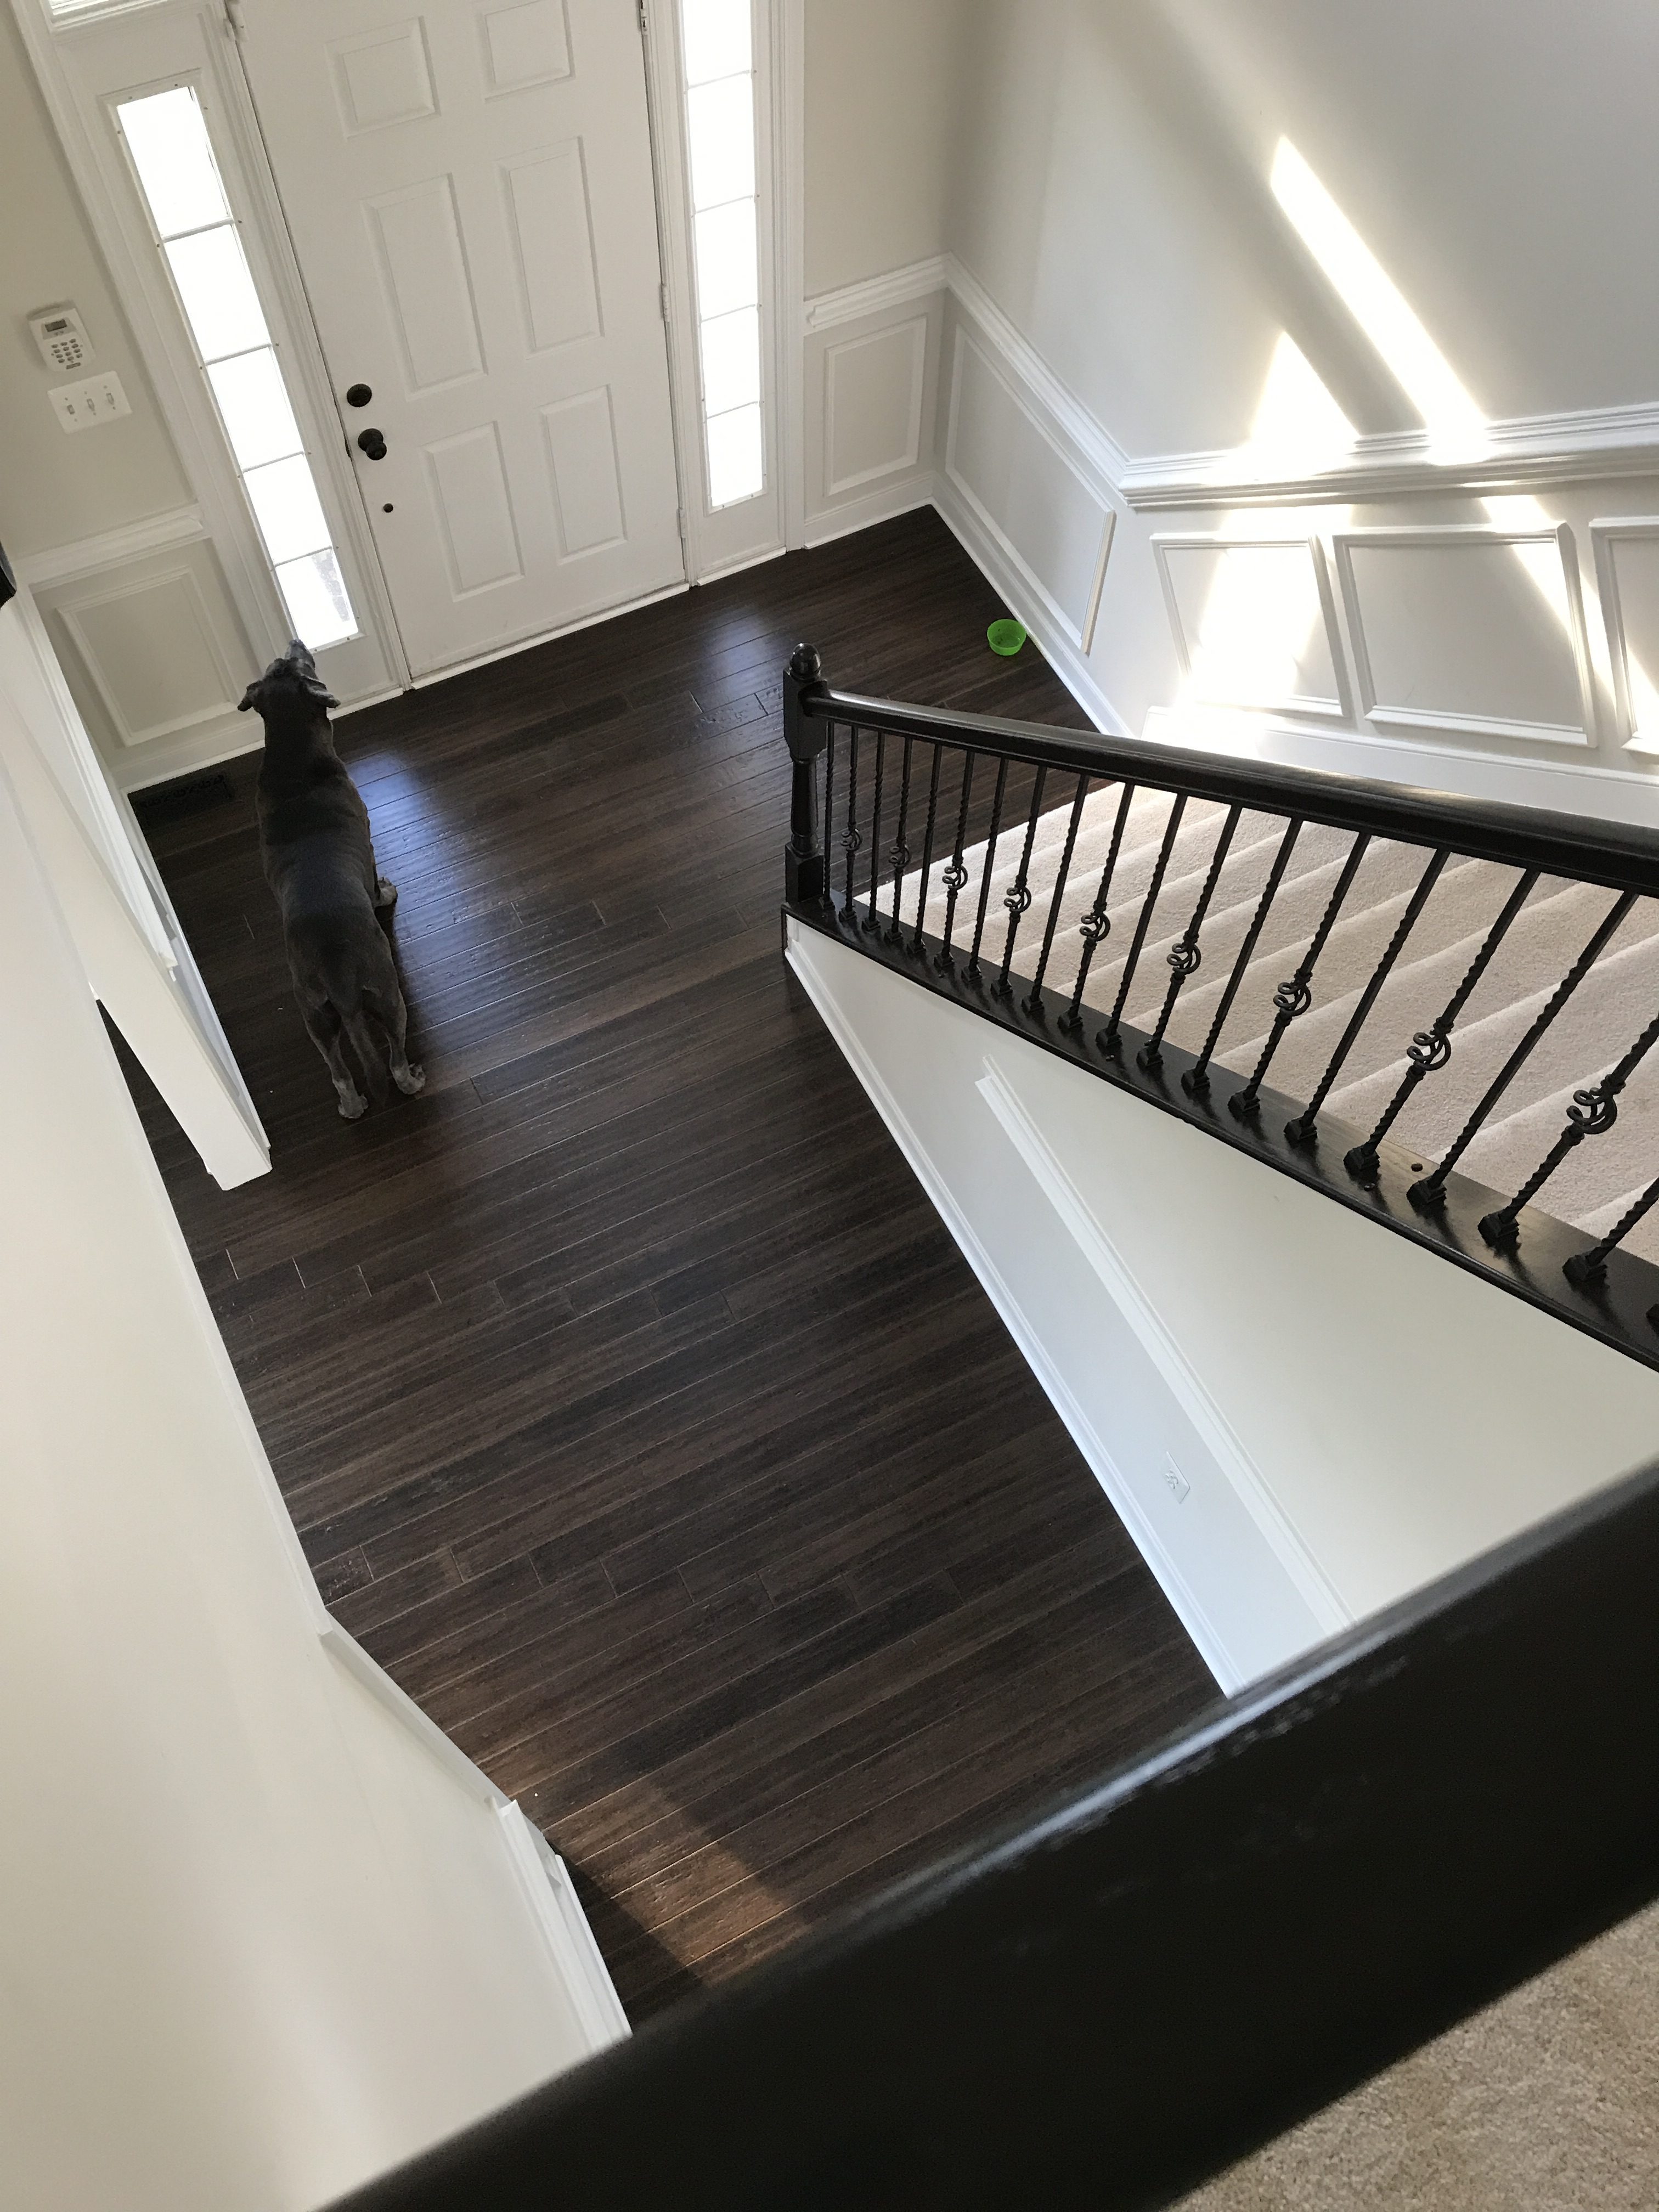
 update with floors!






 Our final stop was a winery. Since it was only 4pm we almost had the entire place to oursleves. It was perfect. We let Hartley play in the outdoor area while we enjoyed a glass of wine watching the horses and enjoying the fabulous pond. The horse LOVED my wine as well!
