Friday, February 3, 2017

Valentine’s Day Giveaway

I’m super excited for my first blog GIVEAWAY!
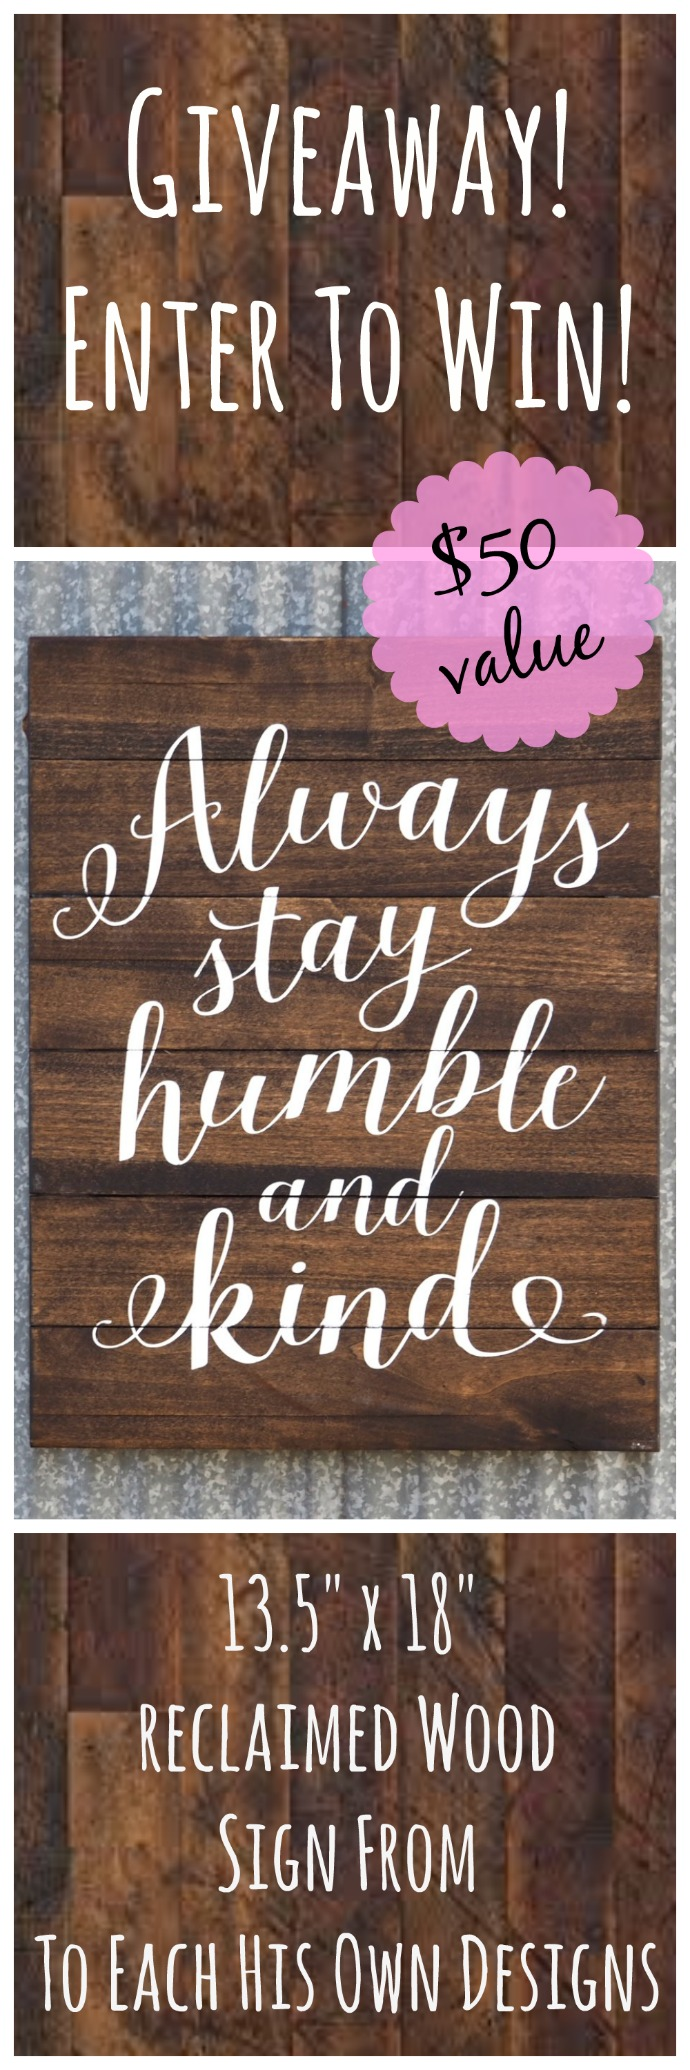
Valentine’s Day has been such a fabulous holiday for me that I want to share the LOVE! The past few months have been extremely harsh on social media, so I thought what better way to remember love, kindness, romance, and friendship then a stunning sign from To Each His Own Designs with one of my favorite Tim McGraw song lyrics. Tim McGraw has been one of my favorite artists ever since I met Willie. Willie really introduced me to country music and won me over my singing Tim McGraw love songs to me in his pimped out old Grand Marquis car he had in high school. Those magical moments with him, I will cherish forever.

I am running out of gift ideas for him, so this Valentine’s Day I’m doing something a little out of his comfort area and treating him to a couples massage. Then planning on happy hour and dinner, so we have a REAL date night without Hartley. It will be so nice to have his full attention and remember our first date that happened on Valentine’s Day 13 years ago!

If you haven’t shopped for Valentine’s Day yet and are in a pinch, this is what I’m loving on Amazon for speedy delivery:

    1. Keepsake Love Quote Box with daily words of love
    2. Art Naturals Aromatherapy Candles with Essential Oils
    3. ArtNaturals Essential Oil Diffuser and Humidifier (built-in bluetooth speaker, alarm & clock)
    4. Starbucks Gift Card or Starbucks Stainless Steel Cold Cup
    5. Amazon Gift Card
    6. Heart Embossed Leather Journal
    7. Watch Box for Men

Here’s How to Enter

  1. Like Loves the Find and visit To Each His Own Designs Facebook pages
  2. Follow me on Instagram and Pinterest
  3. Share this post or Tweet a message!
  4. Click here to sign up for my newsletter (if you haven’t already) to receive updates on future giveaways and lots of new DIY projects and budget living ideas!
  5. Use the Rafflecopter widget below to enter the giveaway with multiple entries. Open to US residents only. The giveaway will run from February 3-10 with the winner announced on Febraury 11, 2017!

a Rafflecopter giveaway

Tuesday, January 10, 2017

DIY French Country Dining Table

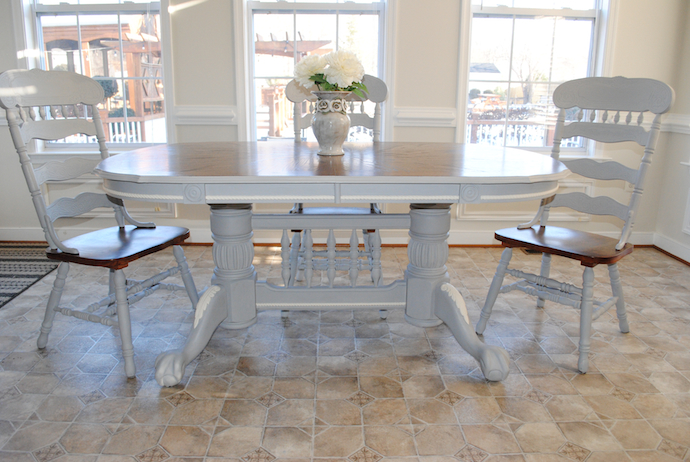
I cannot believe it’s 2017! 2016 was a HUGE year for me. Settling into new work requirements, working on expanding my blog, and the biggest change was selling our first home and buying a new one which was a HUGE process. Having 5 months in our new home, I’m finally getting things into place and able to feel like I can make it my style. I’ve gotten two bathrooms completed, created a media console, cleaned out and mulched the entire yard, in the process of creating an adorable “big girl” room for Hartley (ekkk I cannot wait to share), and finding this beautiful claw footed table to refinish. For years I’ve dreamt of finding a table like this and was super jealous when one of my beasties inherited one and refinished it into a stunning piece in her home. But just one lucky trip to the Habitat for Humanity I found one for myself. It was love at first site. There was no way I was going to leave the store without this table being mine. Can you believe the table was only $60 and the 3 chairs were $20 a piece = $120 for an antique dining set!
 
I will say this table took me a lot longer than I had hoped. With social calendars, work travel and getting ready for the holidays I found the only time to work on it was after getting Hartley to bed. So a few very late nights, frustration, and guilting Willie into helping…it’s FINALLY done!
The Steps:
  1. Sanding table top and chair seats
  2. Staining table top and chair seats
  3. Matte Poly table top and chair seats (2 coats)
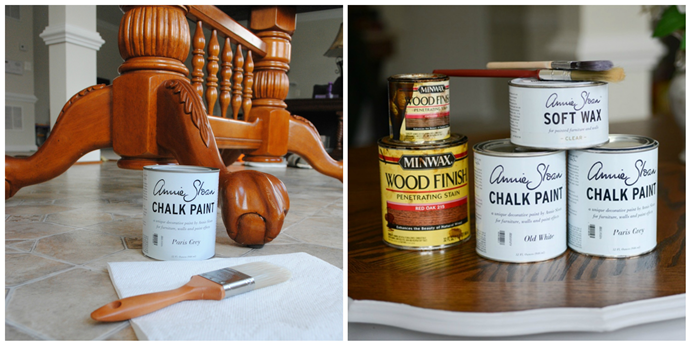
  4. Chalk Paint (Annie Solan Paris Grey) table and chairs (2 coats)
  5. Chalk Paint (Annie Solan Old White) table accents (2 coats)

What I used:

  1. Orbit Sander
  2. For orbirtal sander I started with 120-Grit Sandpaper then did a overpass with 220 Grit Sandpaper
  3. Sanding Sponge 120-Grit, Fine for around the chair spindles
  4. Annie Sloan Chalk Paint in Paris Grey and Old White
  5. Annie Sloan Wax
  6. Regular Paint Brushes for paint
  7. Trim Brush and Art Brushes for the detail
  8. Painters Tape
  9. MiniWax Stain (I mixed Expresso and Red Oak)
  10. Staining Rags
  11. Satin Polyurethane
  12. Foam Brush for Poly

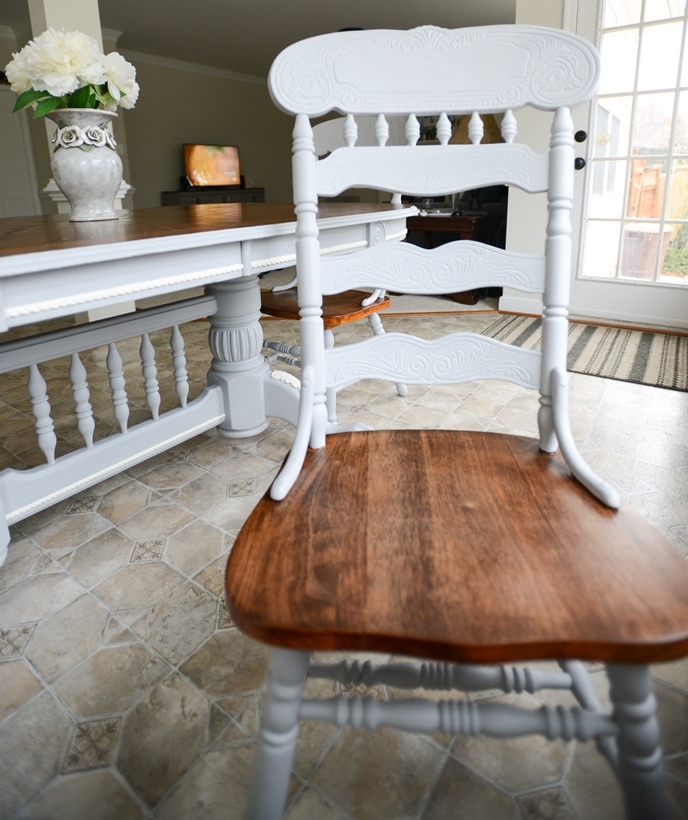
The details are just fabulous! For adding the white detail paint I used small art brushes, tape, and a trim brush. I tried covering all the areas I wanted white even if it meant going into the grey a little because the final step was to use an angled trim brush and carfully follow the lines with the grey paint to cover and white overflow on the detail sections.

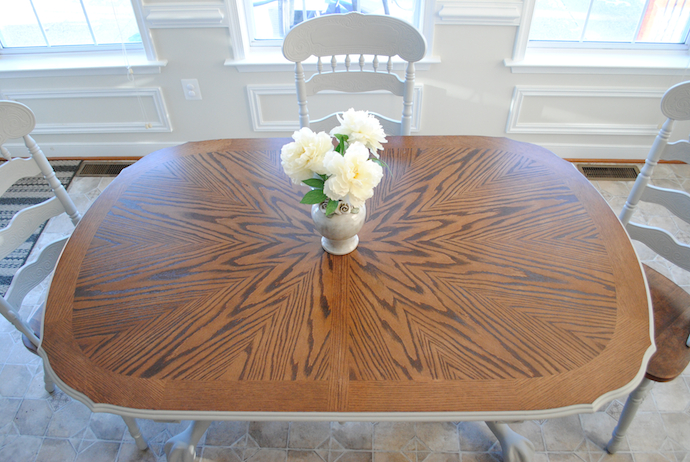
I am in LOVE with the end results and the stained top pattern is STUNNING!
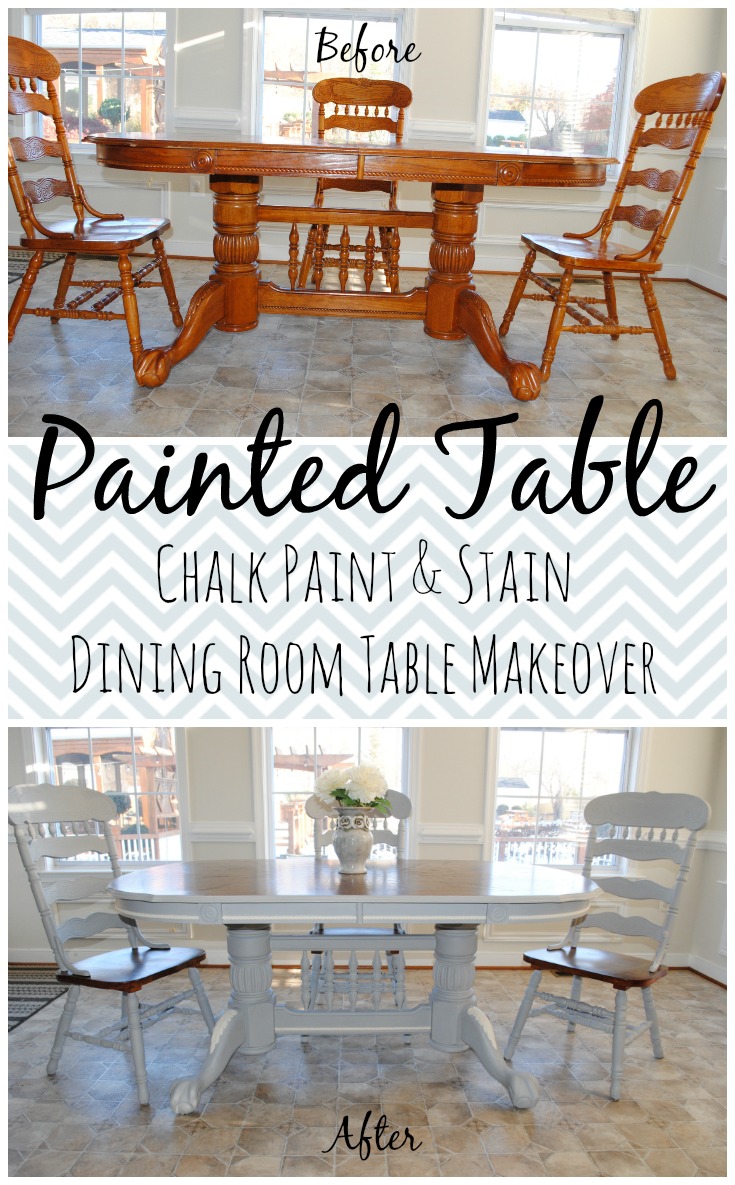
Before and After:


Monday, November 21, 2016

cheap and easy thanksgiving table

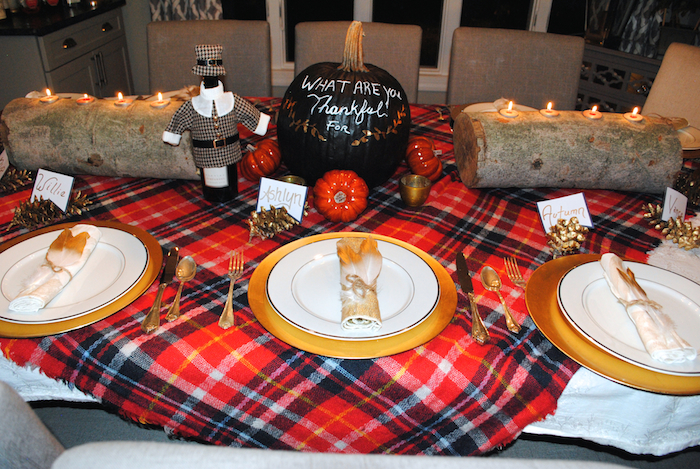
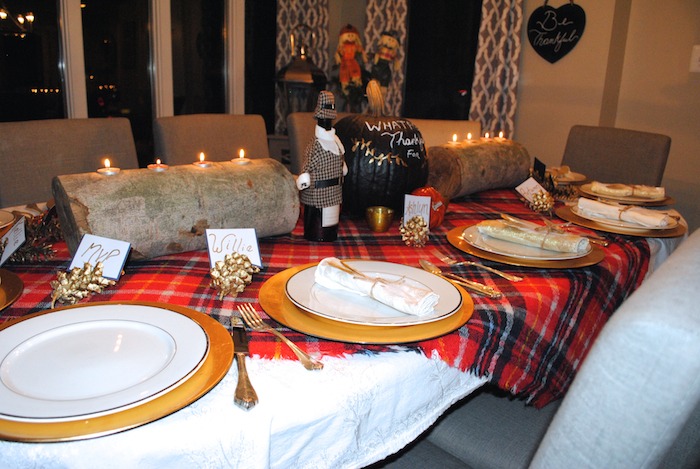
I cannot believe it’s Thanksgiving week already! This weekend we had the pleasure of attending two fabulous Friendsgivings with the most amazing food and decor. I took charge of our Friday night Friendsgiving decorations by re-purposing a Halloween pumpkin, finding napkins from the thrift store, and creating super simple table accents. These are perfect ideas if you are on a budget but want your guests to feel extra special or just if you are short on time and need some cute finishing touches in a pinch.

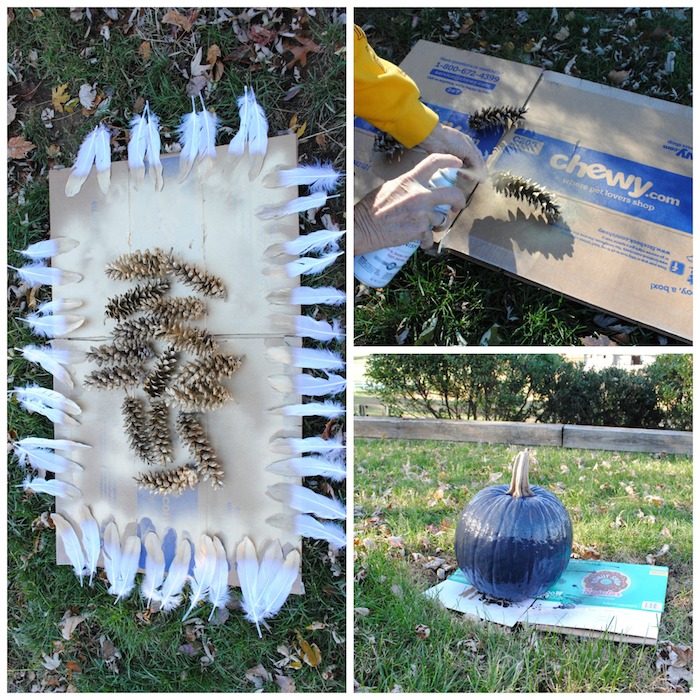
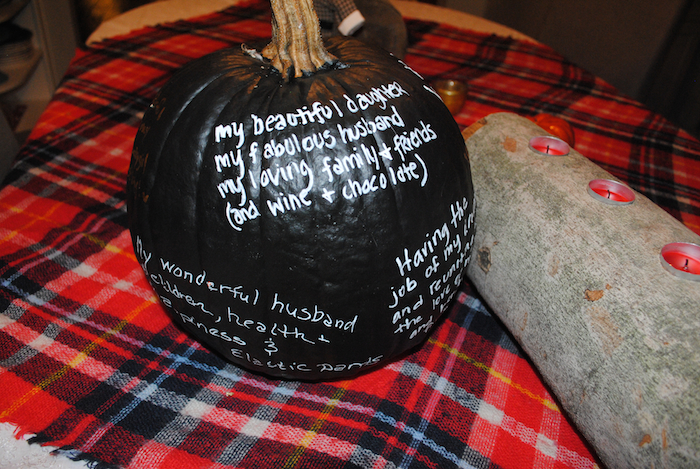
Leftover Halloween Pumpkin = What Are You Thankful For? Centerpiece 

What you will need:

  • Pumpkin
  • Chalkpaint (I got a quart in the paint clearance section of Lowes for $5)
  • Cheap paint brush
  • Chalk Markers(We used gold and white)
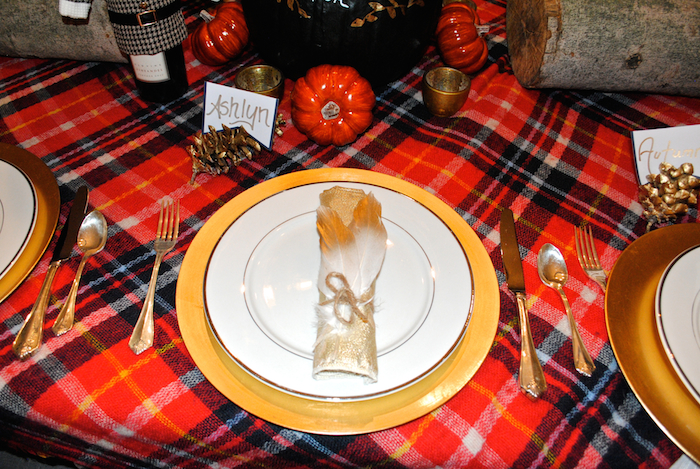
Gold painted feathers and pinecones

What you will need:

  • Pinecones (nothing better than free and it made me giggle since we tricked the two toddlers into a game of pinecone pick-up)
  • White Feathers(I got two bags for $4)
  • Gold spray paint
  • Cardboard to spray on
  • Twine
  • The feathers we used as napkins rings with twine
  • The pinecones we used as seating assignments by just cutting some cheap greeting cards in half and using a marker to write everyones name


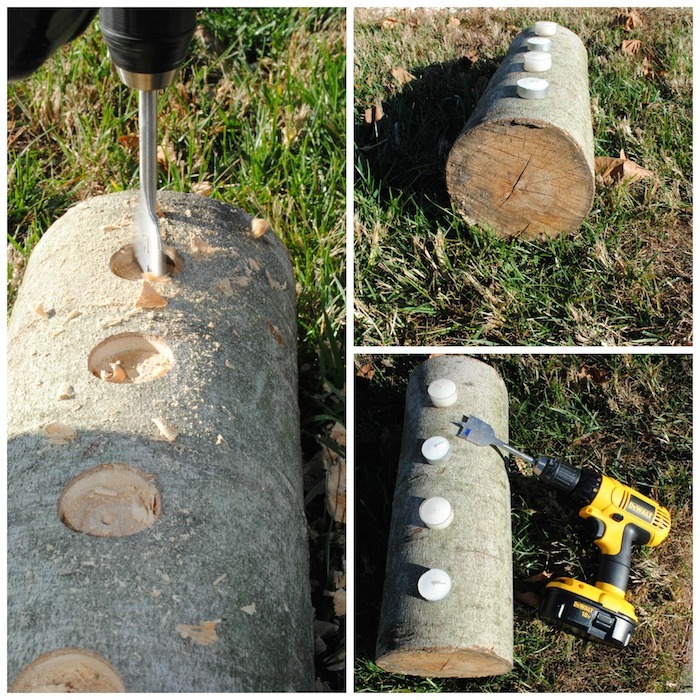
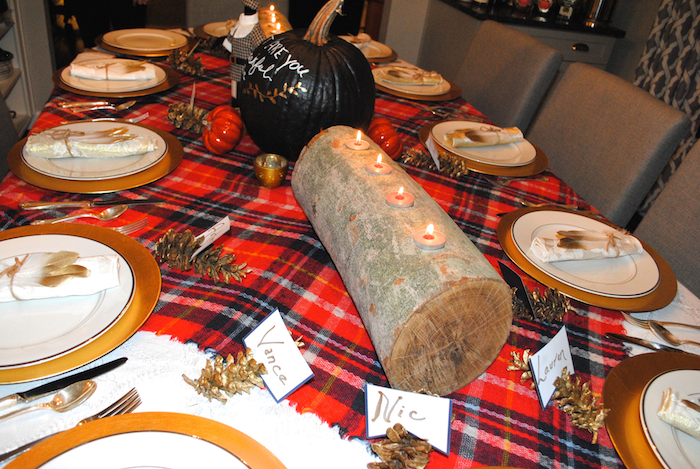
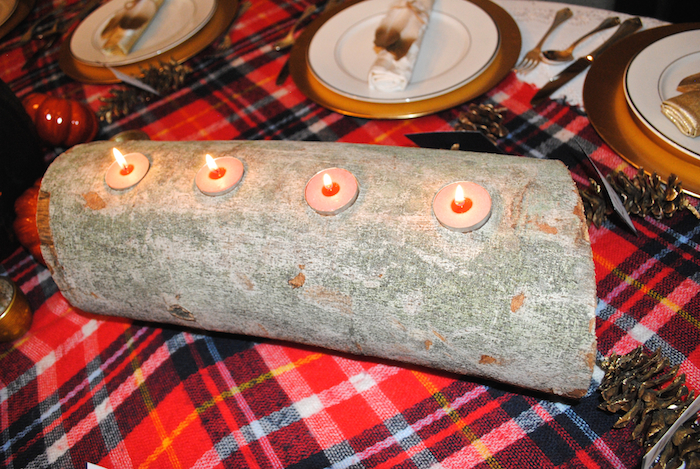
Chopped Firewood = Unique Lighting 

What you will need:

Table setting (side note- this table is a Habitat for Humanity find too! $40!)
What you will need:

  • Tablecloth (we used a white tablecloth she already had and used a plaid blanket scarfto add a little color and drama – always think of what you have before you buy and multi-purpose uses)
  • China & Flatware
  • Charger Plates(we had these available to us as wedding leftovers but if you don’t have them, look for used ones or create fun placemats with kraft paper or another fabric choice)
  • Napkins (can you believe I got 10 cloth napkins at the thrift store for $4.50!!)
  • Extras – I bought 4 mini pumpkins and we had a little pilgram wine man

Friday, October 28, 2016

DIY rustic industrial pipe toilet paper holder

This shop has been compensated by Collective Bias, Inc. and its
advertiser. All opinions are mine alone. #TubeFree #CollectiveBias

As you may know from some of my more recent Instagram posts,
I’ve challenged myself to a 30 day mind, body, spirit overhaul during the month
of October. I was feeling run down and becoming aware of what I was fueling my
body with and the products I was using throughout my home. I was on a mission
to transform my way of living and to be more conscience of my actions that not
only affected me and my peers but also the environment. Which brings me to Scott®
Tube-Free Bath Tissue!

Did you that over 17 billion toilet paper tubes are used
each year? That’s enough to fill the Empire State Building…twice!! Per YEAR!  Scott Tube Free delivers unscented premium
softness, without the wasteful cardboard tube. It’s also made with Forest
Stewardship Council (FSC) – certified fibers which promotes the practice of
sustainable forestry for future generations.

As a budget DIY and lifestyle blog I am very in-tune with
less waste and living a more eco-friendly life. Focusing on buying used to
lessen our carbon footprint and recycle already made products decreases
unwanted waste and the demand for new manufacturing. To store or display your tube-free toilet paper in your bathroom, think of using items from second-hand
markets. Using finds from these
markets and transforming them into something beautiful is upcycle friendly!
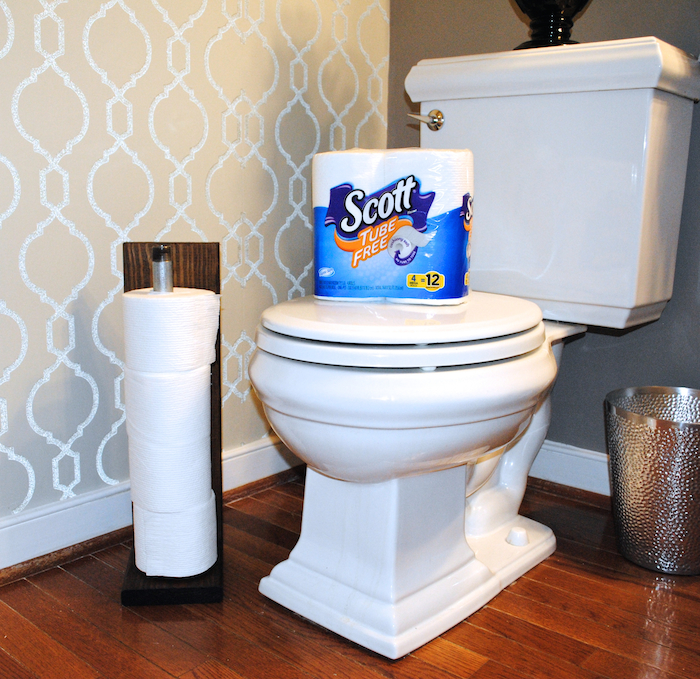
Some starter ideas of what you can use are baskets, buckets, crates, vases, laterns, candle holders, or magazine racks. You can also use leftover wood from projects to create a fun family-friendly DIY industrial pipe toilet paper holder, just like this one!

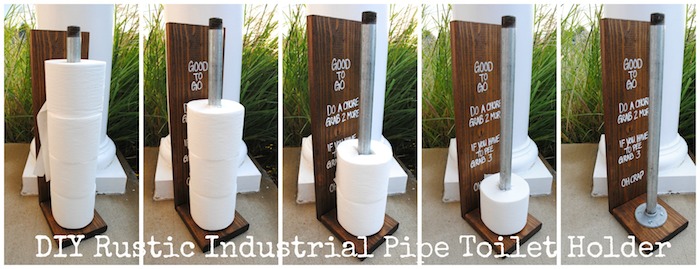
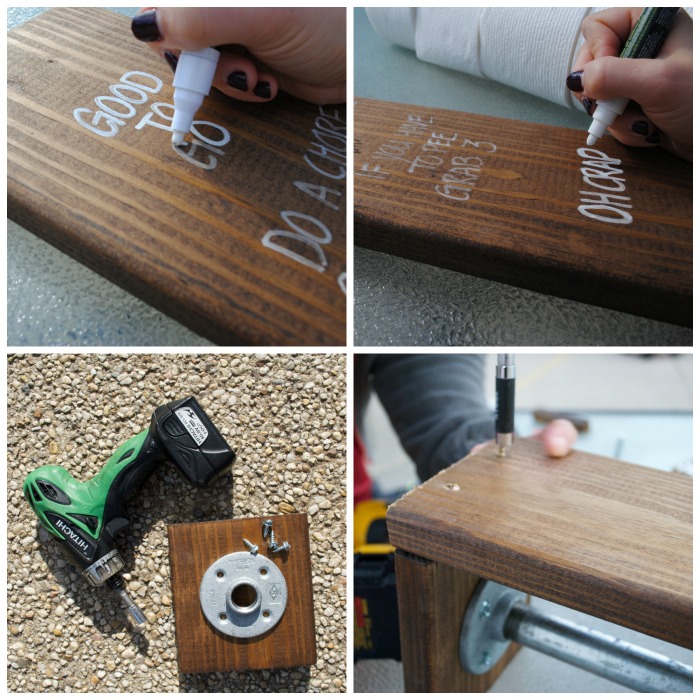
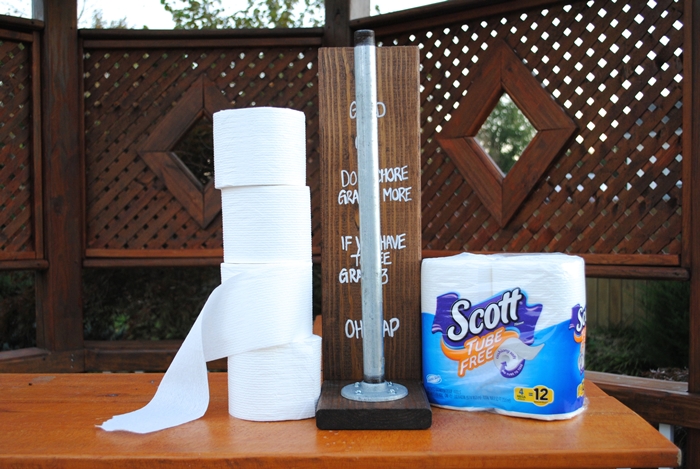
This toilet paper storage option is fabulous for a kid’s bathroom with the fun sayings (you can also make this without the sayings for more of a industrial/chic look in your bathroom). Here are the simple details on how to make one of your own:

Supplies:
  1. Wood board (I used a leftover 1″x6″ board)
  2. Pen or Pencil
  3. Tape Measurer
  4. Stain (I used leftover miniwax red oak)
  5. Staining Rag and Rubber Gloves
  6. Sand Paper or Sanding Sponge
  7. Galvanized Pipe (3/4″X18″long)
  8. Galvanized Floor Flange (3/4″)
  9. 6 screws (I used 4 hexagoal screws for the flange attachment and 2 regular 1″ screws for the backing)
  10. Mitter Saw
  11. Screwdriver
  12. Optional – paint pen
Directions:
  1. Cut the wood – base was cut to 6″ and the stand was cut to 19″
  2. Sand the cut edges of the wood
  3. Stain the wood
  4. Optional – Measure even spacing to write sayings:
    • Top – “Good to Go”
    • Second – “Do A Chore Grab 2 More”
    • Thrid – “If You Have To Pee Grab 3”
    • Fourth – “Oh Crap”
  5. Attach flange to wood base with screws
  6. Screw on pipe to flange
  7. Attach wood backing to wood/pipe base with screws

Using the tube free roll is just the same as it fits and simply
rolls on common toilet paper holders and storage options, like the one I
created!

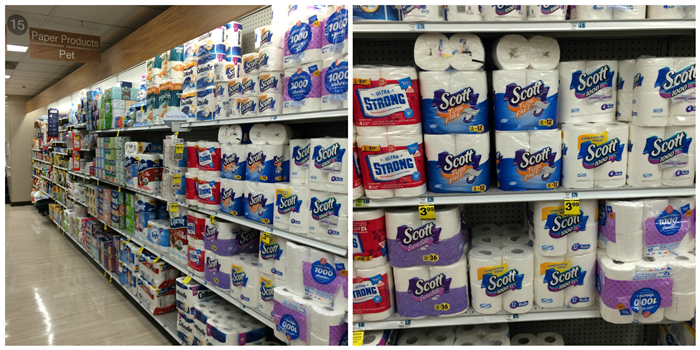
Lucky for me I am blessed with a Rite Aid right below my work building which is super convenient for quick necessity shopping. It also gets me in trouble because they always have great sales that I go in for one or two things and end up with a huge shopping bag I have to commute home with!

Toss the tube for good! Go tube free!