Sunday, November 1, 2015

Chalk Painted Shabby Chic Dresser Reveal!

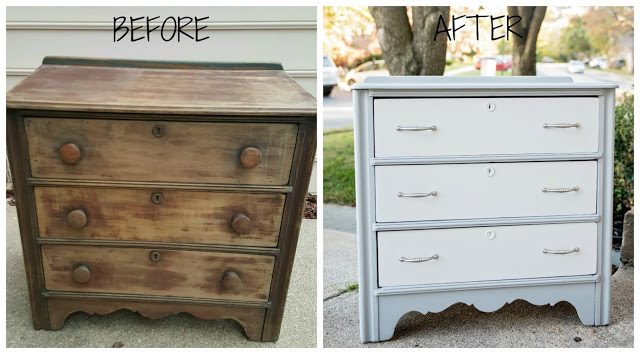
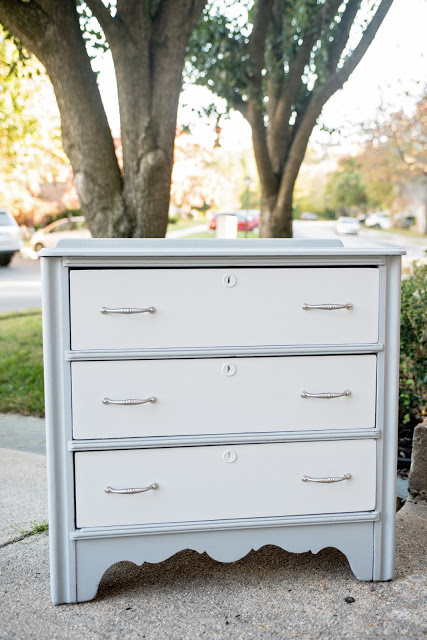
So the reveal is HERE! I am so excited about how this
dresser turned out!!

This beautiful family hand-me-down was in desperate need of
a makeover. My bestie, Kimberly, is totally glam, chic and perfect. So when she
asked me how to restore her grandparent’s dresser, I was totally up for the
challenge! She is now a true believer that old things can be just as good as
new 🙂 She
was thrilled with the results and I’m so excited she loves it in her home.

Here is a step by step guide on creating a masterpiece dresser
of your own!
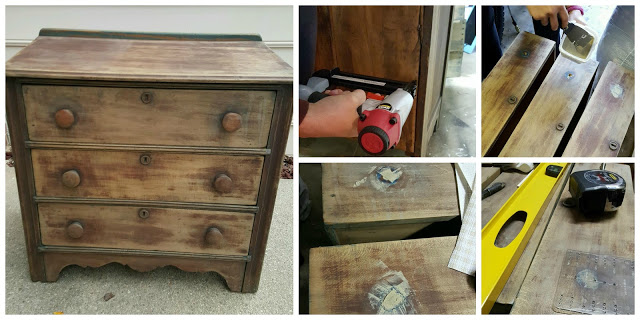
  1. Start by examining your piece. Make it sturdy (this piece needed a little reinforcement on the backing with some nails) and sand any chipping paint.
  2. Remove handles and drawers. Give the drawers a thorough wipe down inside and out.
  3. If you want a different style handle (for this one we went from a centered one handle to a two hole handle), use wood filler and let sit overnight. Once cured, sand so you cannot feel the bumps and the surface is smooth. Then measure the new holes (we have this amazing tool). Drill the newly measured holes. Lastly, wipe you drawers down again to remove any dust. *These silver handles were a great find at my local Habitat of Humanity for $0.50 each!*
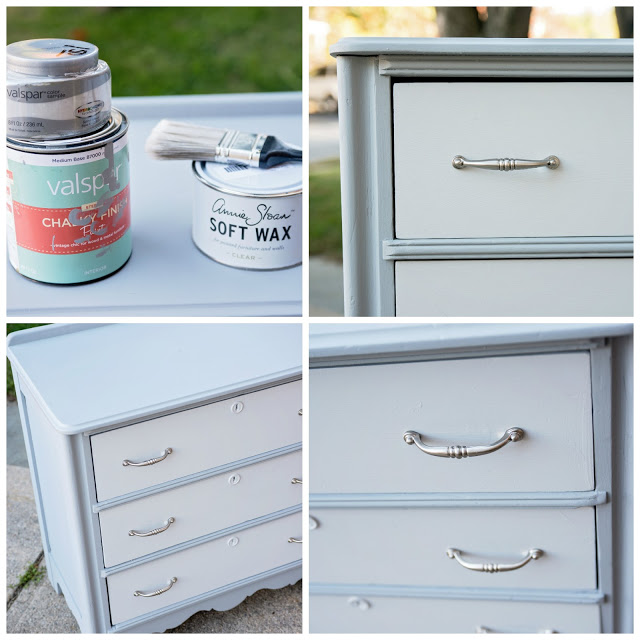
  4. Start painting. You don’t have to have an expensive brush, just use something with long flexible (not too floppy) natural bristles or a flat brush for smoother look. See my post also about comparing chalk paints here.
  5. We used Valspar chalky finish paint from Lowe’s for the main body of the dresser (the darker grey). Although Valspar advertises 40 tintable colors, our Lowe’s was able to match a grey that Kimberly LOVED called Metropolis (tinted off the medium base). Then we just happened to be lucky enough to find 2 Valspar sample pots (just regular paint) of a light grey for the drawers.
  6. I painted the body of the dresser and the inside of the drawers using the Valspar chalky finish paint. (2 coats with 24 hours drying time in between coats)
  7. Then I made my own chalk paint for the outside of the drawers (2 coats with 24 hours drying time in between coats). Recipe upcoming 🙂
  8. Once completely painted and 24 hours have passed from your final coat, it is time to wax. If you prefer not to have the sheen leave it off, but I do think it’s an important step for the durability of your piece. I used Annie Sloan since I had leftover from my Shabby Chic dining table.
  9. Screw and handles and replace drawers into their place and DONE!

Ahh it turned out so amazing!! Wish I could have stolen it from her 🙂

Saturday, October 17, 2015

Pallet Coat Racks

The cold weather is officially upon us! We made these this summer with some free pallet wood and old coat hooks we found in our garage, and now is the perfect time to get them hung in our home.

These couldn’t be simpler, just use two pieces of pallet wood to make the base and then cut one piece of pallet into 2 or 3 small pieces to fit the vertically up the backside as your anchor and nail into the back. Find some hook eyes and screw those in so you can hang the rack. Then screw in your coat hooks however you want them spaced. And viola a pallet coat rack! So cheap and easy, have fun creating one of your own!

Monday, October 5, 2015

Statement Wedding Signage

This year has been full of bridal showers, bachelorettes,
and weddings! Willie and I have had a total of six weddings to attend (plus a
wedding reception for an elopement in St. Thomas). It was an absolute joy to celebrate
these amazing couples and wish them a lifetime of happiness.

My friends are also the best wedding decorators on earth! I totally need another wedding from all the ideas I’ve gotten this year. Metallic was huge this year, especially the use of gold accents. Two of my favorite uses were of course from repurposed frames.

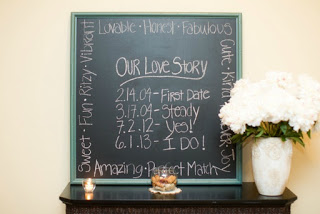
 A little history on this first repurposed frame…This was my grandmother’s frame that used
to host a huge collage of family photos in her home. When she passed I drove
all of her belongings (including this frame) from Florida to Virginia. I
removed all the photos for safekeeping  and
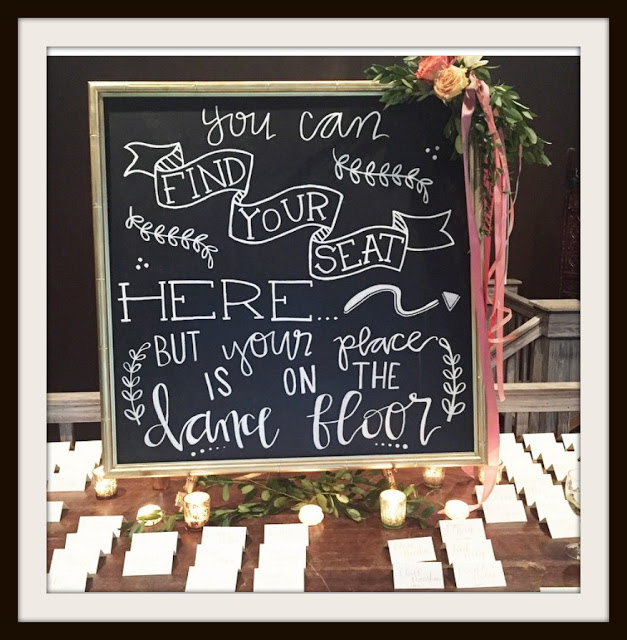
painted the backboard using chalkboard paint. I had left it the original teal color until the recent bridal shower for Nicole (my other gold bride) where I just used gold spray paint to give it a little facelift and match her color theme. This frame has served so many purposes including my wedding, my baby shower, two bridal showers, and of course Kelly’s wedding.

My friend Kelly created the most perfect wedding out of a southern magazine and I was so honored she used a little piece of me in her decorations. Her cousin is an absolute amazing artist and created this one of a kind sign for the guest seating assignments. Kelly’s vision for the entire wedding was absolute PERFECTION. The stunning bride (and handsome groom) really treated their guests to an amazing party too!

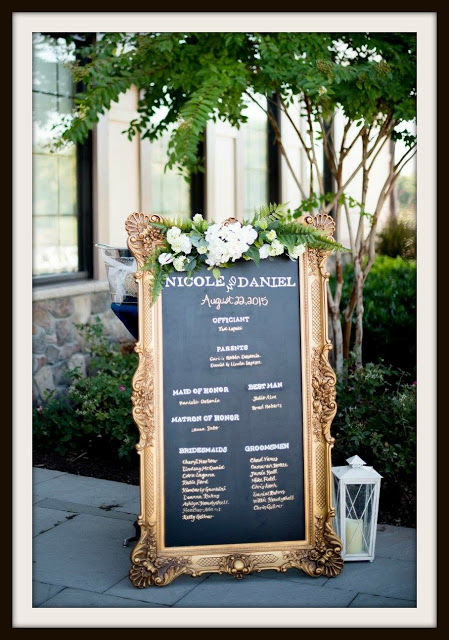
The second gold frame was a spectacular find as well! Nicole
is the most amazing person with the absolute perfect style, so I knew that her
wedding would be nothing less than 100% perfection…and it was. All of the
little details Nicole included were flawless and with almost all of them
borrowed, secondhand, or handmade, she really delivered detail on a budget.  Nicole bought this frame from another bride
that found this at the thrift store for $30!! If you could see this frame in
person, it’s giant! So for $30 already chalk painted from another bride’s craftiness,
it was a steal!! 

So if you are in the market to glam up your wedding with
some metallic signage…scout your local thrift store or yard sales and repurpose a large frame with some spray paint and chalkboard paint…viola beautiful DIY wedding signage!

Friday, September 18, 2015

Easy Housewarming Gift

A personalized wreath is the perfect housewarming gift for a newly married
couple who just but their first house together. I gave this to my friends and
on moving day the proudly displayed their new initial on the front door and
helped mark this new chapter and transition into married life. This is something
that won’t cost you much but will have a huge meaning behind it.
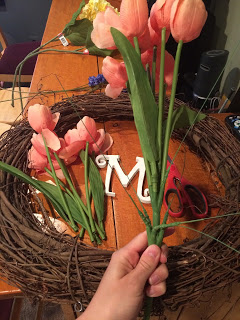
All you need is a wooden wreath, artificial flowers,
scissors, hot glue, and an wooden initial. I’ve also seen this project done with house numbers or
other items that you can personalize for different occasions.  I also included a wreath hanger so it was a
complete set, but that is up to you! Don’t forget to coupon cut for savings!
Everything is always on sale at craft stores.
Didn’t it turn out great?

I also made one for our front door. I am actually going this weekend to pick out some fall colored flowers to replace the Spring motif. The great thing about the wooden wreath is you can change it with the seasons! Great investment!
And here is another version that my friend made. How amazing is her farmhouse red door!! Love it!! You really cannot go wrong with decorating these wreaths. Use your imagination! 
Have fun crafting!