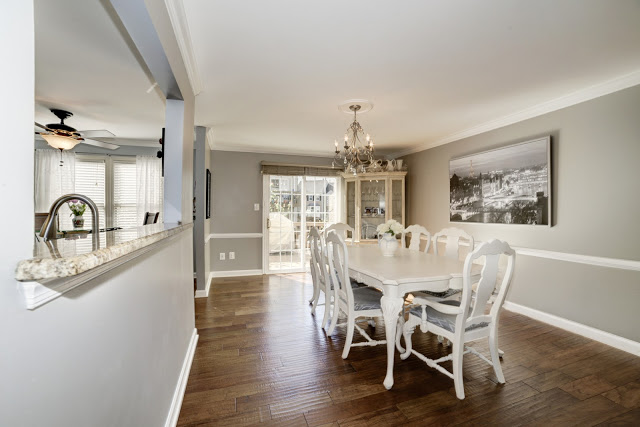
So the Craigslist ad worked and I had to say goodbye my inherited
70’s black lacquer table that I reupholstered and brought back to life three
years ago. I get a little emotional about furniture and it was hard to give up,
but I knew I wanted something different, something glam, something that oozed
shabby chic and I think I achieved that with my new crisp chalk painted antique
table!
years of competing horses. We have such a strong bond that was fostered by our
love and devotion to our horses. Even though most of us are out of the sport,
we still get together for parties, wine nights, and do practically everything
together. I cherish the moments with these wonderful women because I know they
will always be there to support and love me. Thanks ladies!
mentioned she was trying to sell her dining table on Craigslist. I immediately popped
up from the couch and exclaimed “I want it”. I ran over an inspected the table. With all
the joyful experiences the table witnessed over the years it had minor dents
and scratches, which made it a perfect candidate for the Annie Sloan Chalk
Paint.
townhouse and I was ready to paint.
DIY time…
location close to you. I pick Old White with the clear wax. http://www.anniesloan.com/acatalog/North_American_Stockists.html.
I found mine at a great store in Falls Church, VA called Stylish Patina. Chalk
Paint is a little pricy, but it goes A VERY LONG WAY! I did the whole dining
set with just 1 can!!! It’s also so worth it not having to sand or prime! Follow
labeled directions for painting and waxing your piece. I didn’t use the Annie
Sloan paint brush (way too expensive). If you have a Harbor Freight near you or
something similar just buy their medium grade brushes. They work perfectly and
for half the price. We bought 10 brushes for $15.
For the chairs I had a really hard time finding a budget
friendly fabric I liked. Willie thought of a great idea to go to HomeGoods and use
curtain fabric. We bought two 40” x 84” curtain panels for $19.99 compared to
the $80 I would have spent at a fabric store was such a great budget saving
option! Getting the old fabric off is the hard part, but then very easy process
to measure, cut, and staple the new fabric on.
Last touch to my new dining room was getting rid of the
hideous ceiling fan and replacing it with a chandelier and ceiling medallion.
Props to my amazing husband who surprises me every day with his handyman
abilities!
it as much as I do!! I’m so ecstatic to share new family memories at this
table. I can only hope it brings as much togetherness as it did for the VP
Family.
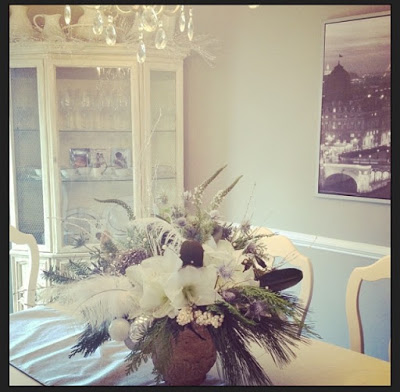
My awesome table at Christmas with a stunning floral display from a very talented friend.
