Thursday, October 25, 2018

Coffee Table Makeover

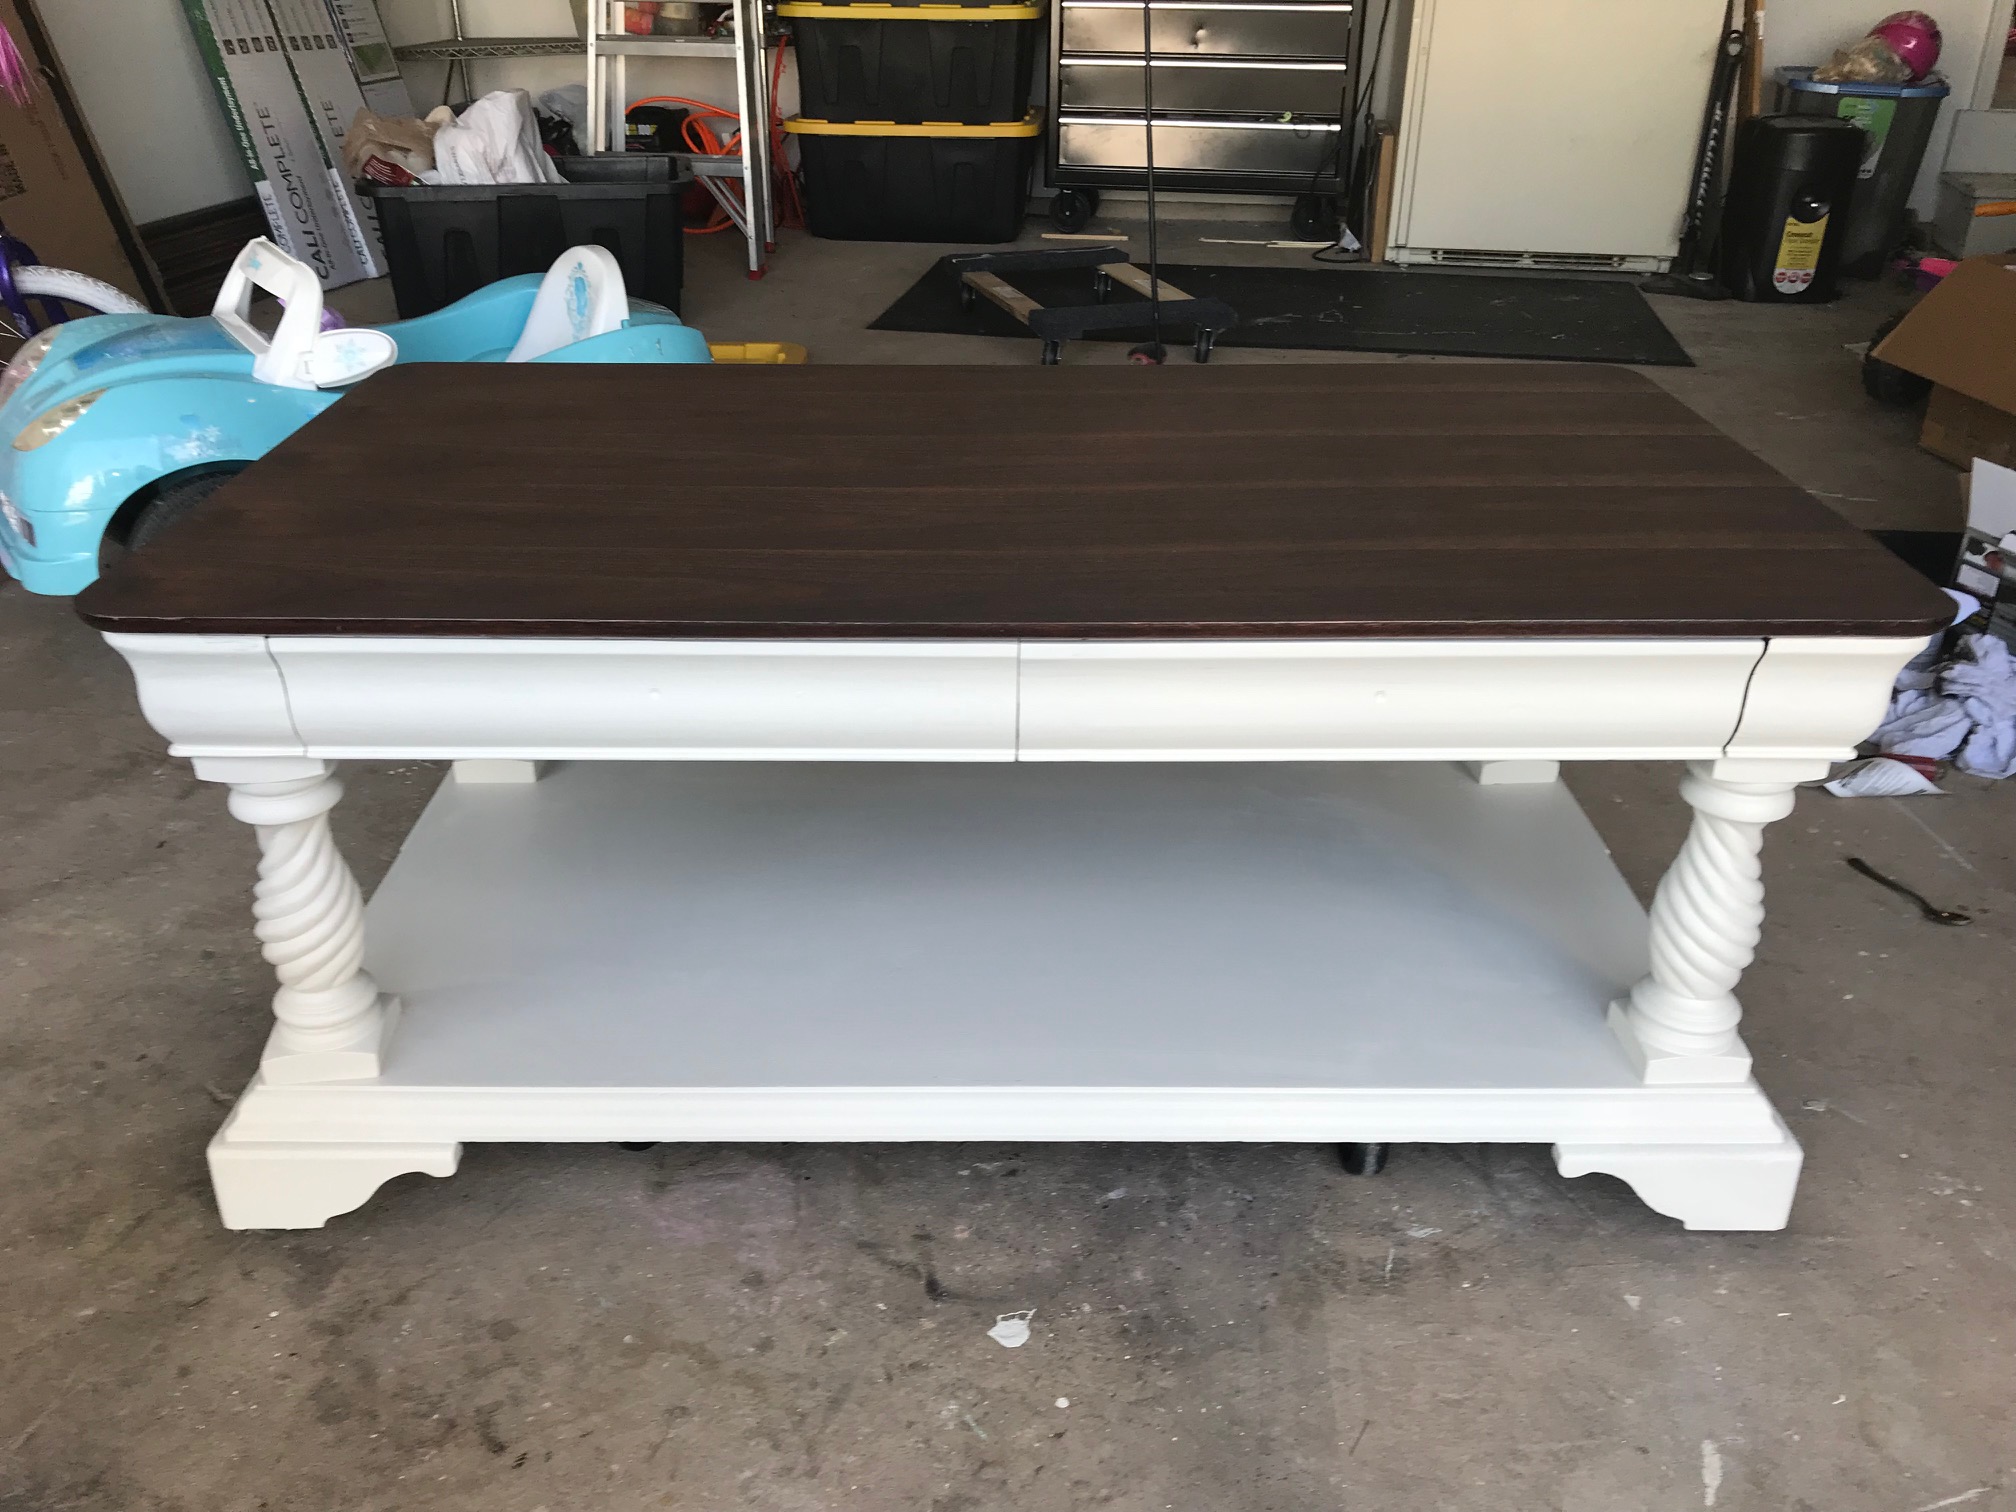
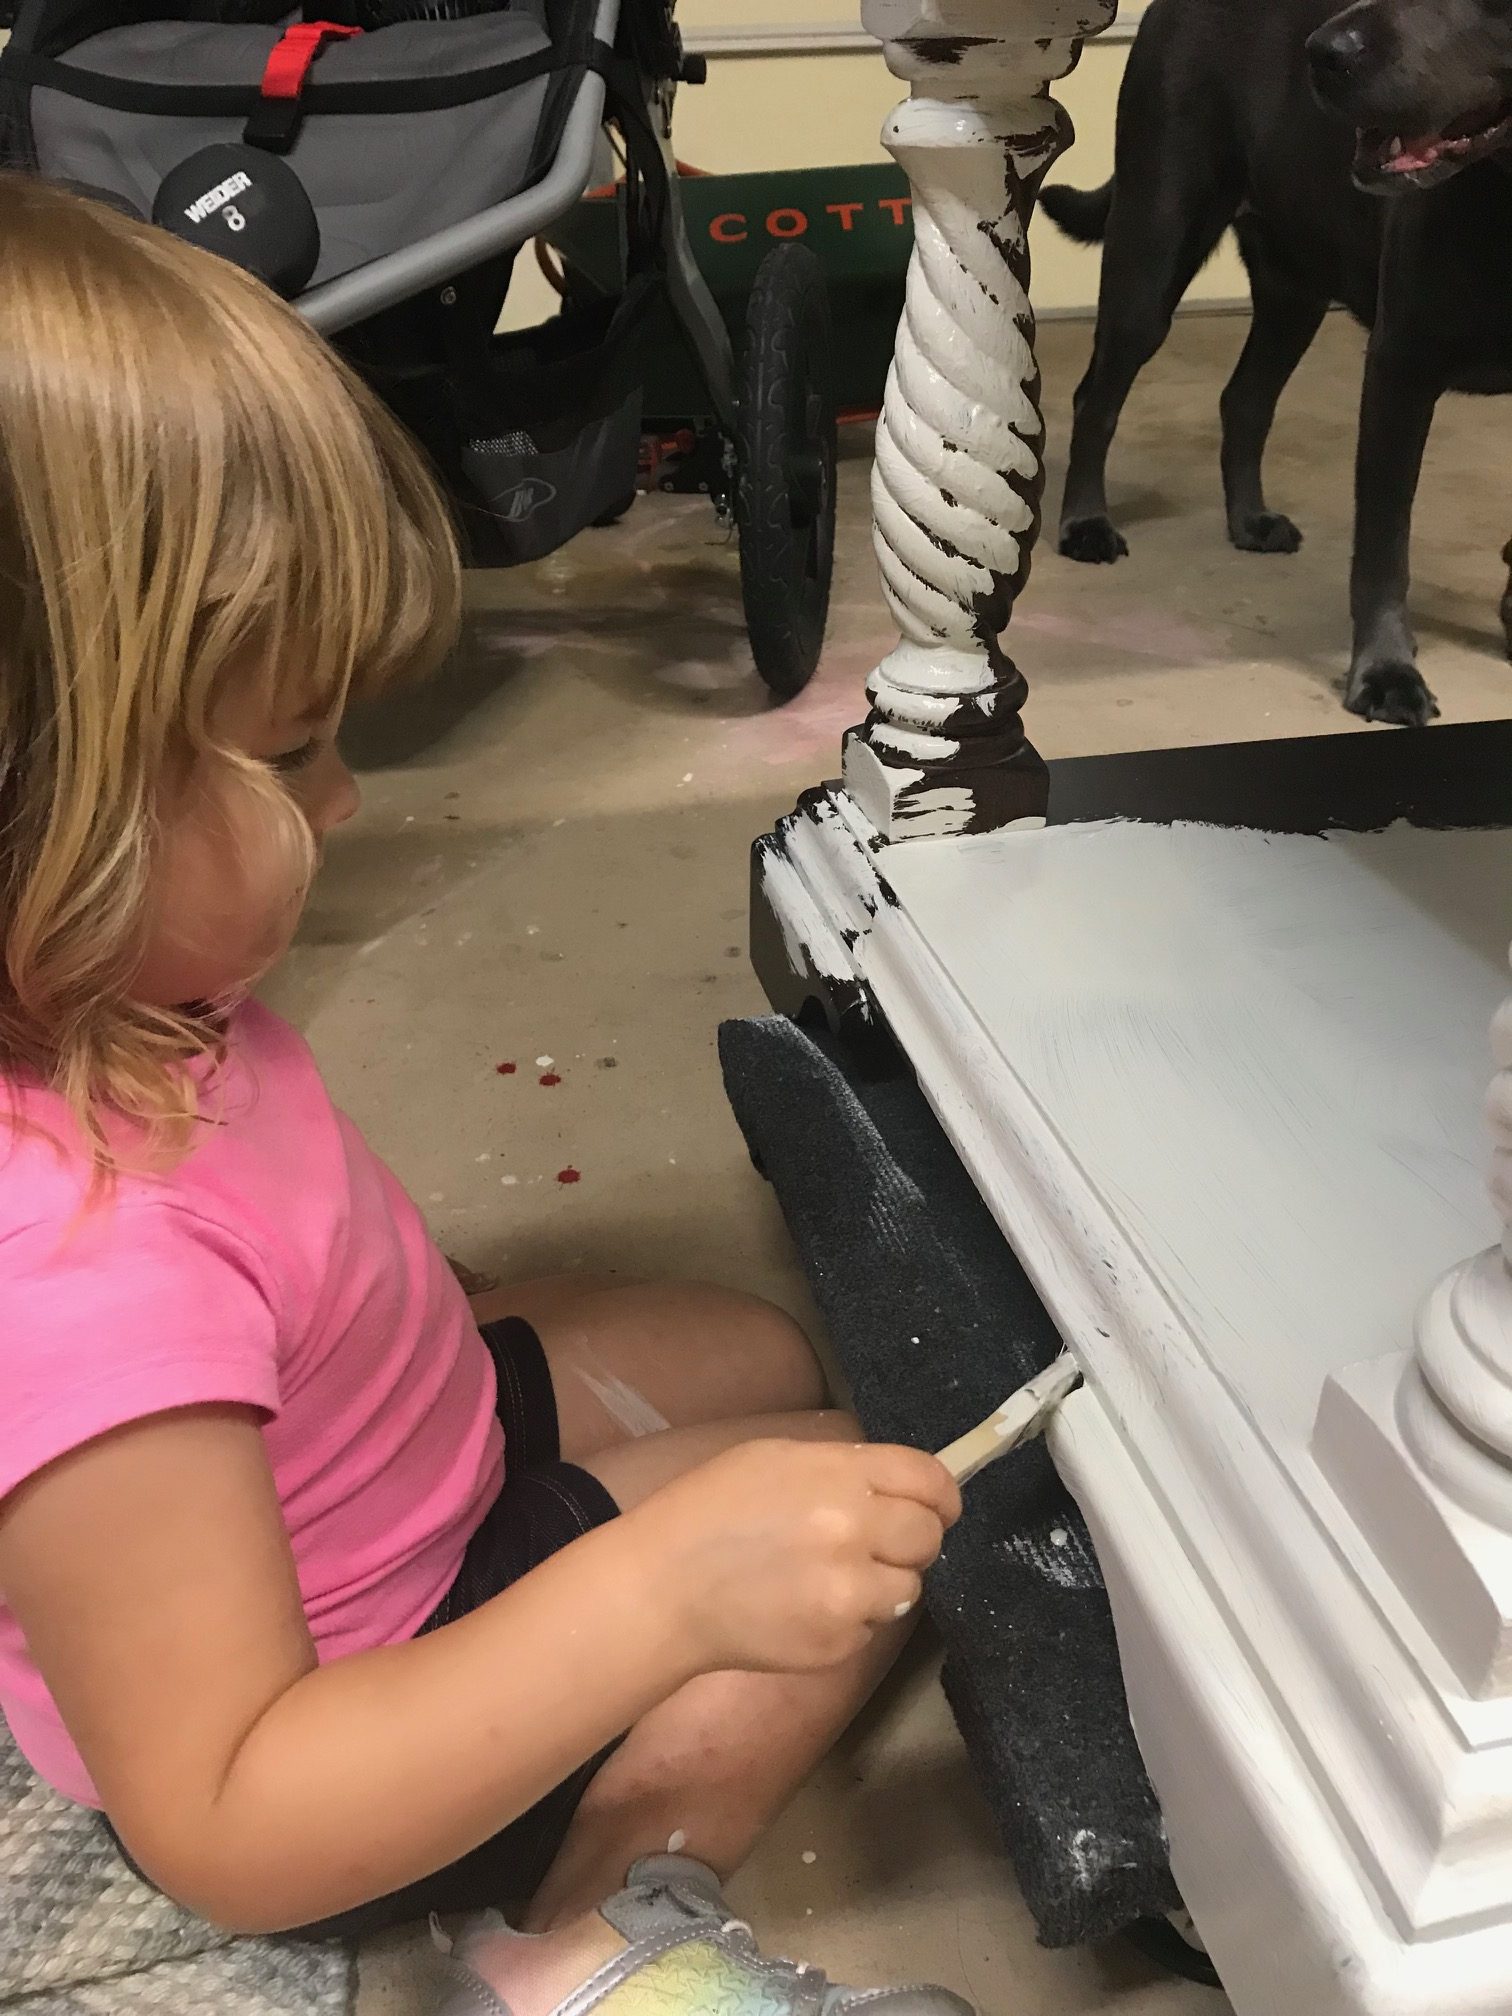
I’ve been a complete slacker. I did this table over my maternity leave and never posted! Soooo here it is, 4 months later. This gorgeous coffee table and matching side table were given to us when we first bought our townhouse by Willie’s manager at the time. After over 7 years in our home it had it share of bumps, stains, dog marks, stickers, and all the fun furniture mishaps that happen in a house full of chaos. It was due for an upgrade! You may remember me asking about it when I shared my painted entertainment center.
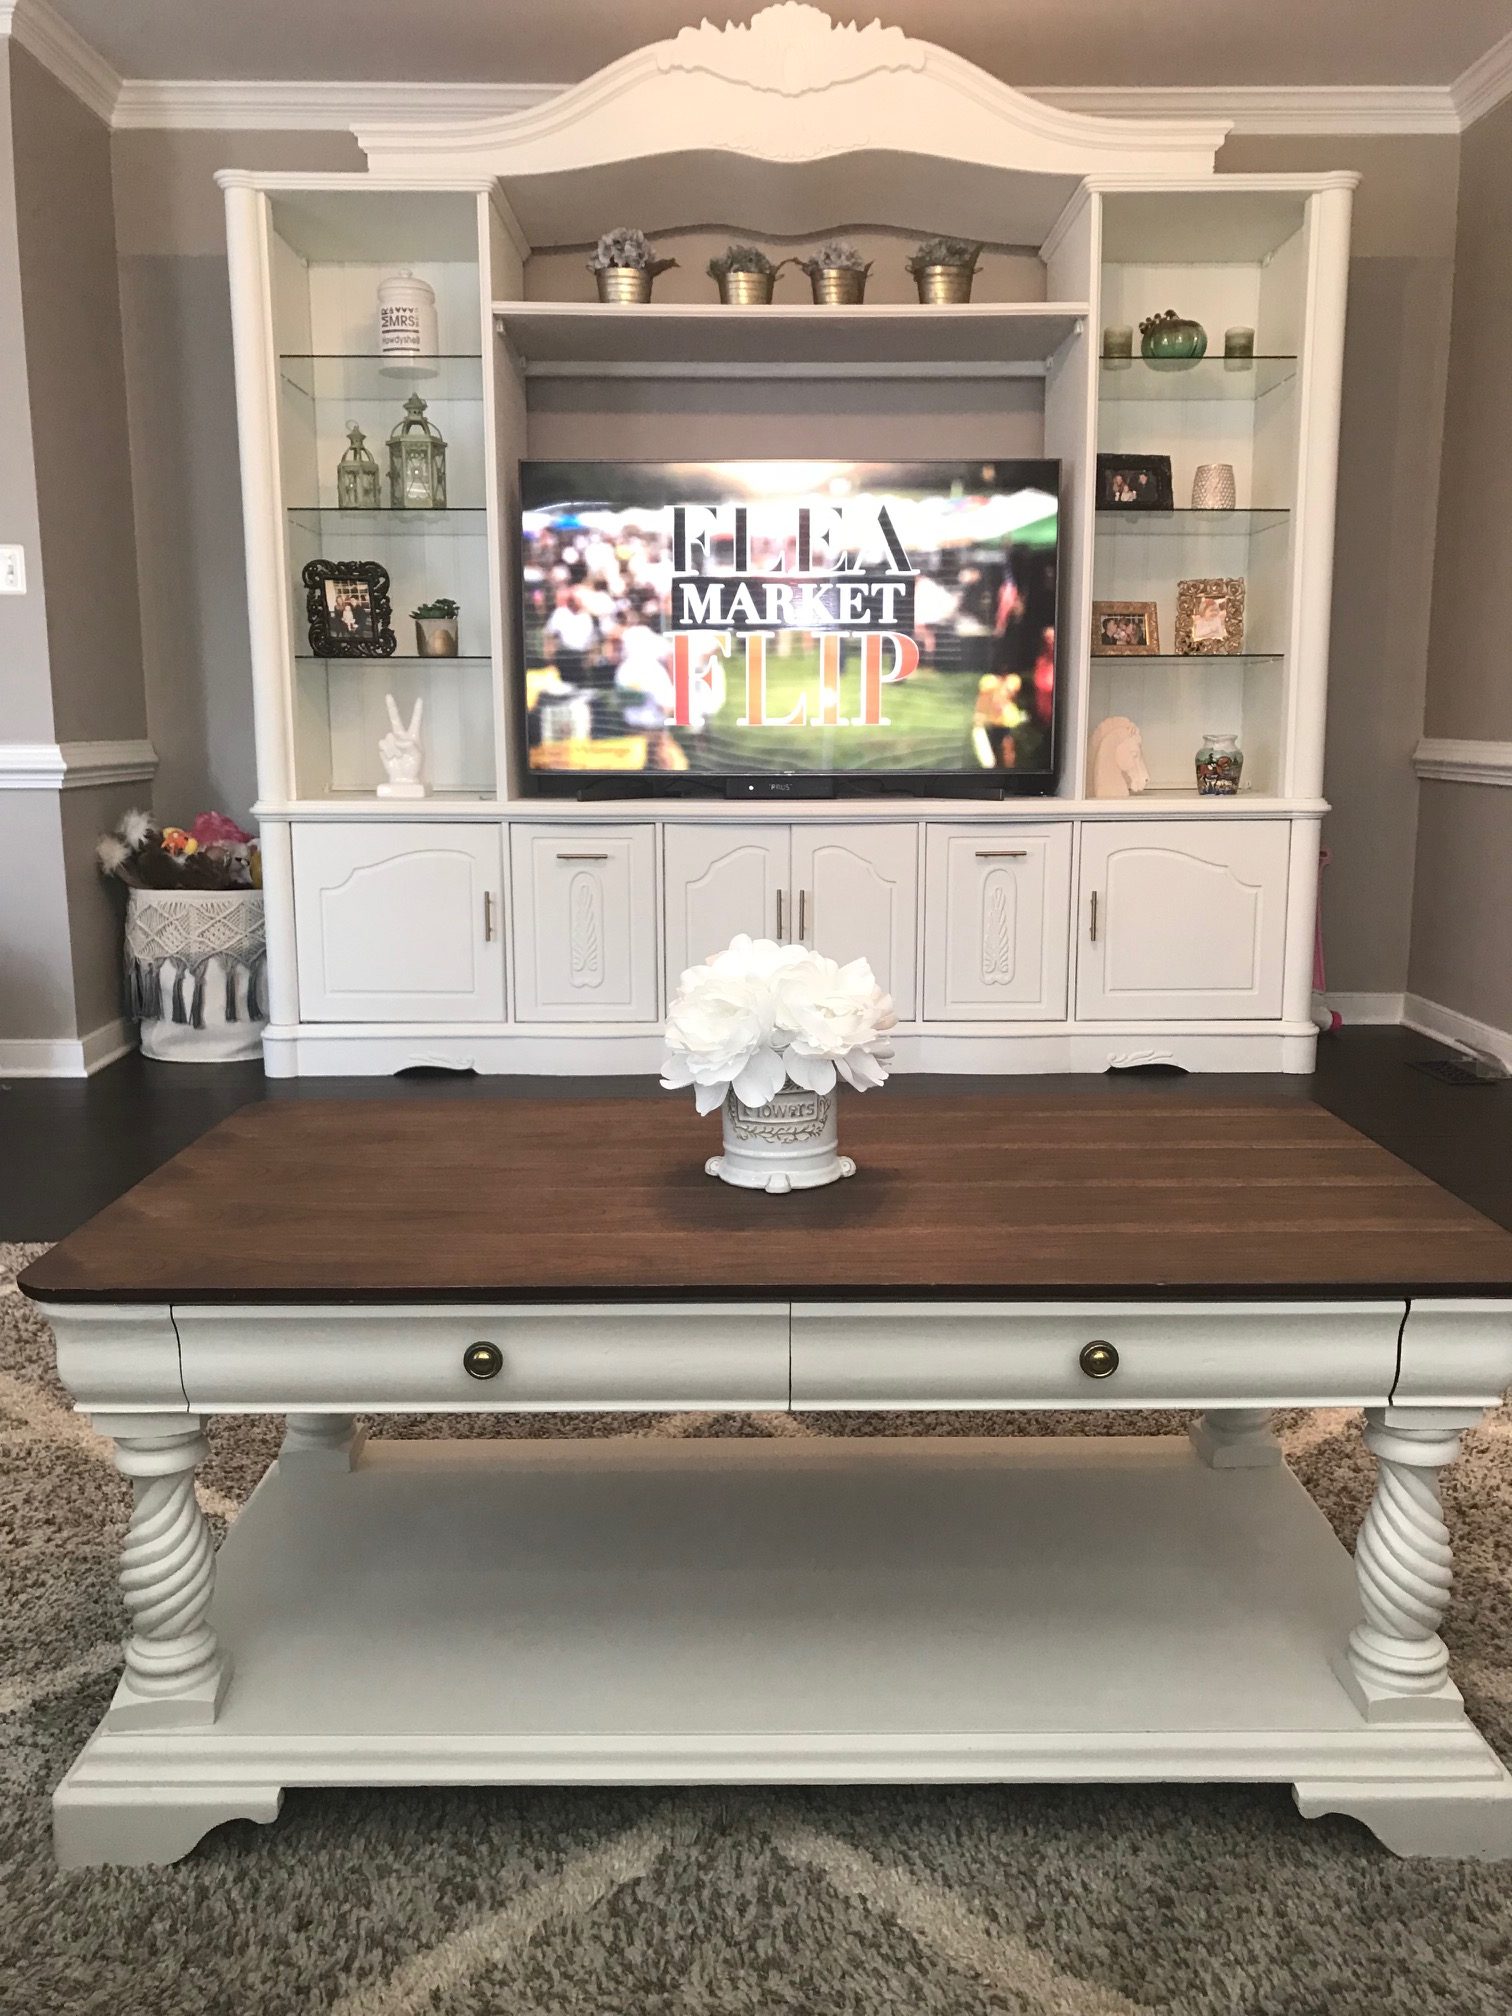

I found two new products in my beloved town of Occoquan. The Reclaimed Treasures shop owner convinced me that these products outshined most on the market. She was right…the paint product (Fusion Mineral Paint), like chalk paint, requires little prep (a clean surface) and already included the protective component so there was no need for an additional step of waxing your project…wow! Waxing is such a huge task that nearly all my projects never get it, so having this all-in-one paint was great! I used the Fusion Mineral Paint color of Champlain. Here is the color swatch:

So first I sanded the top with a medium-course sandpaper using a circular sander. I then went over it again with fine course paper. Once I got down to the bare would I was ready for the stain.
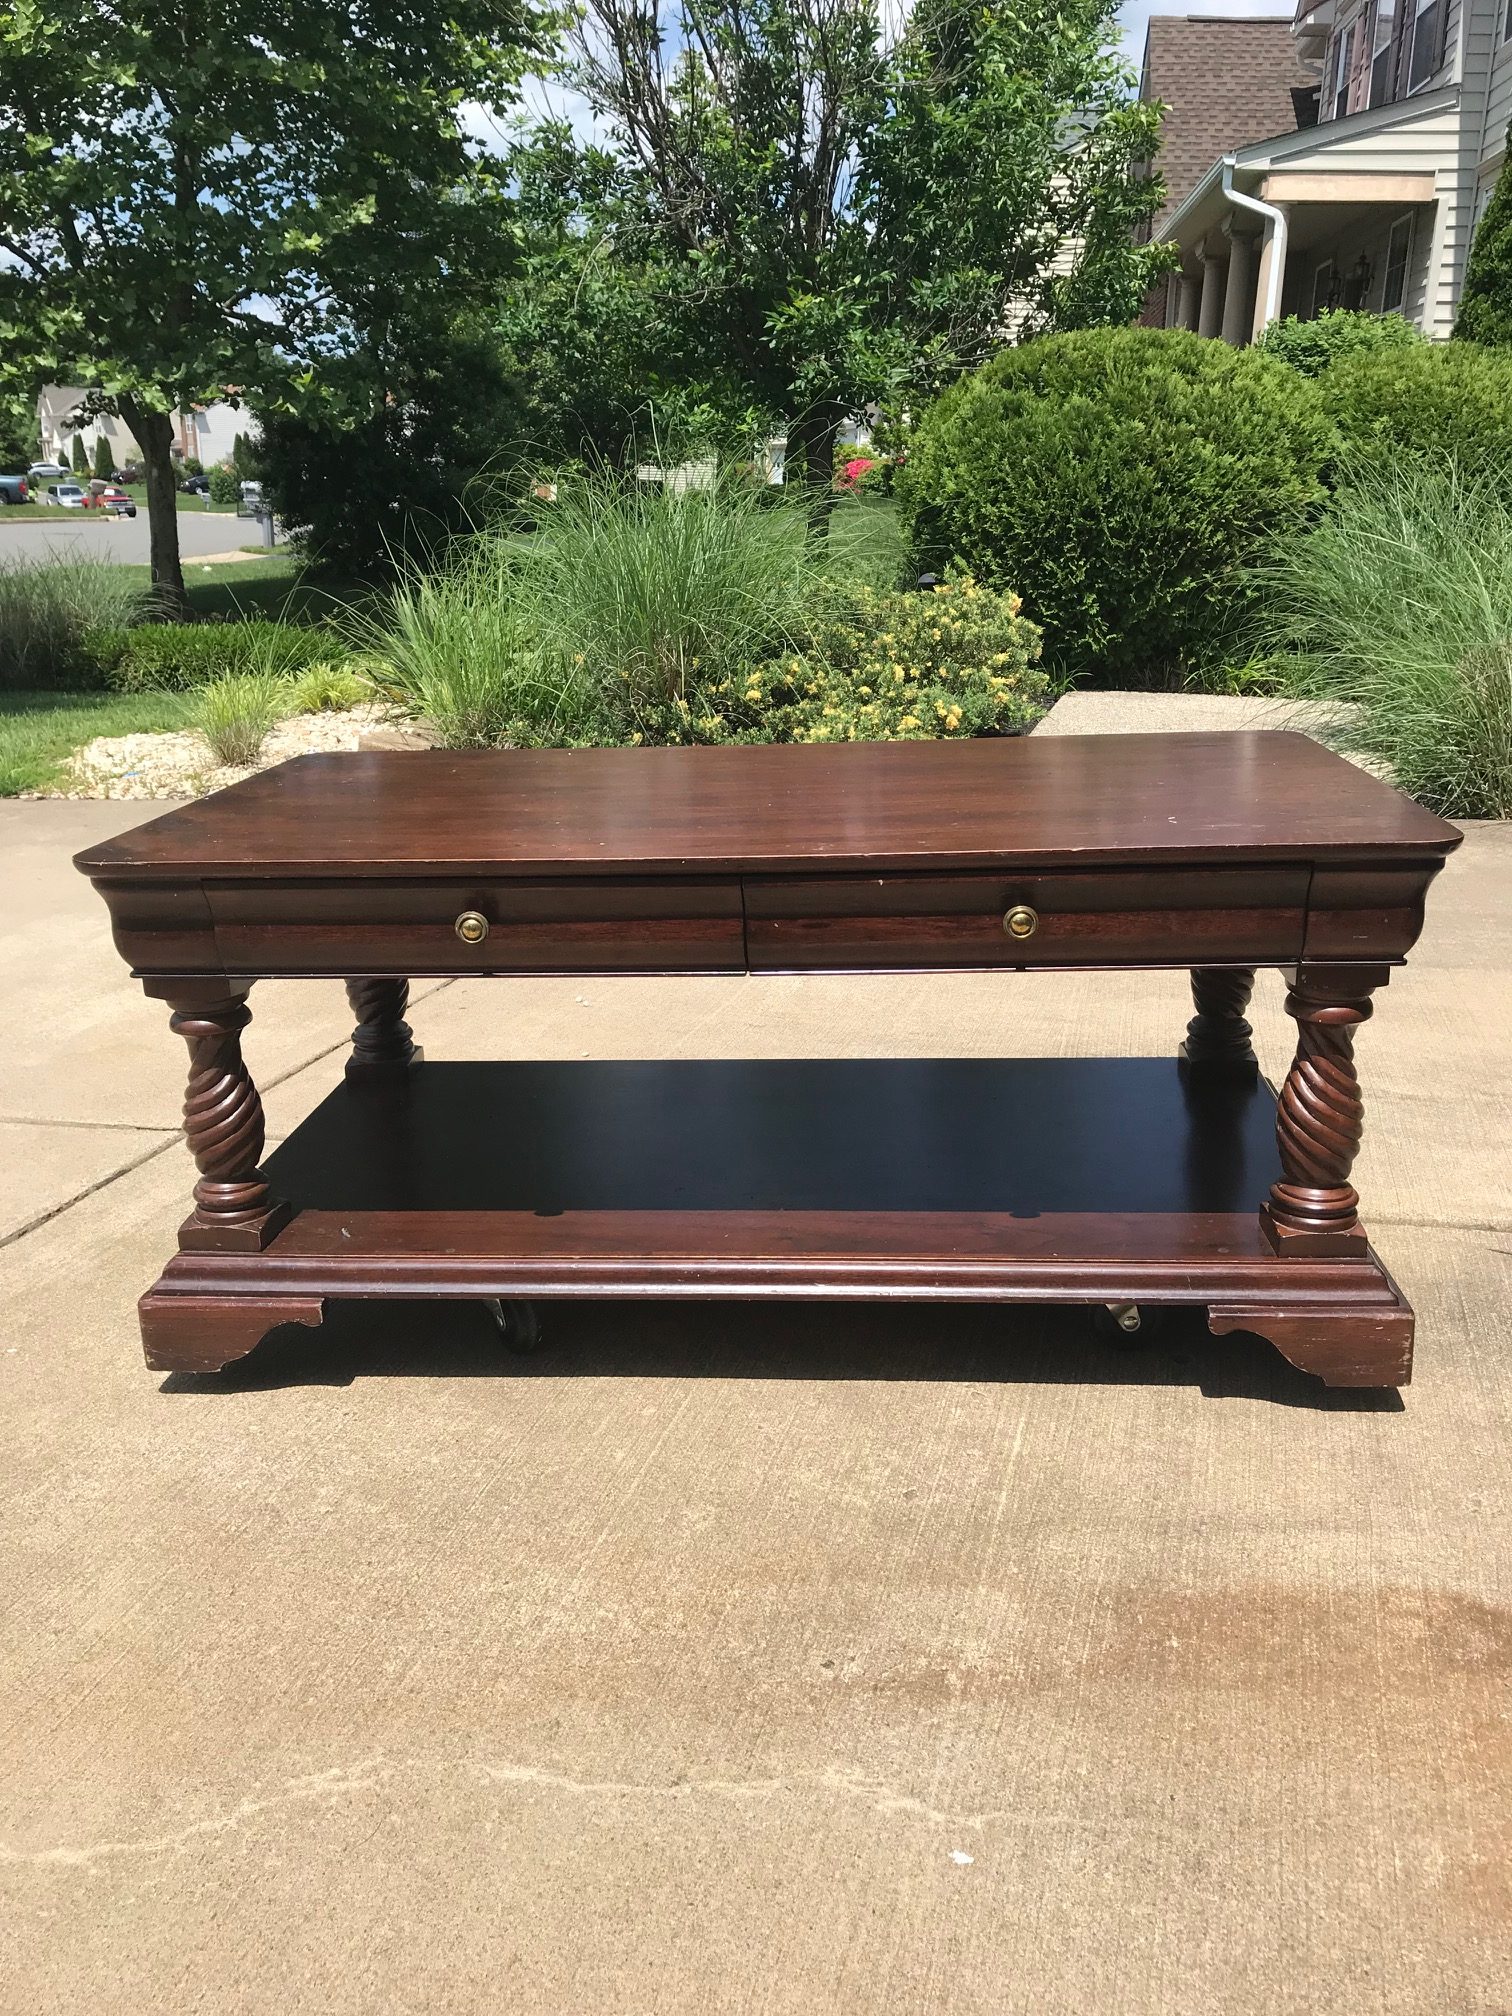
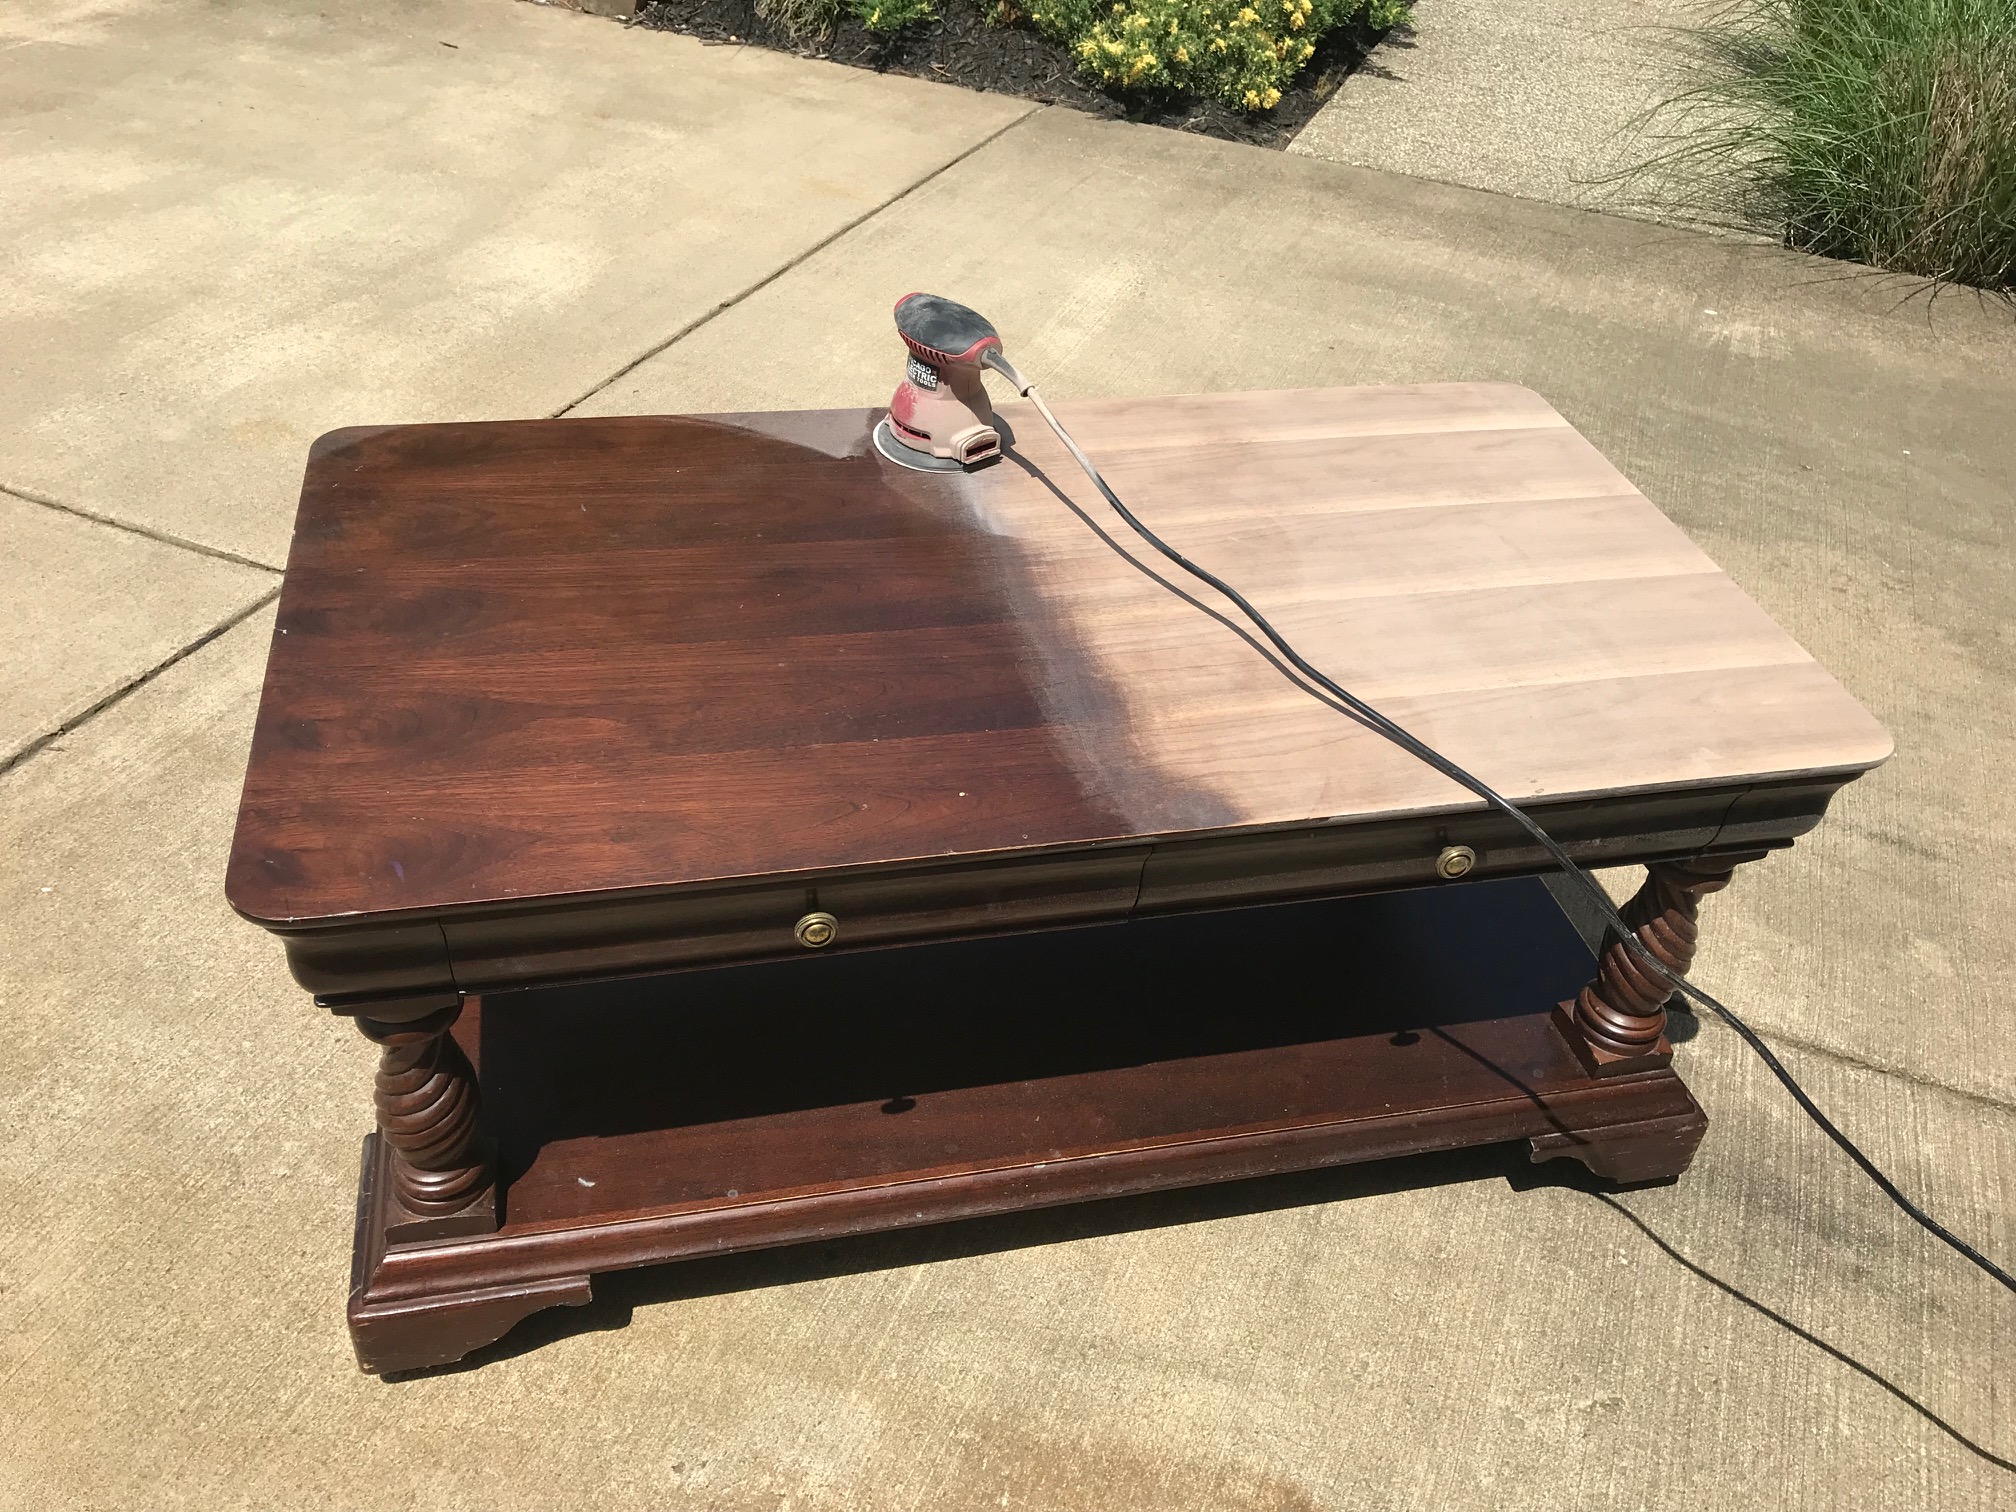
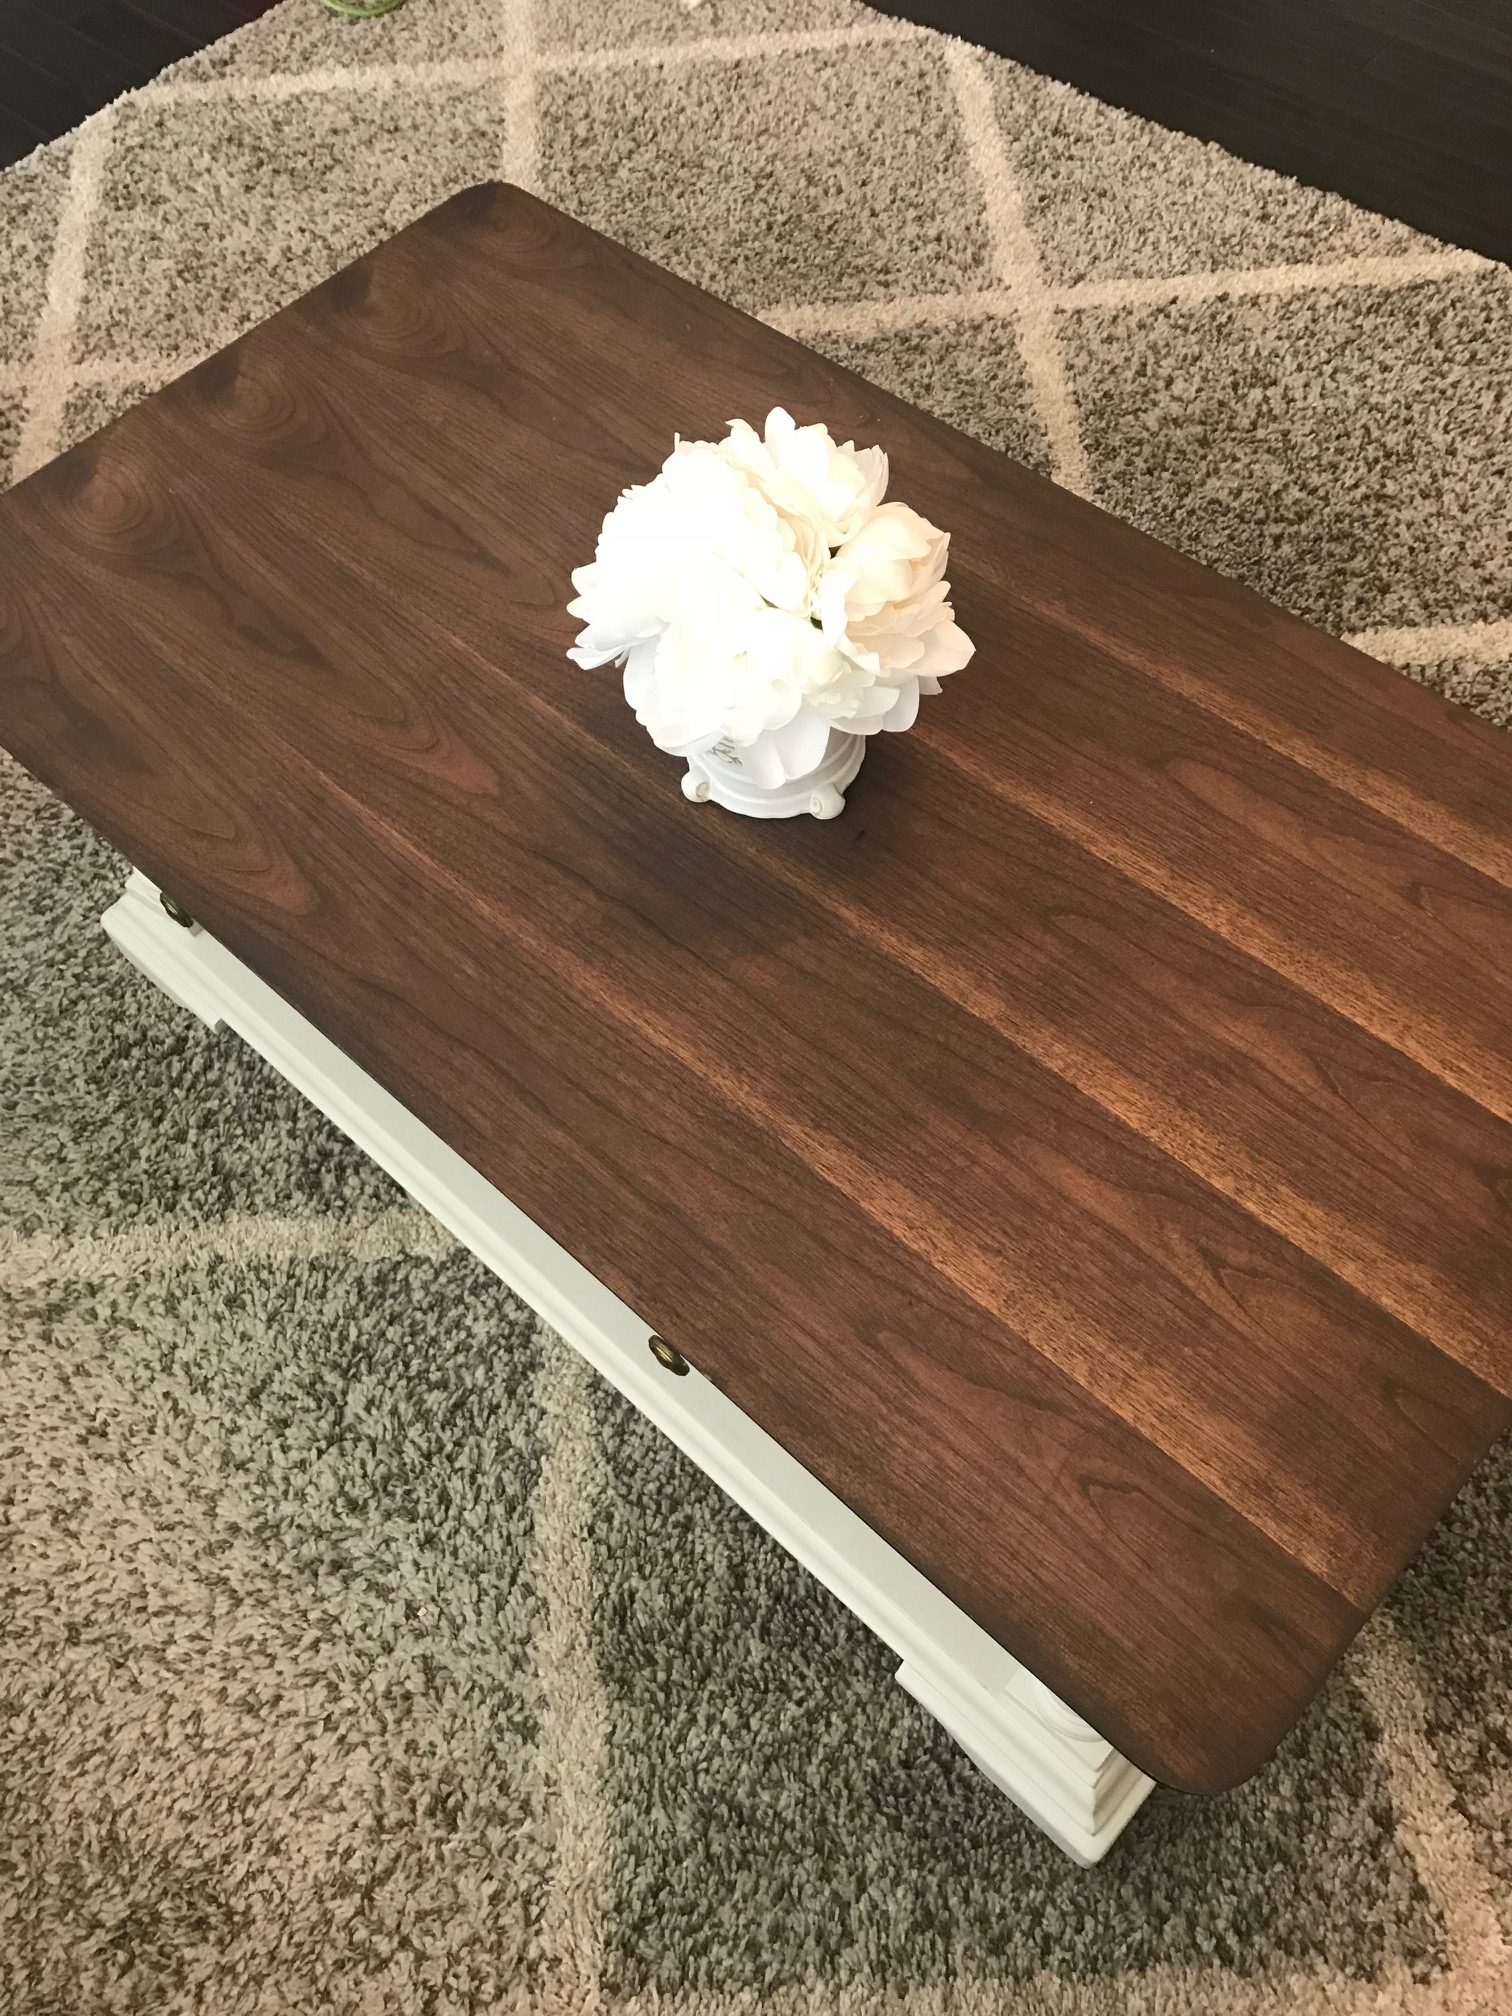
The stain, another great new product by Homestead House. The “poly”/protective coat was built in. So after applying and drying, you’re done! It is a matte stain so it worked well for what I was going for but if you do want the sheen or extra protection, give it a coat of poly.

I love this table! So happy I got to bring a fresh new light to it and glad it can stay as a centerpiece in my home for a few more years.

Wednesday, May 30, 2018

Baby’s Perfect Nursery on a Budget

Ahhhh I go back to work fulltime next week and it’s completely scary. I have NO idea where the time has gone. My sweet little Finley will be 3 months old. Her nursery is finally done and I’m hoping to transition her over to her crib in a few weeks. I’ve kept her in our room since I’m such a nervous mommy I like to lean over every few hours to make sure she is ok. She is sleeping much better now, thank goodness. I’m hoping we will be down to only one feeding during the night so I’m not a complete zombie at work. There is so much I want to share, but finding the time to take pictures, write a post and share has been non-existent. So please bare with me in my mommy transition. (Please excuse the post photos too, they aren’t the best. Between my camera being dirty and pics from the phone, it was what it was haha).

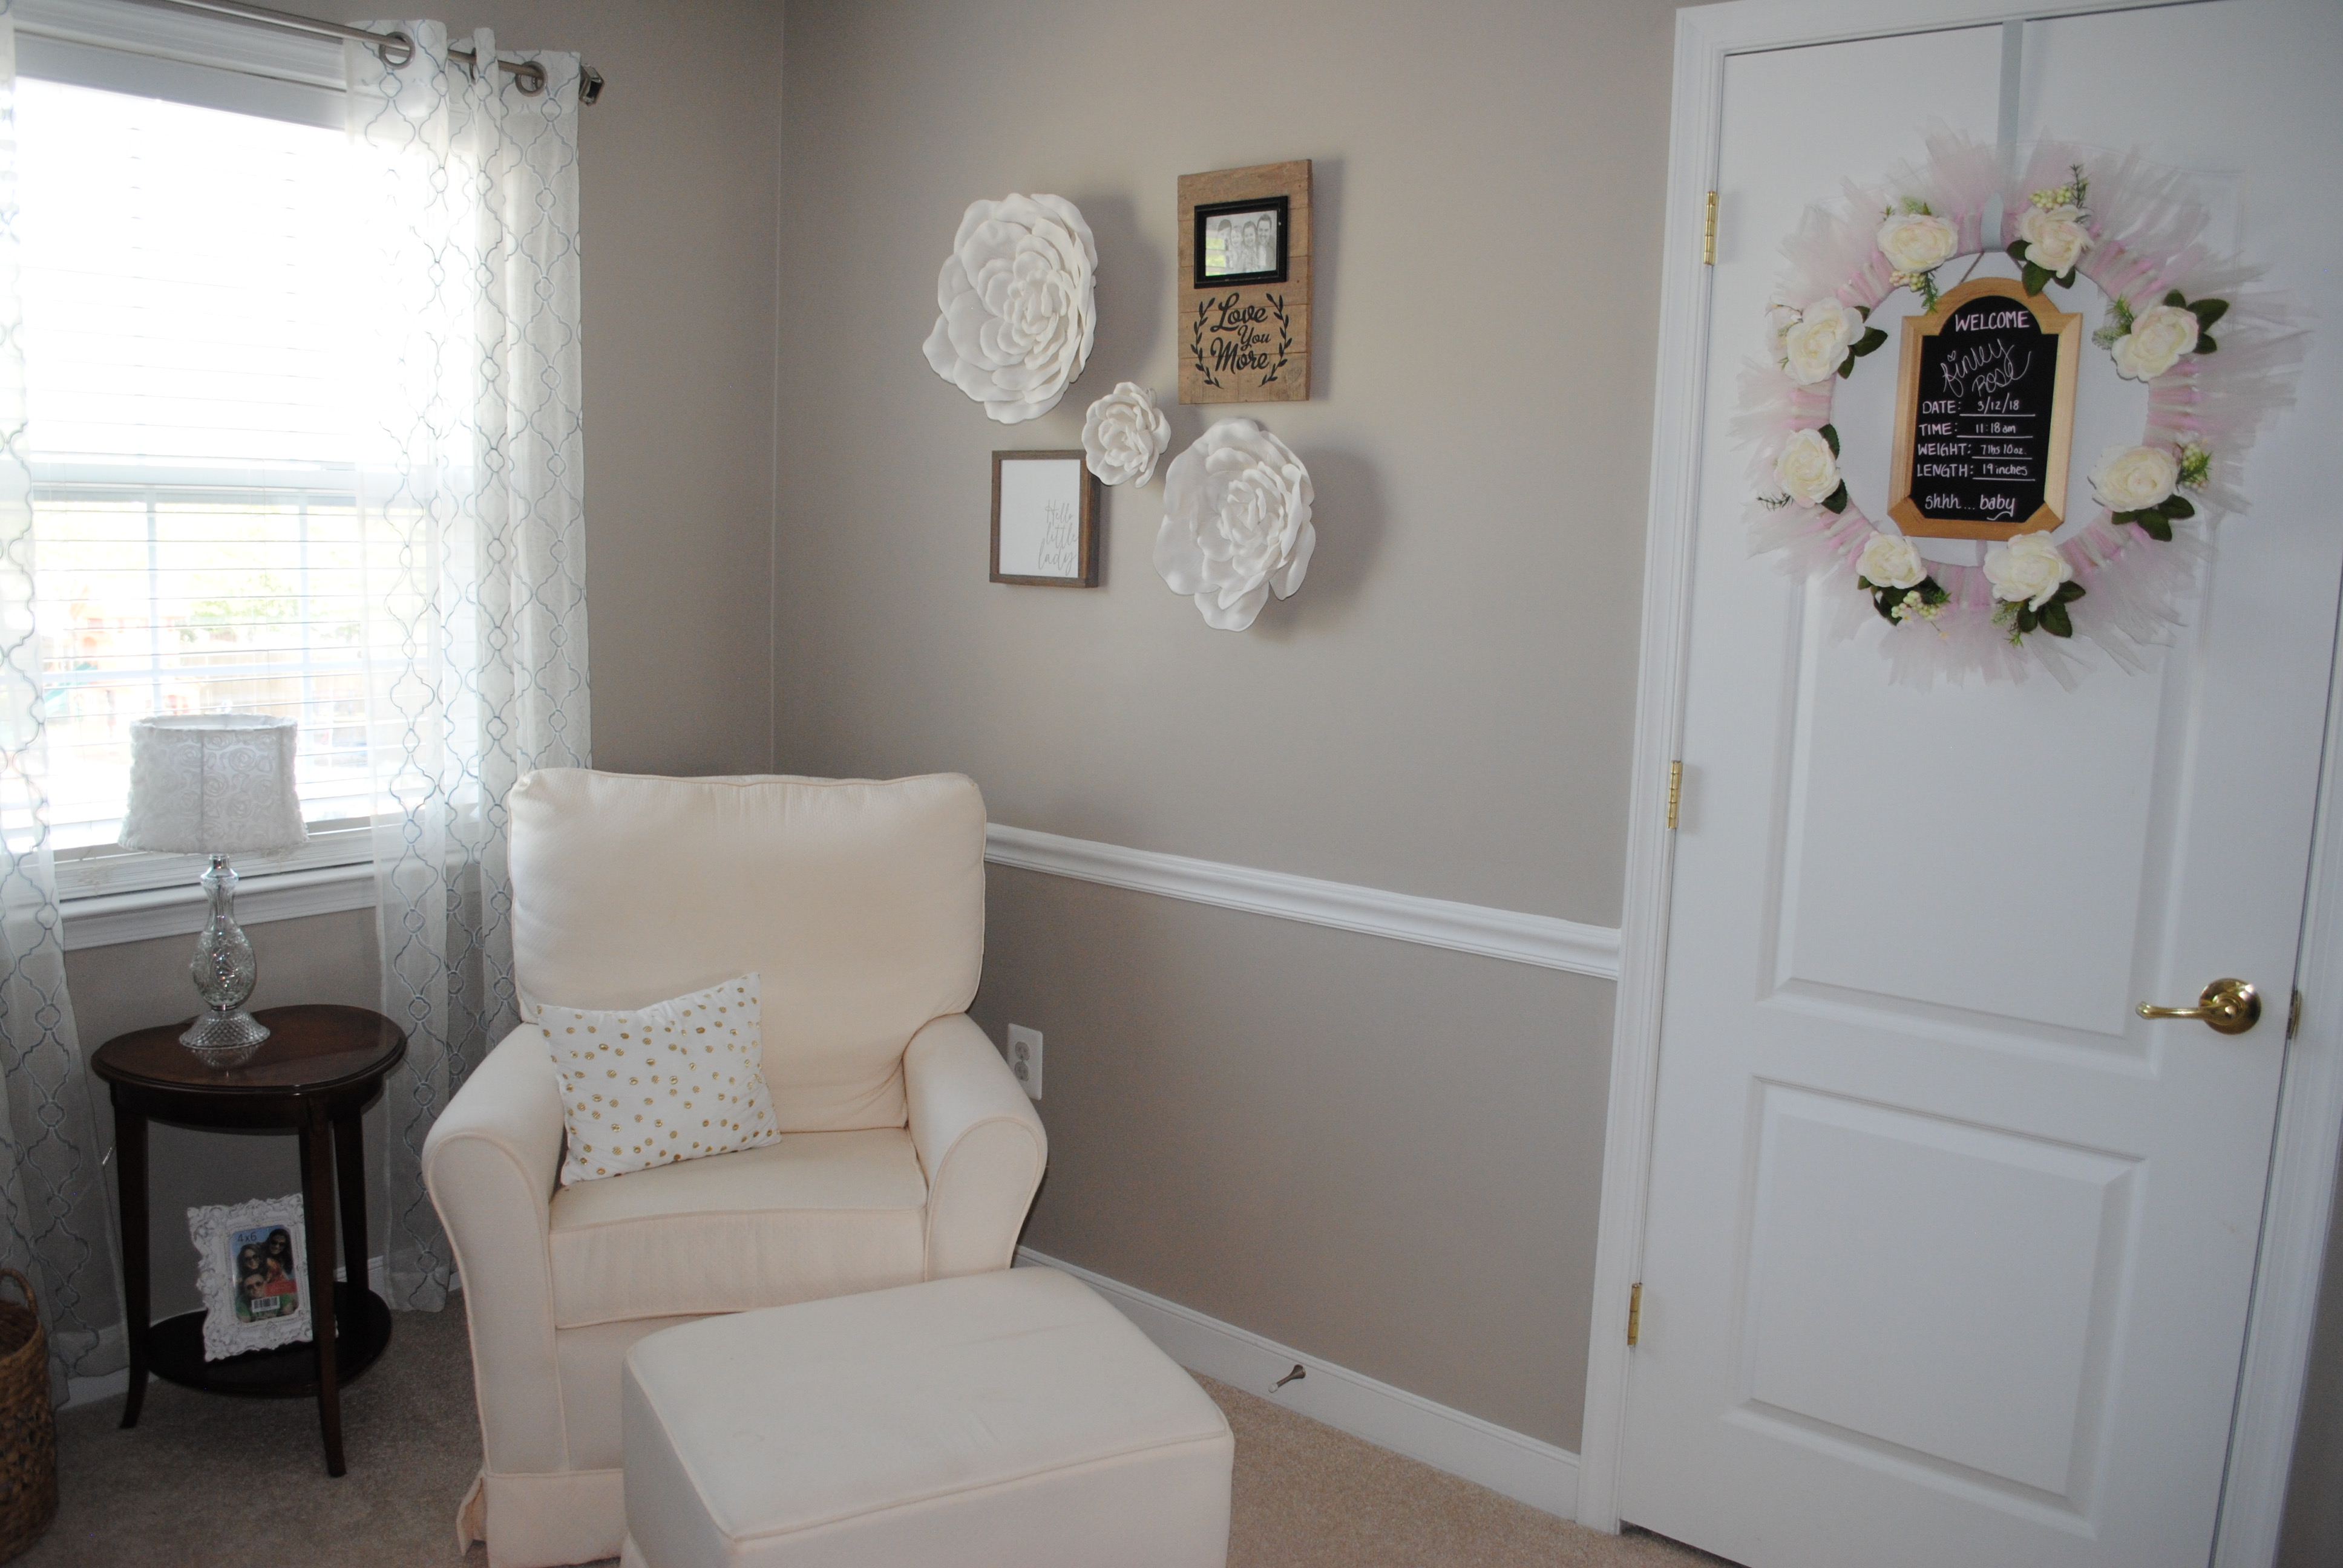
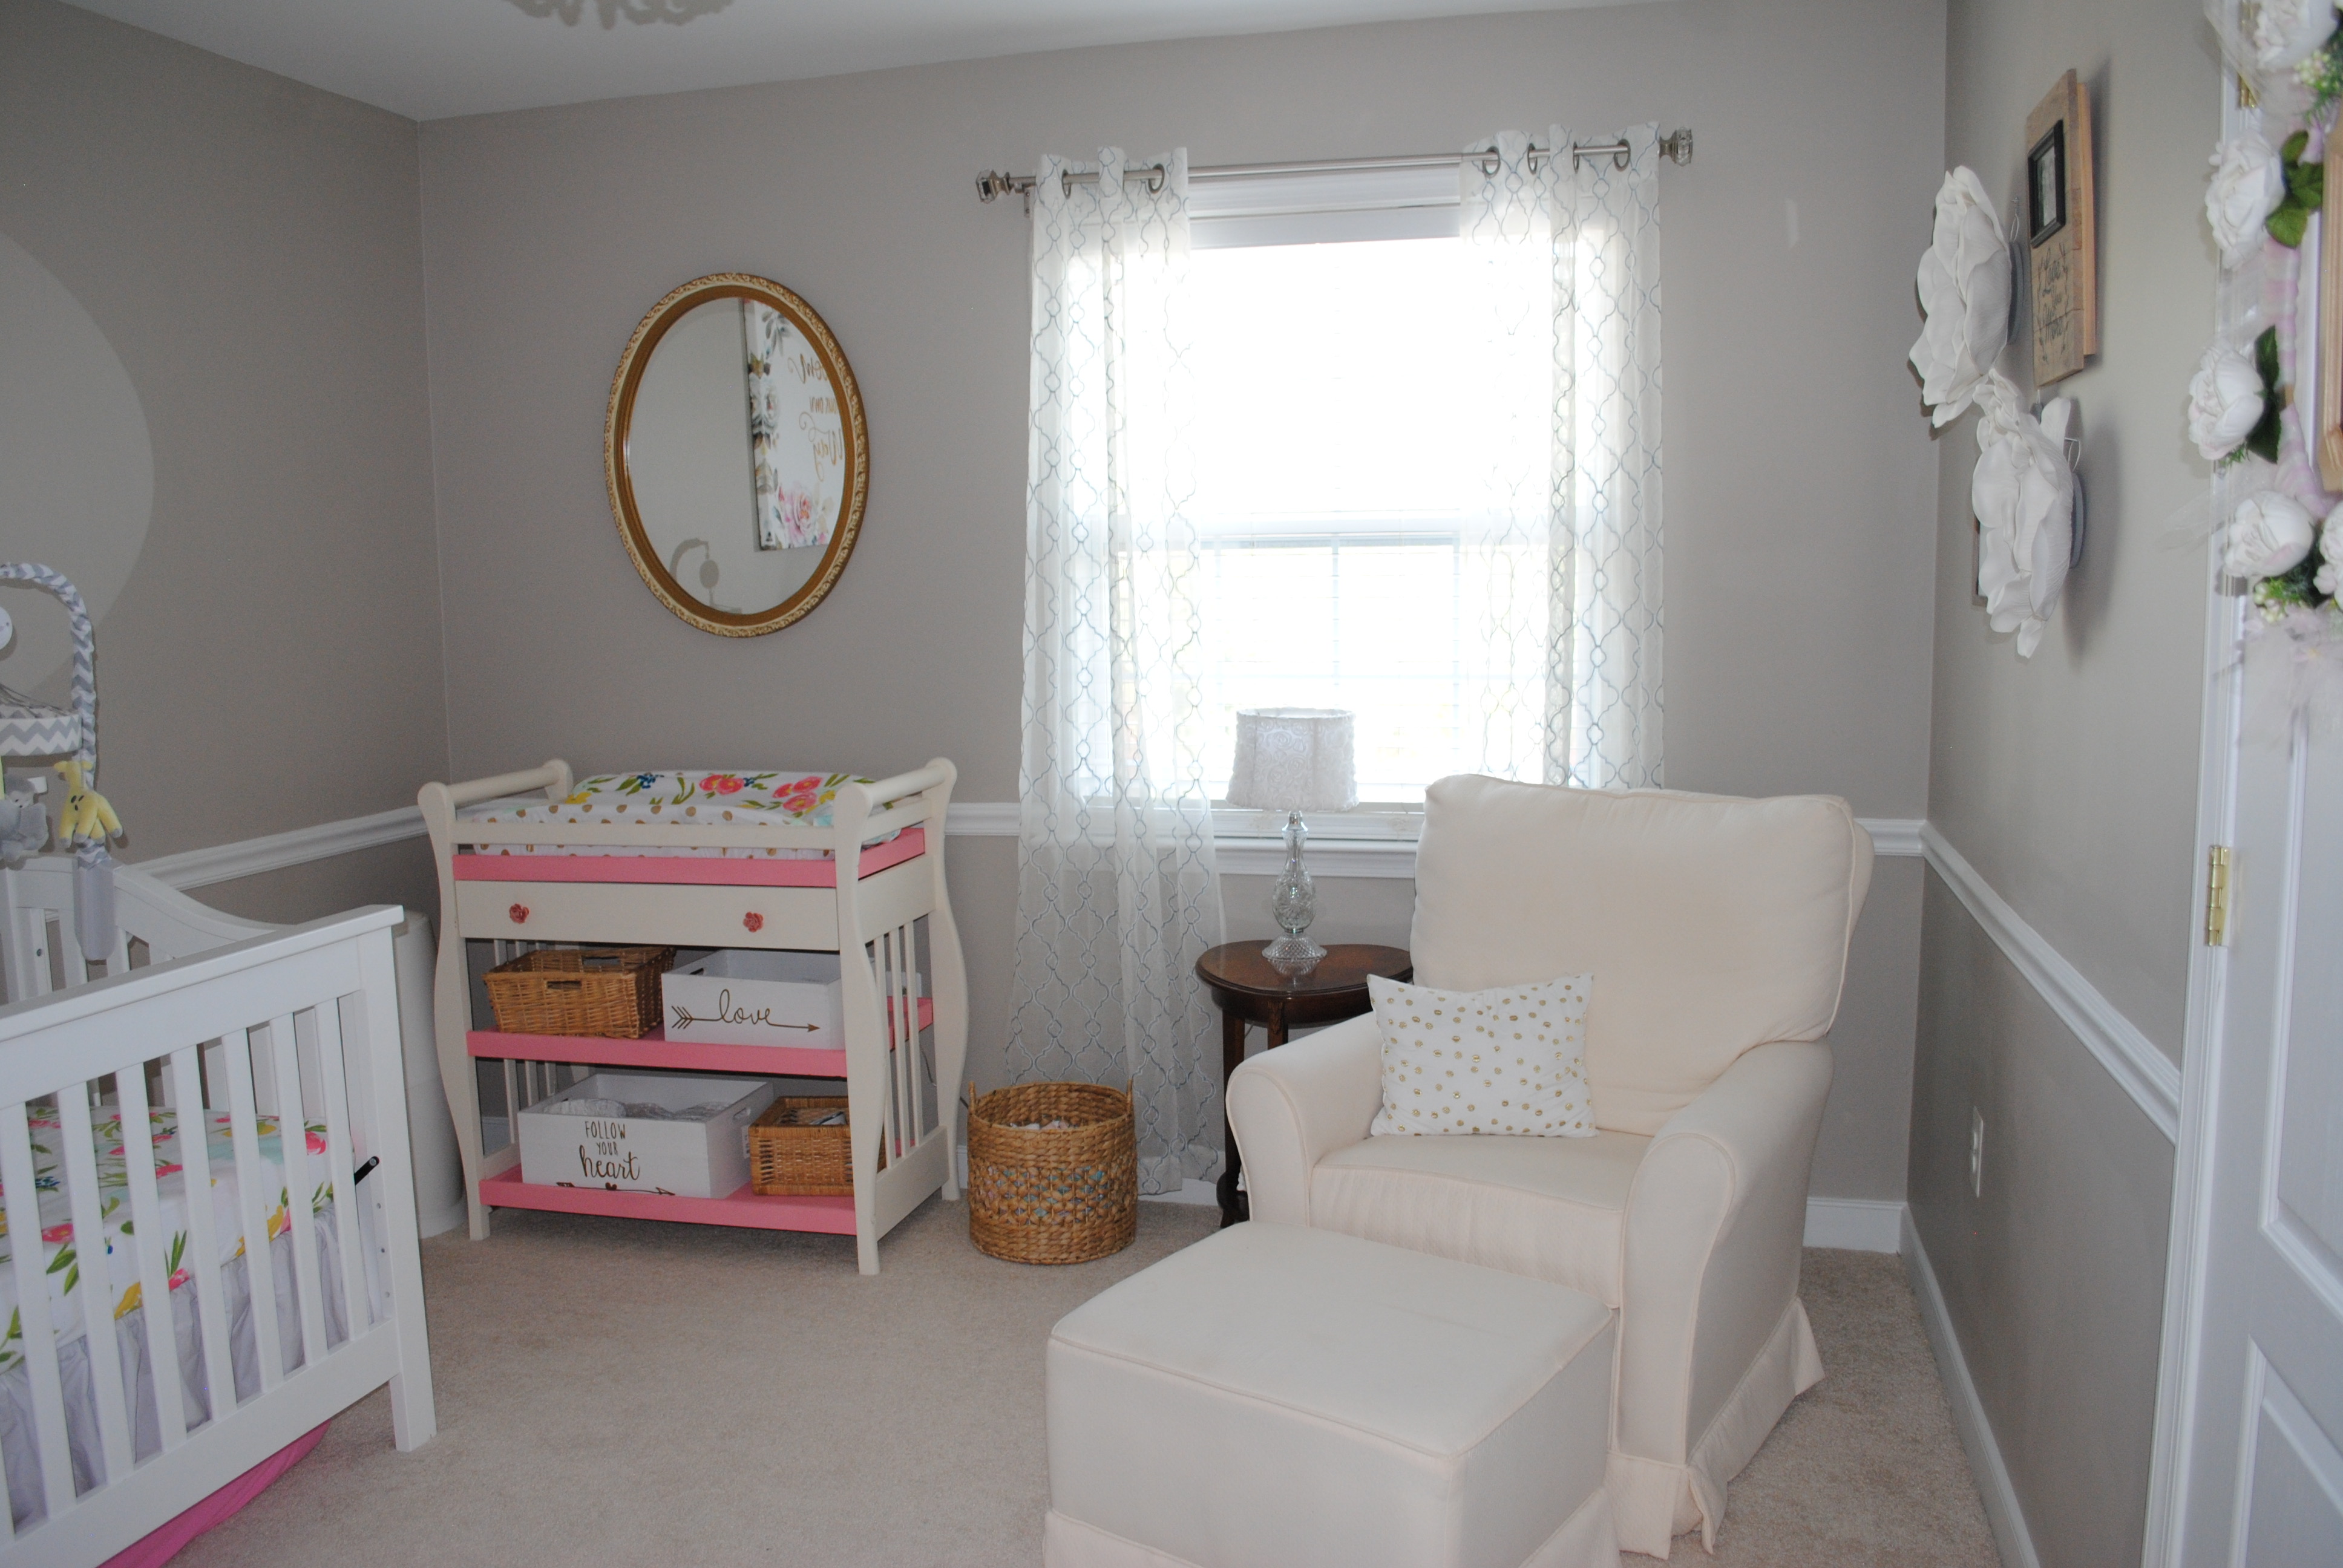
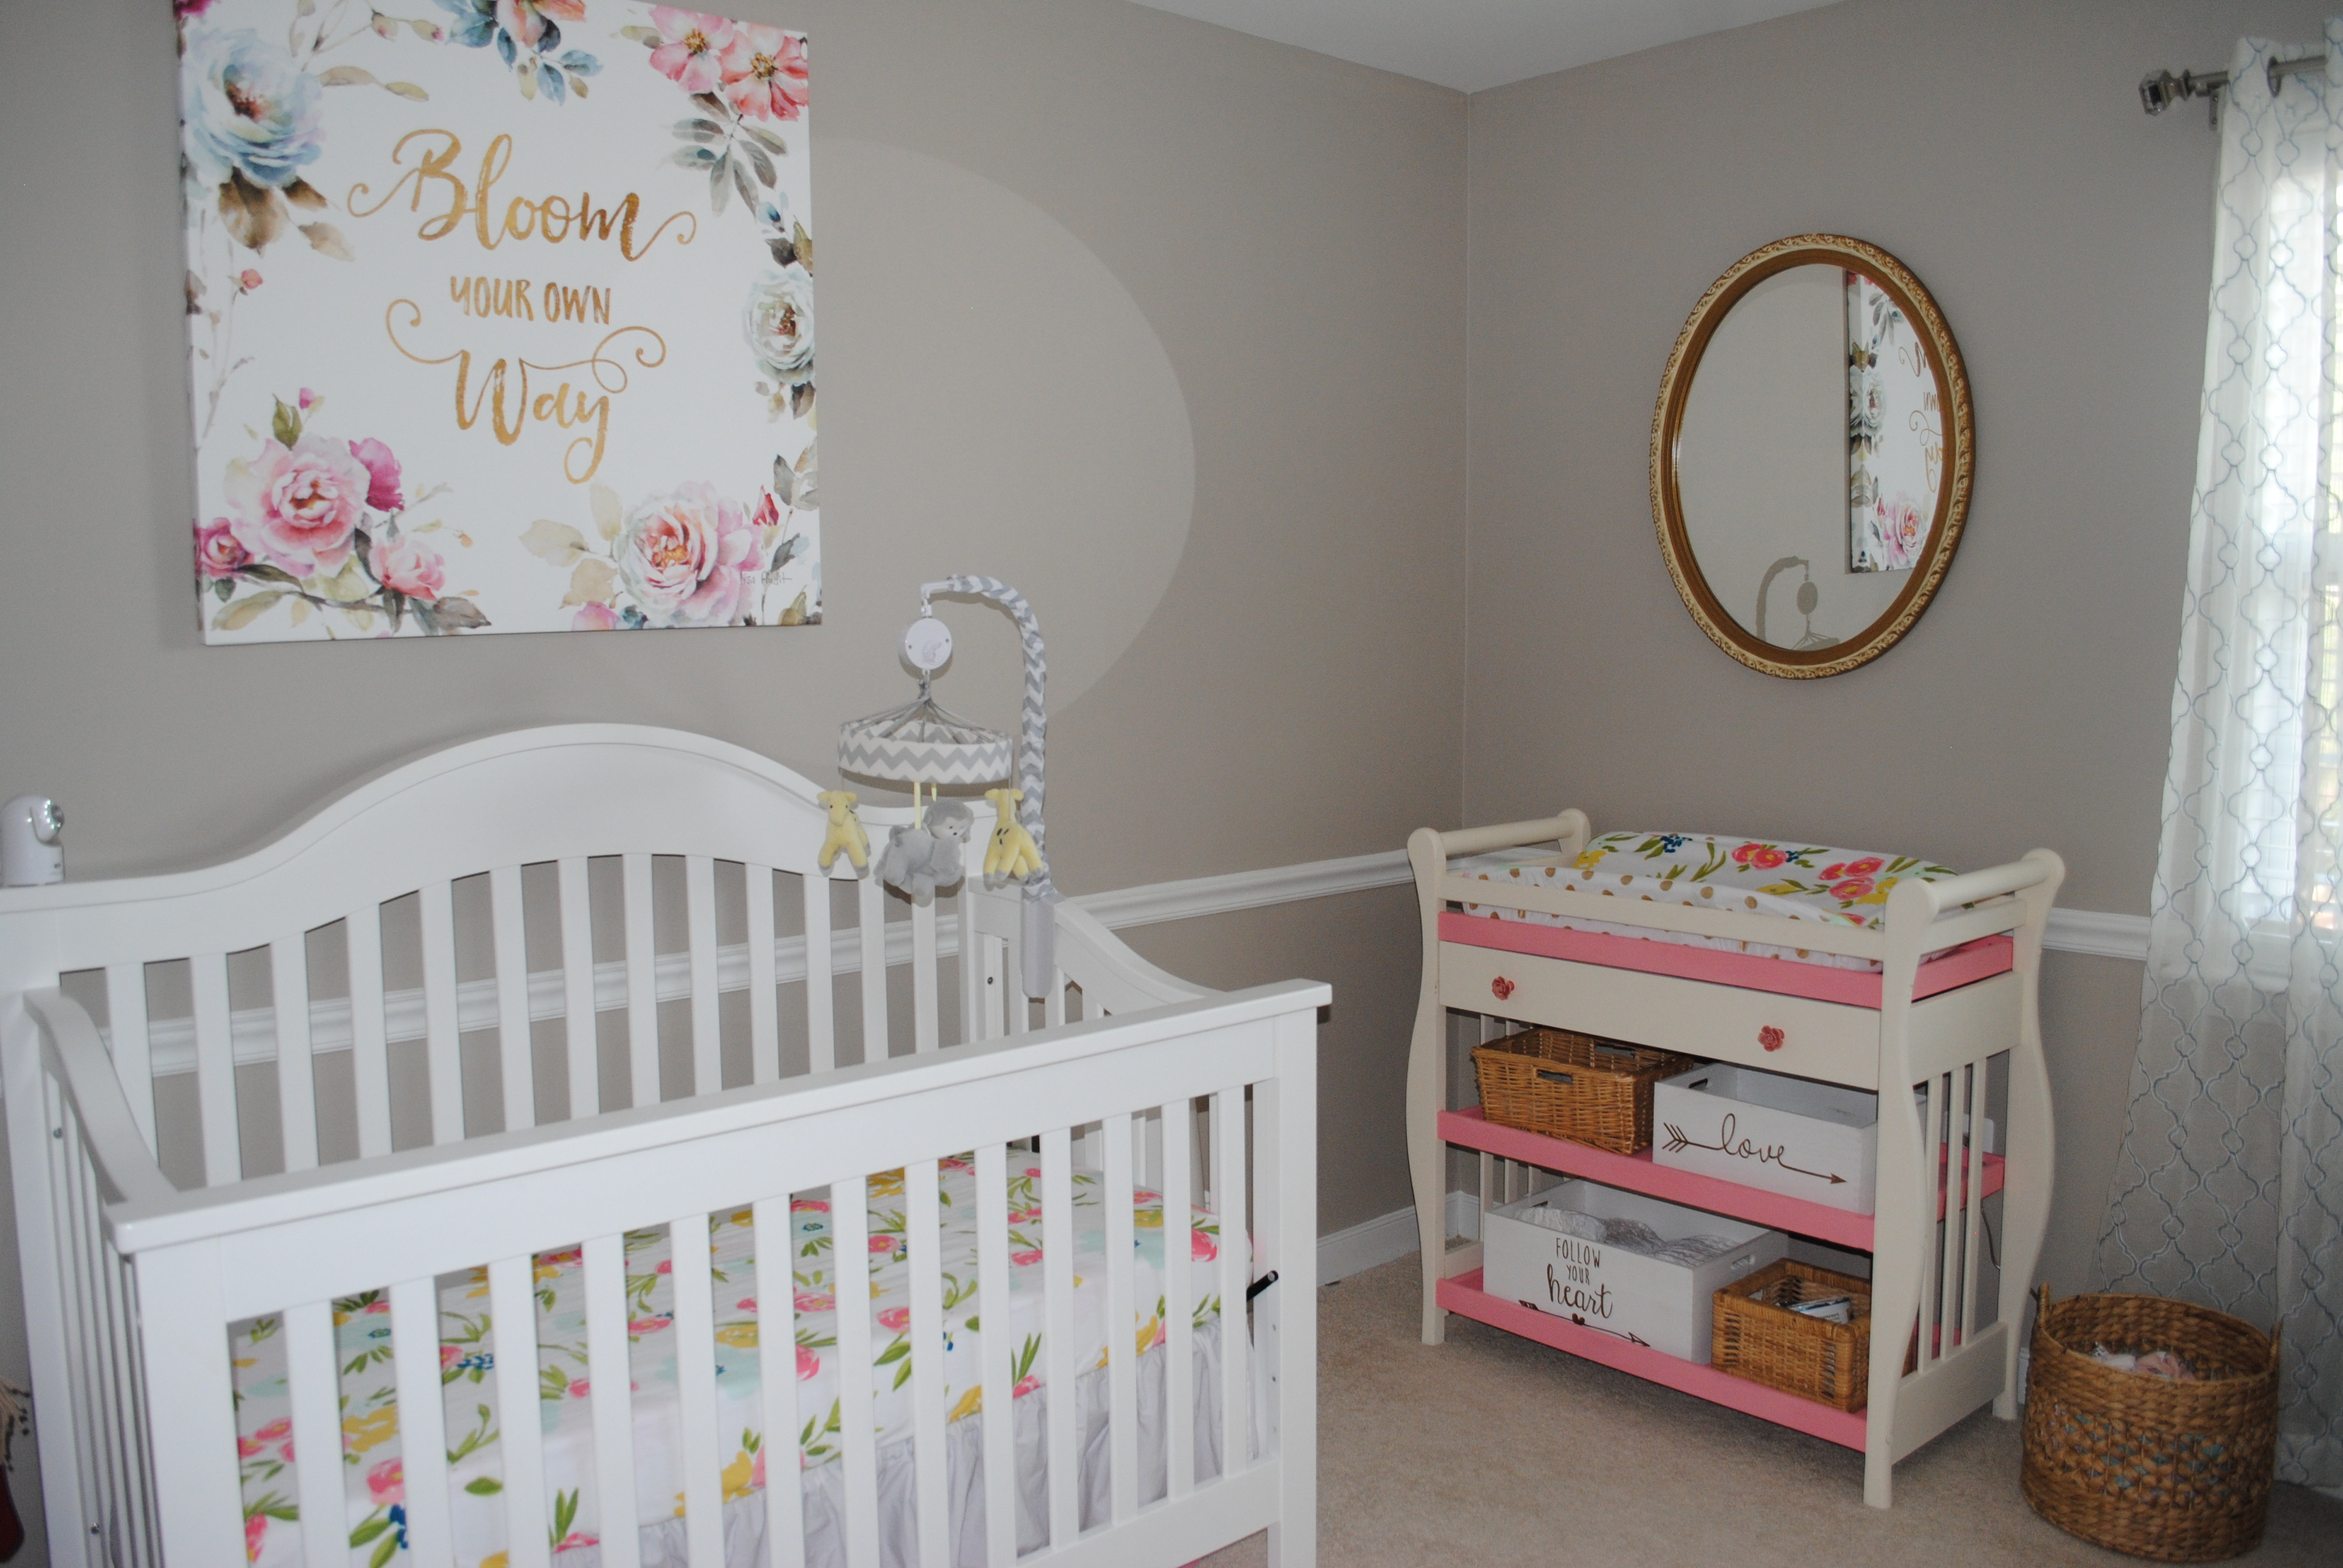
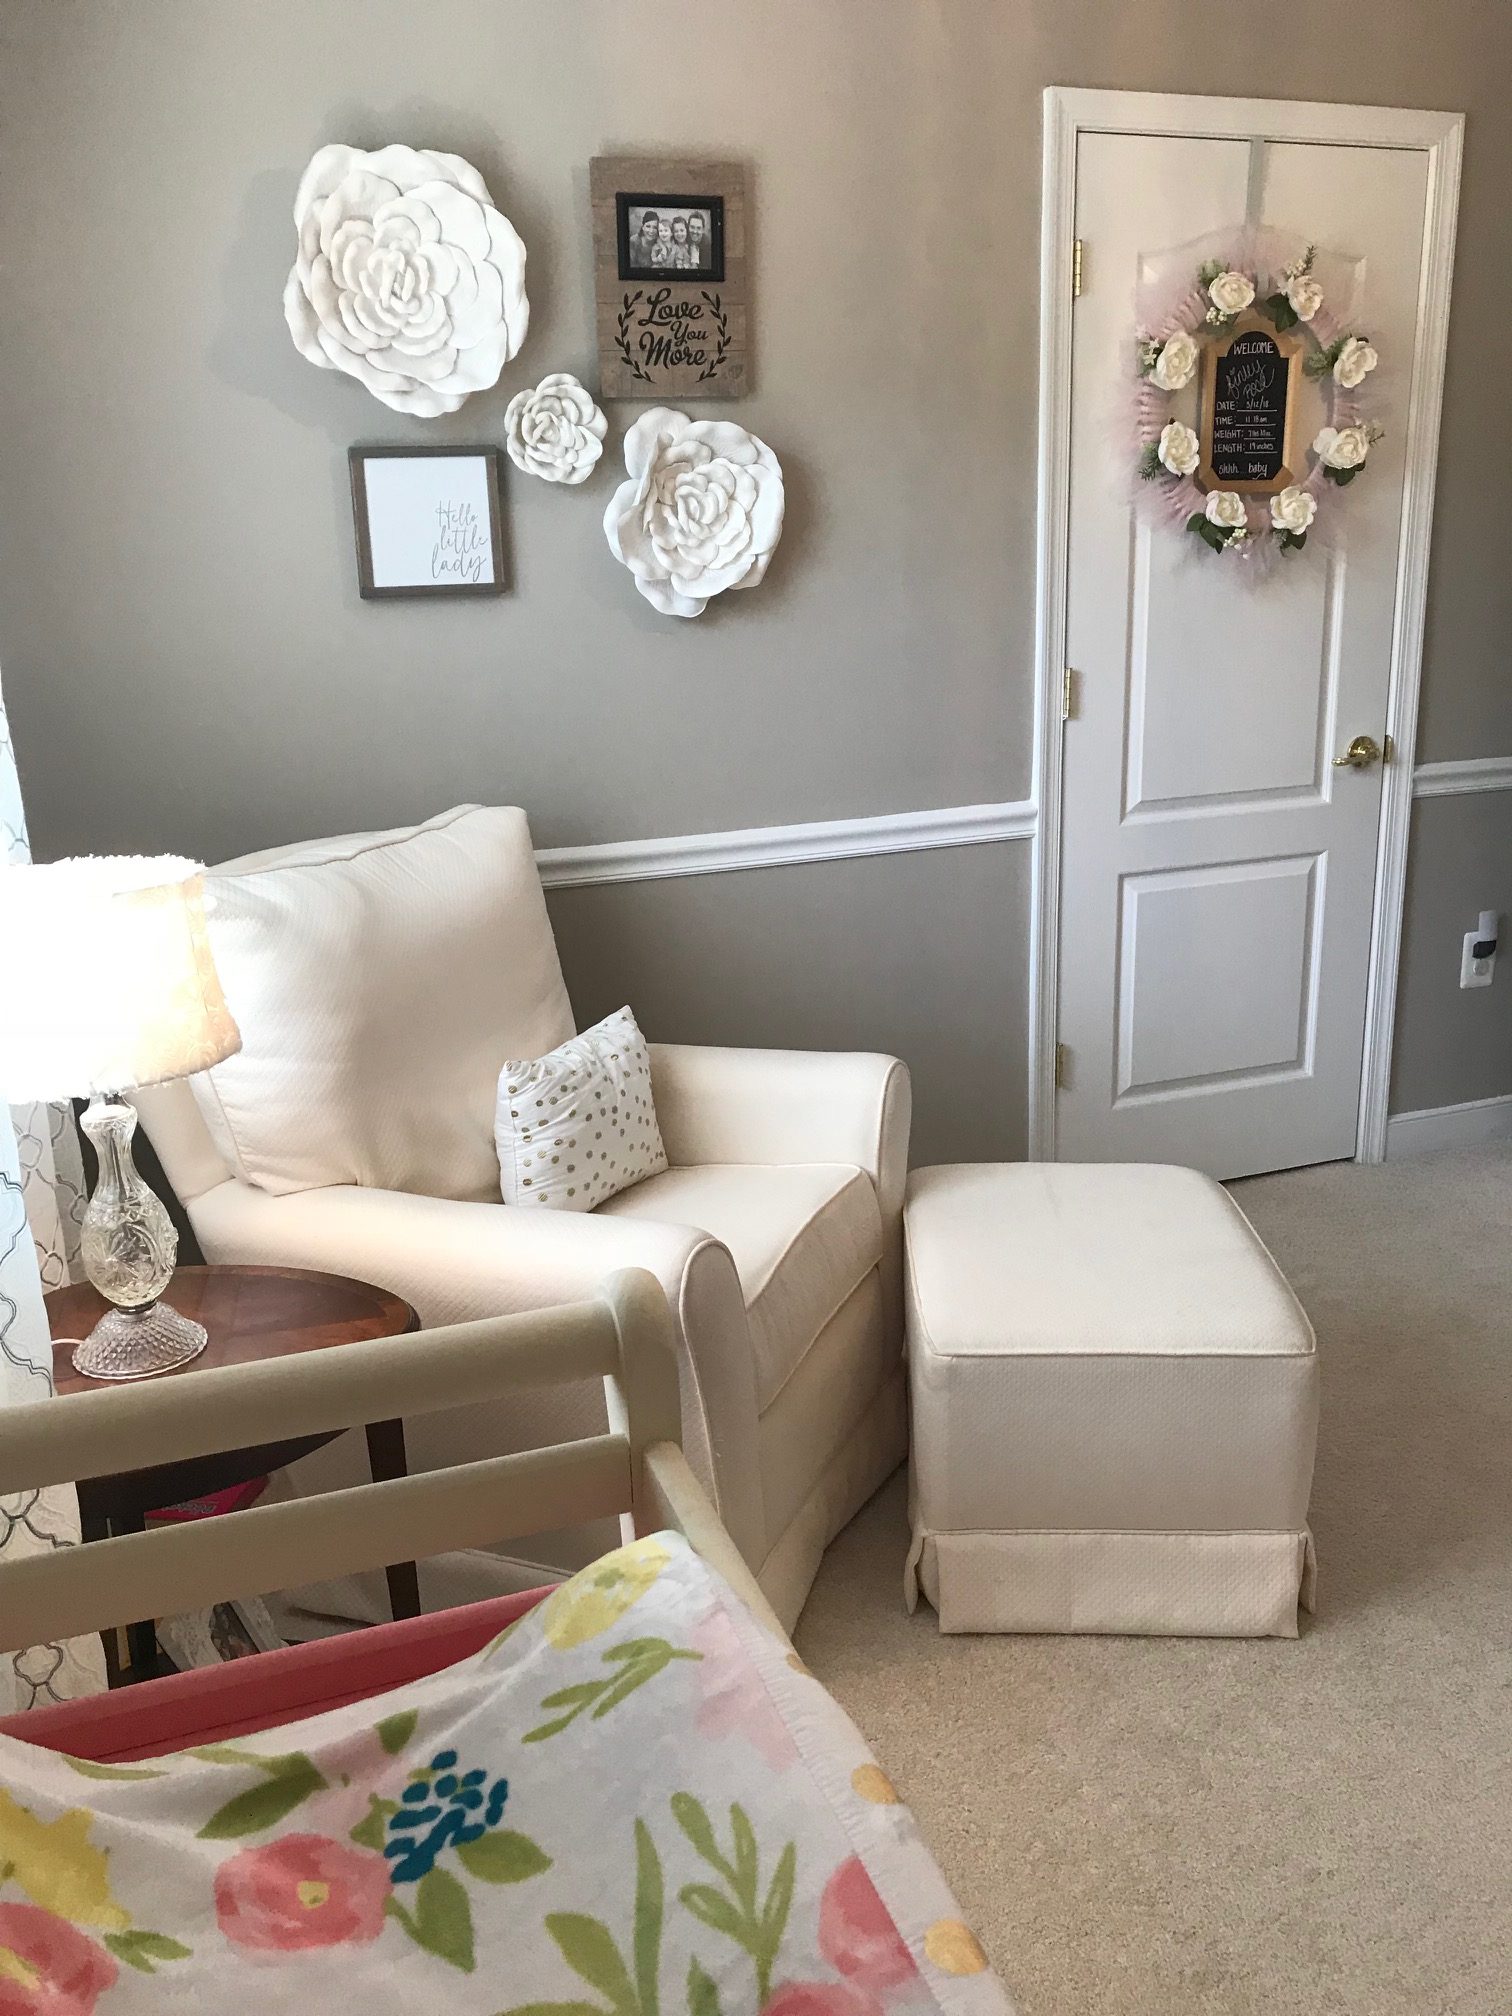
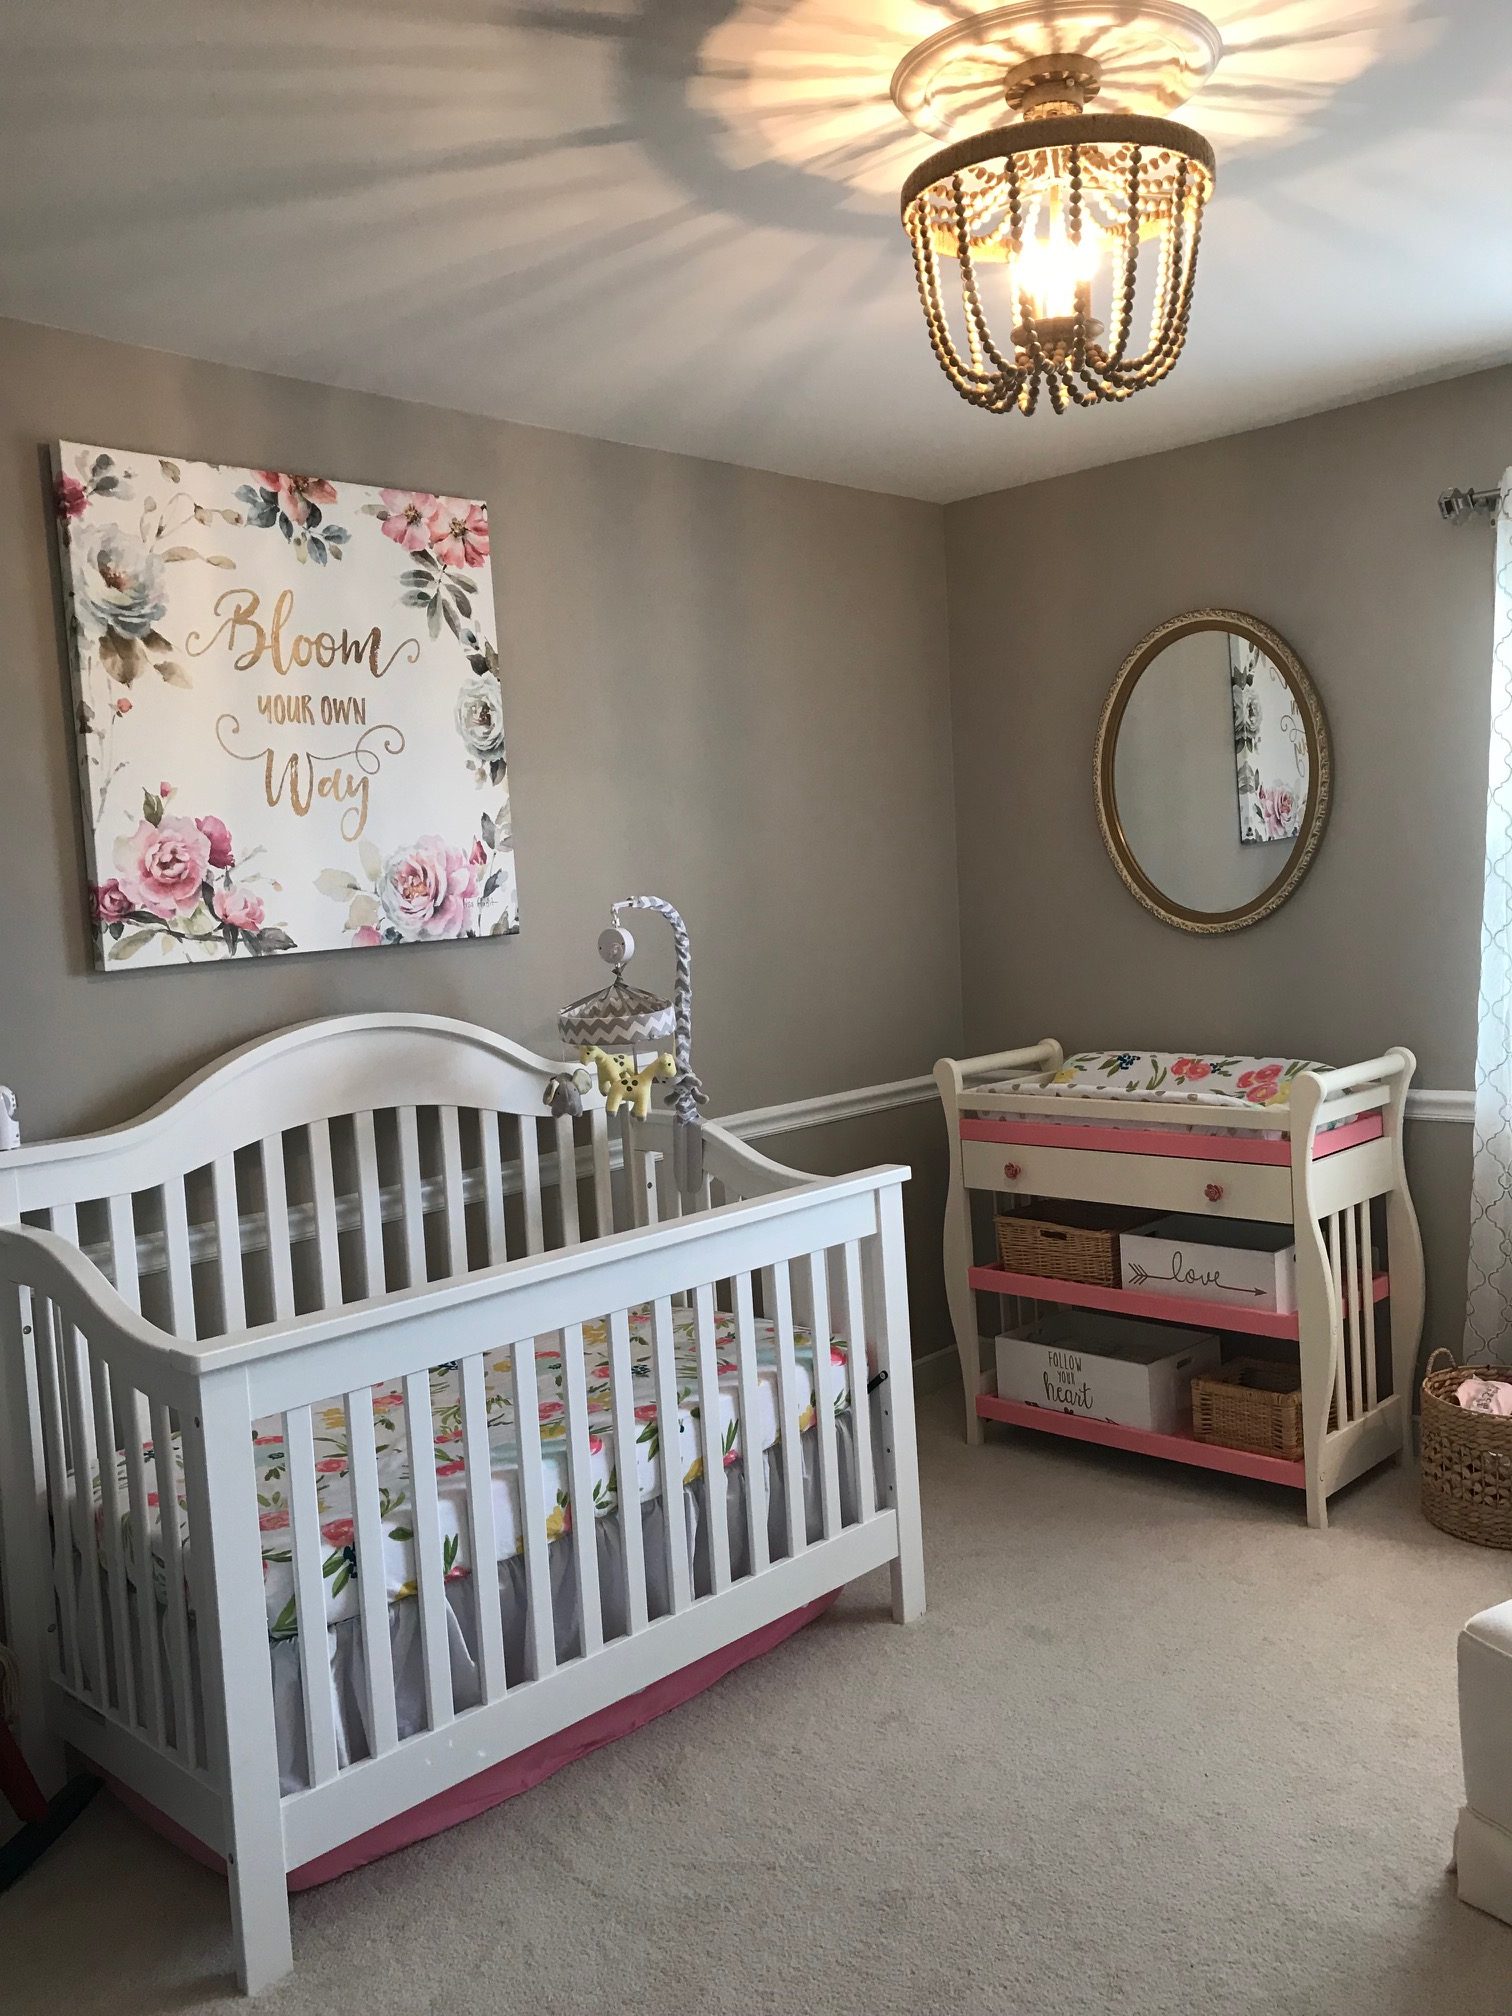
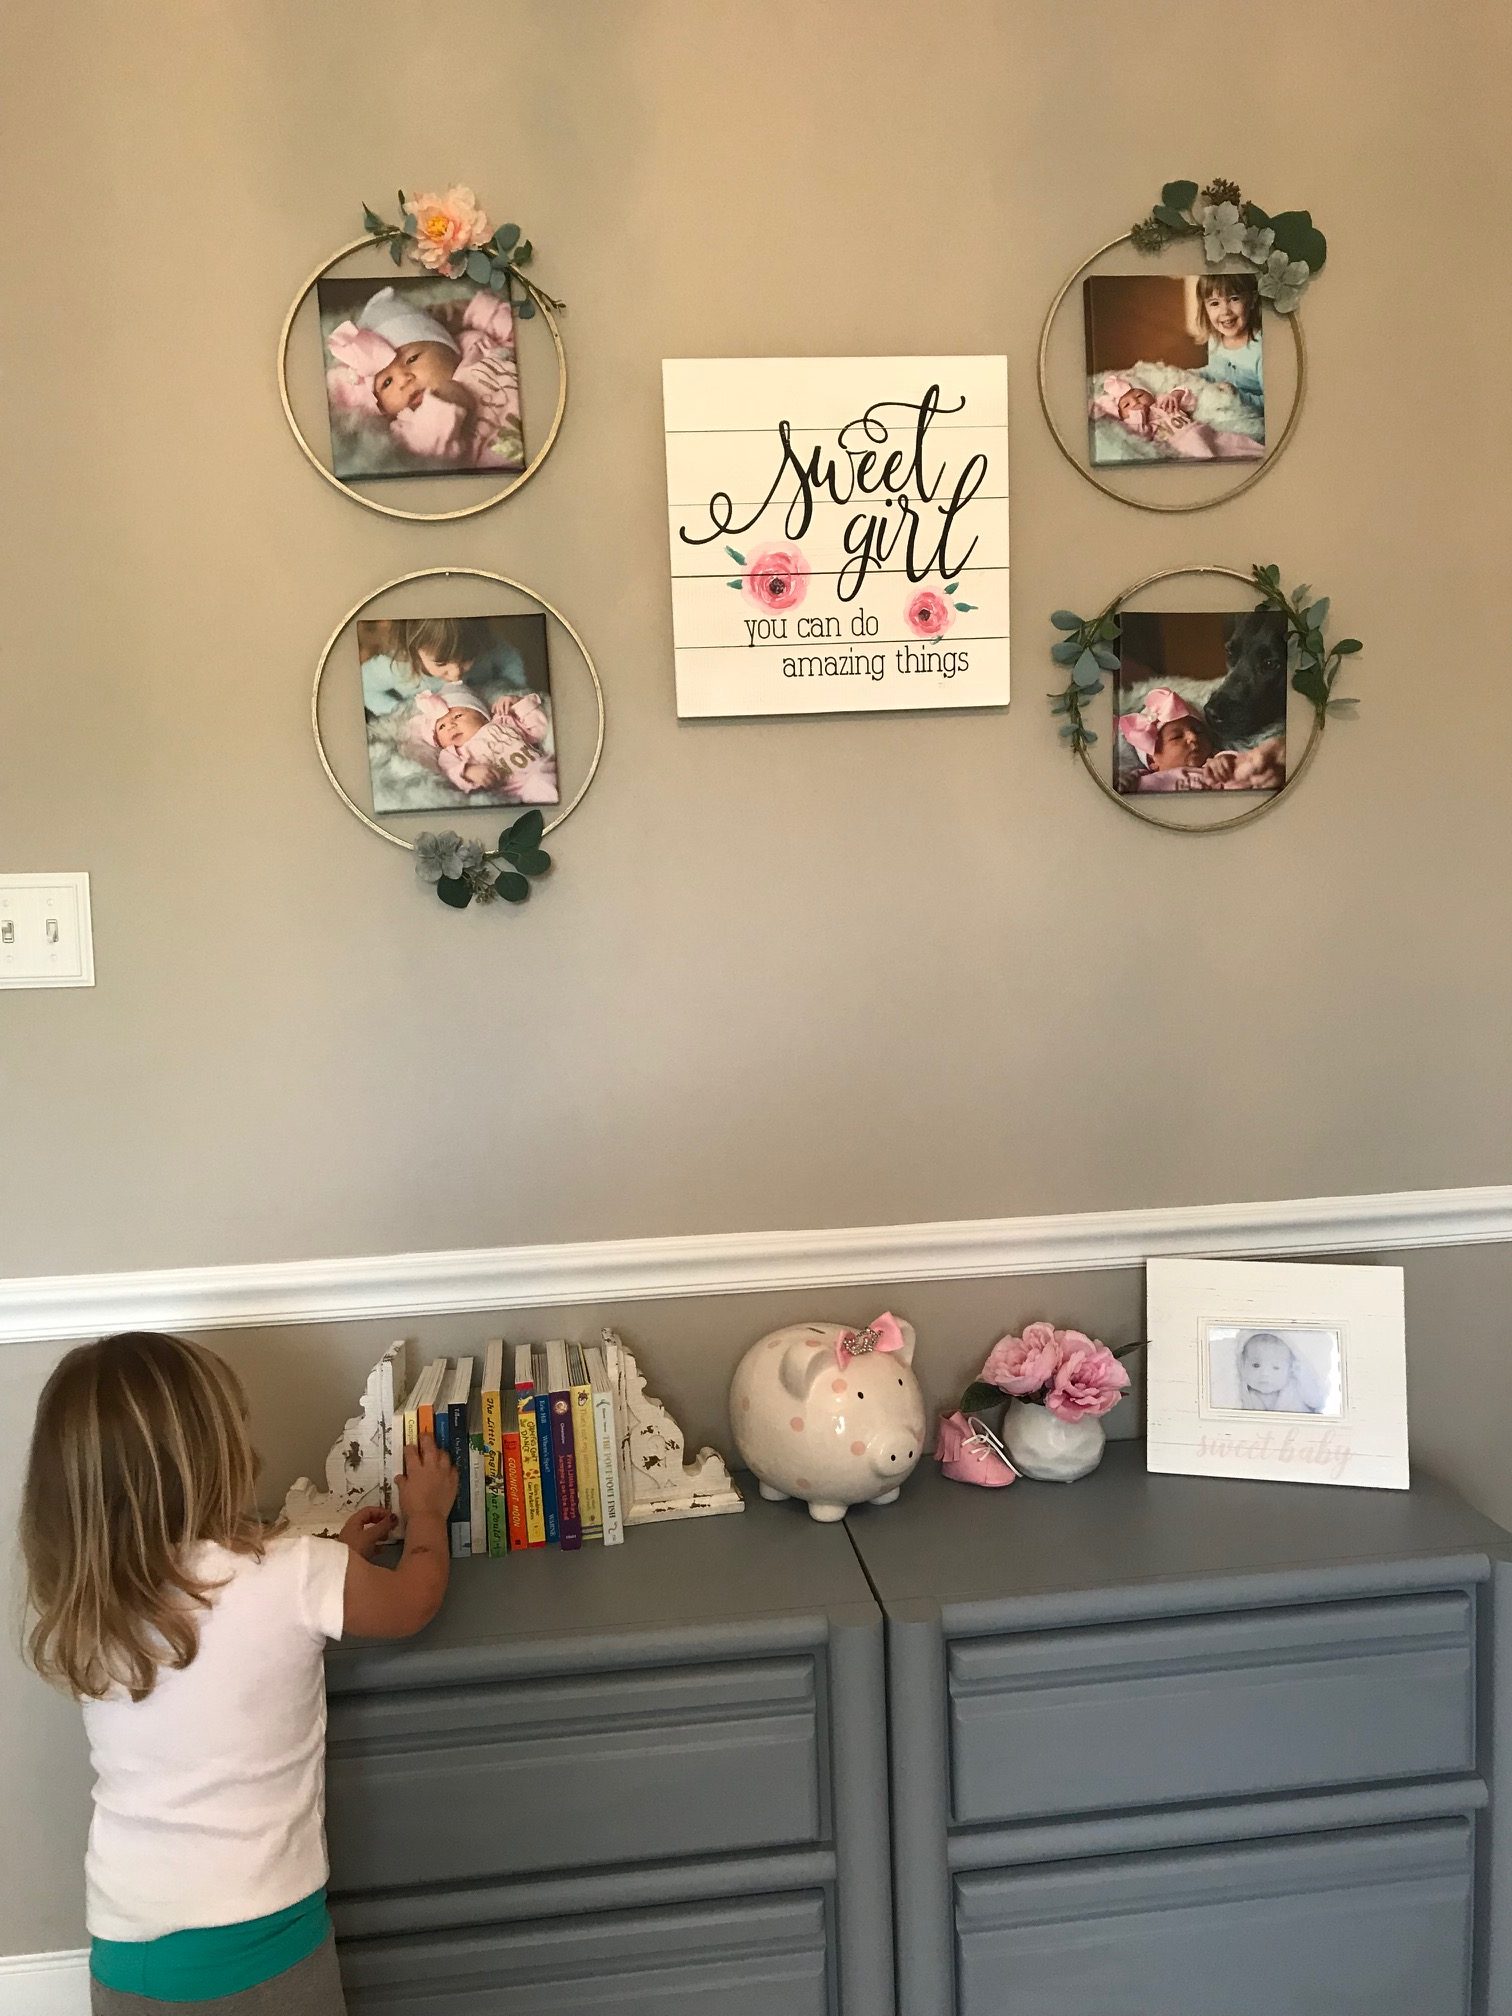
Finley’s nursery is a fabulous mix of big sister furniture, repurposed pieces, thrift/yard sale finds, and new purchases.

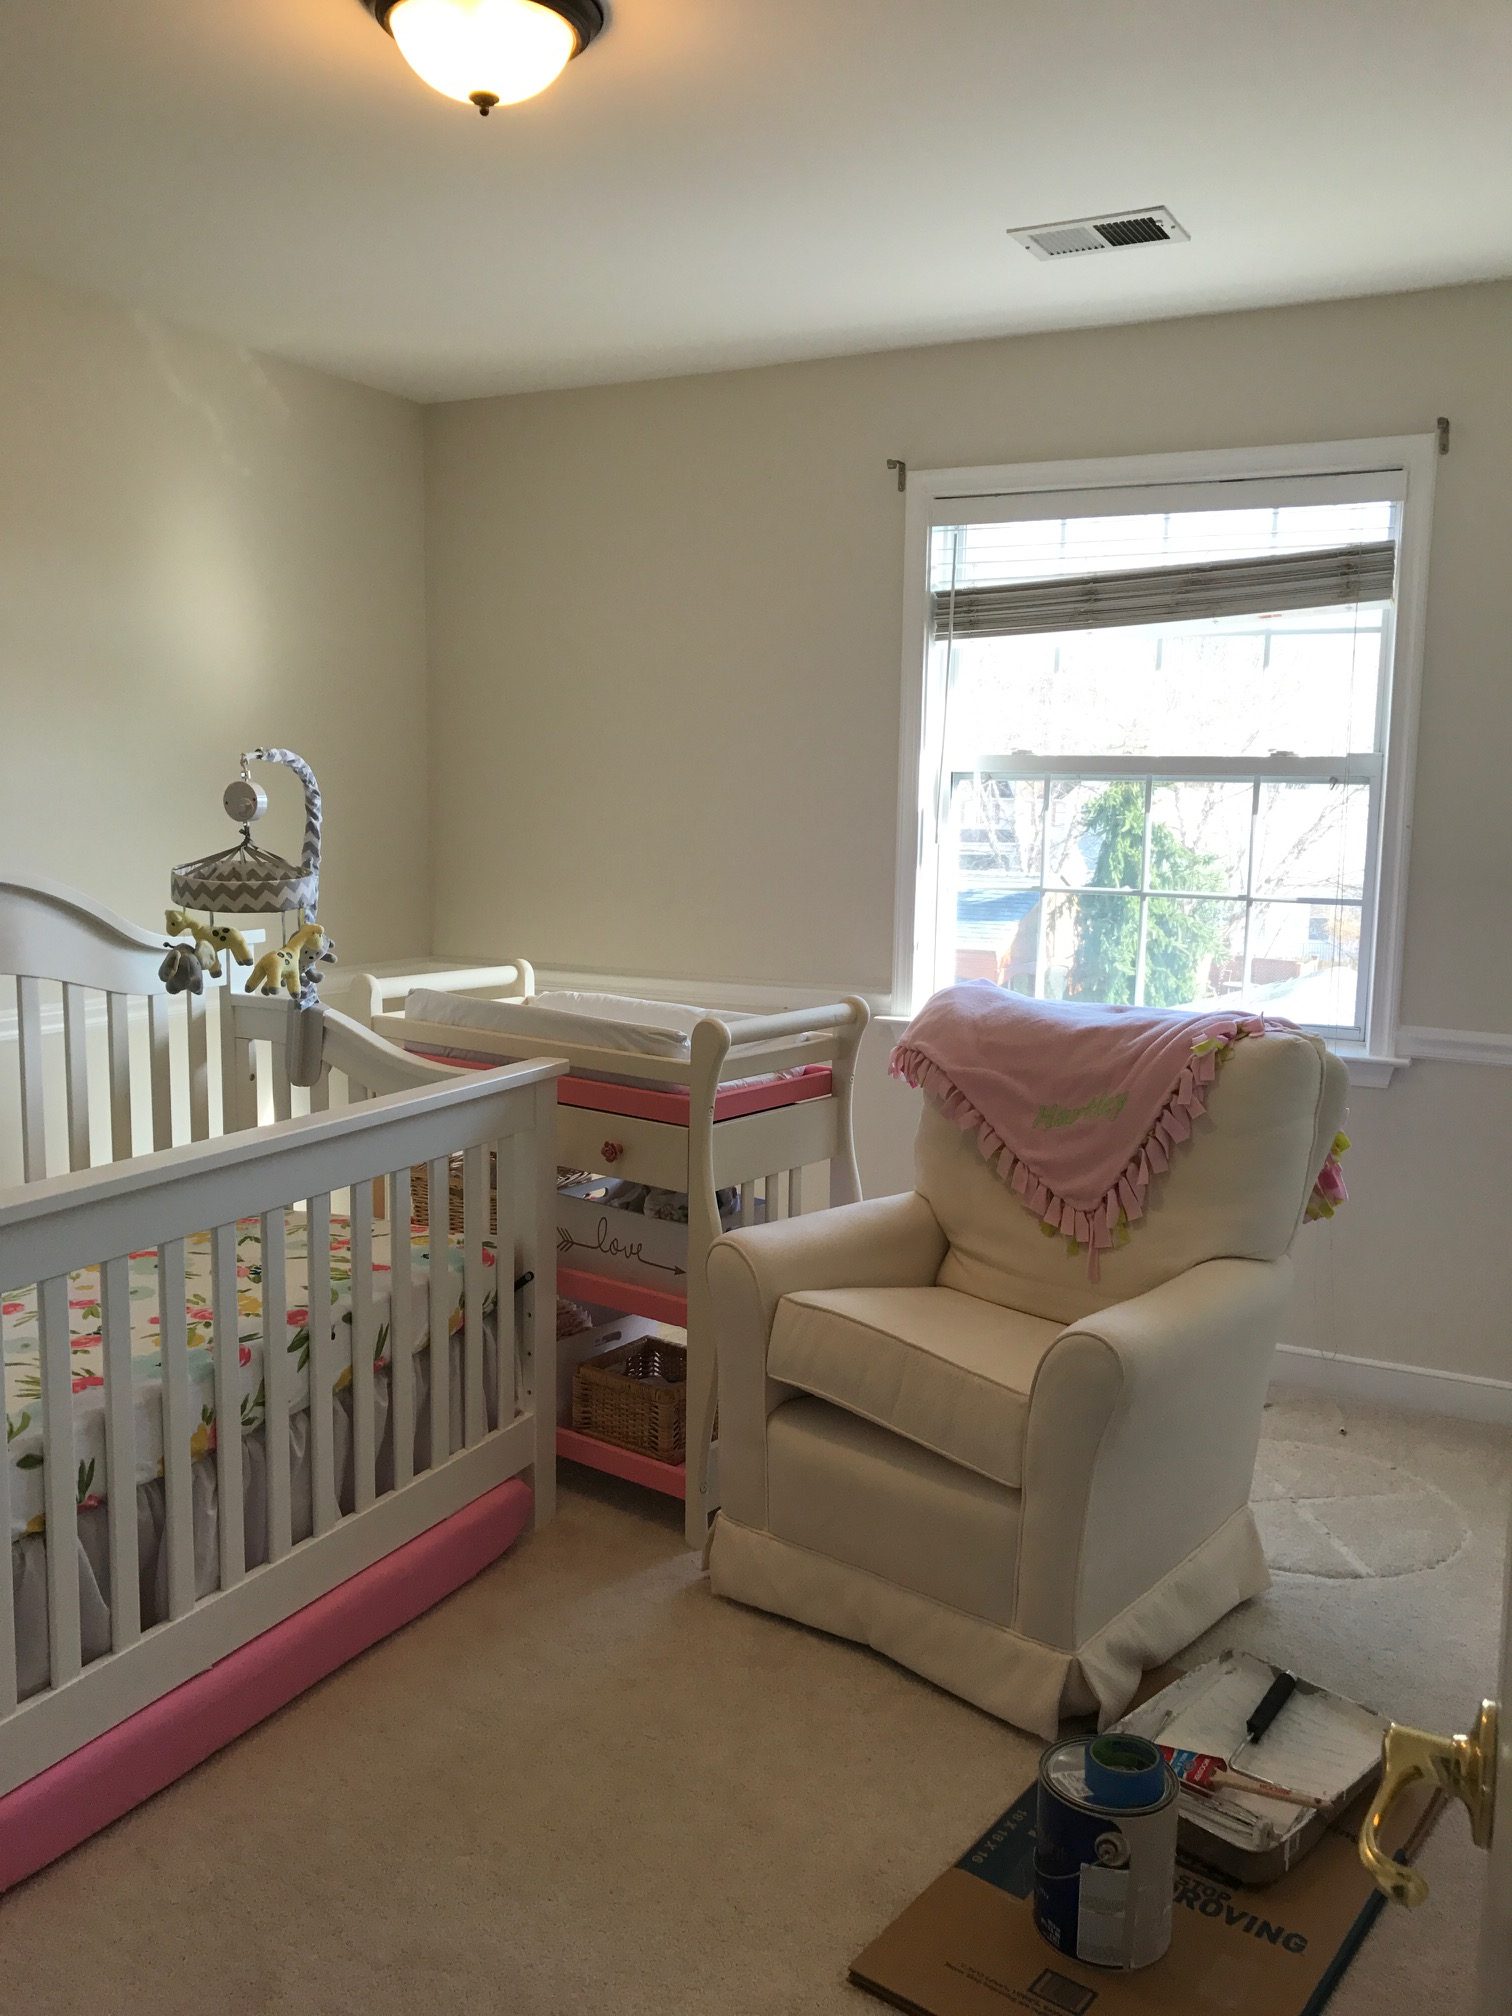
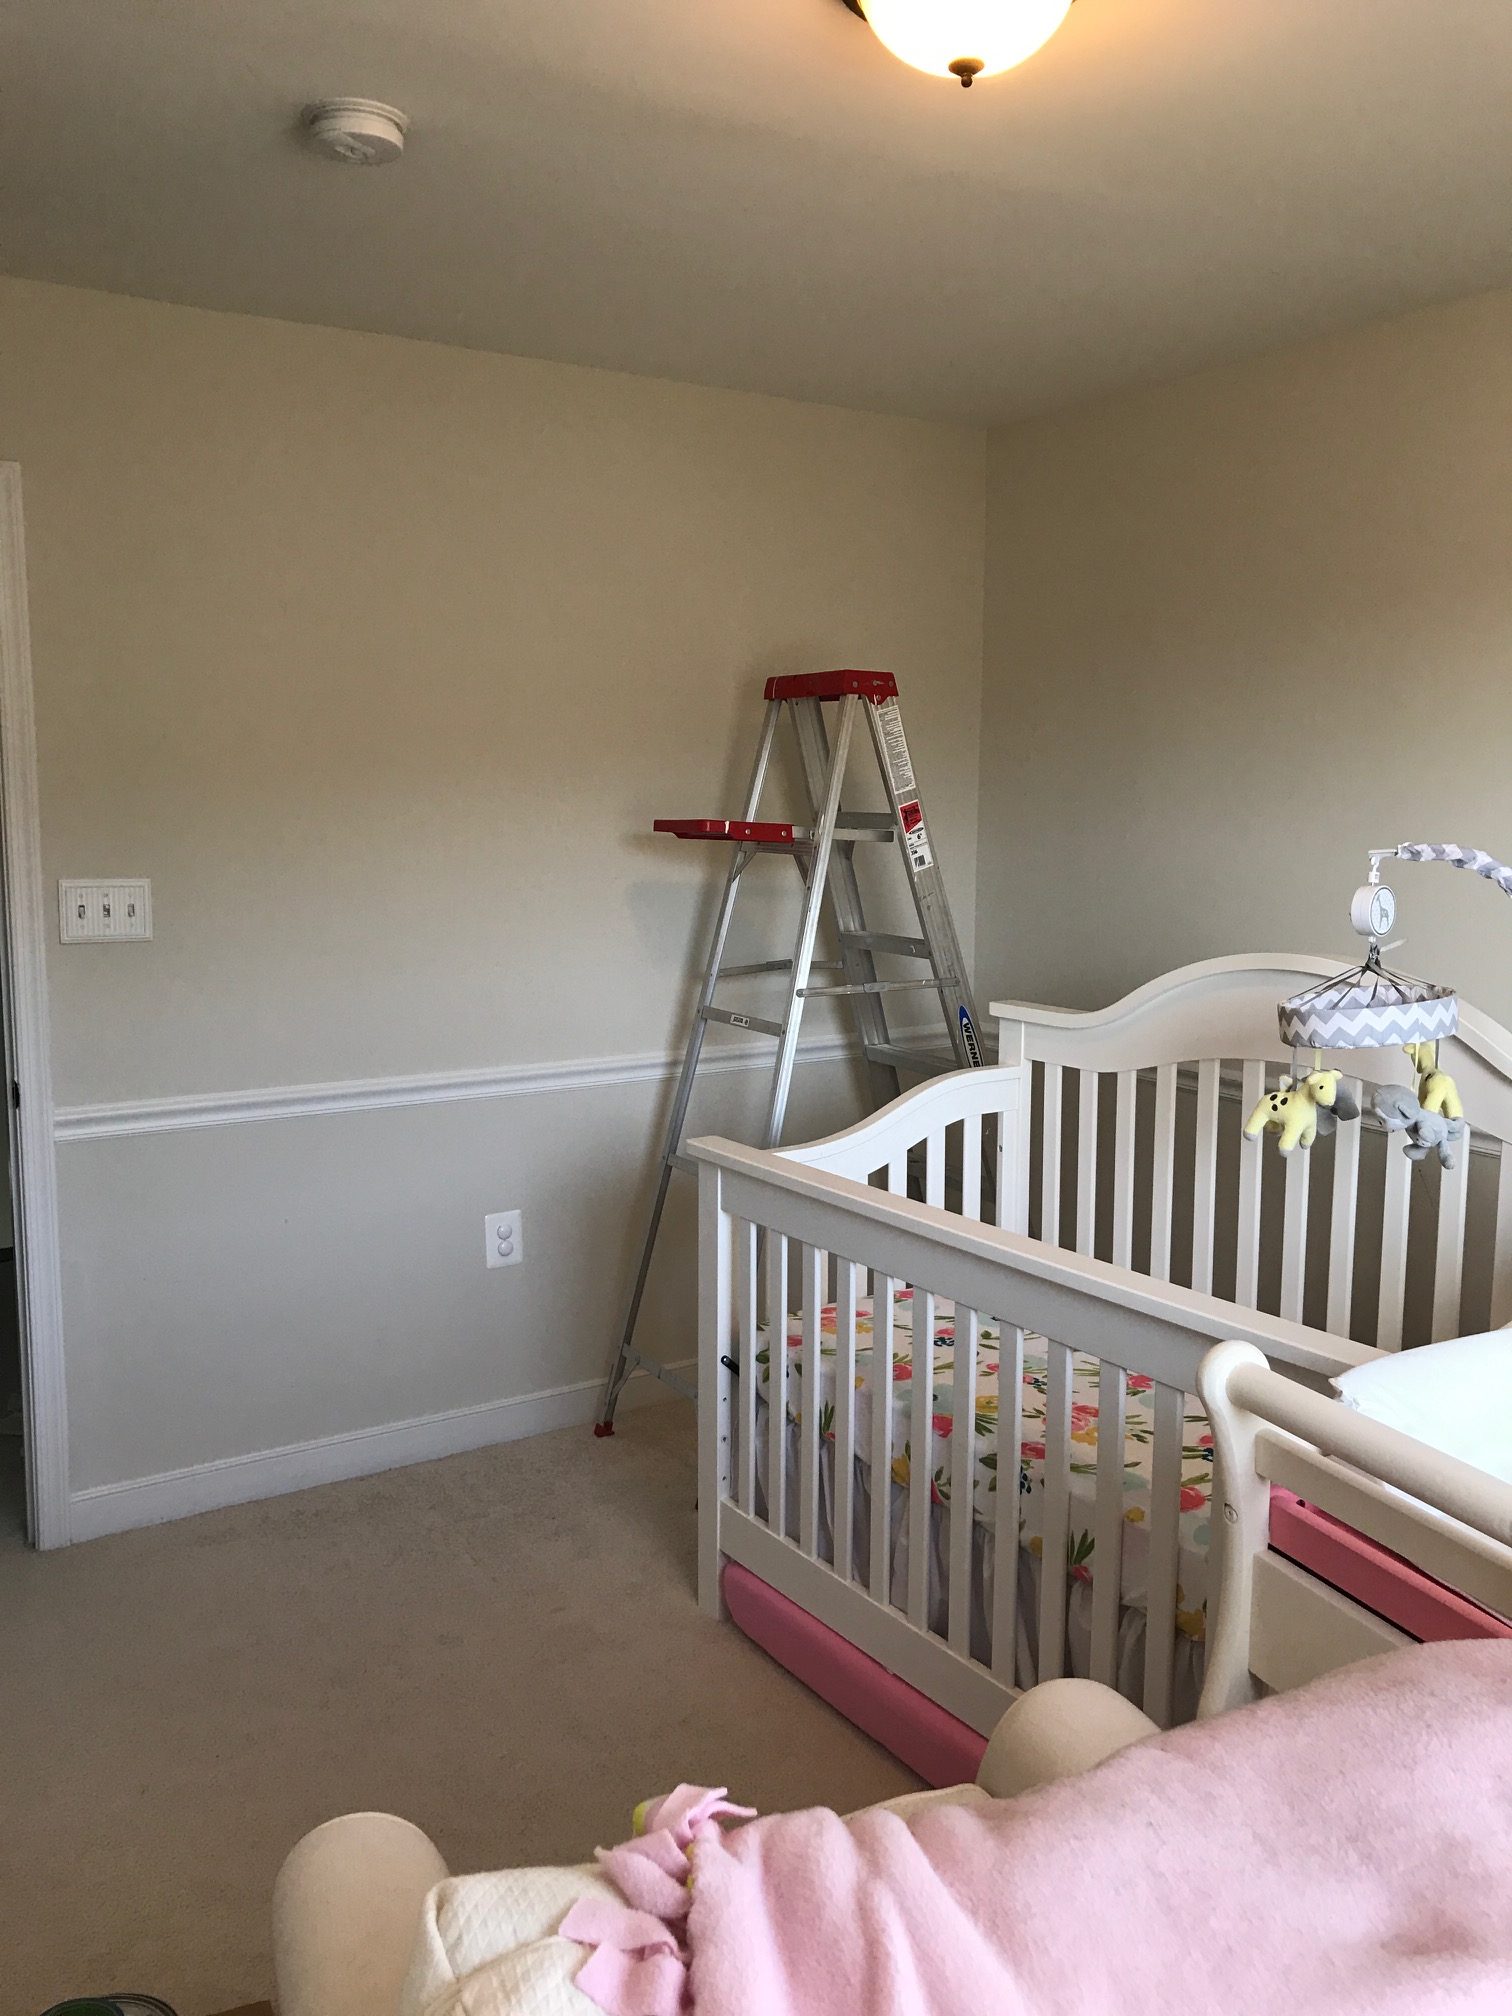
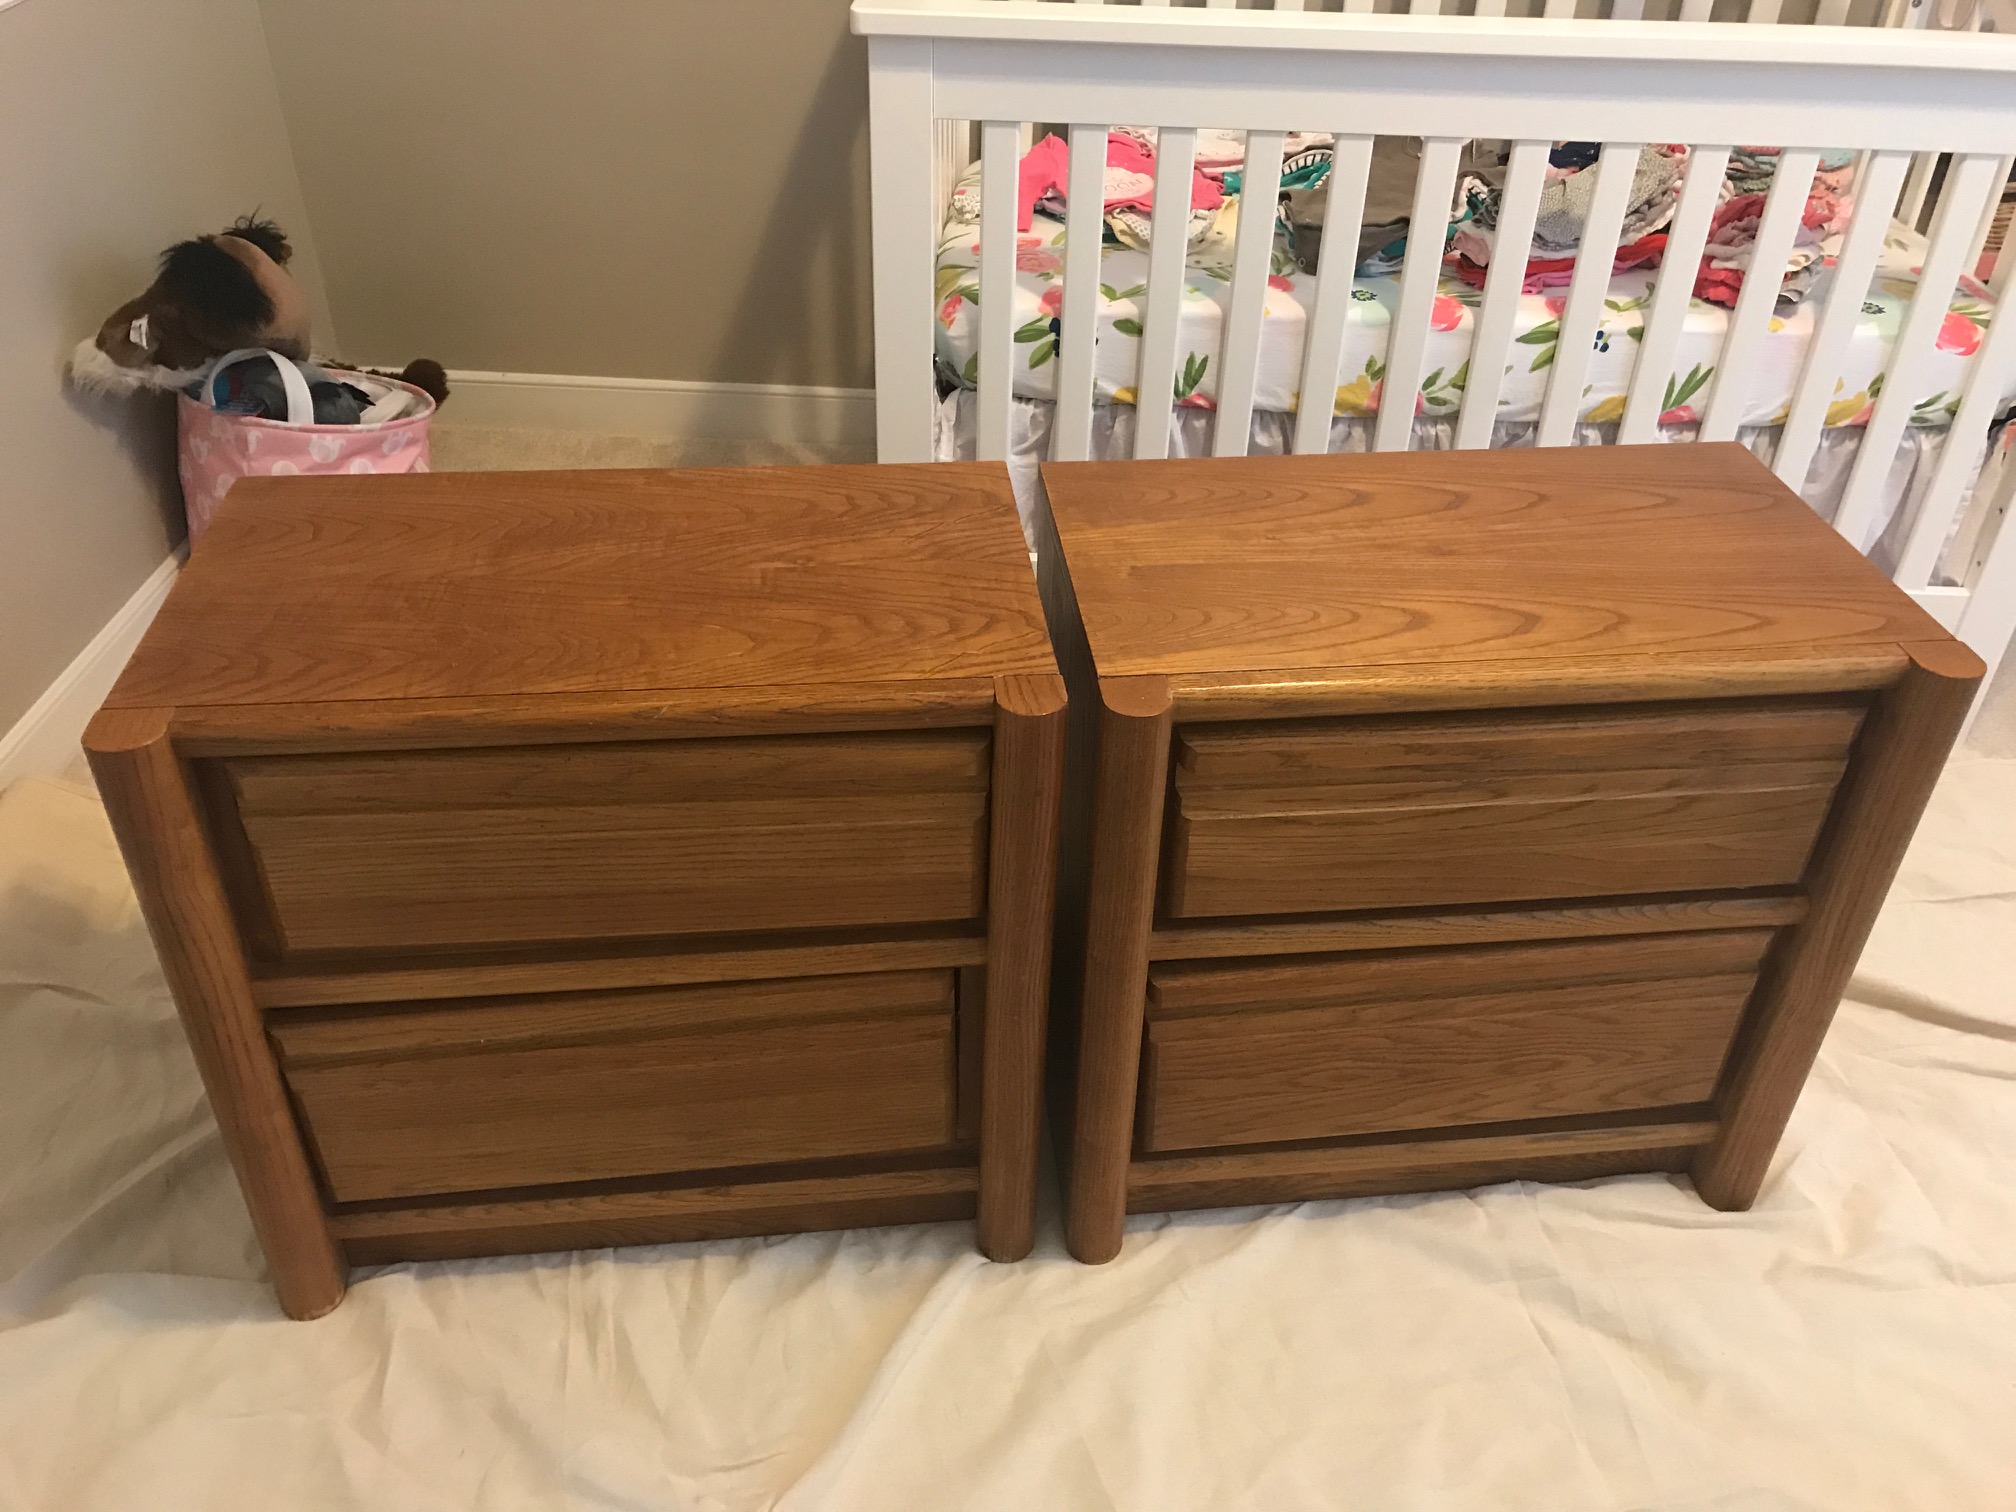
Here are the before pictures. The crib, mobile, and glider were from Hartley’s room. The wall paint color was leftover from our main level . It is Sherwin Williams Versatile Grey.

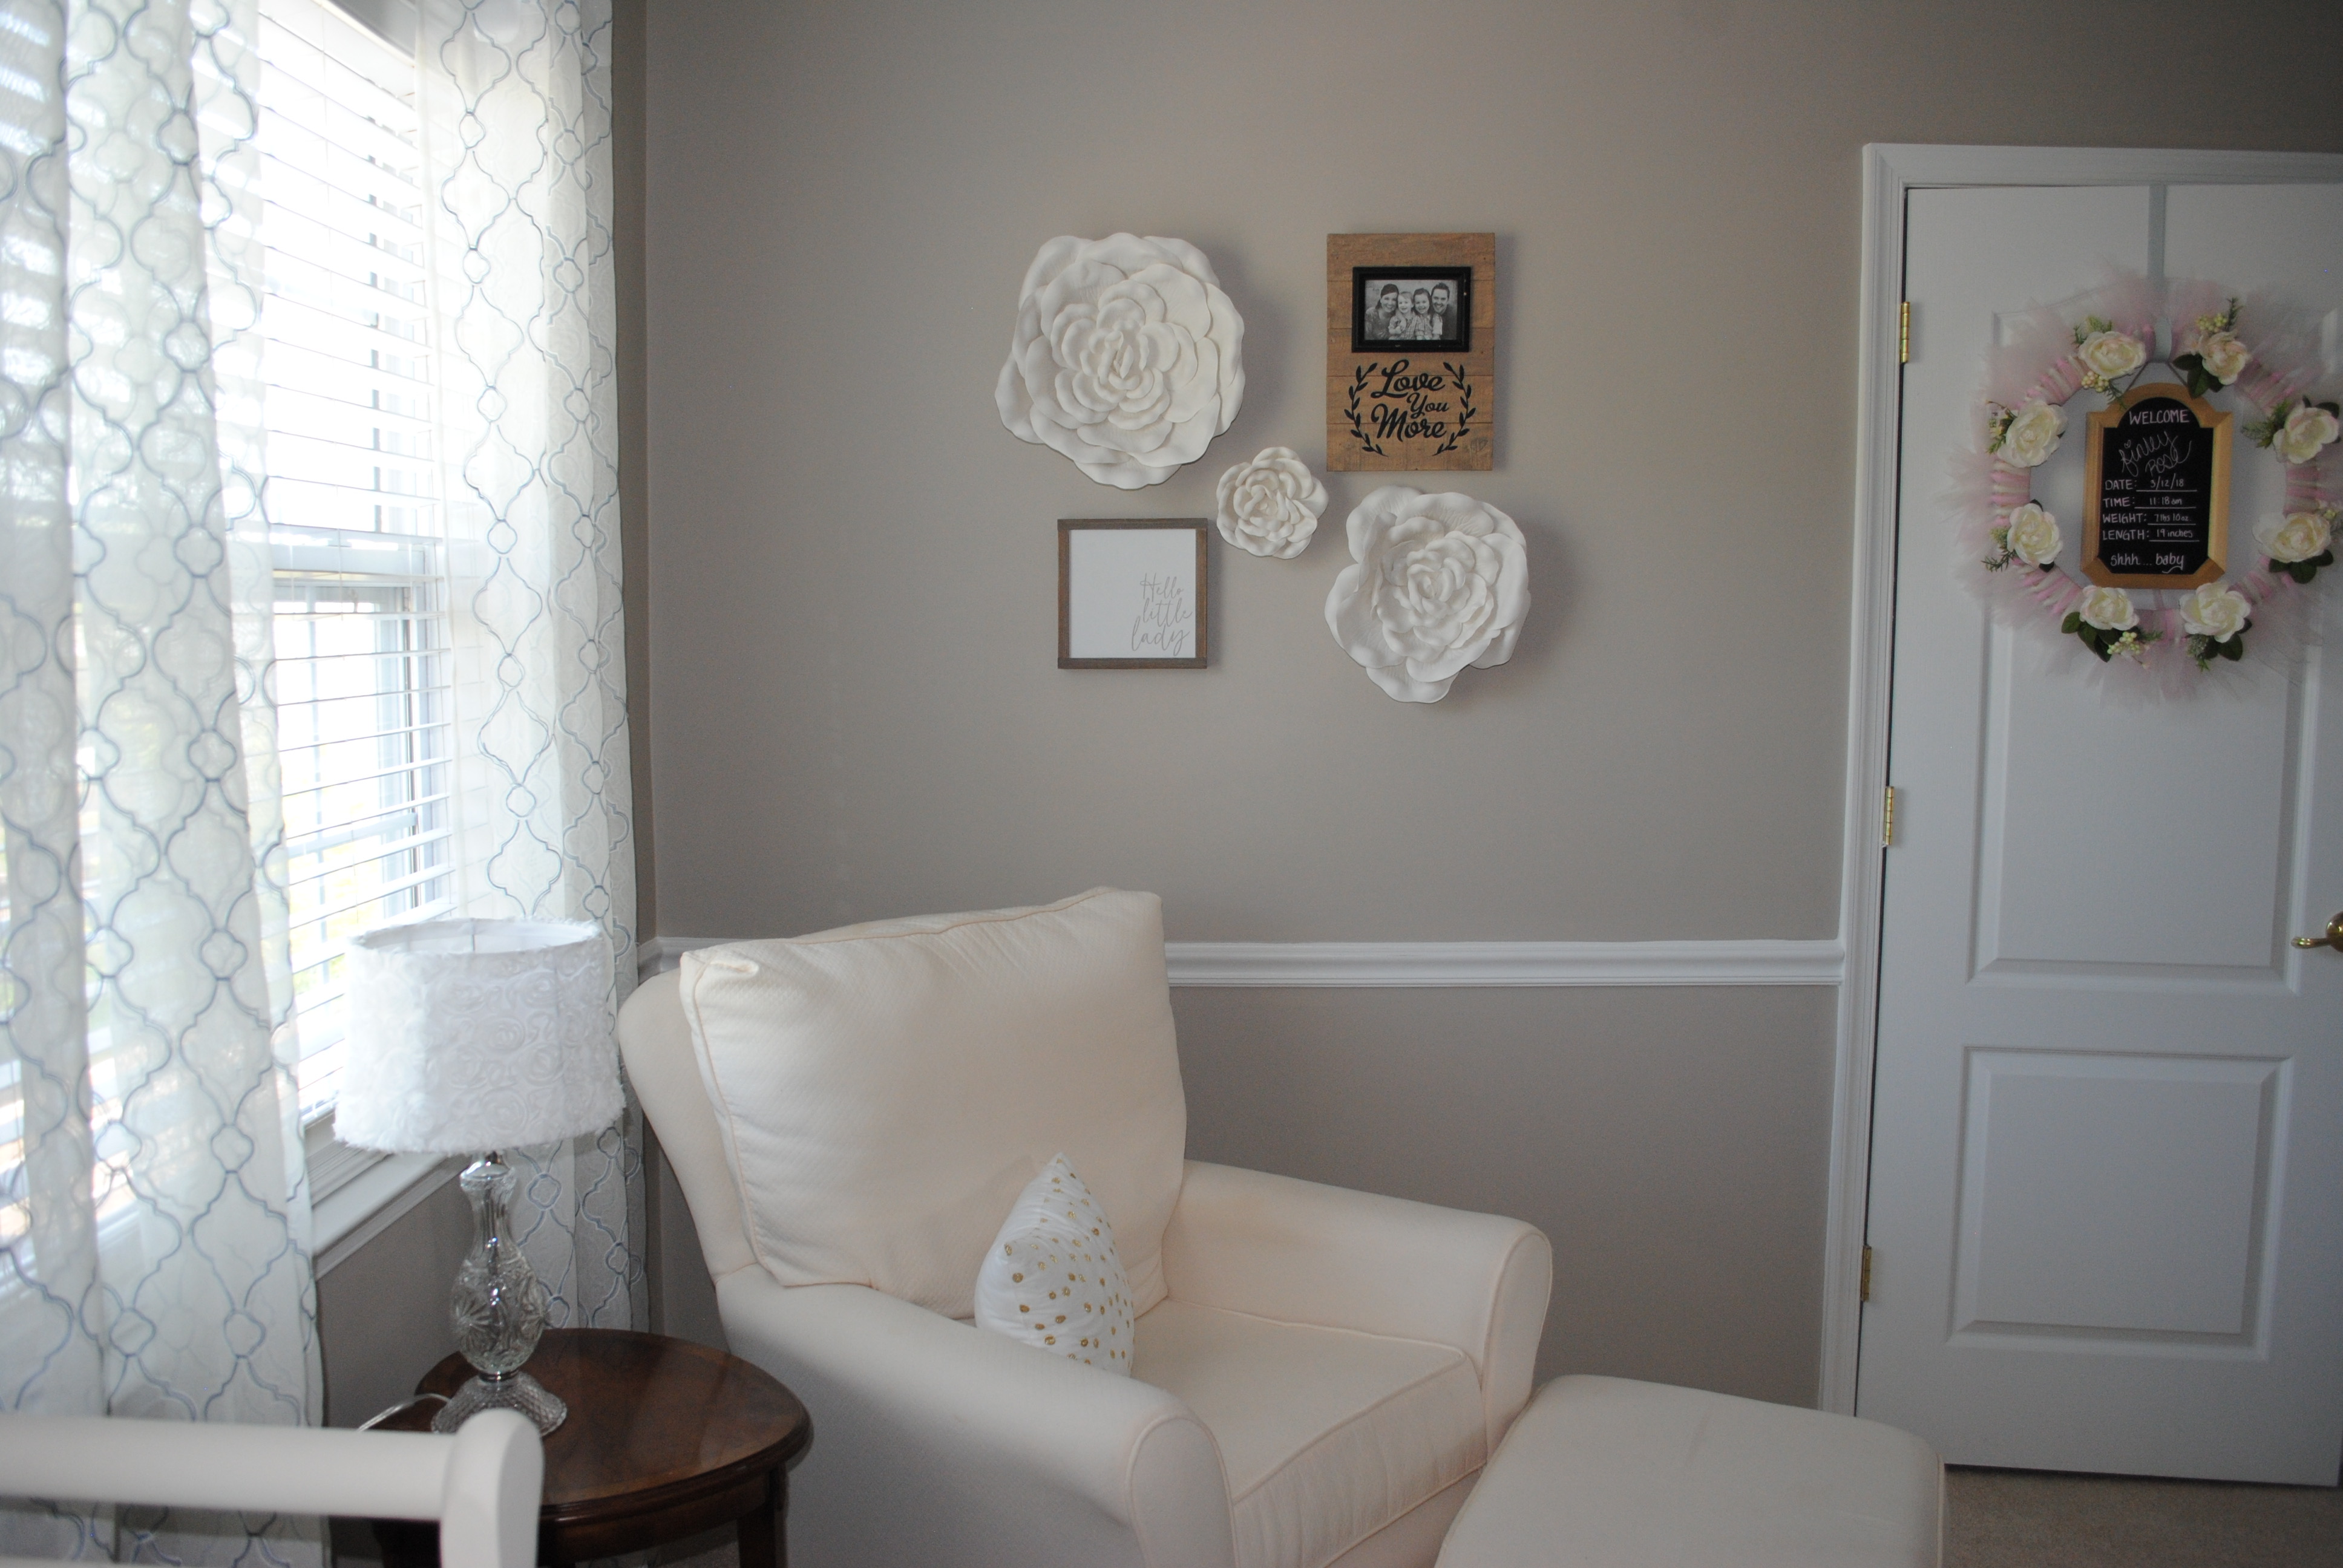
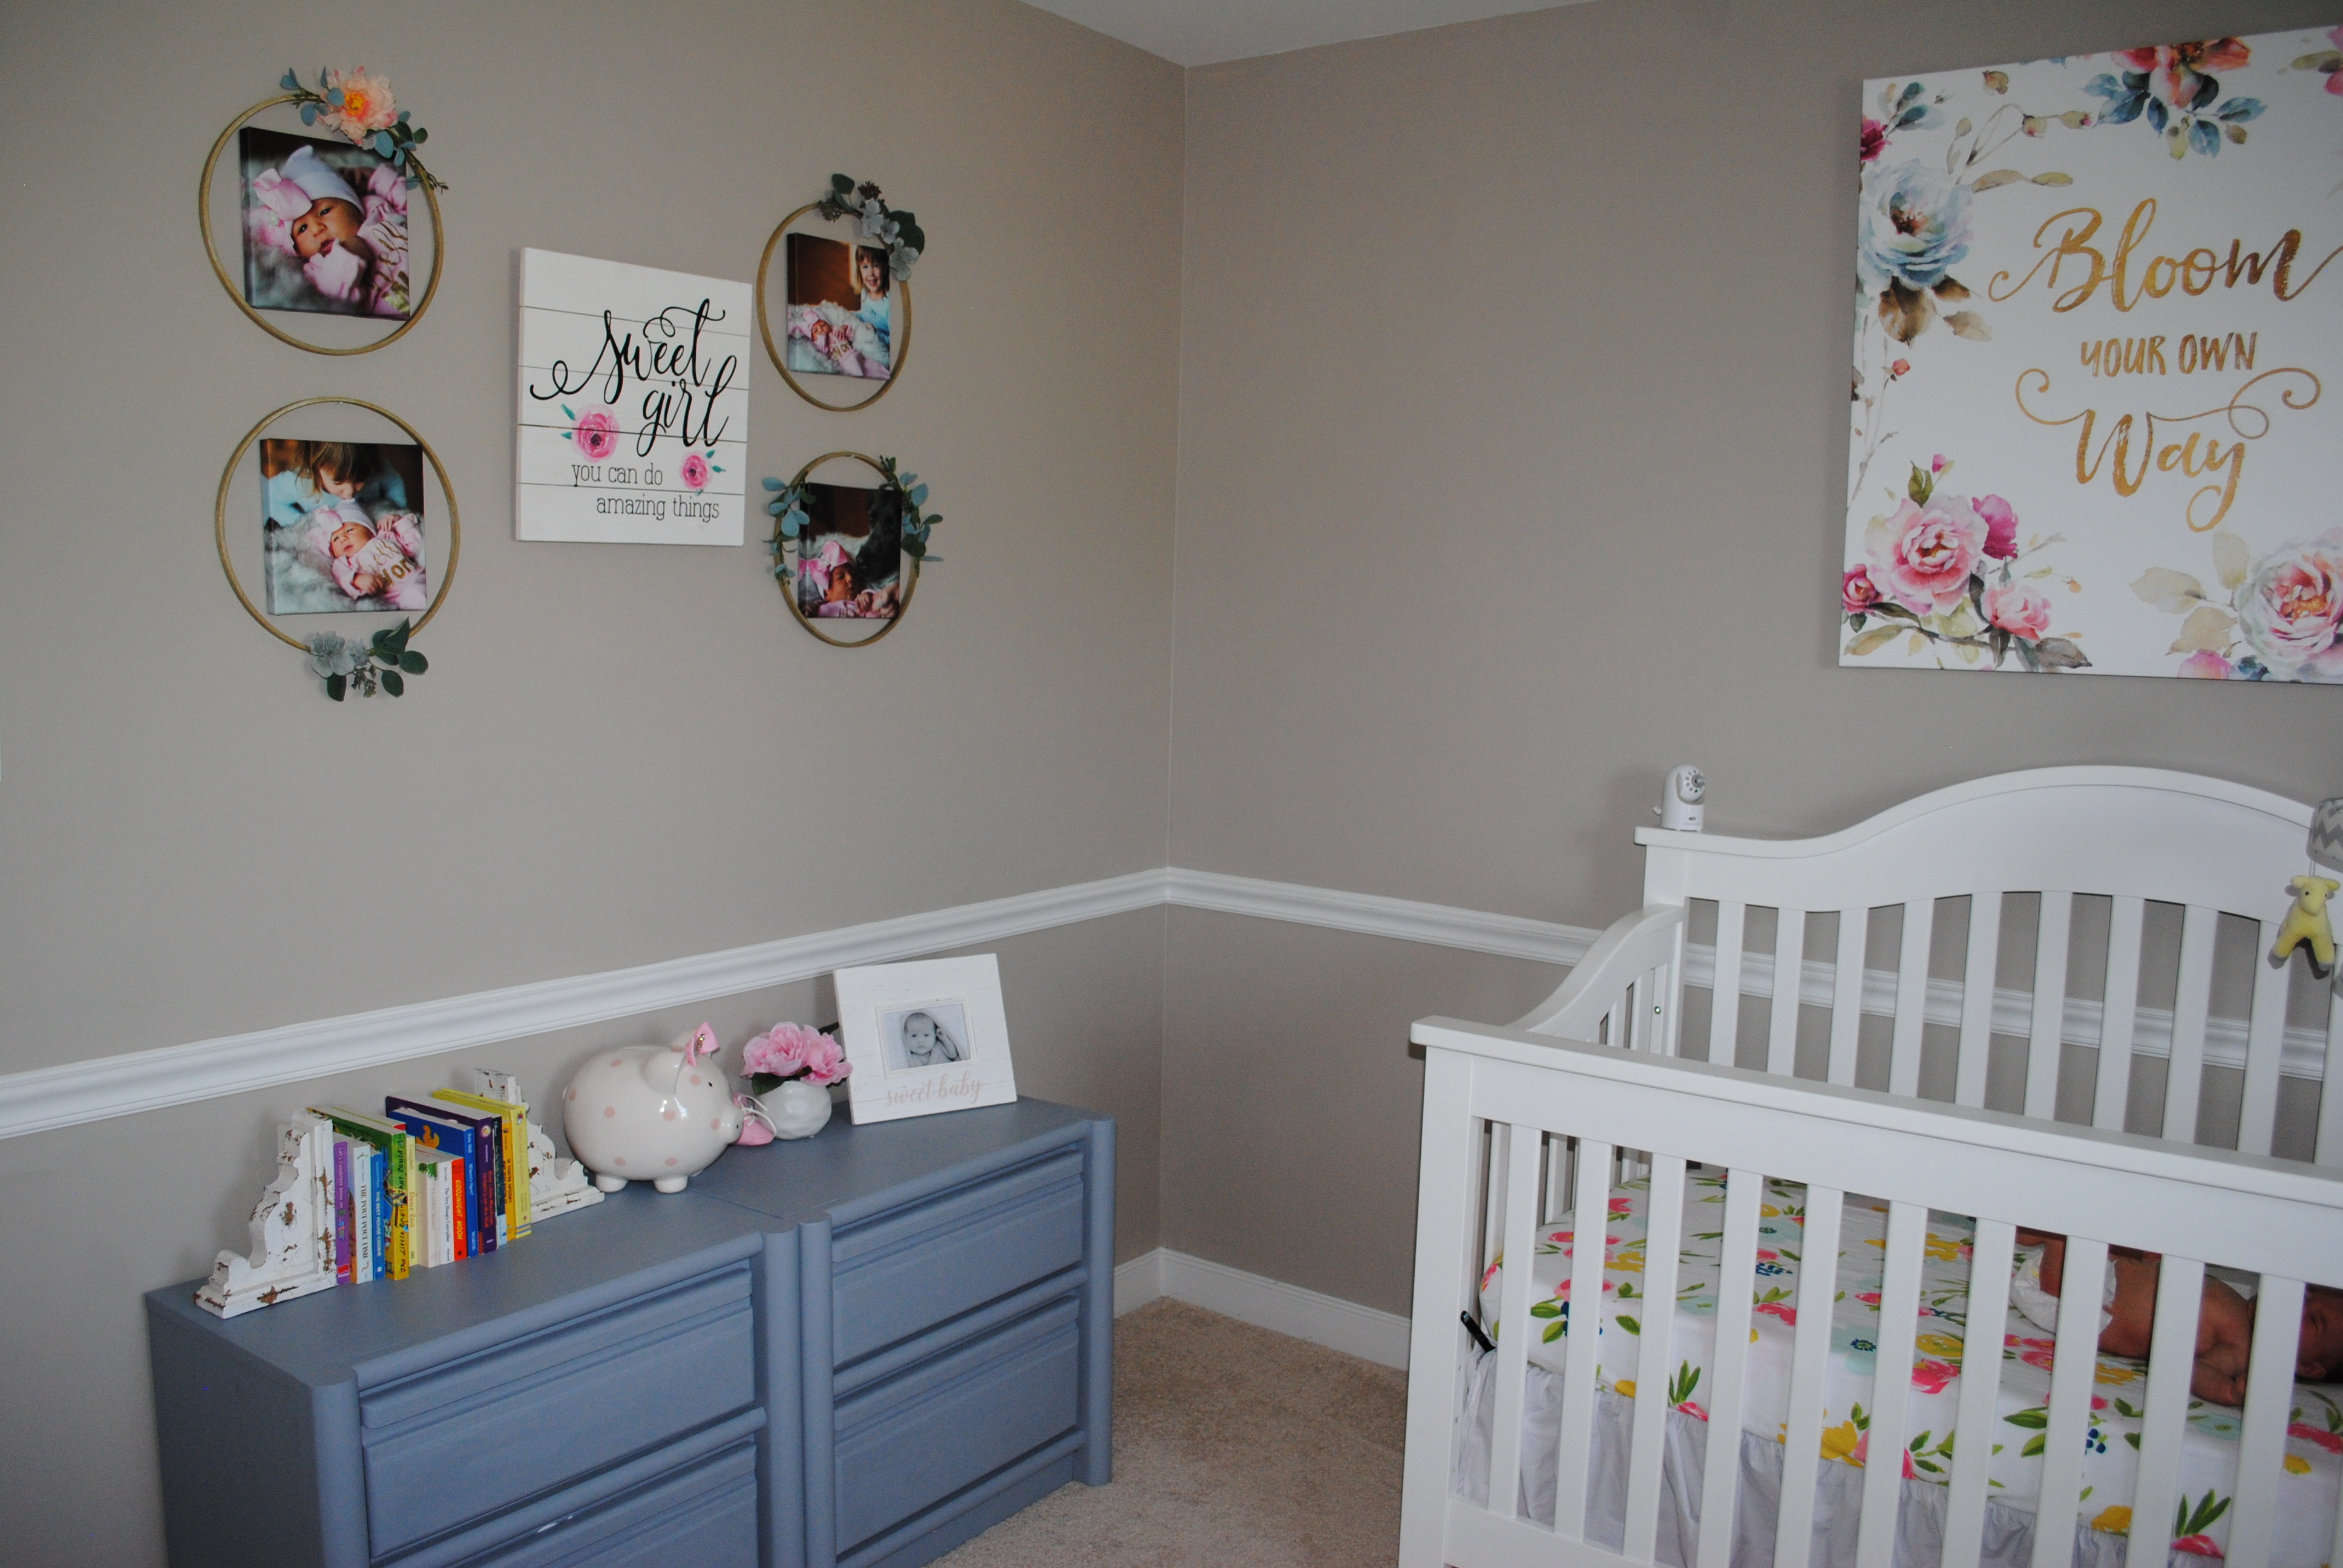
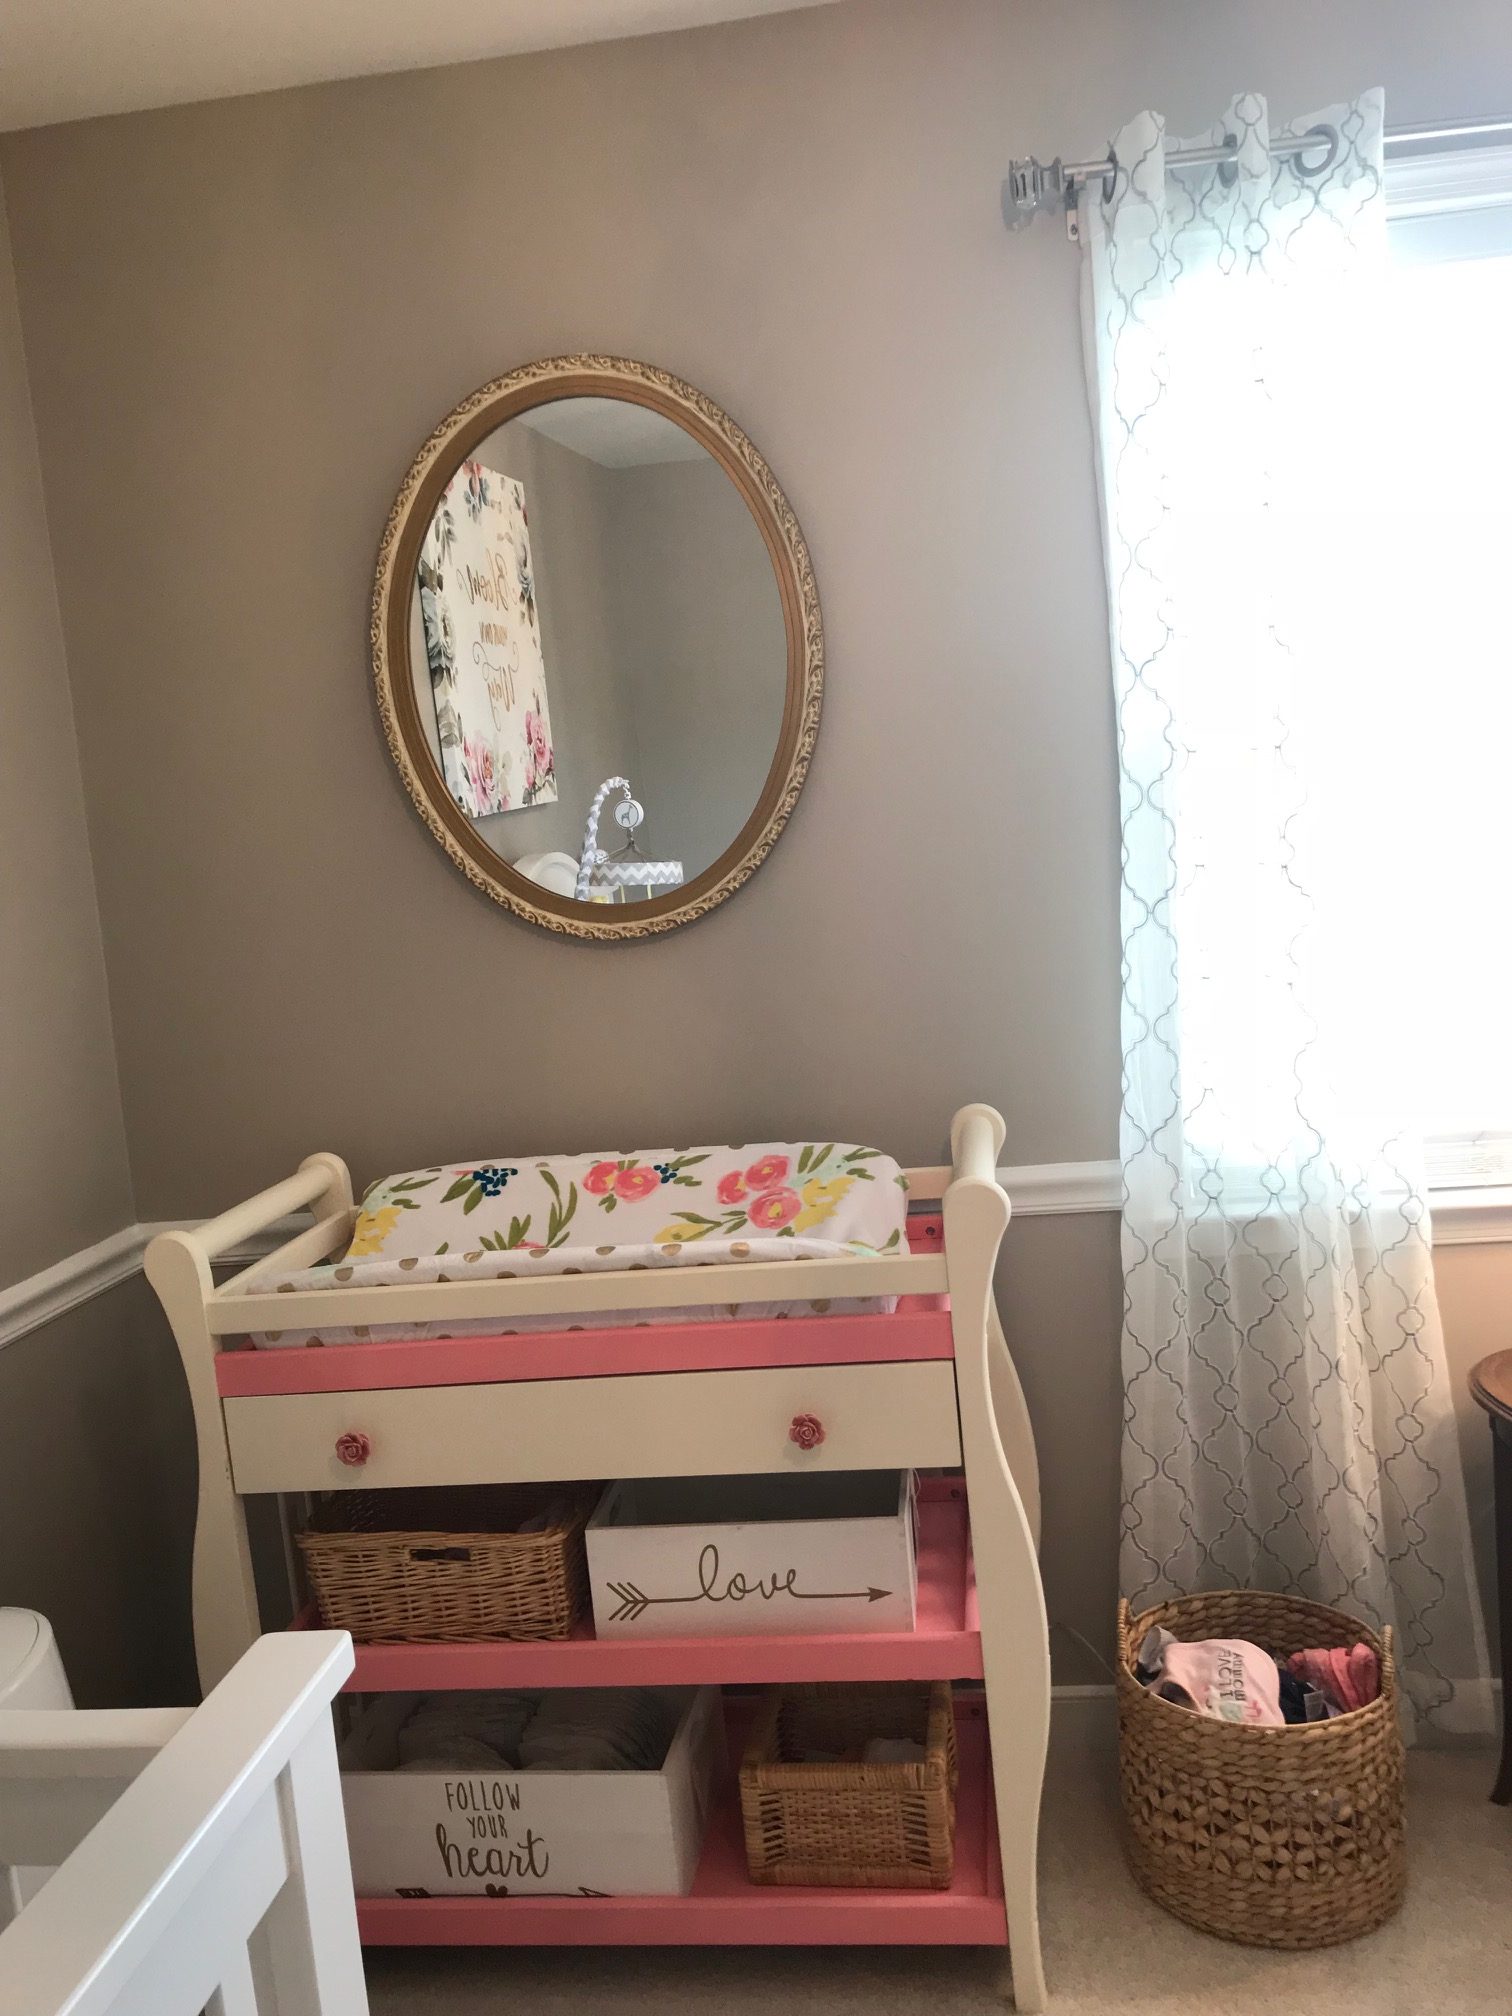
The diaper changing table was a yard sale find for $10. I chalk painted and added cute little rose knobs. I also added a mix of thrift store baskets and ones I found from Homegoods. The mirror above the changing table was a $5 thrift store find. The changing pad cover and bedding set are from Target. I also have the matching muslin swaddle blankets which are my absolute favorite for everyday use. The large floral art piece above the crib is from Target as well. The other wall art is all from Hobby Lobby with the unique canvas wreaths and baby announcement door wreath I created mixed in. Ohhh and the fabulous hanging light pendent is from Joss & Main.

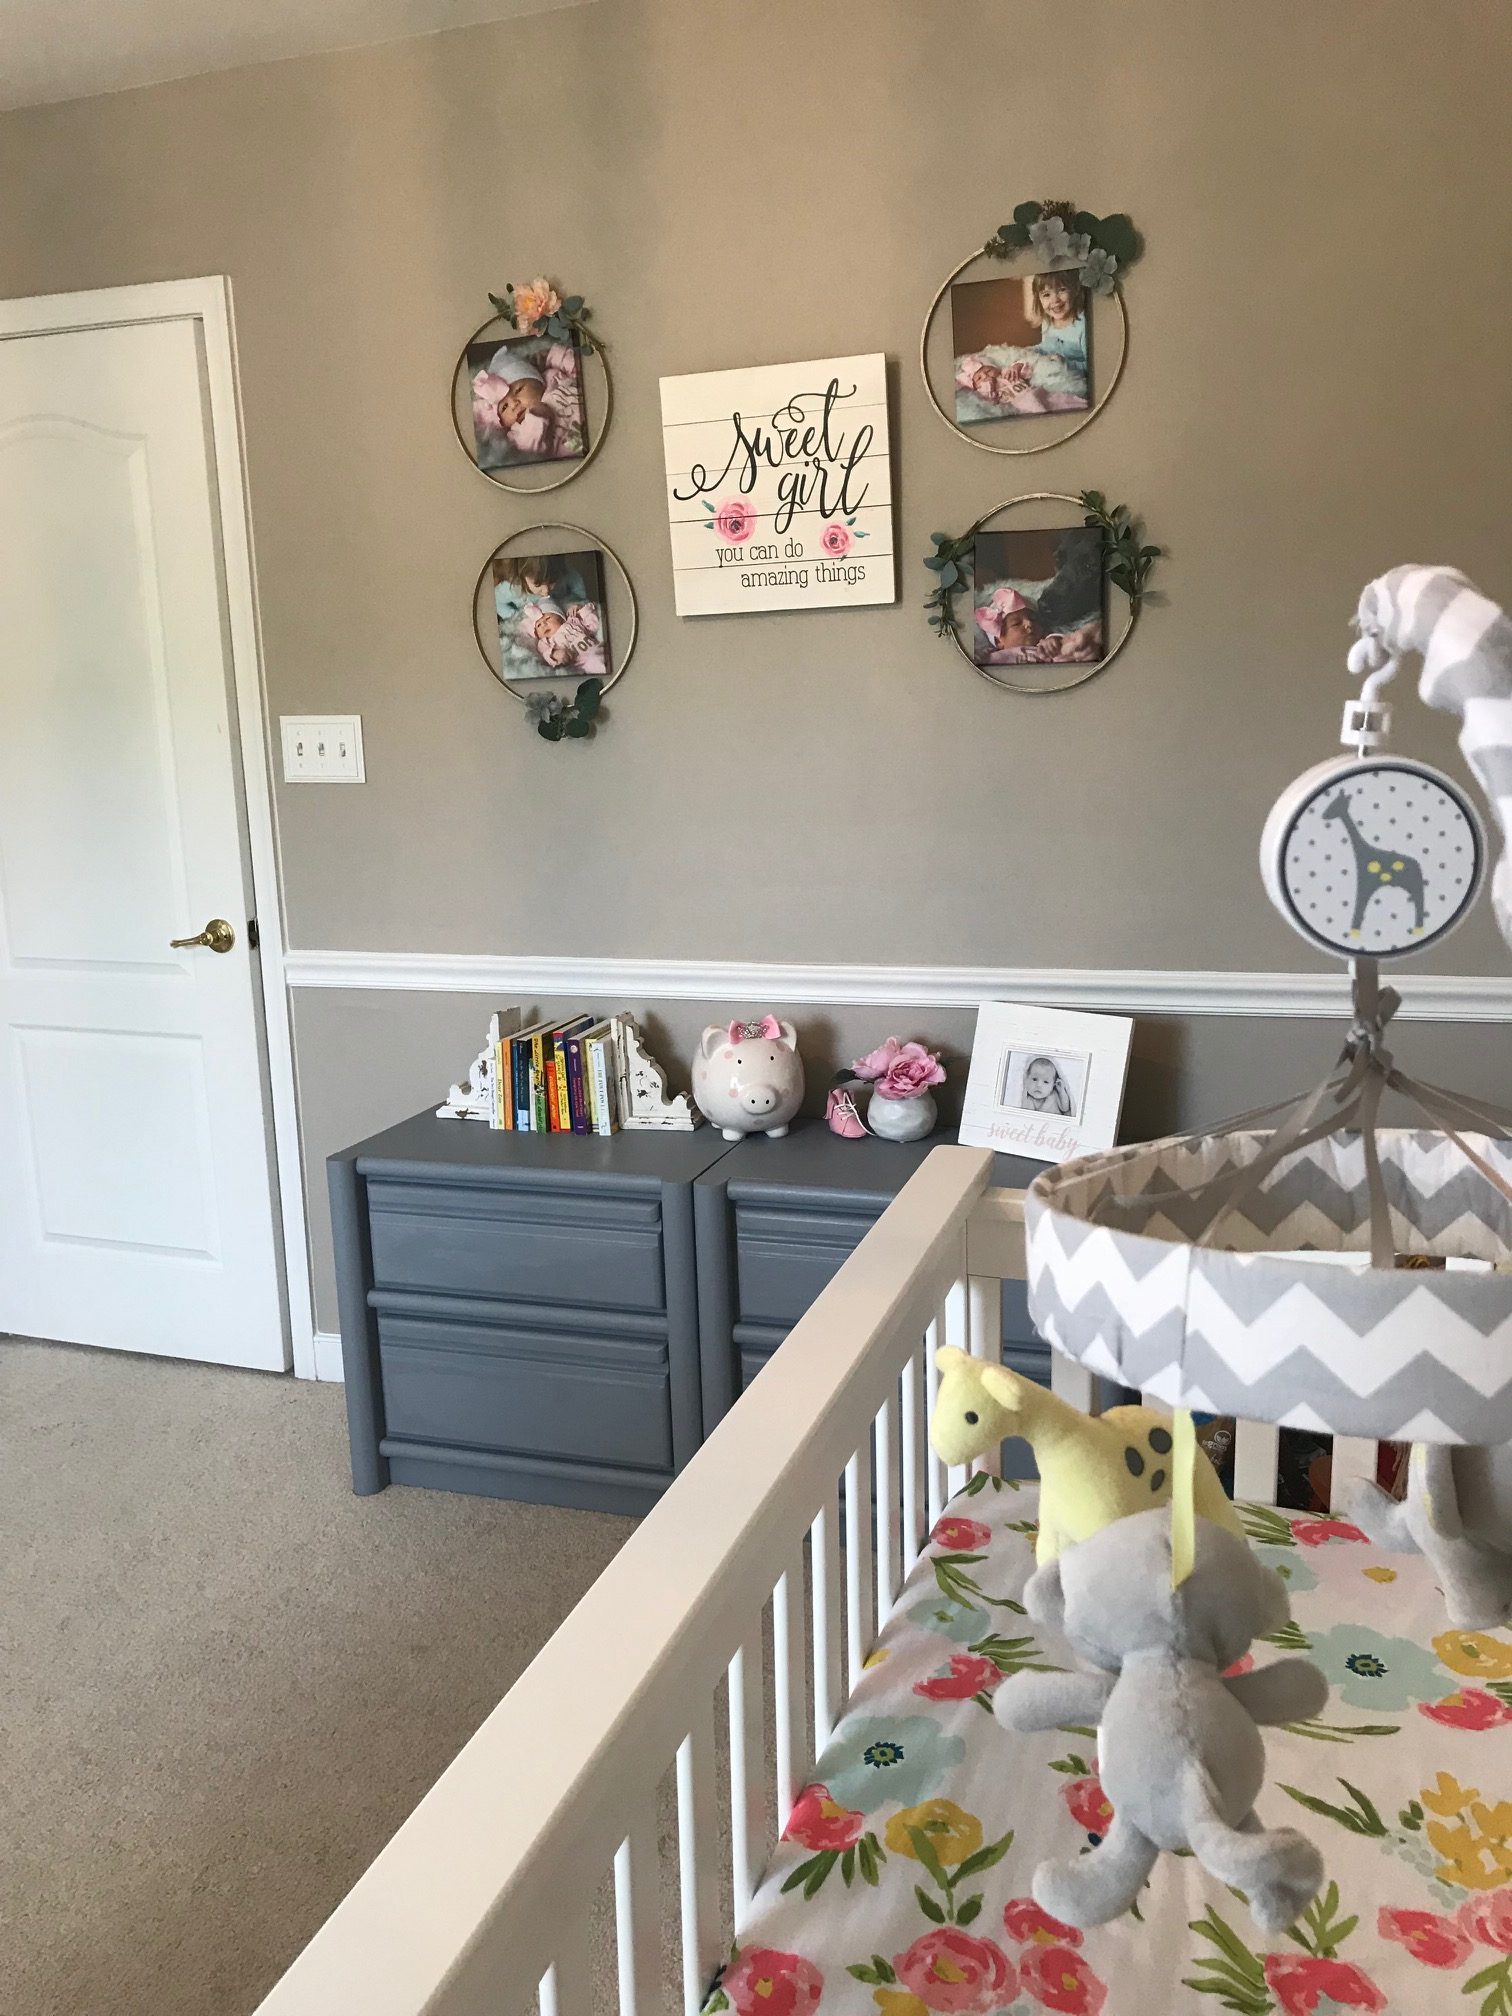
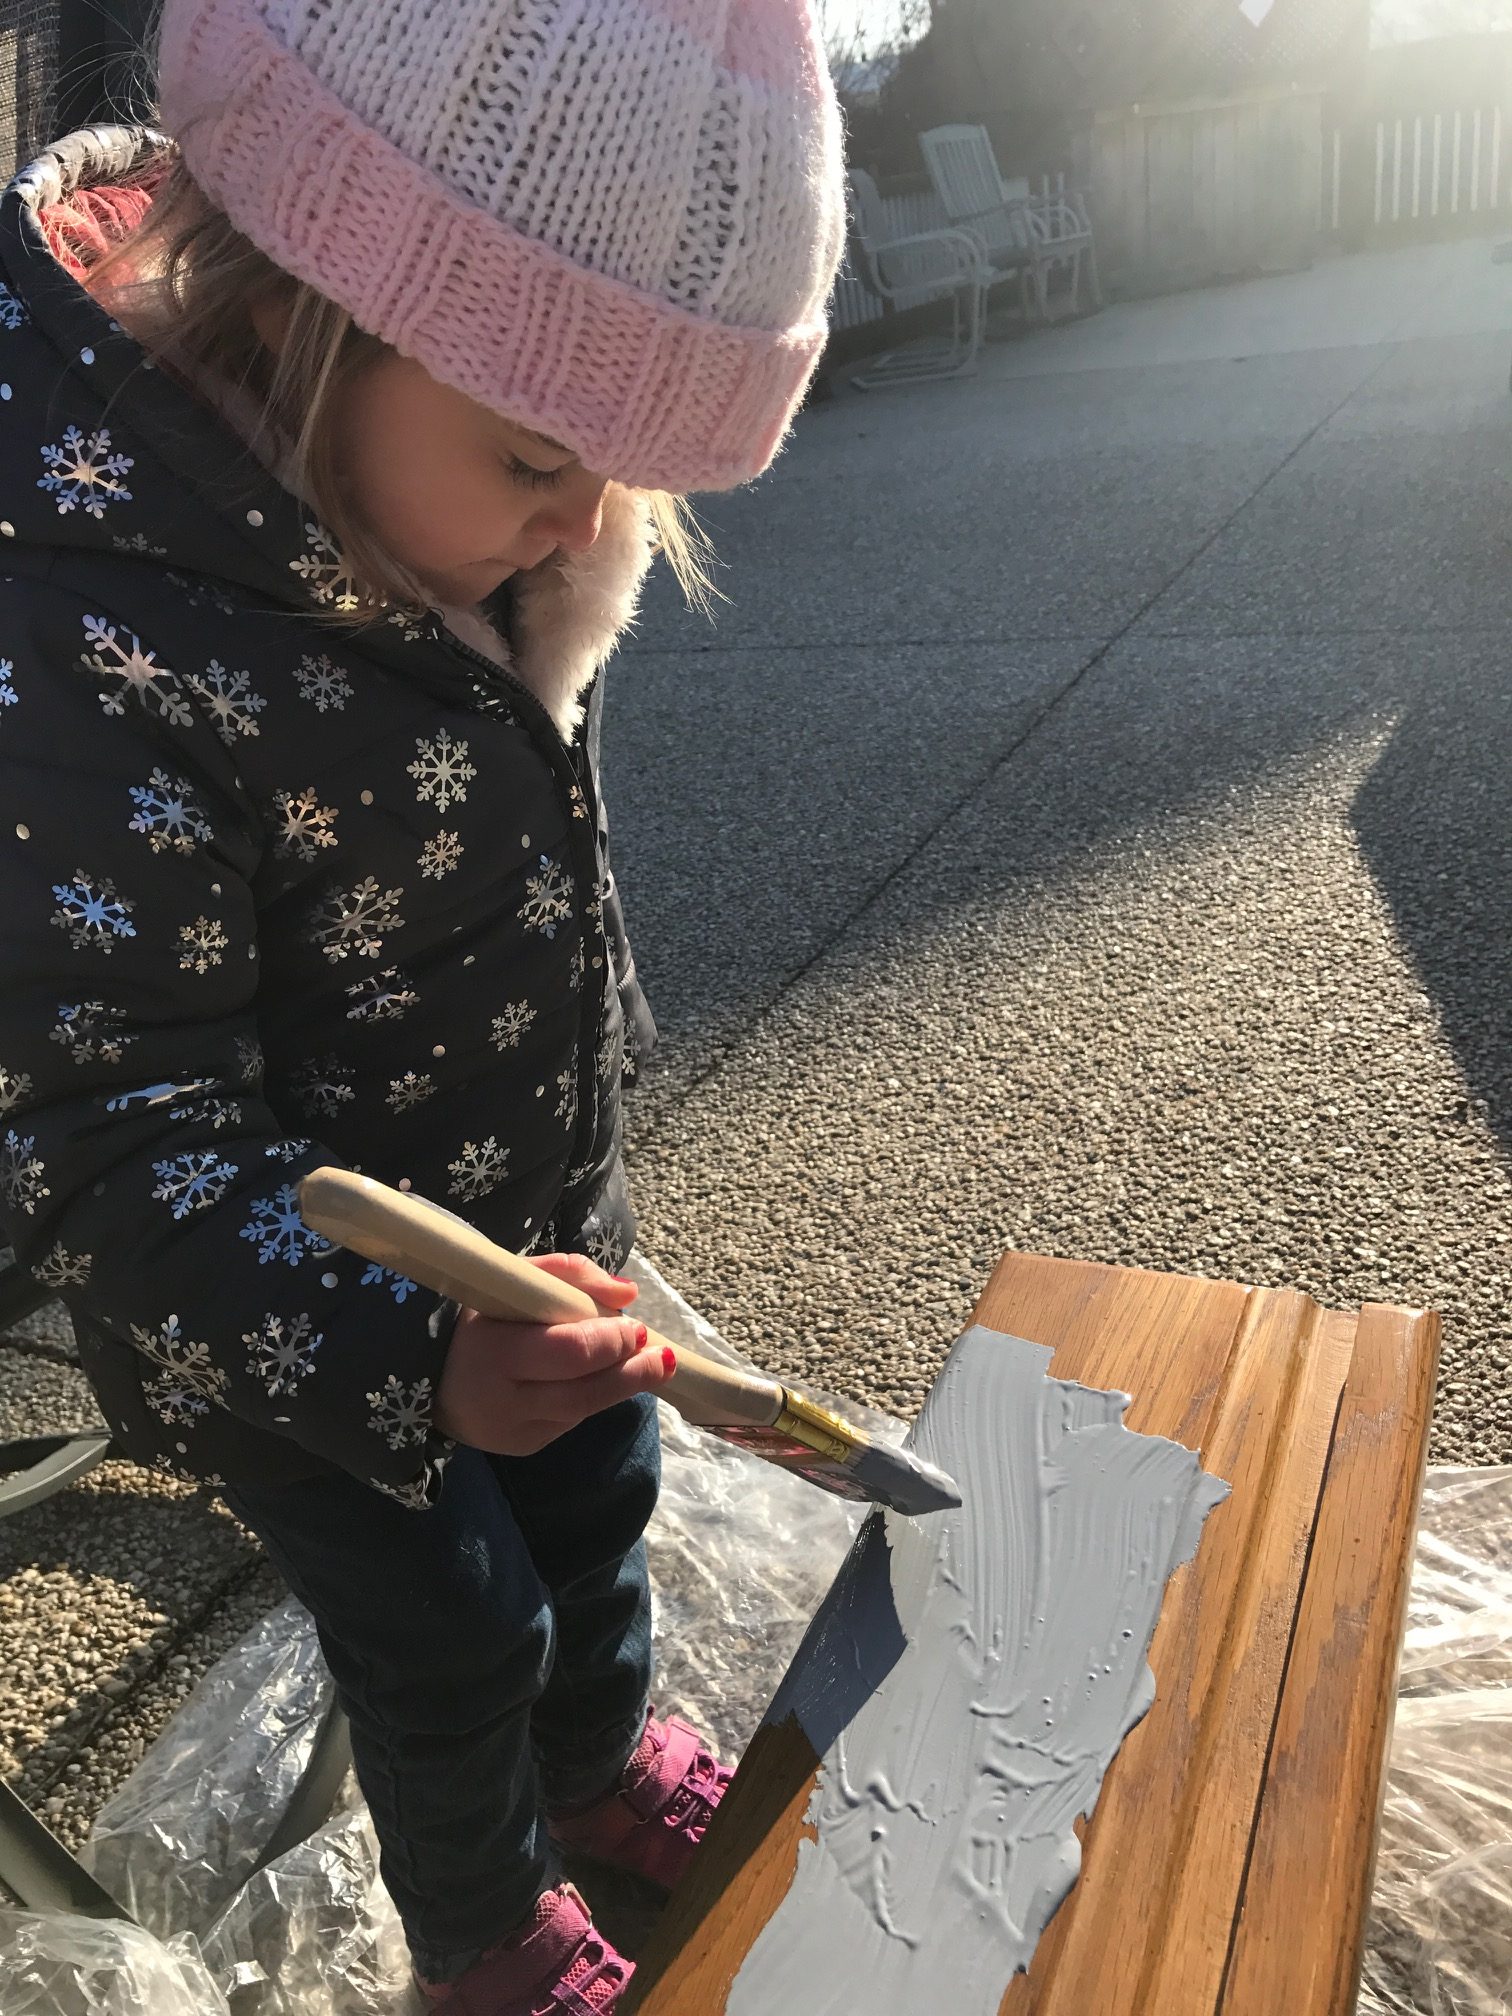
The blue dresser was a free hand-me-down from my mother. If you follow my Instagram stories you saw sweet Hartley painting this with free leftover paint samples mixed with baking soda for a DIY chalk paint mix.

Hope you all love my nursery. Do you have a favorite piece or idea? Will you repurpose or shop secondhand for your little one?

Friday, May 4, 2018

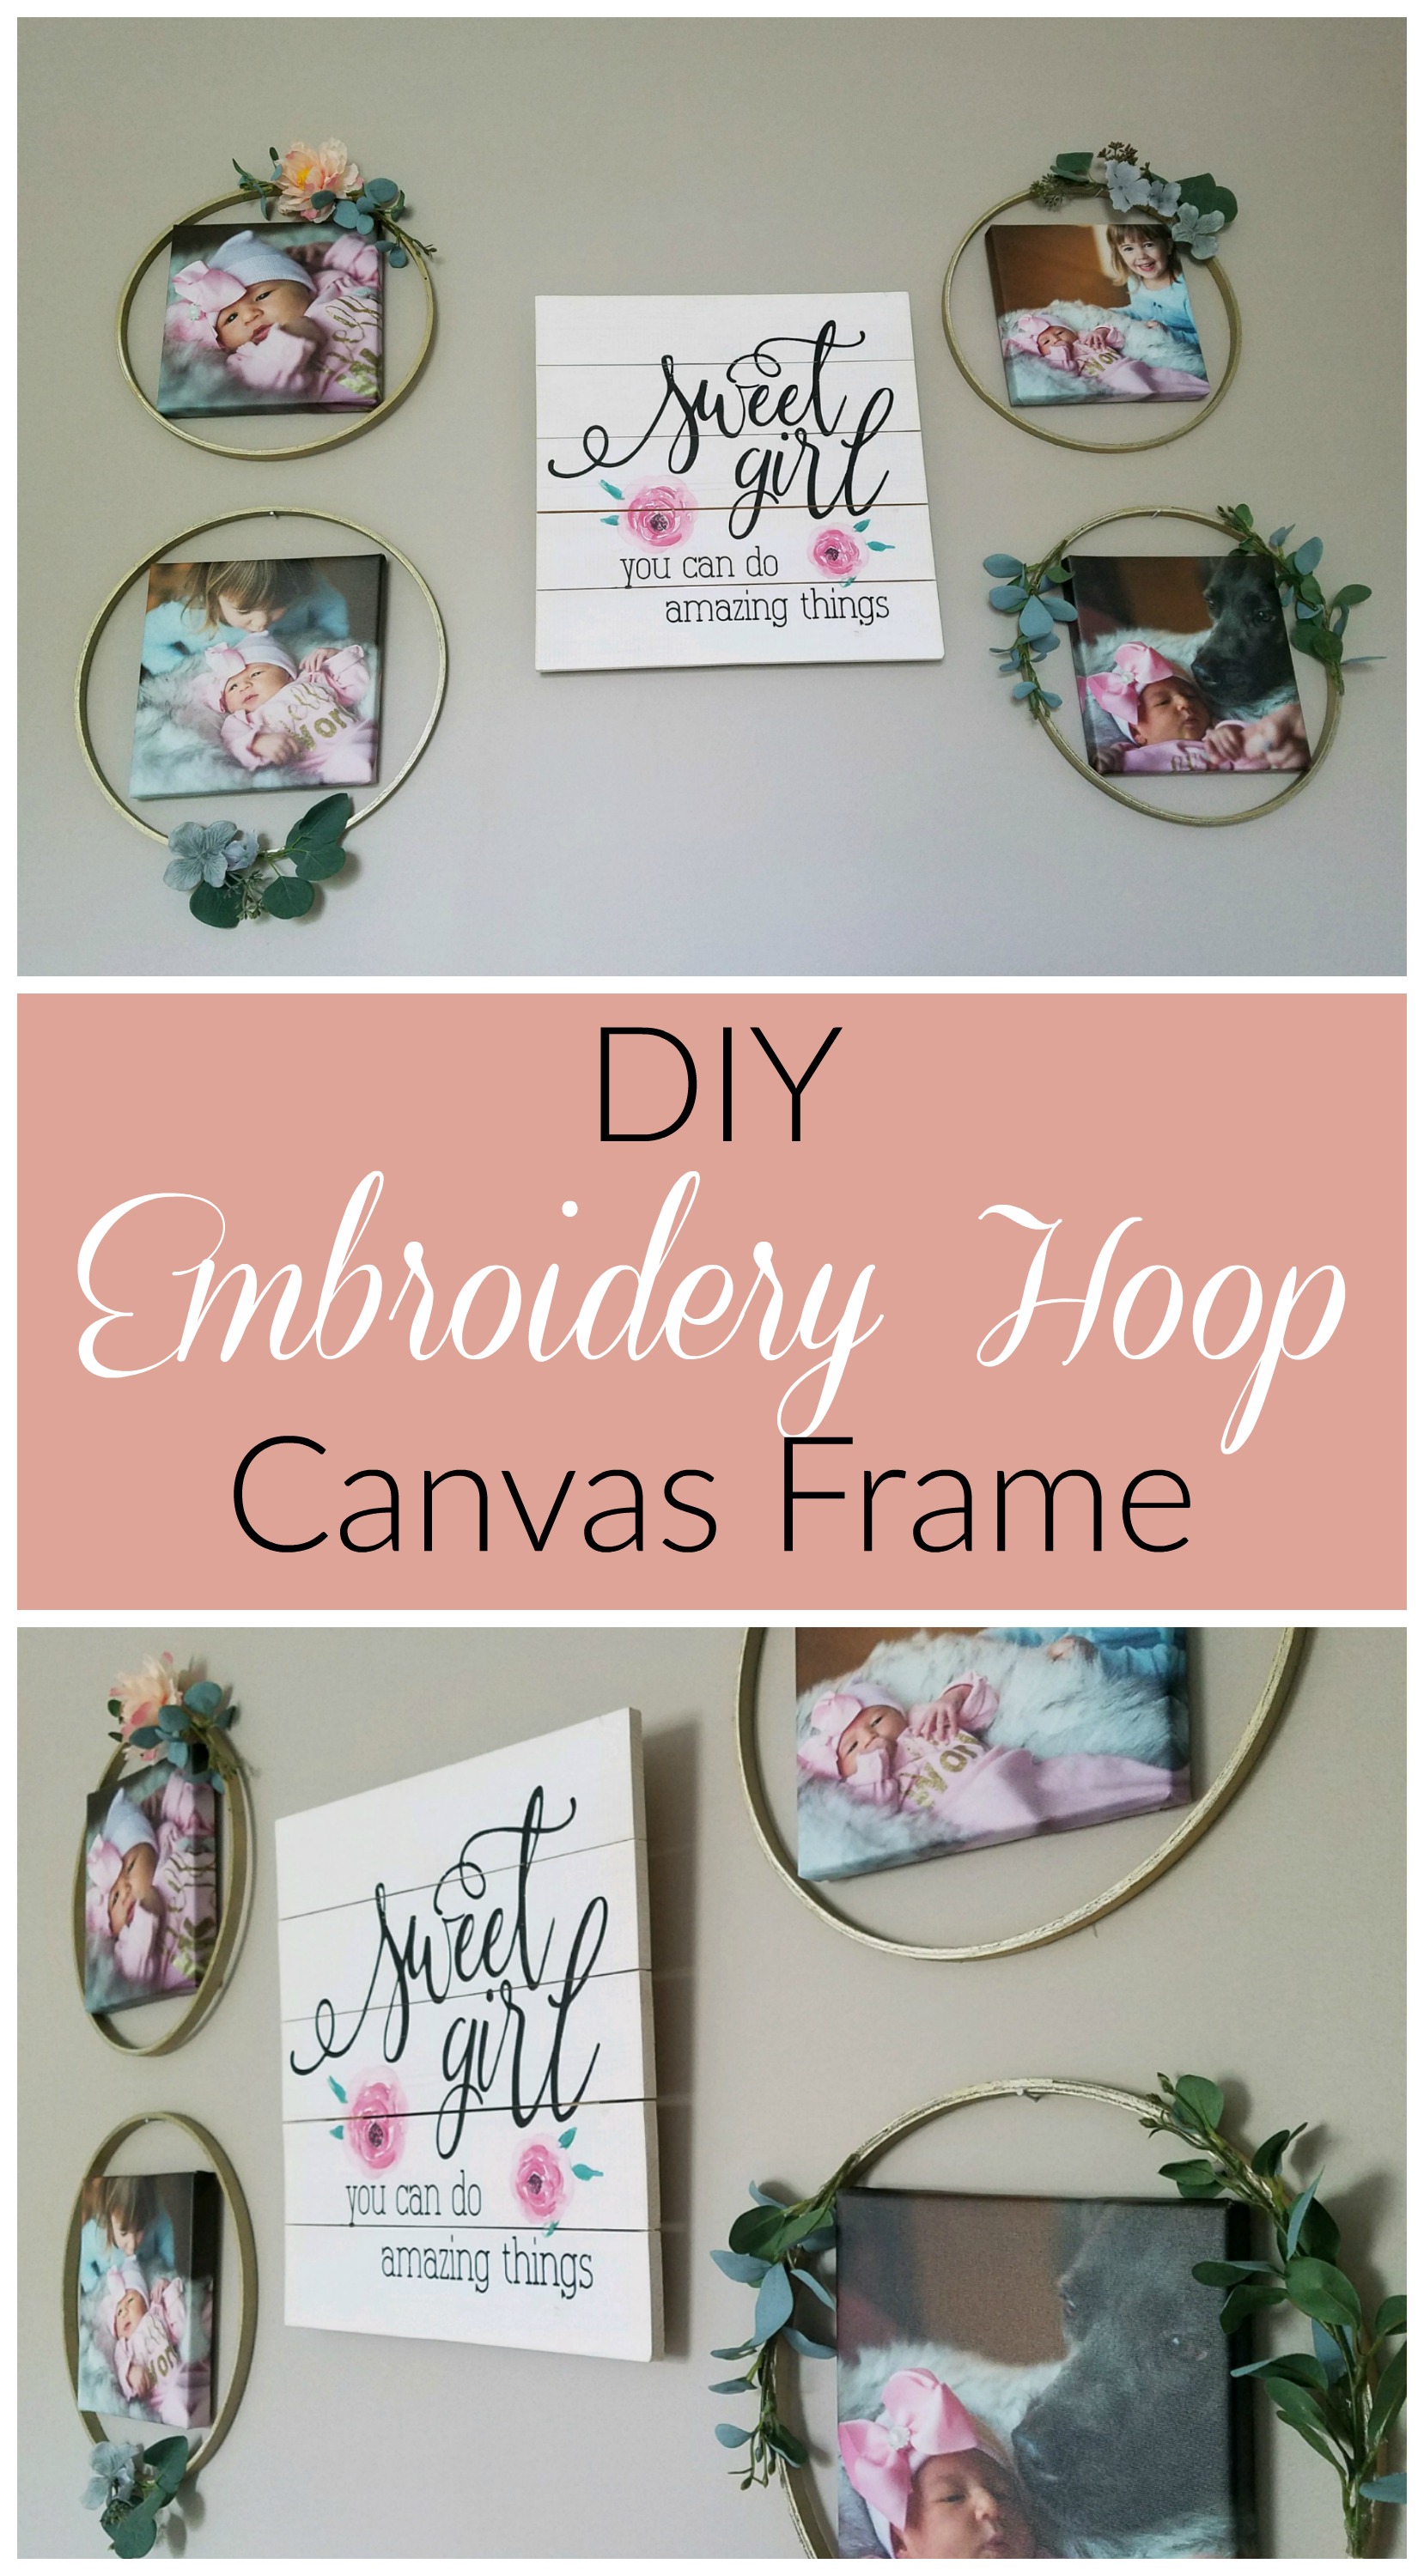
DIY Embroidery Hoop Canvas Frame

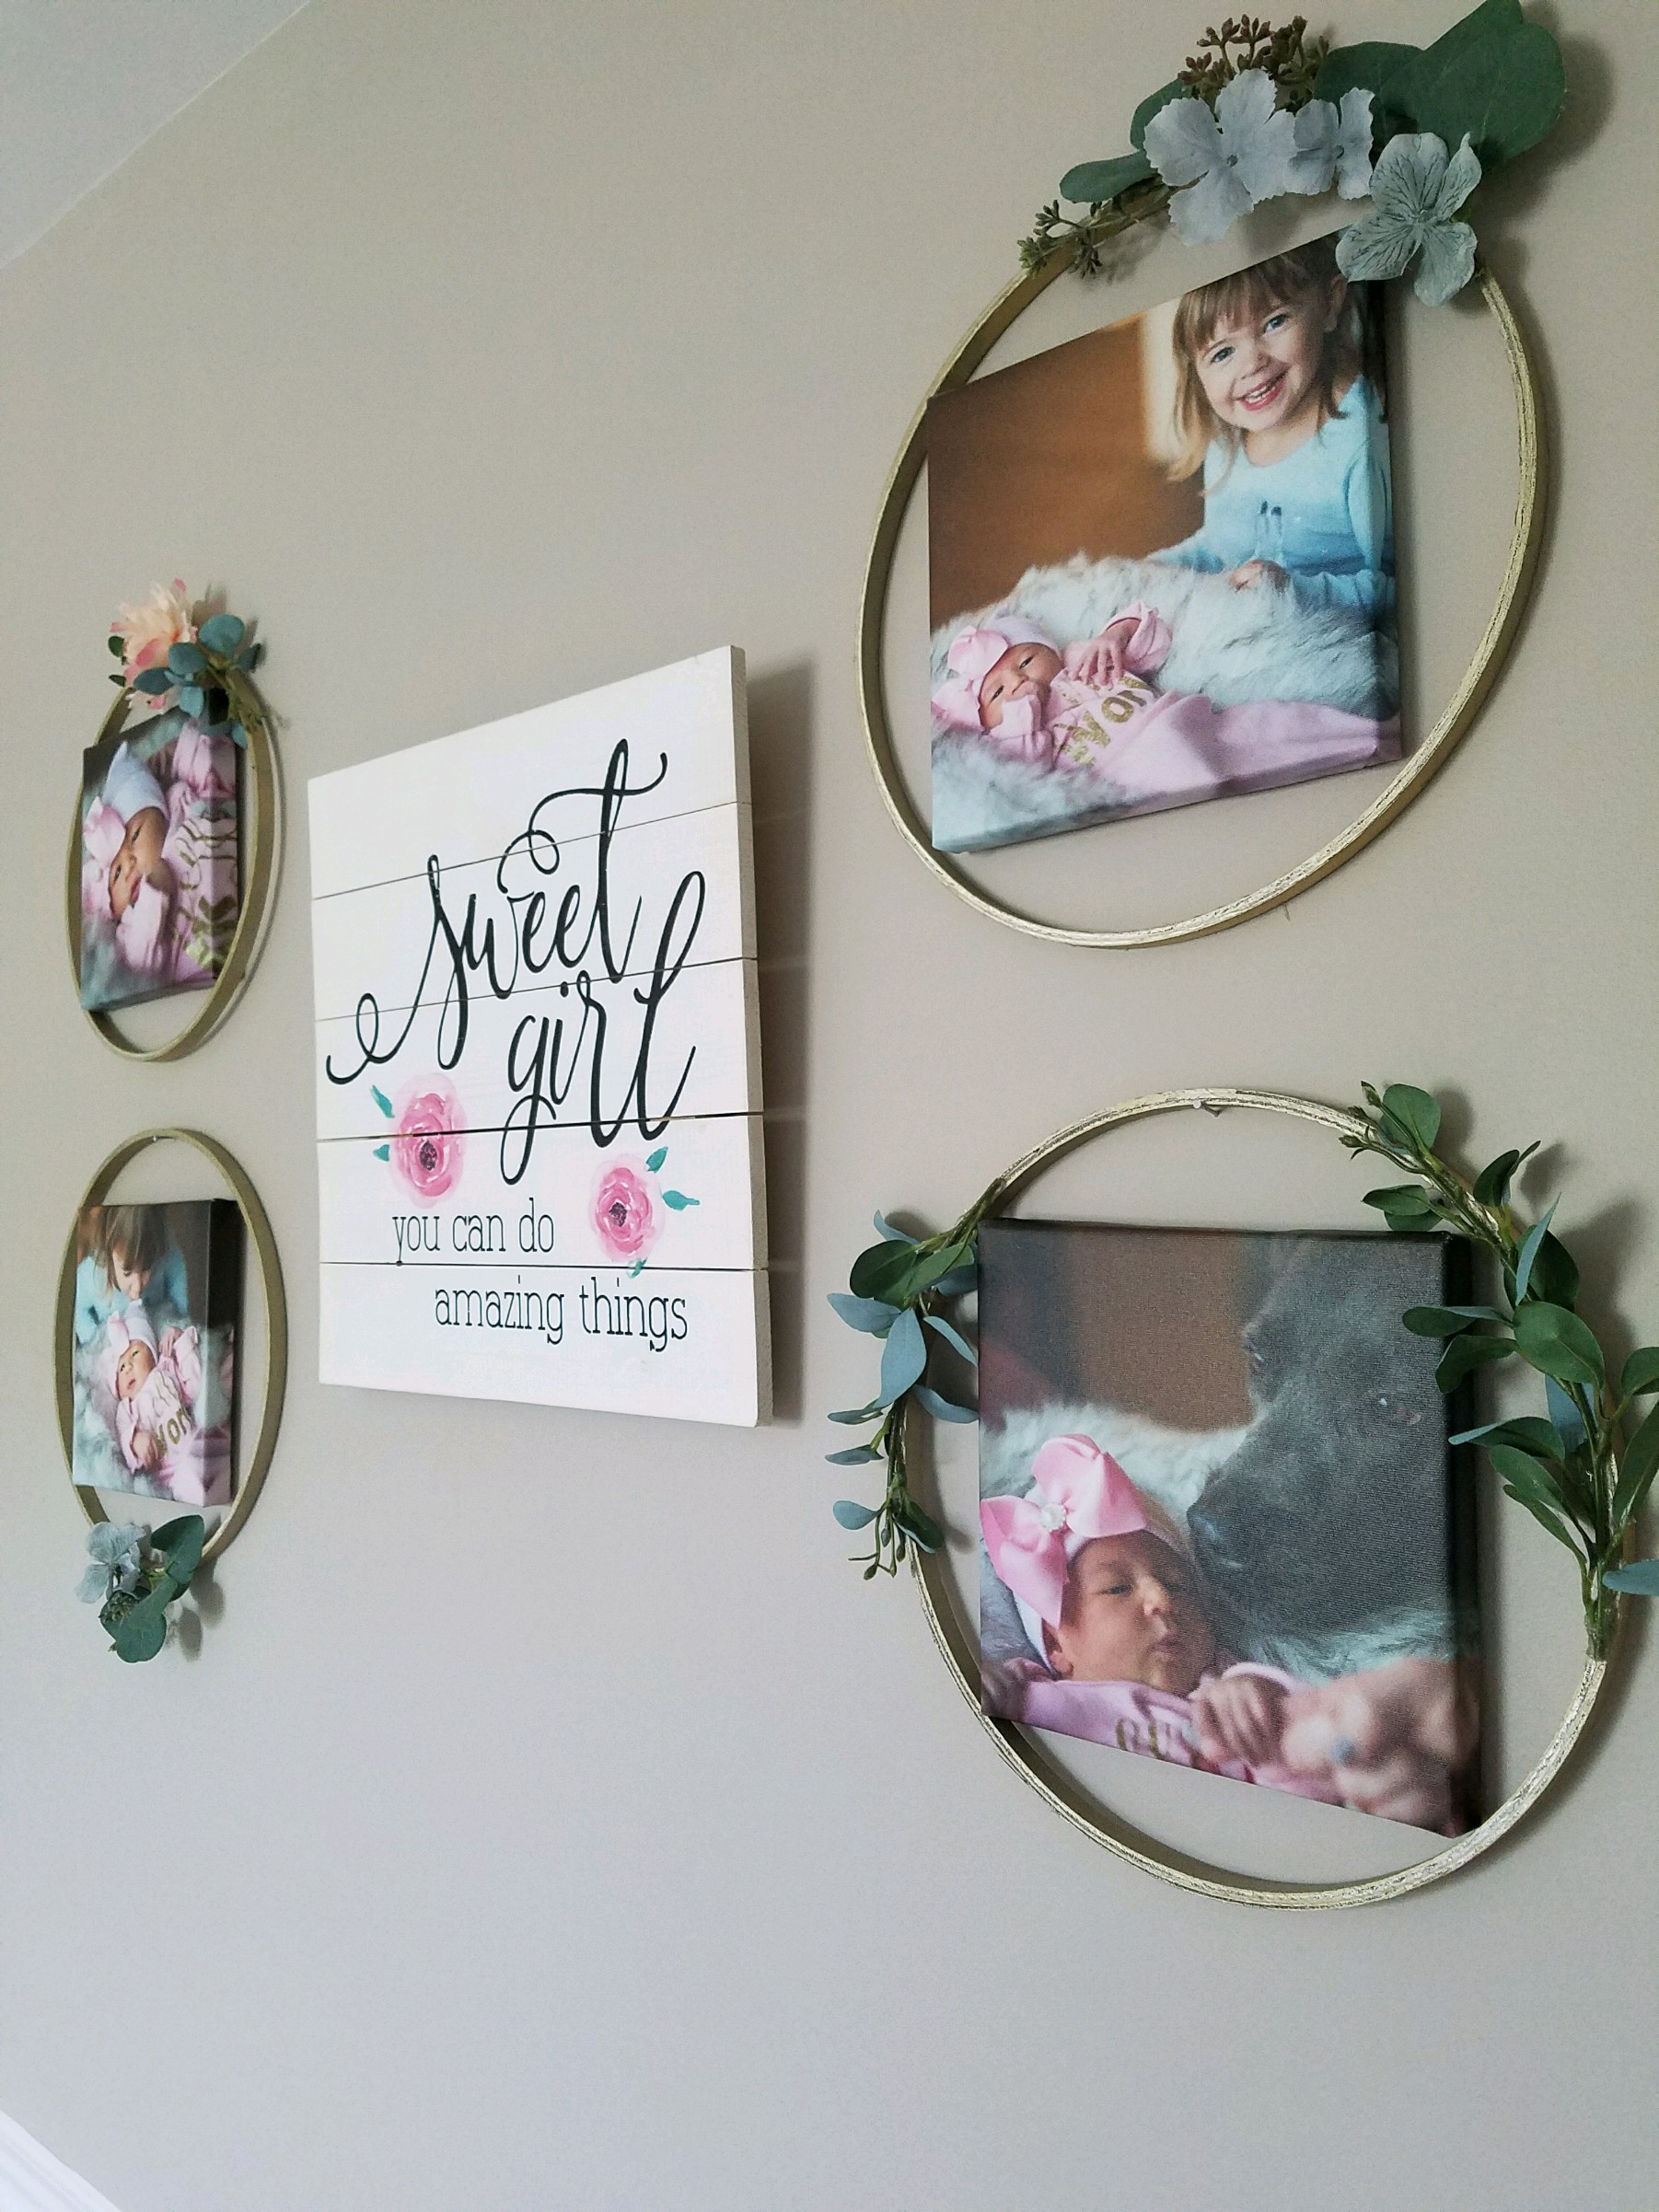
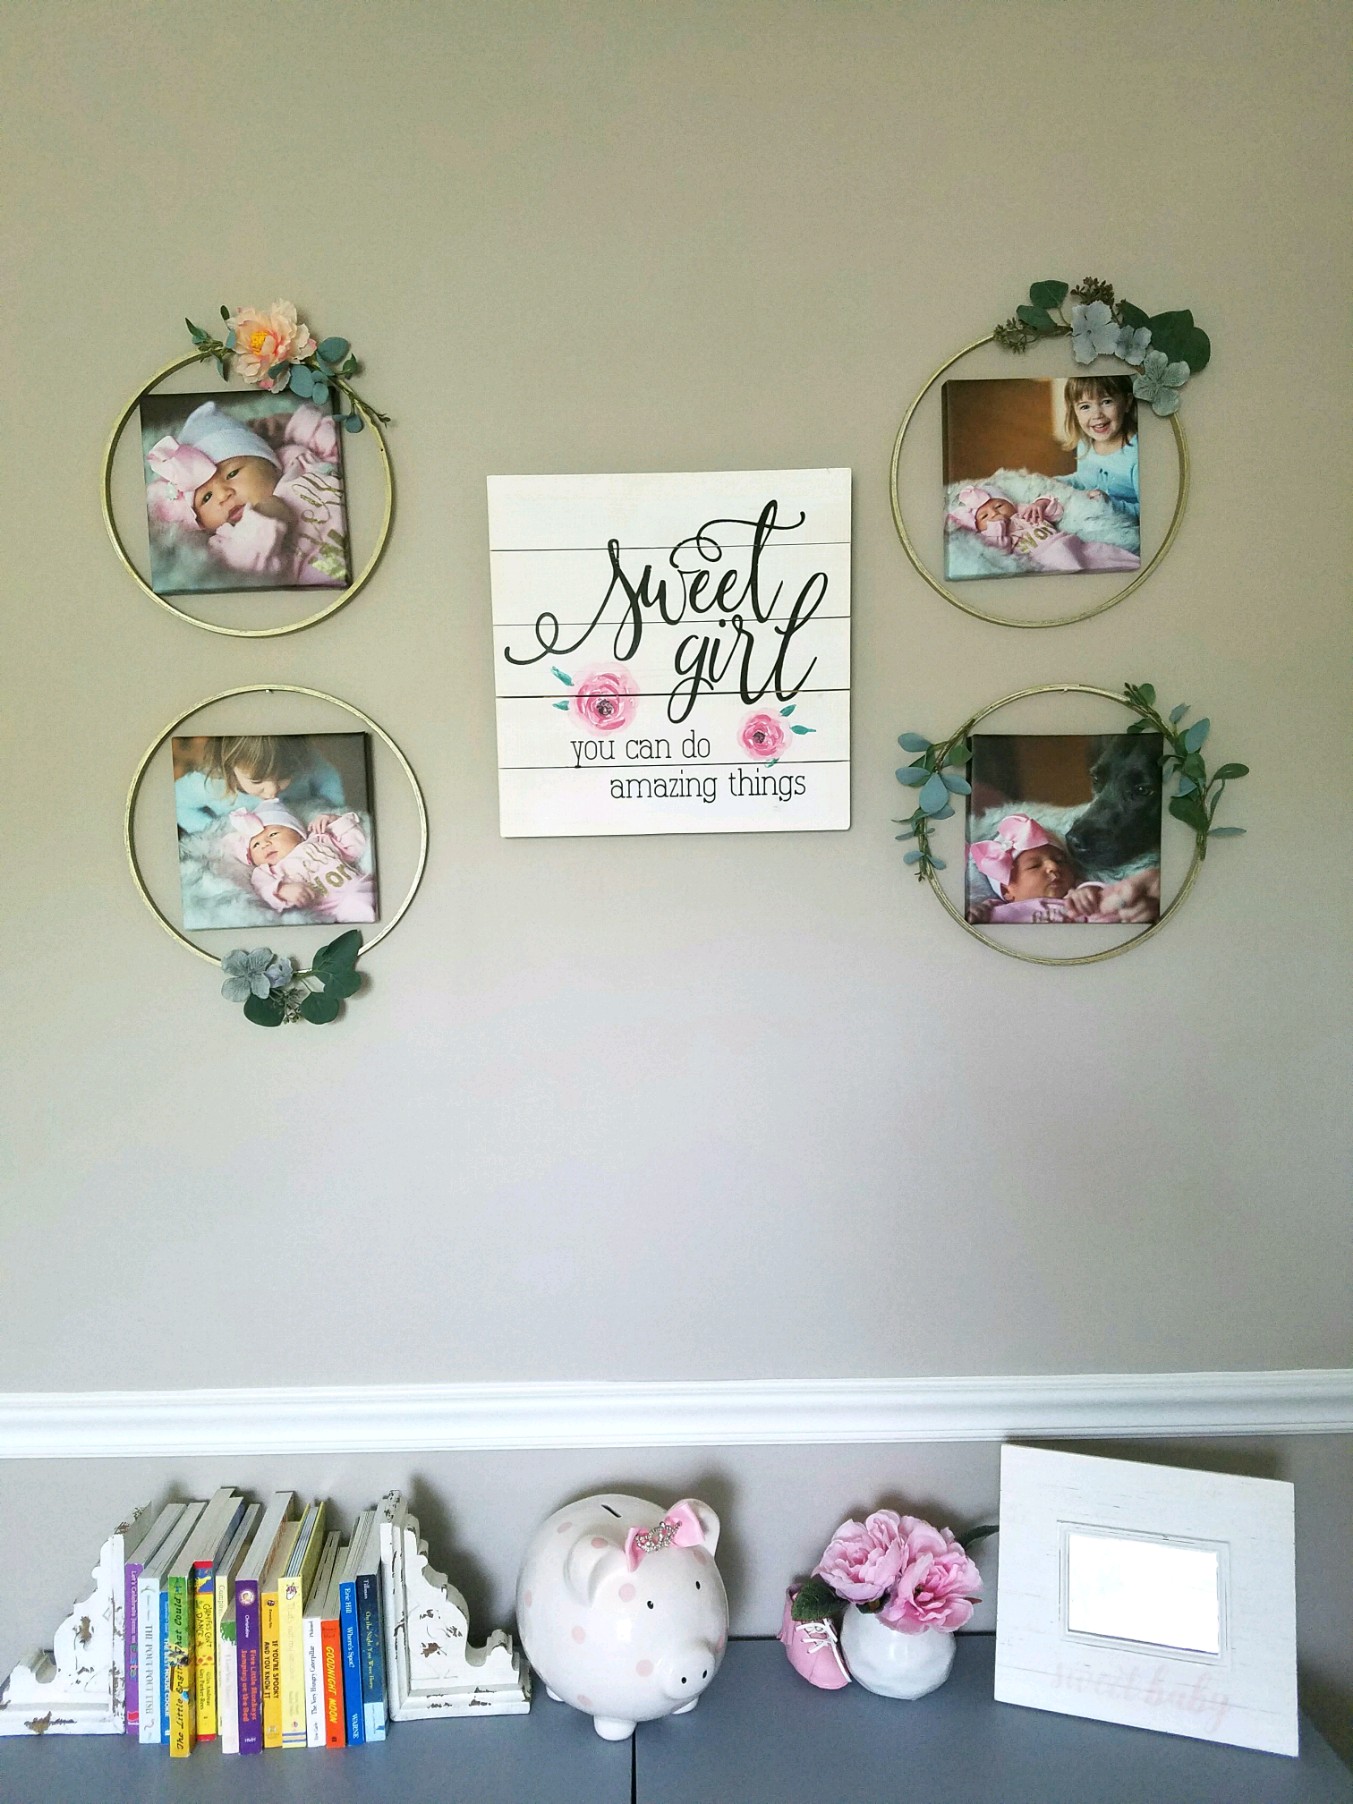
This was the last project to finish for the nursery. I had used a lot of items from the store, so I wanted to incorporate something special and hand made. I loved the way my dreamcatchers turned out in Hartley’s room, so I took that as inspiration and created adorable “frames” for canvas pictures I had made from newborn photos.

The middle wood art is from Hobby Lobby. Then all I did to create a sort of gallery wall look was:

  1. Order 4 8×8 canvas photos. These are always on sale and such an economical way to have great looking photos
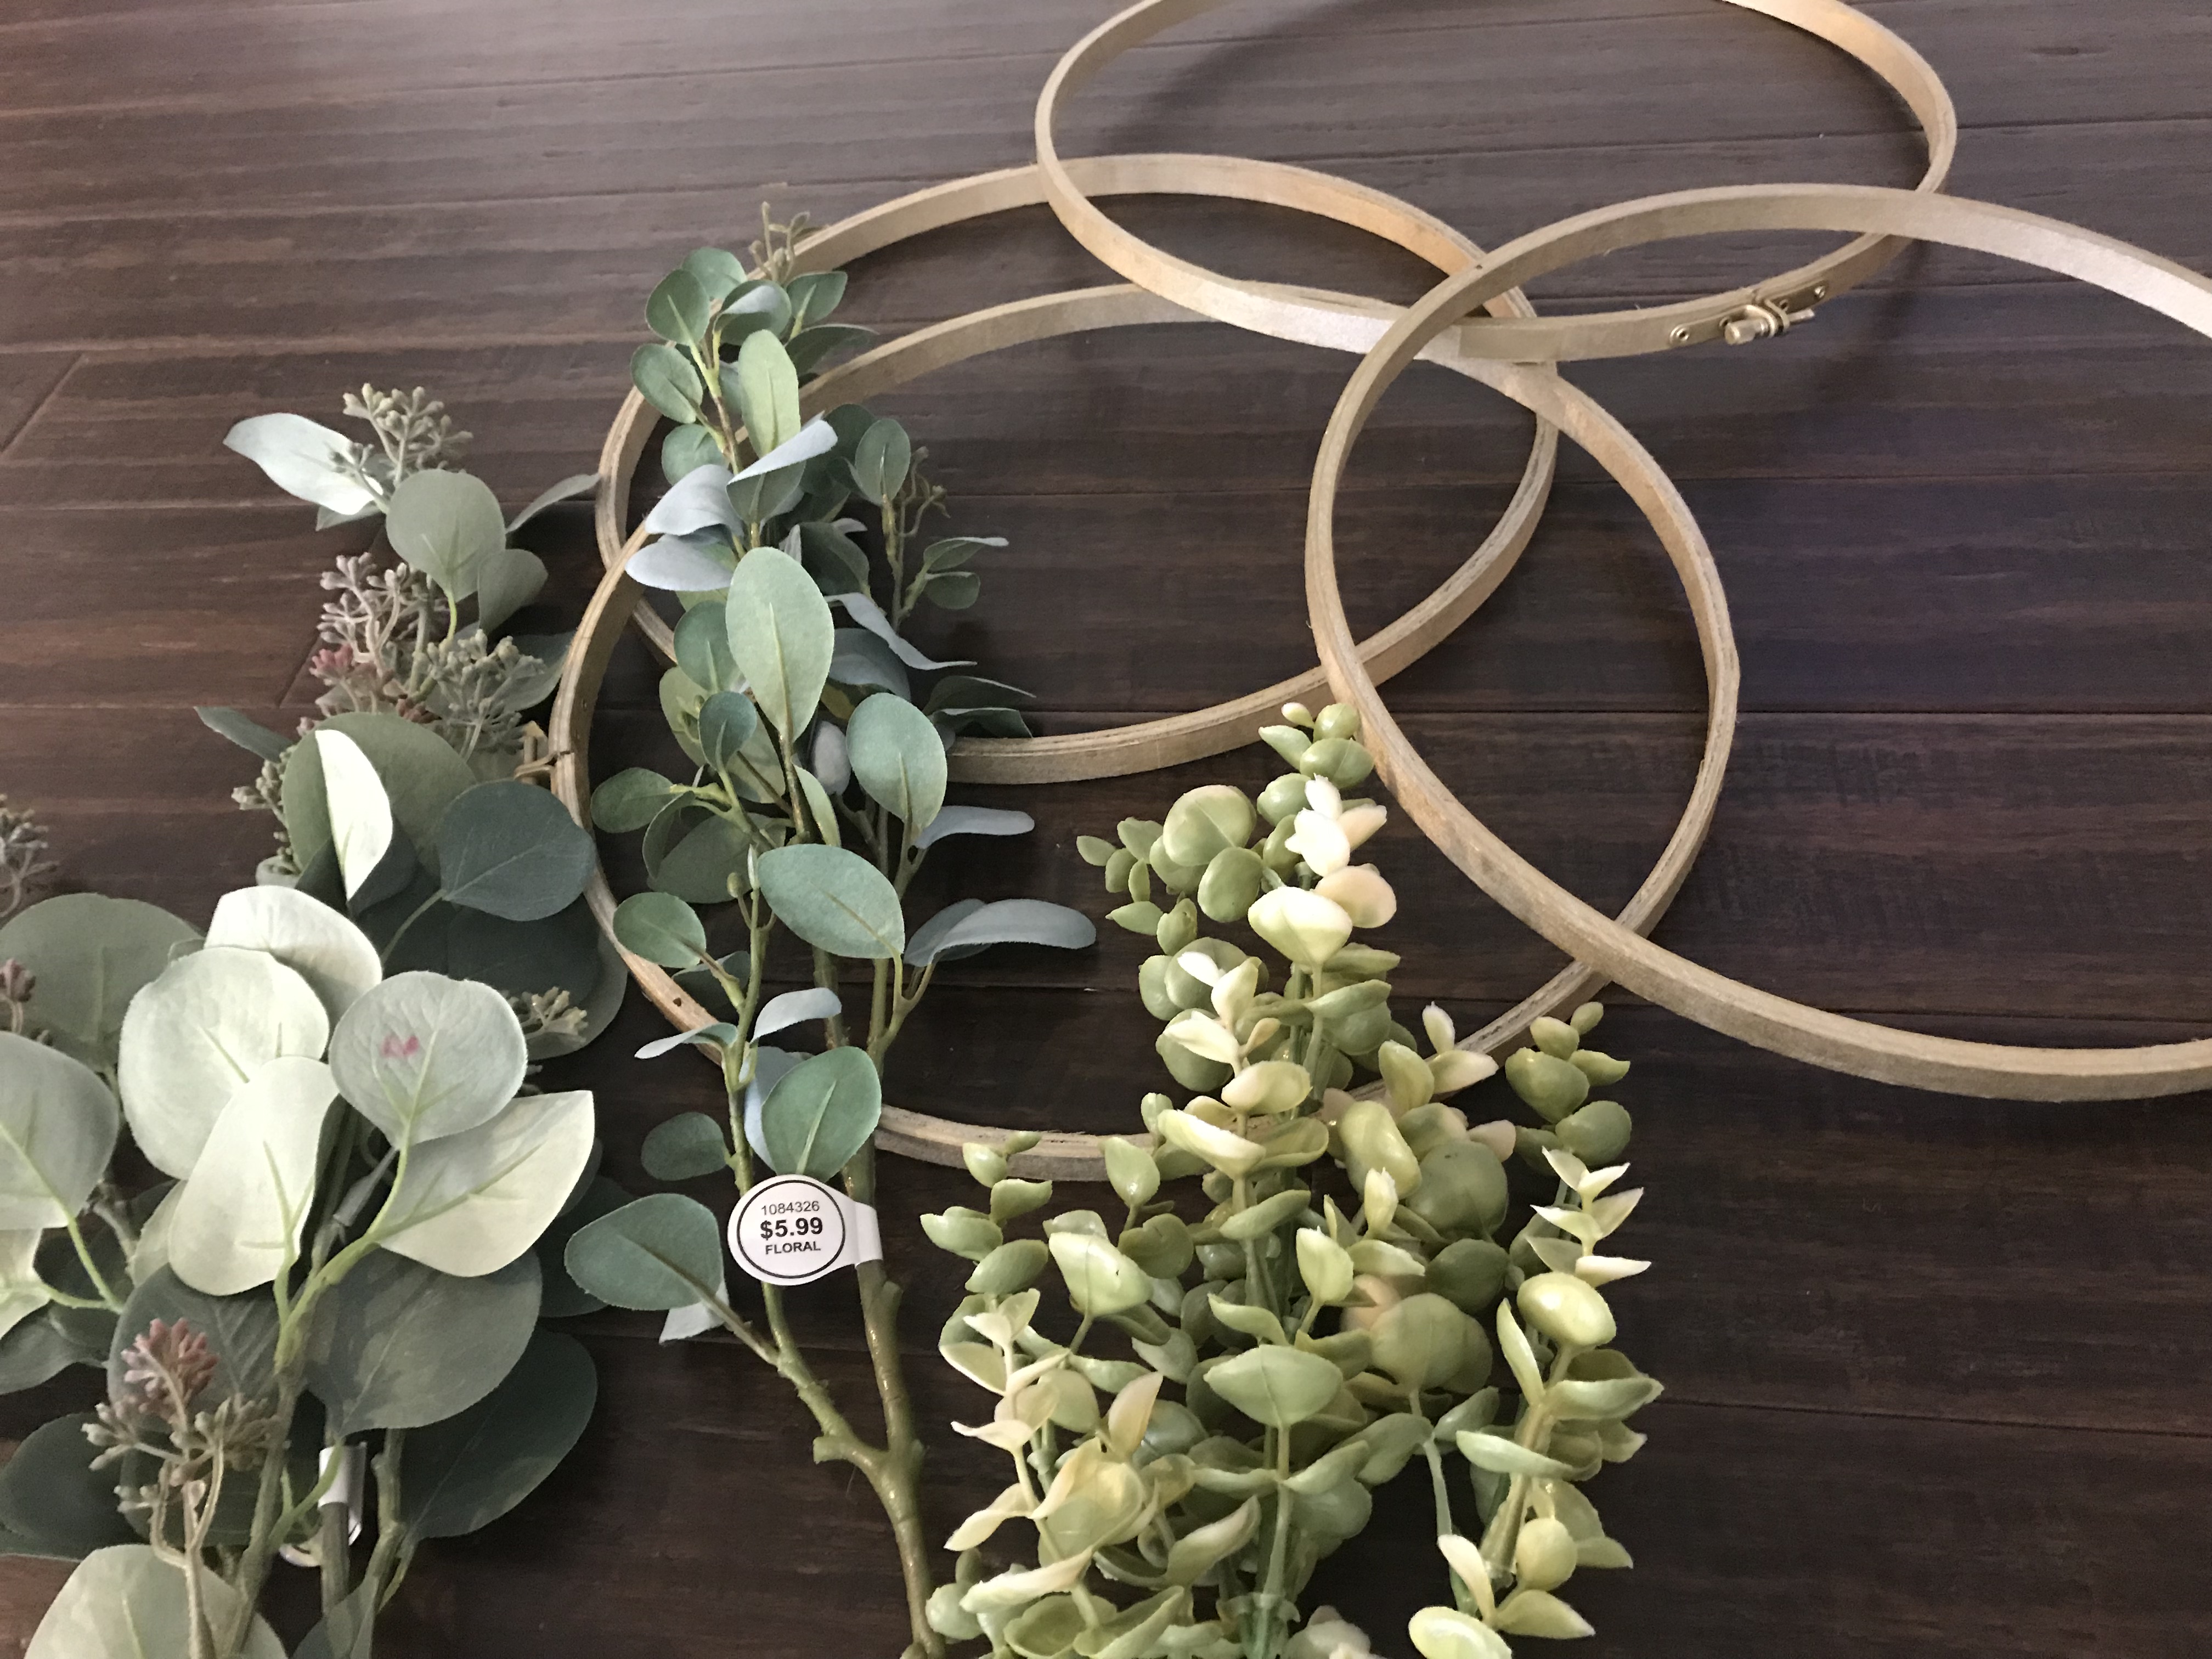
  2. Buy 2 12″ wooden embroidery hoops (there is a inside hoop and an outside hoop, so you really get 4 frames once you take the hoop apart)
  3. Spray paint the hoops your color of choice
  4. Add artificial greenery and/or faux flowers with hot glue
  5. Hang hoops on wall first then center canvas inside hoop and hang

I love the colors. It really ties in all the blue and pastel of the room! Can’t wait to share the full reveal. These weeks are just flying by! Cannot believe she will be 2 months in just a week…AHHH!

Wednesday, April 18, 2018

DIY Boho Beaded Bracelet

Happy Wednesday!!

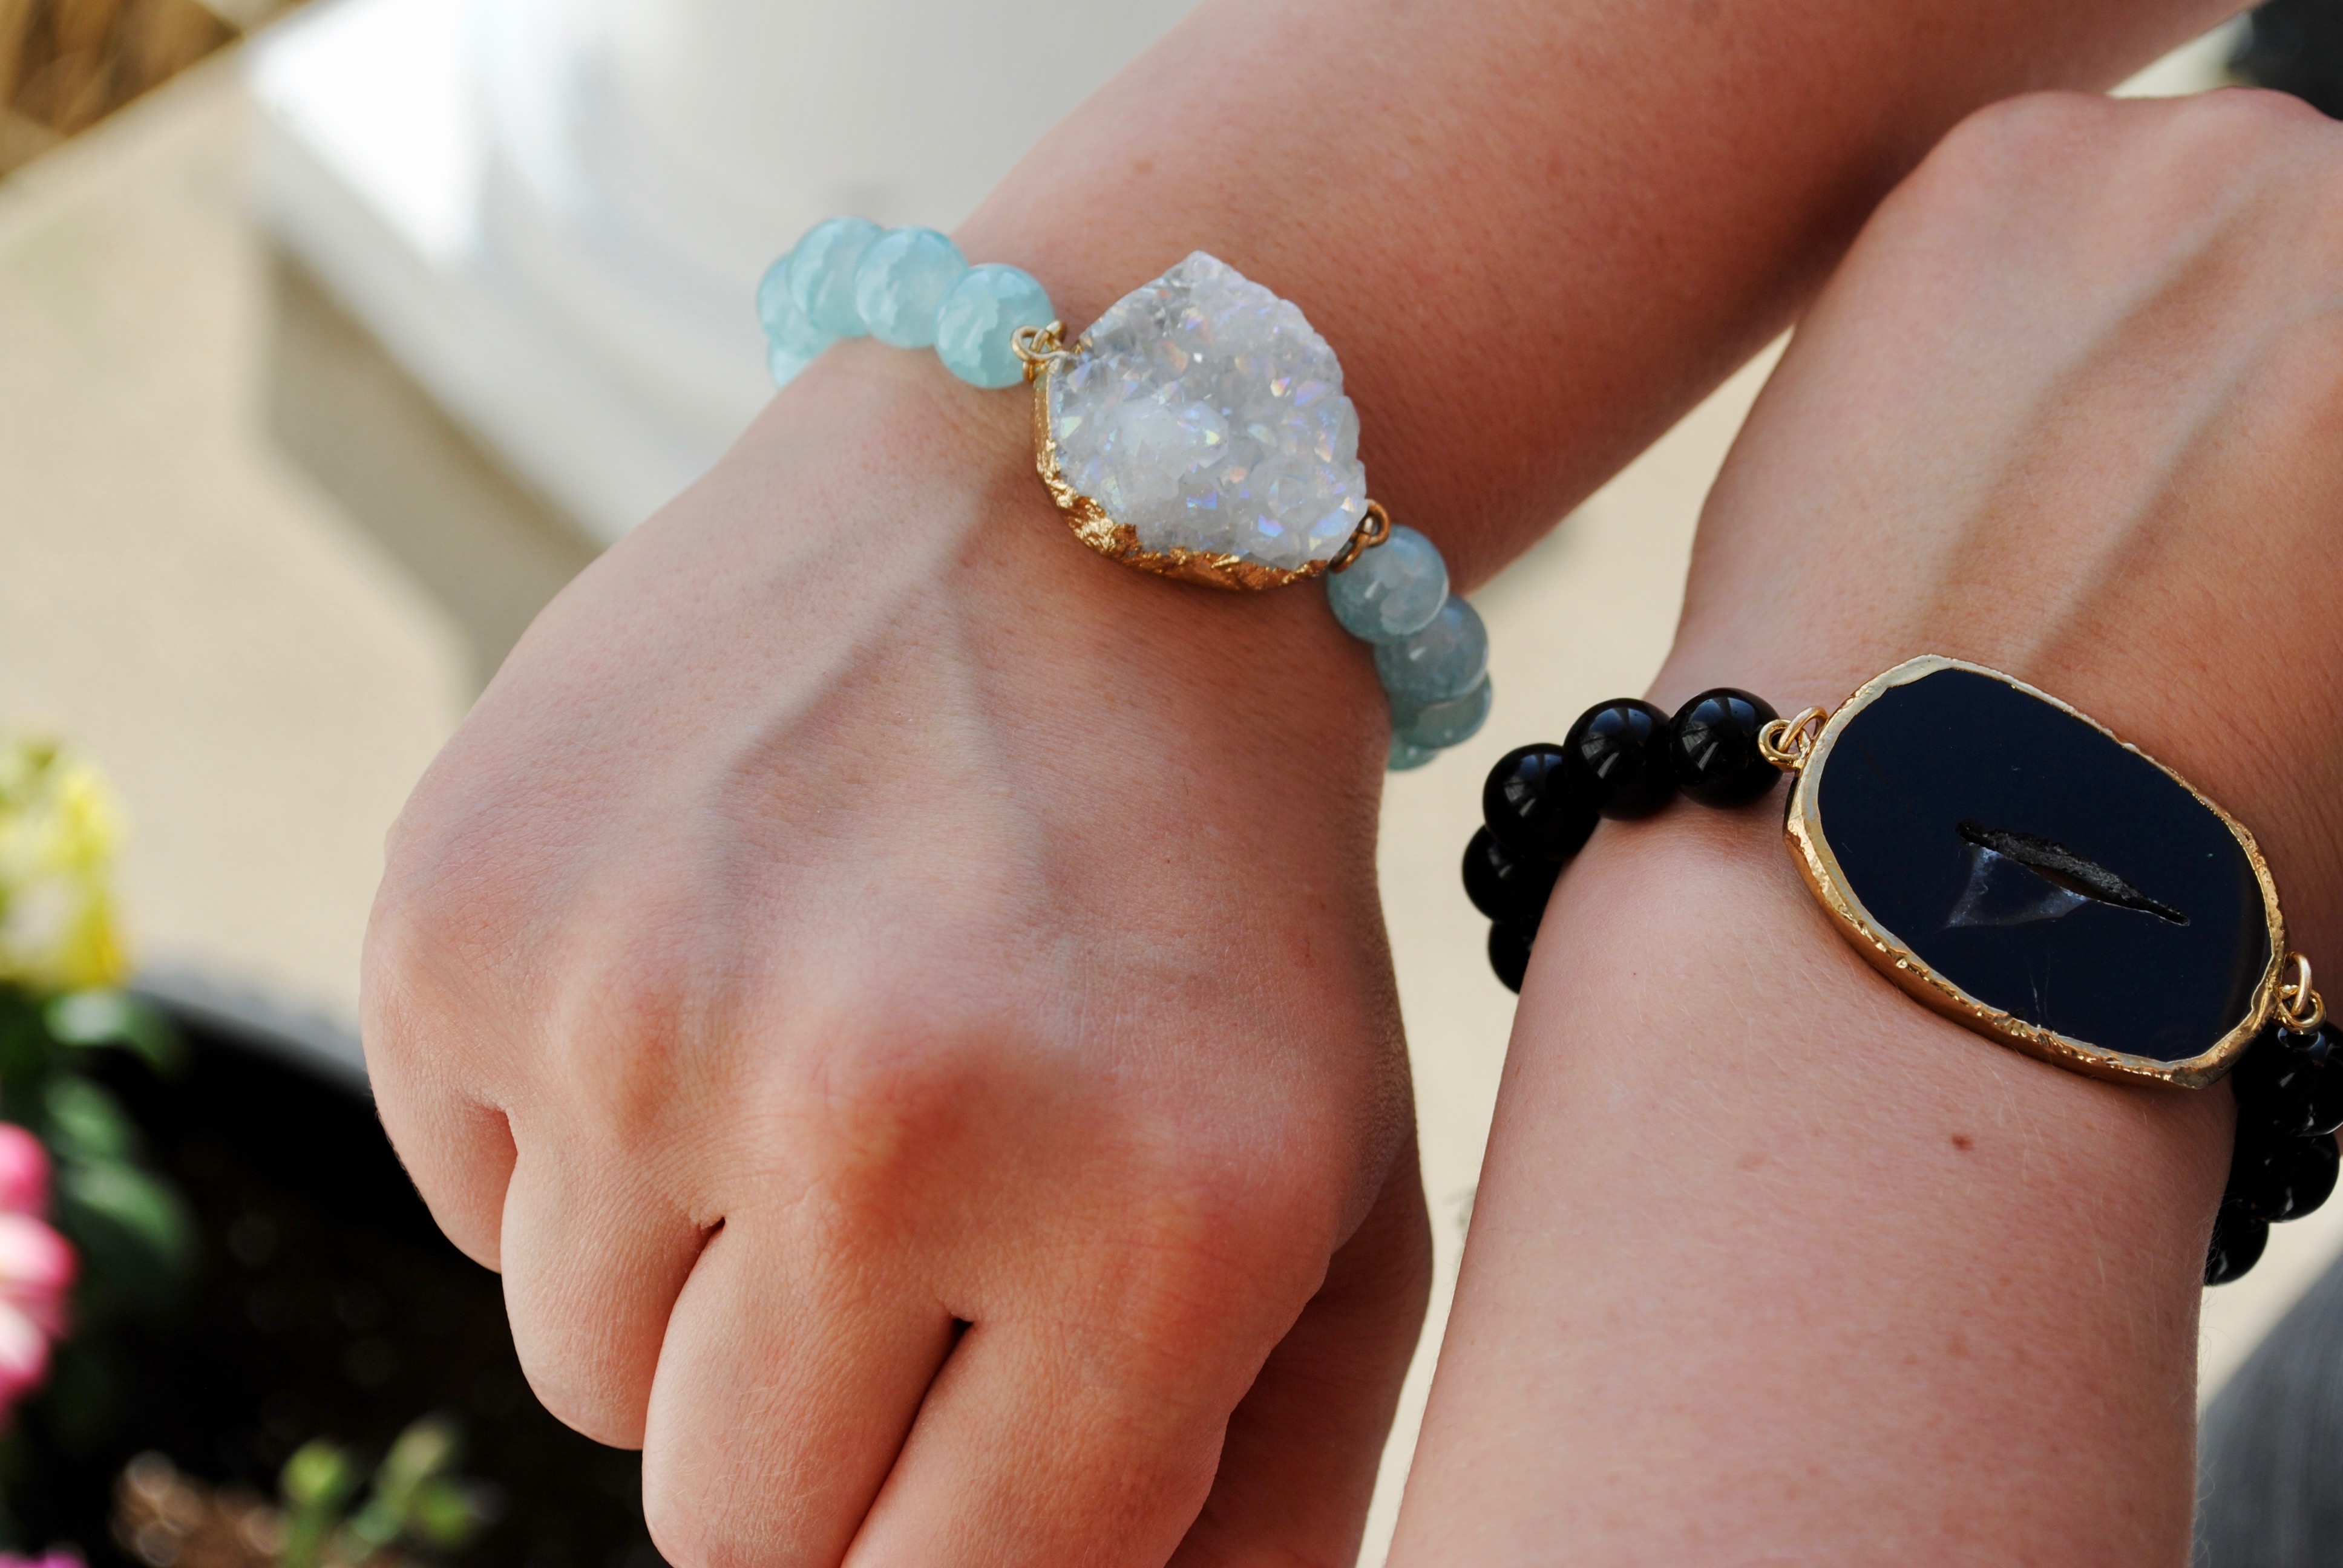
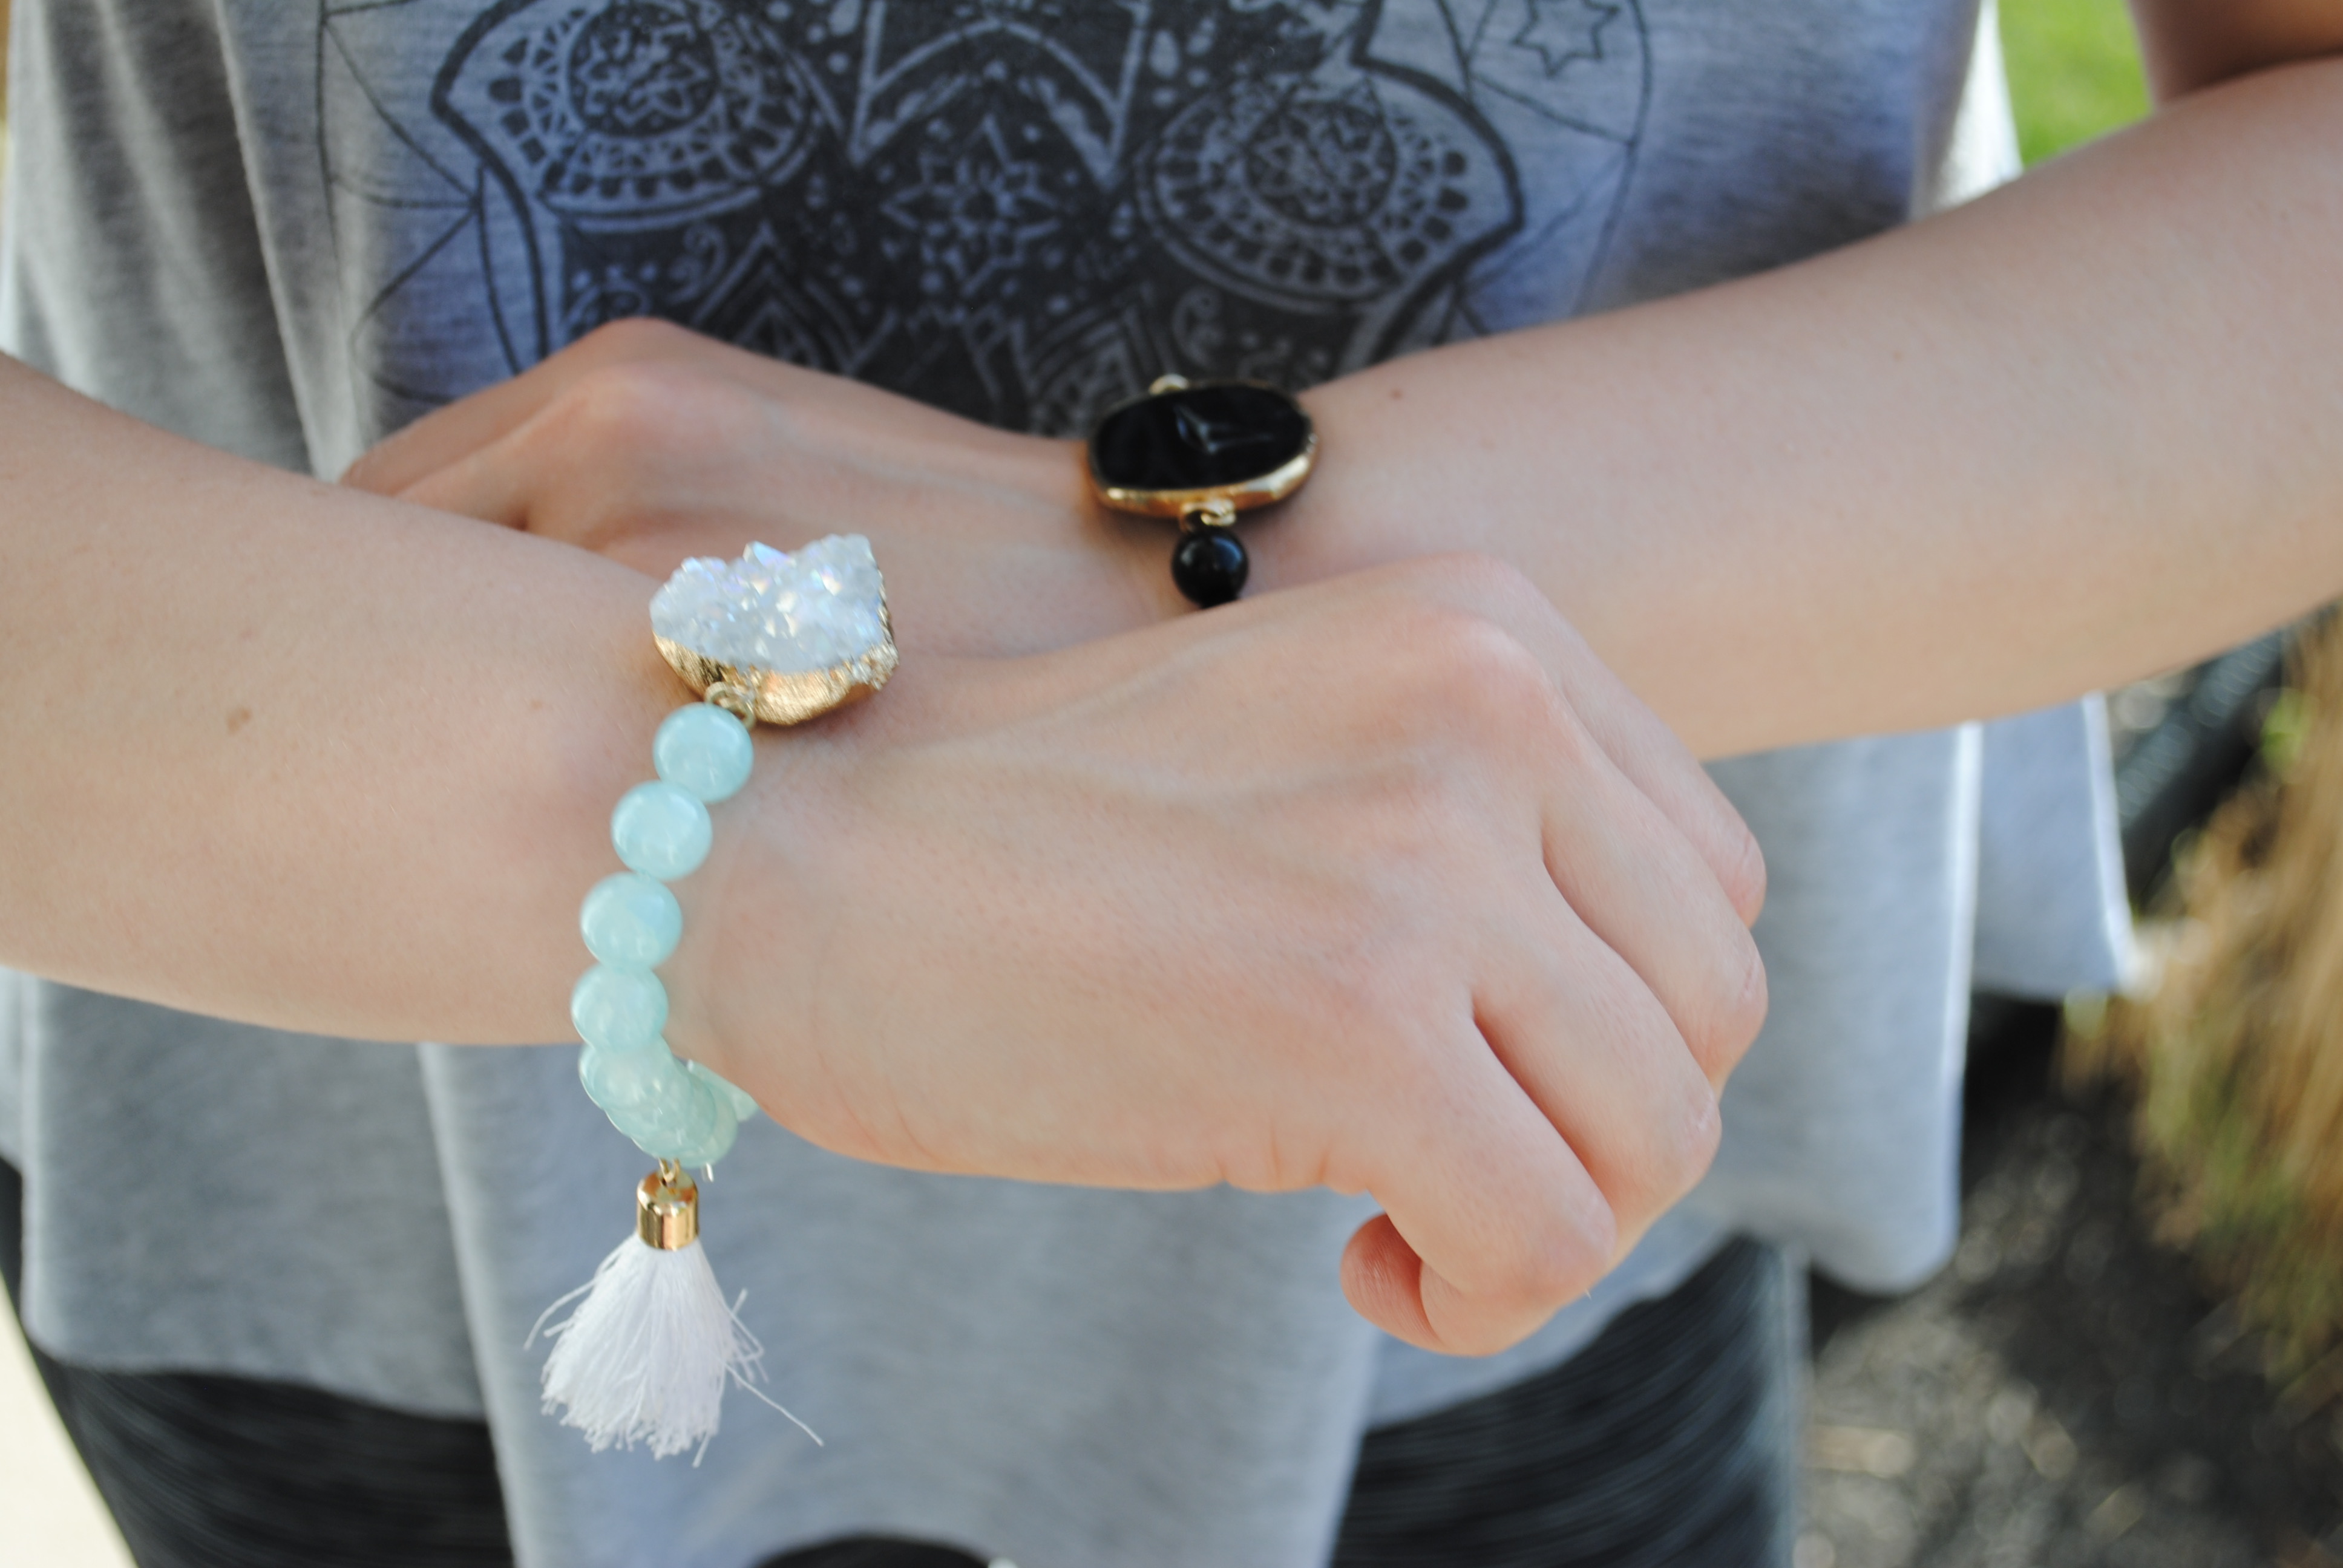
The warmer weather is finally here…YES! Time to finally get out and get my crafting back on 🙂 I actually got this craft to occupy Hartley with the new baby but then also loved creating my own custom bracelets too. These boho bracelets are everywhere and some are just outrageously expensive for what they are. Soooo, what do I do? DIY-it. These cost me under $10 each and were so much fun to make and fit exactly to me. The initial investment of the jewelry cord will last you awhile so the possibilities of mixing beads and embellishments are endless. Price breakdown: $5 stones and tassels, $2 strand of beads, approx. $1 for portion of cord and glue.

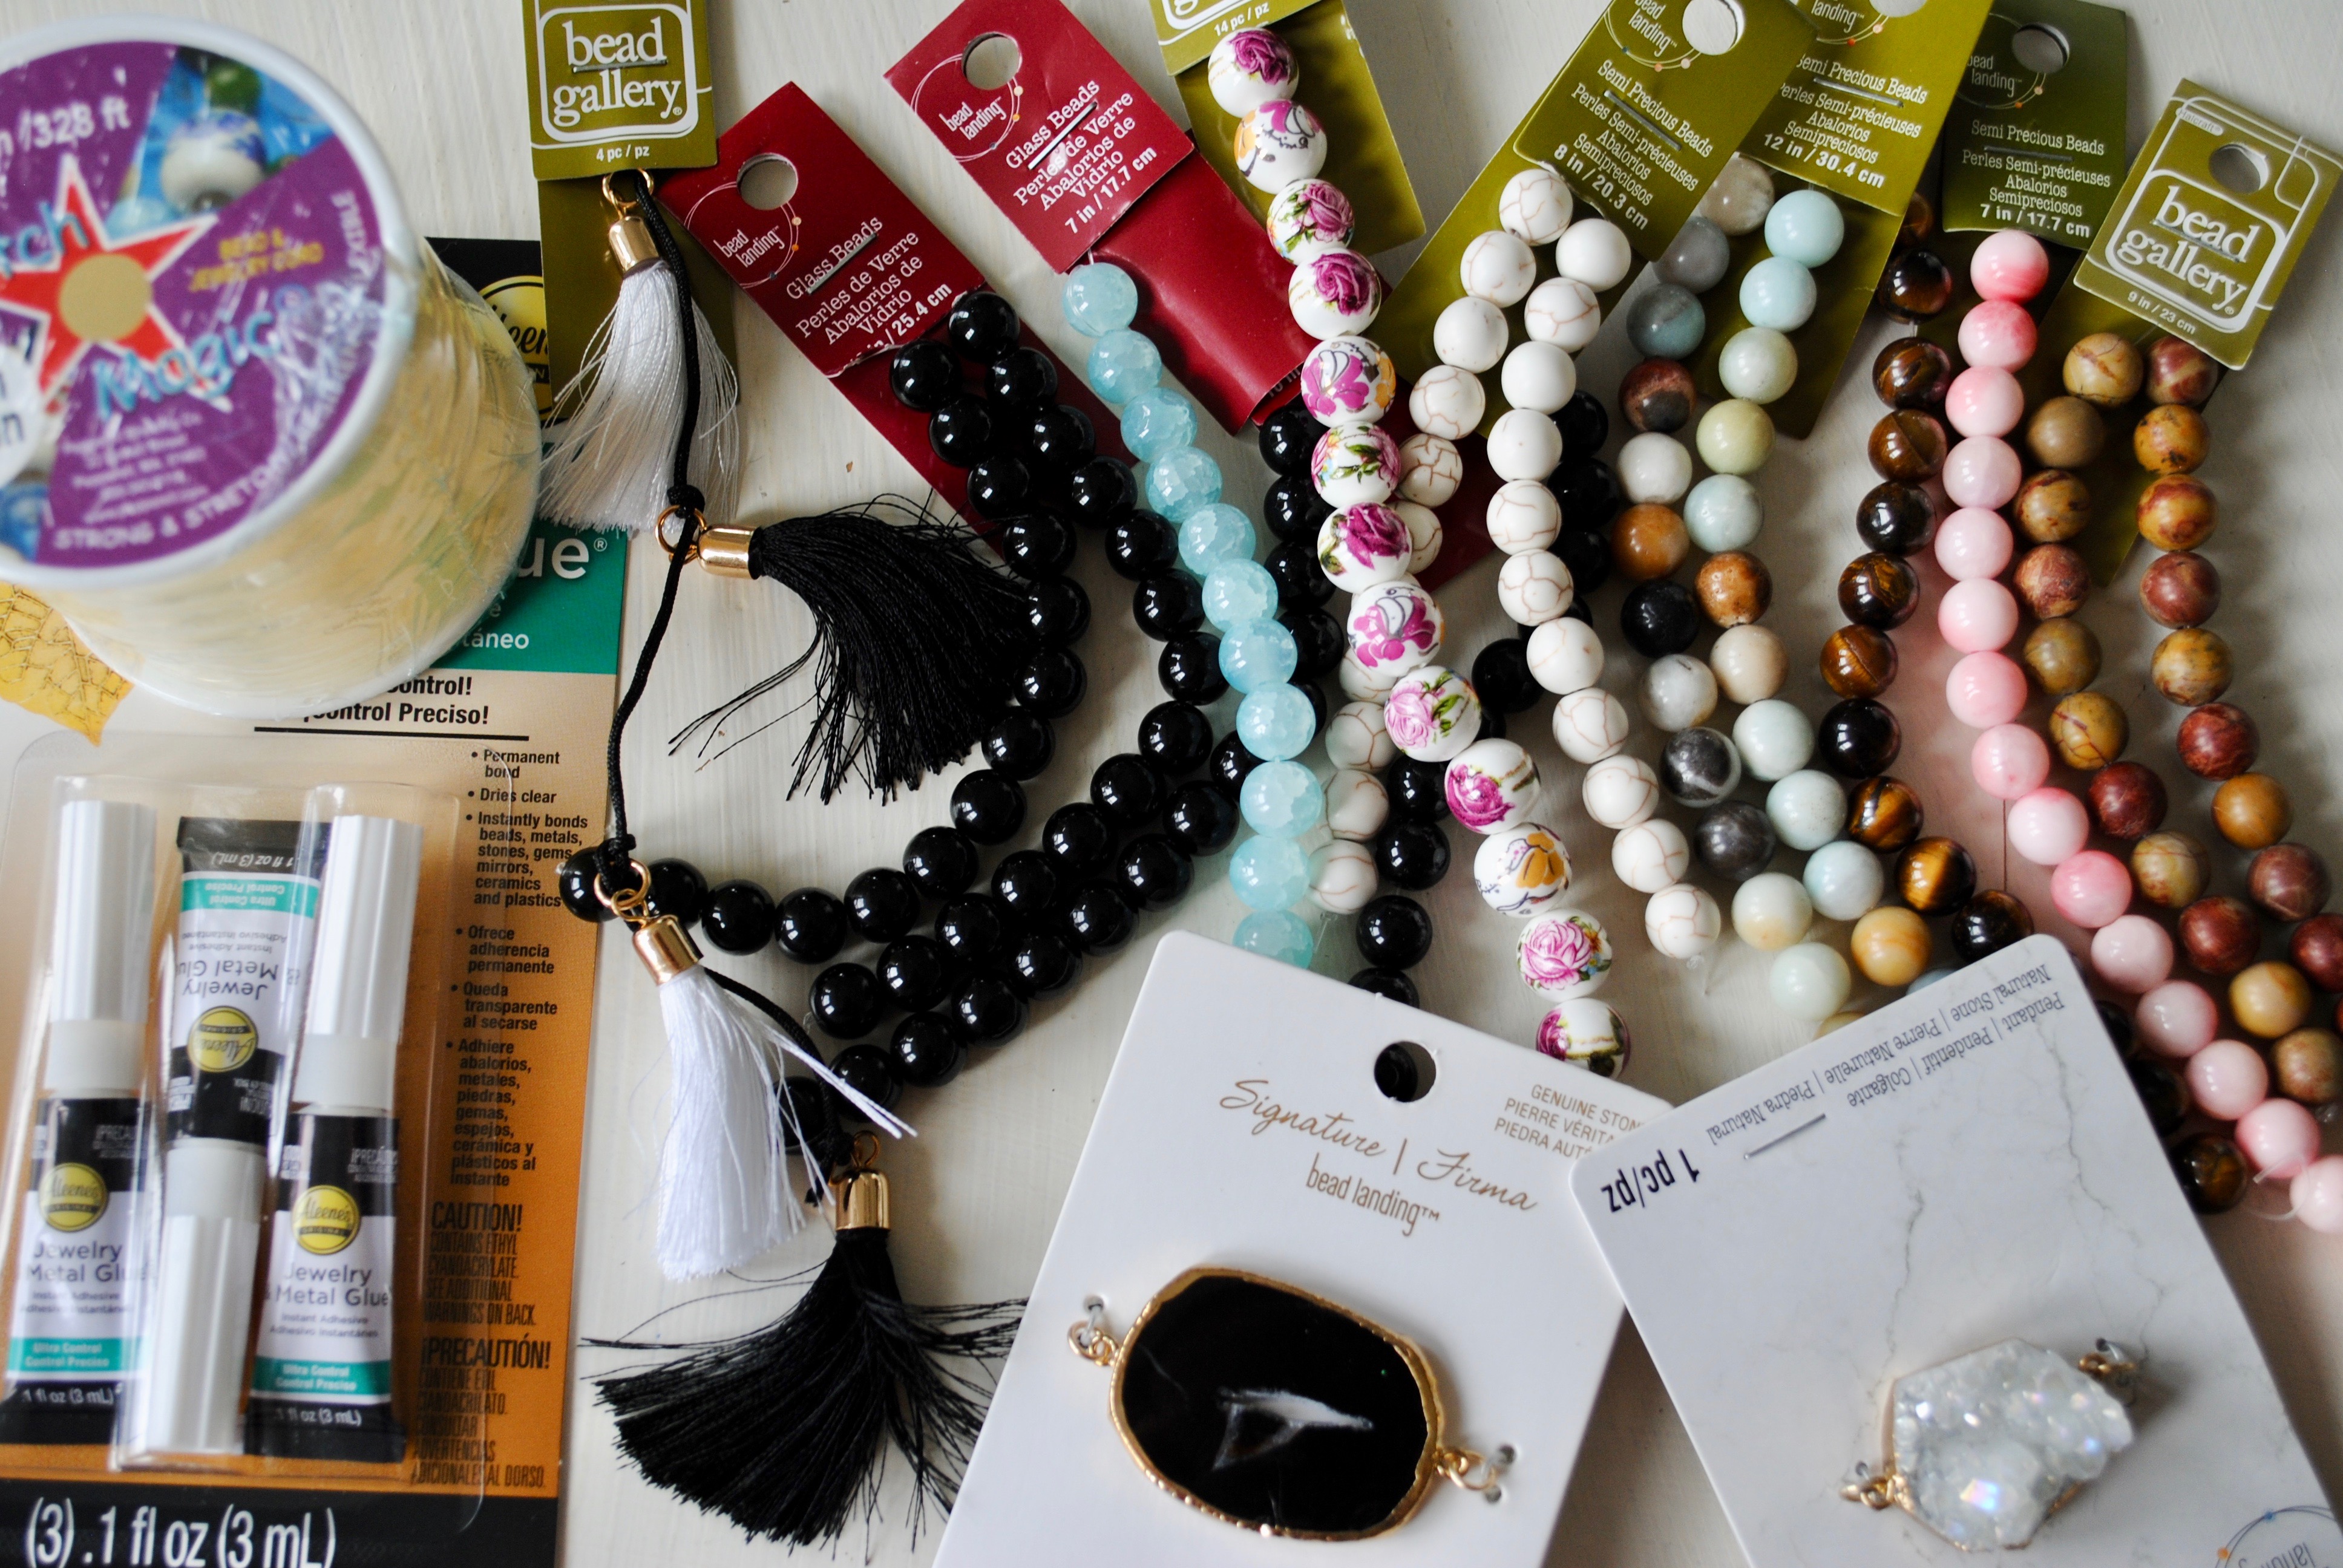
What you will need:

  • Beads of choice
    • *Budget tip: Look for sales. I caught all the beading supplies on sale for 50-80% off
    • 1 strand of beads seemed to be the perfect amount for my wrist size
  • Optional embellishments: stones, tassels, etc.
  • Stretch cord for beading
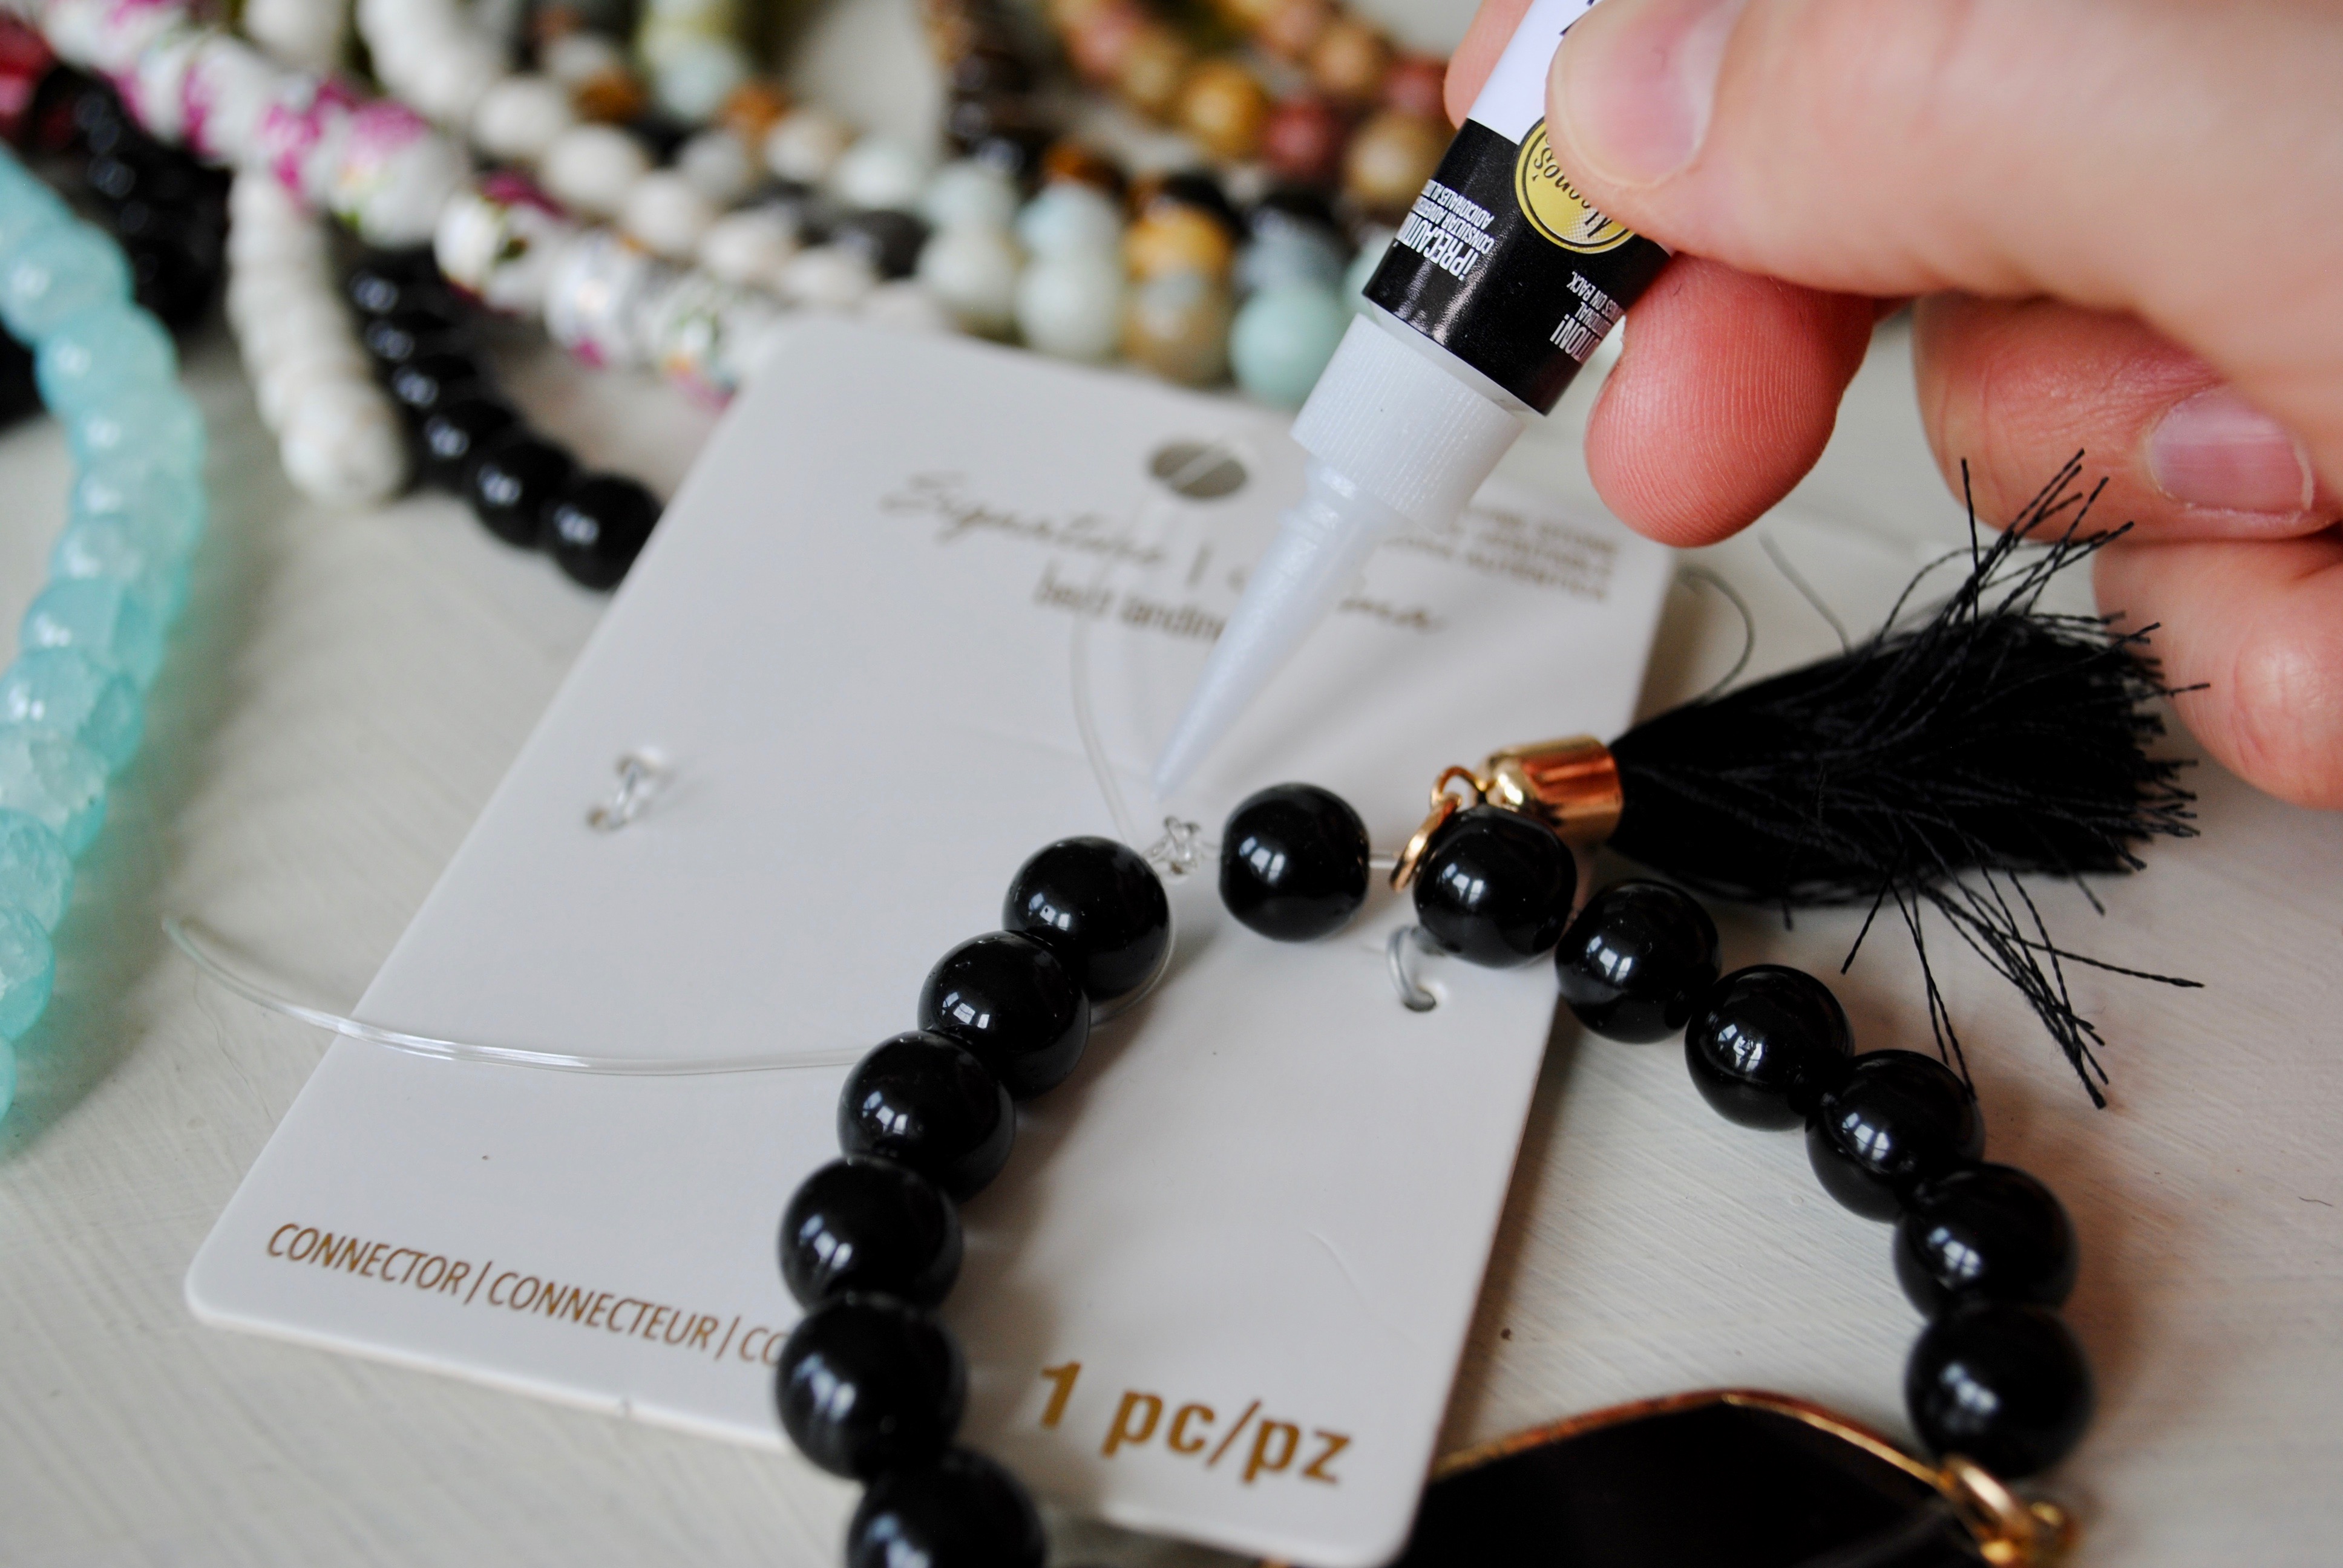
  • Glue (jewelry or super)

Instructions:

Couldn’t be more simple!

  1. Start by cutting a 6-8″ of jewelry cord
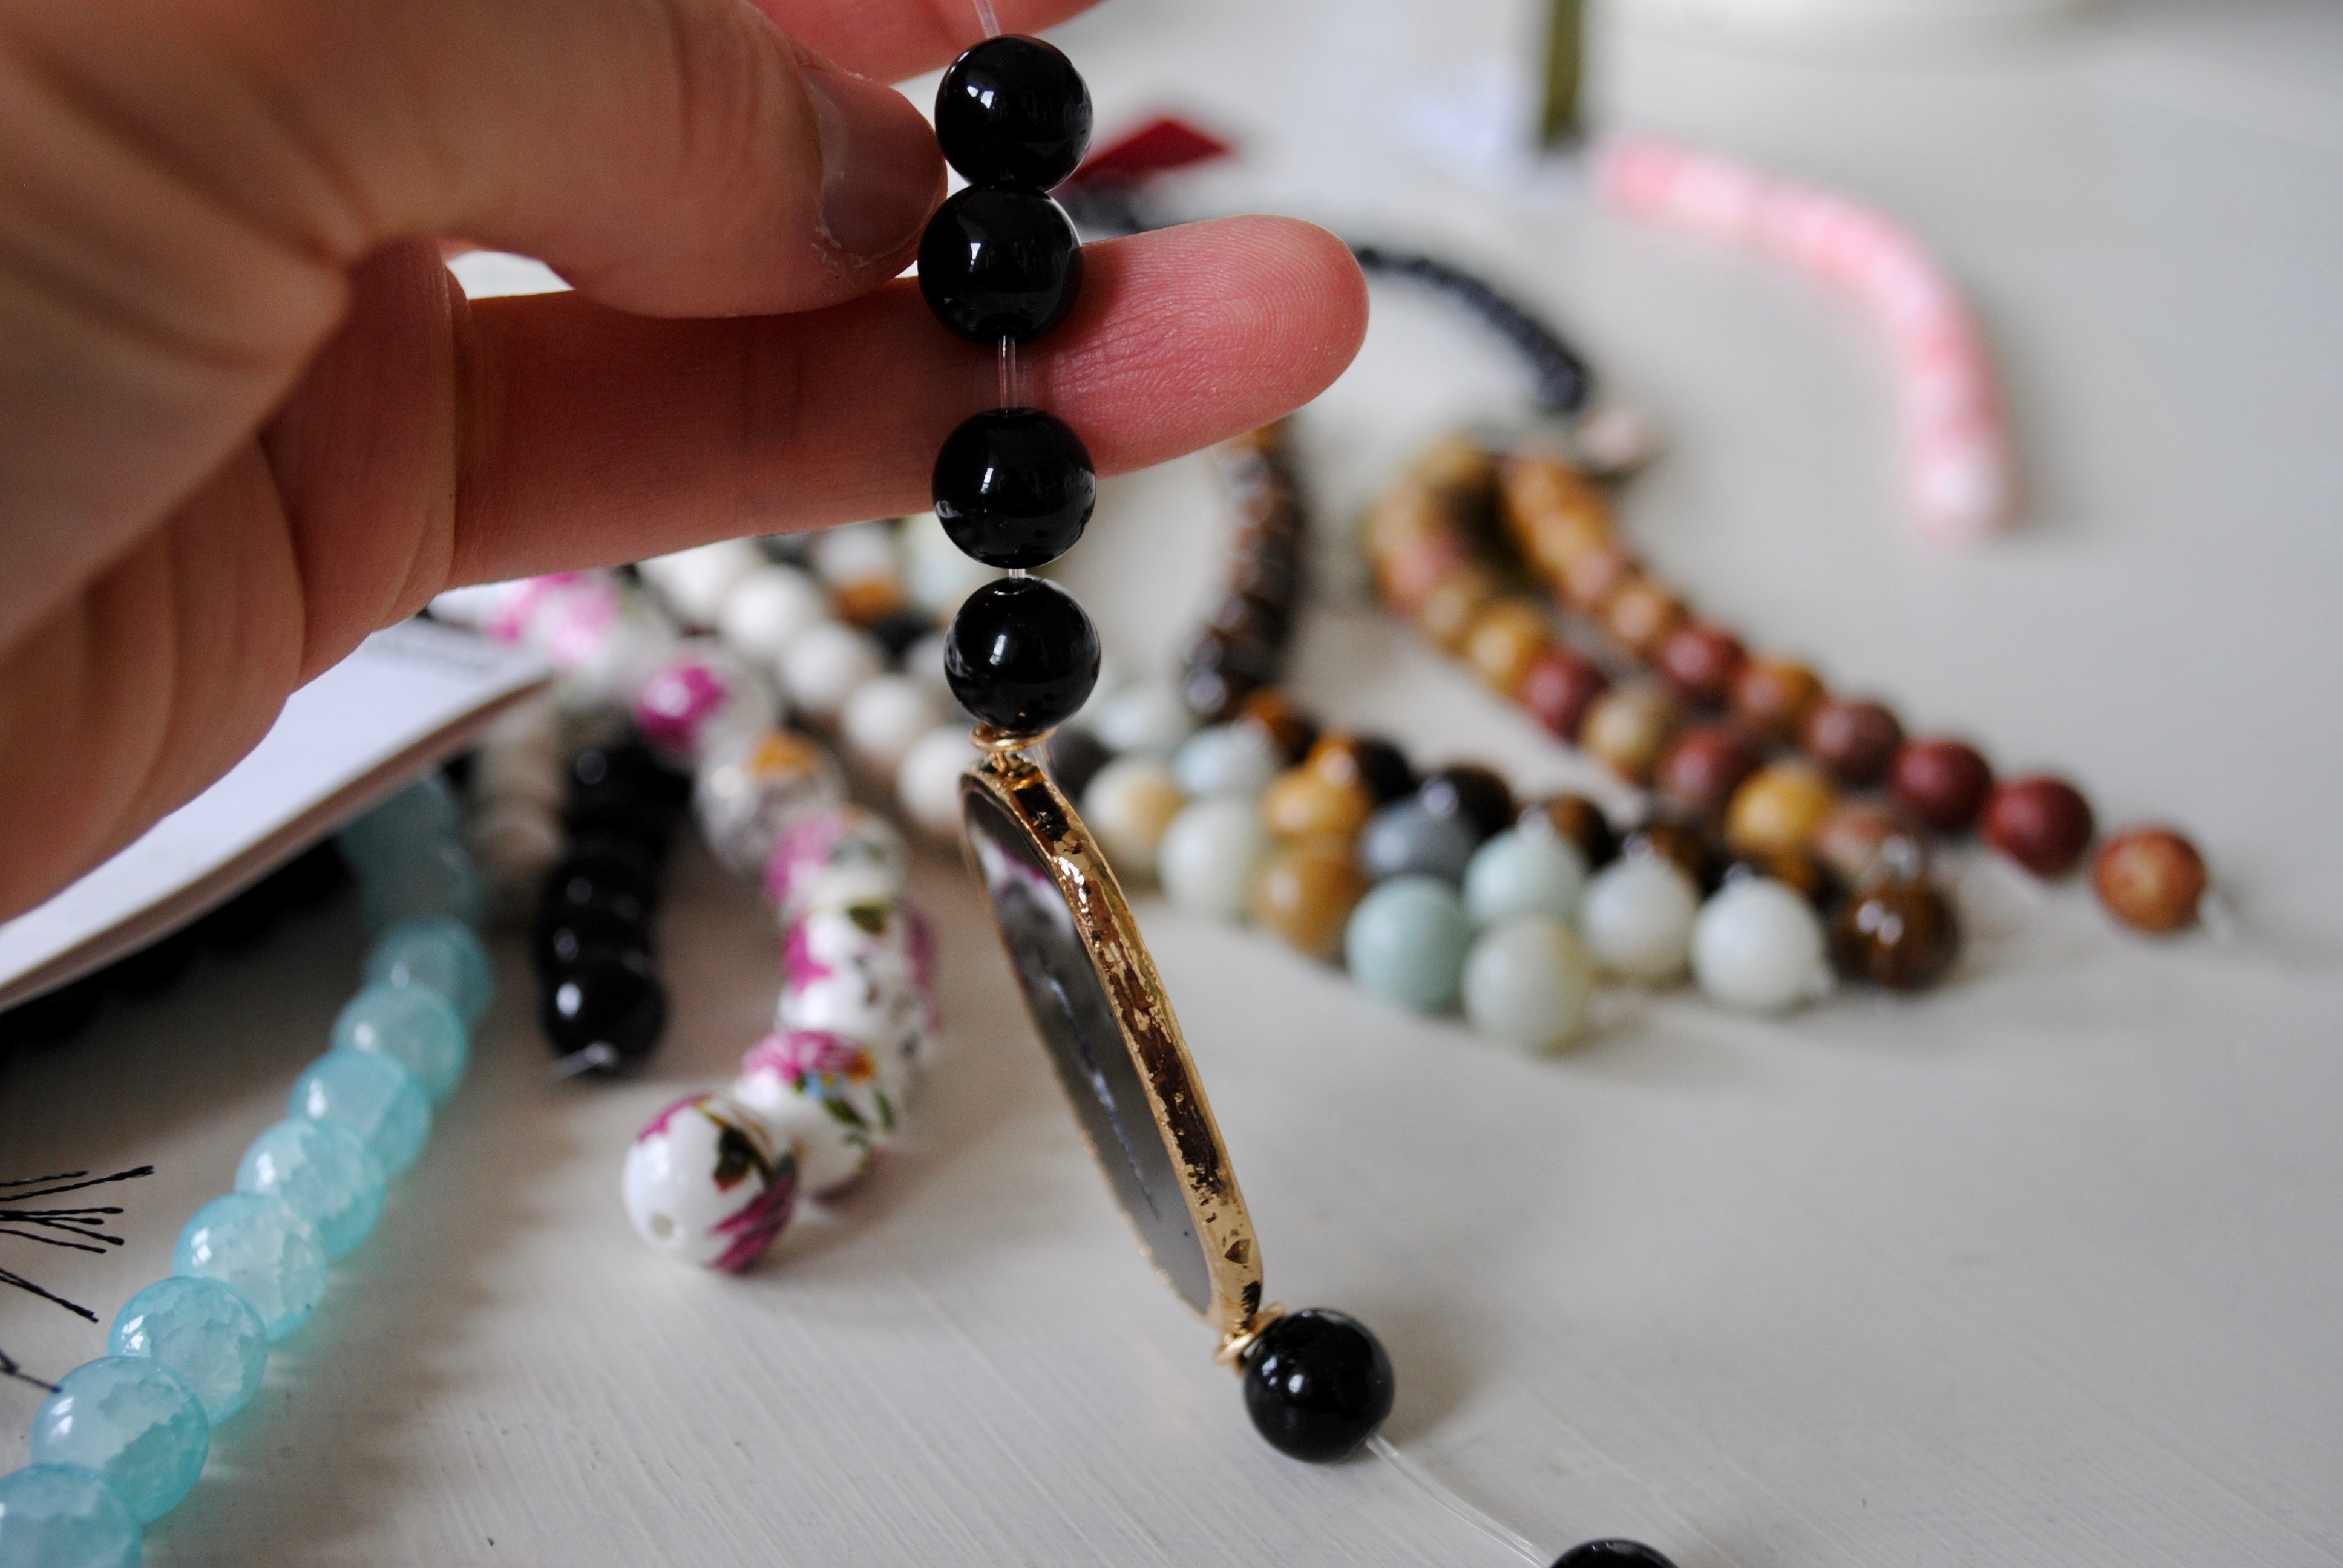
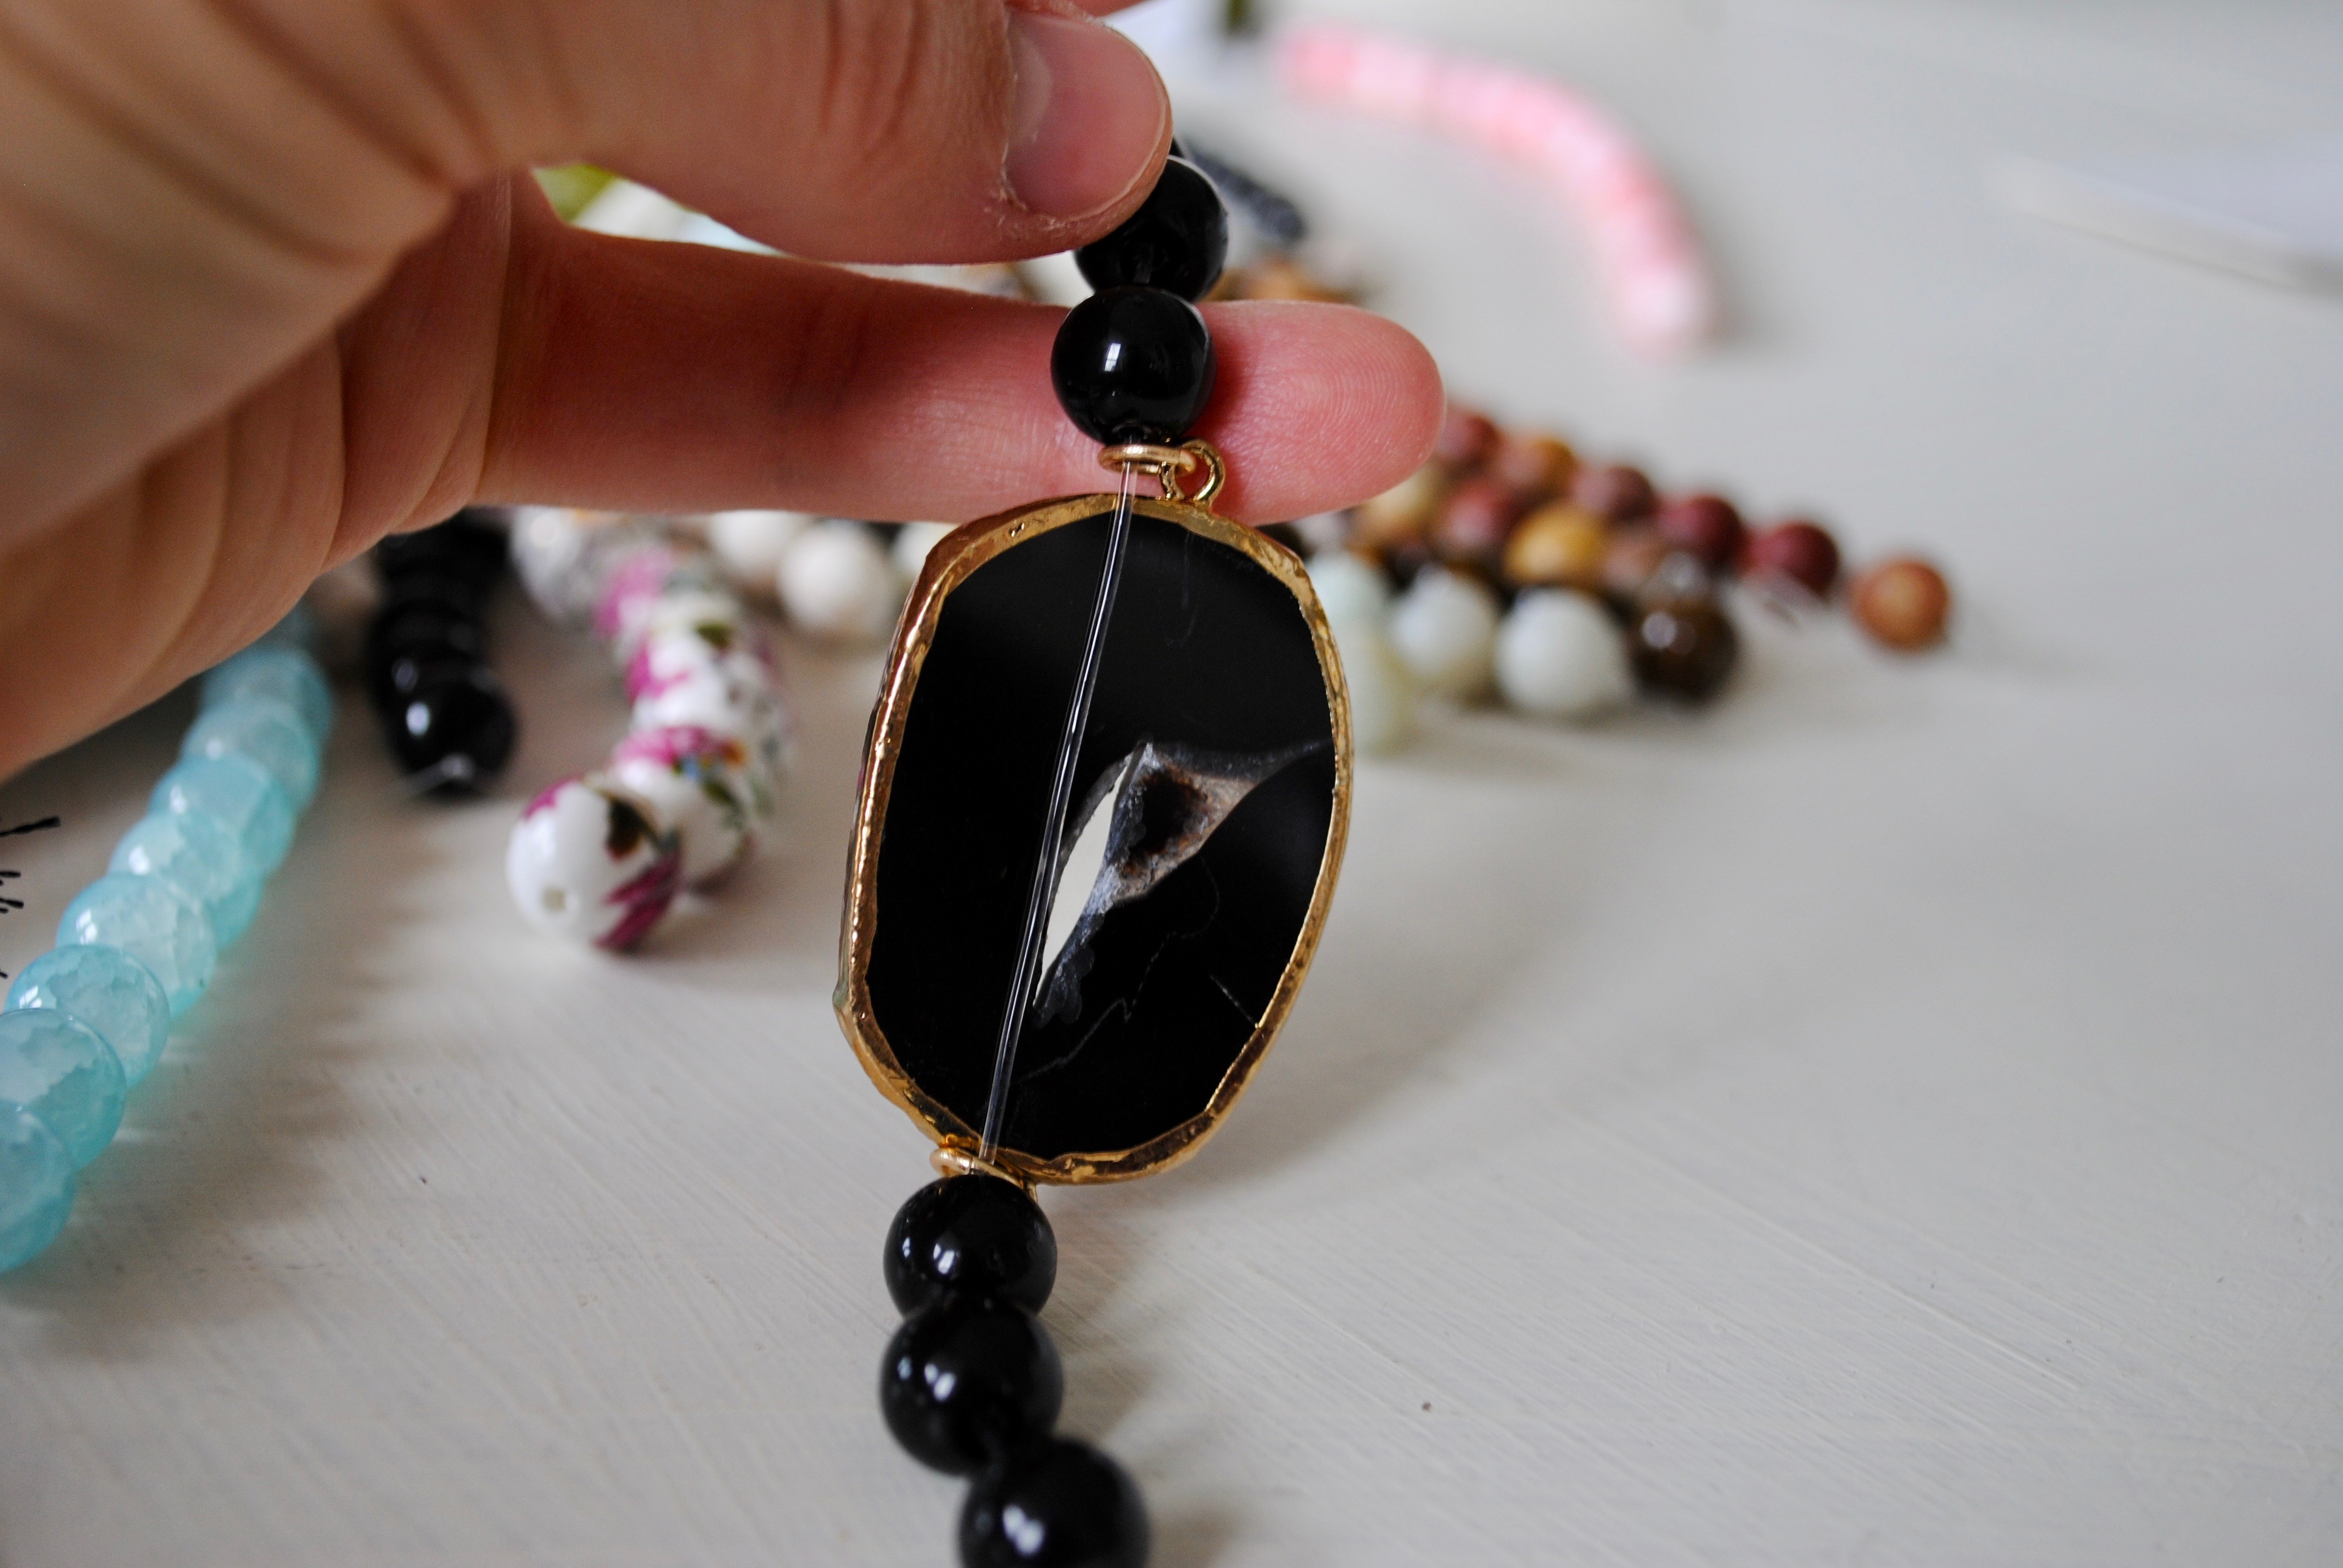
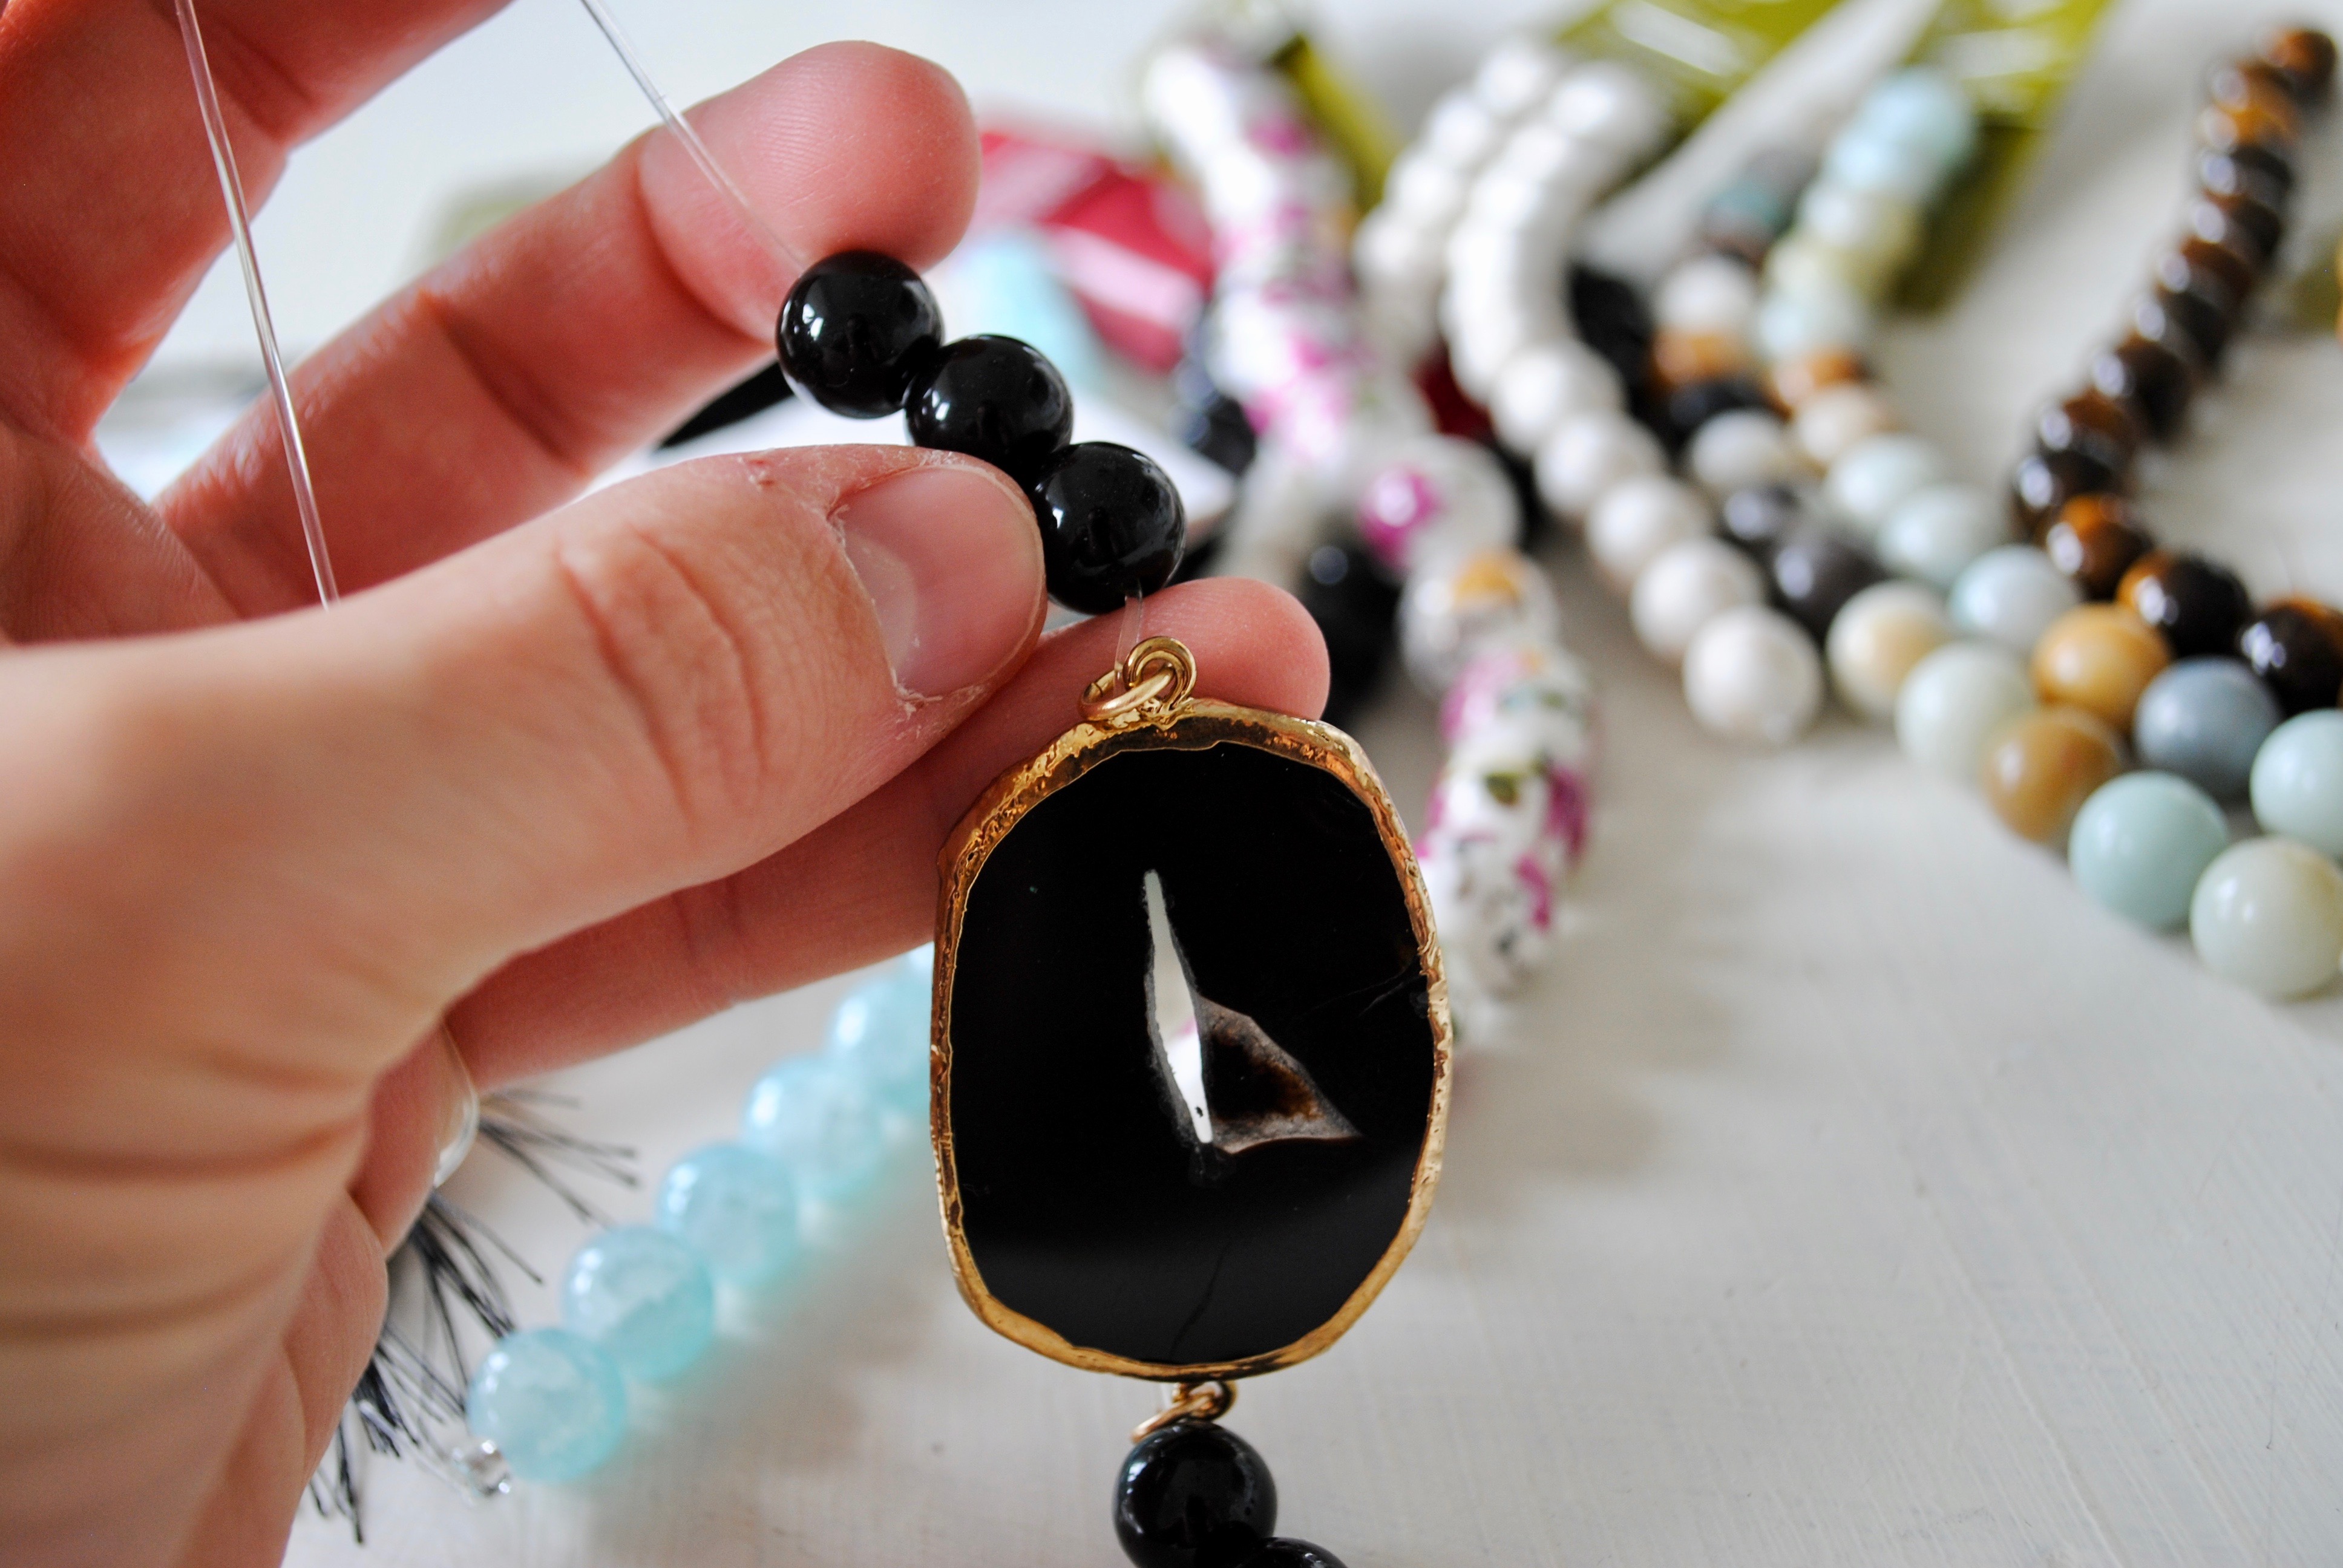
  2. Then start threading your beads through
  3. Center embellishments and add tassels to end
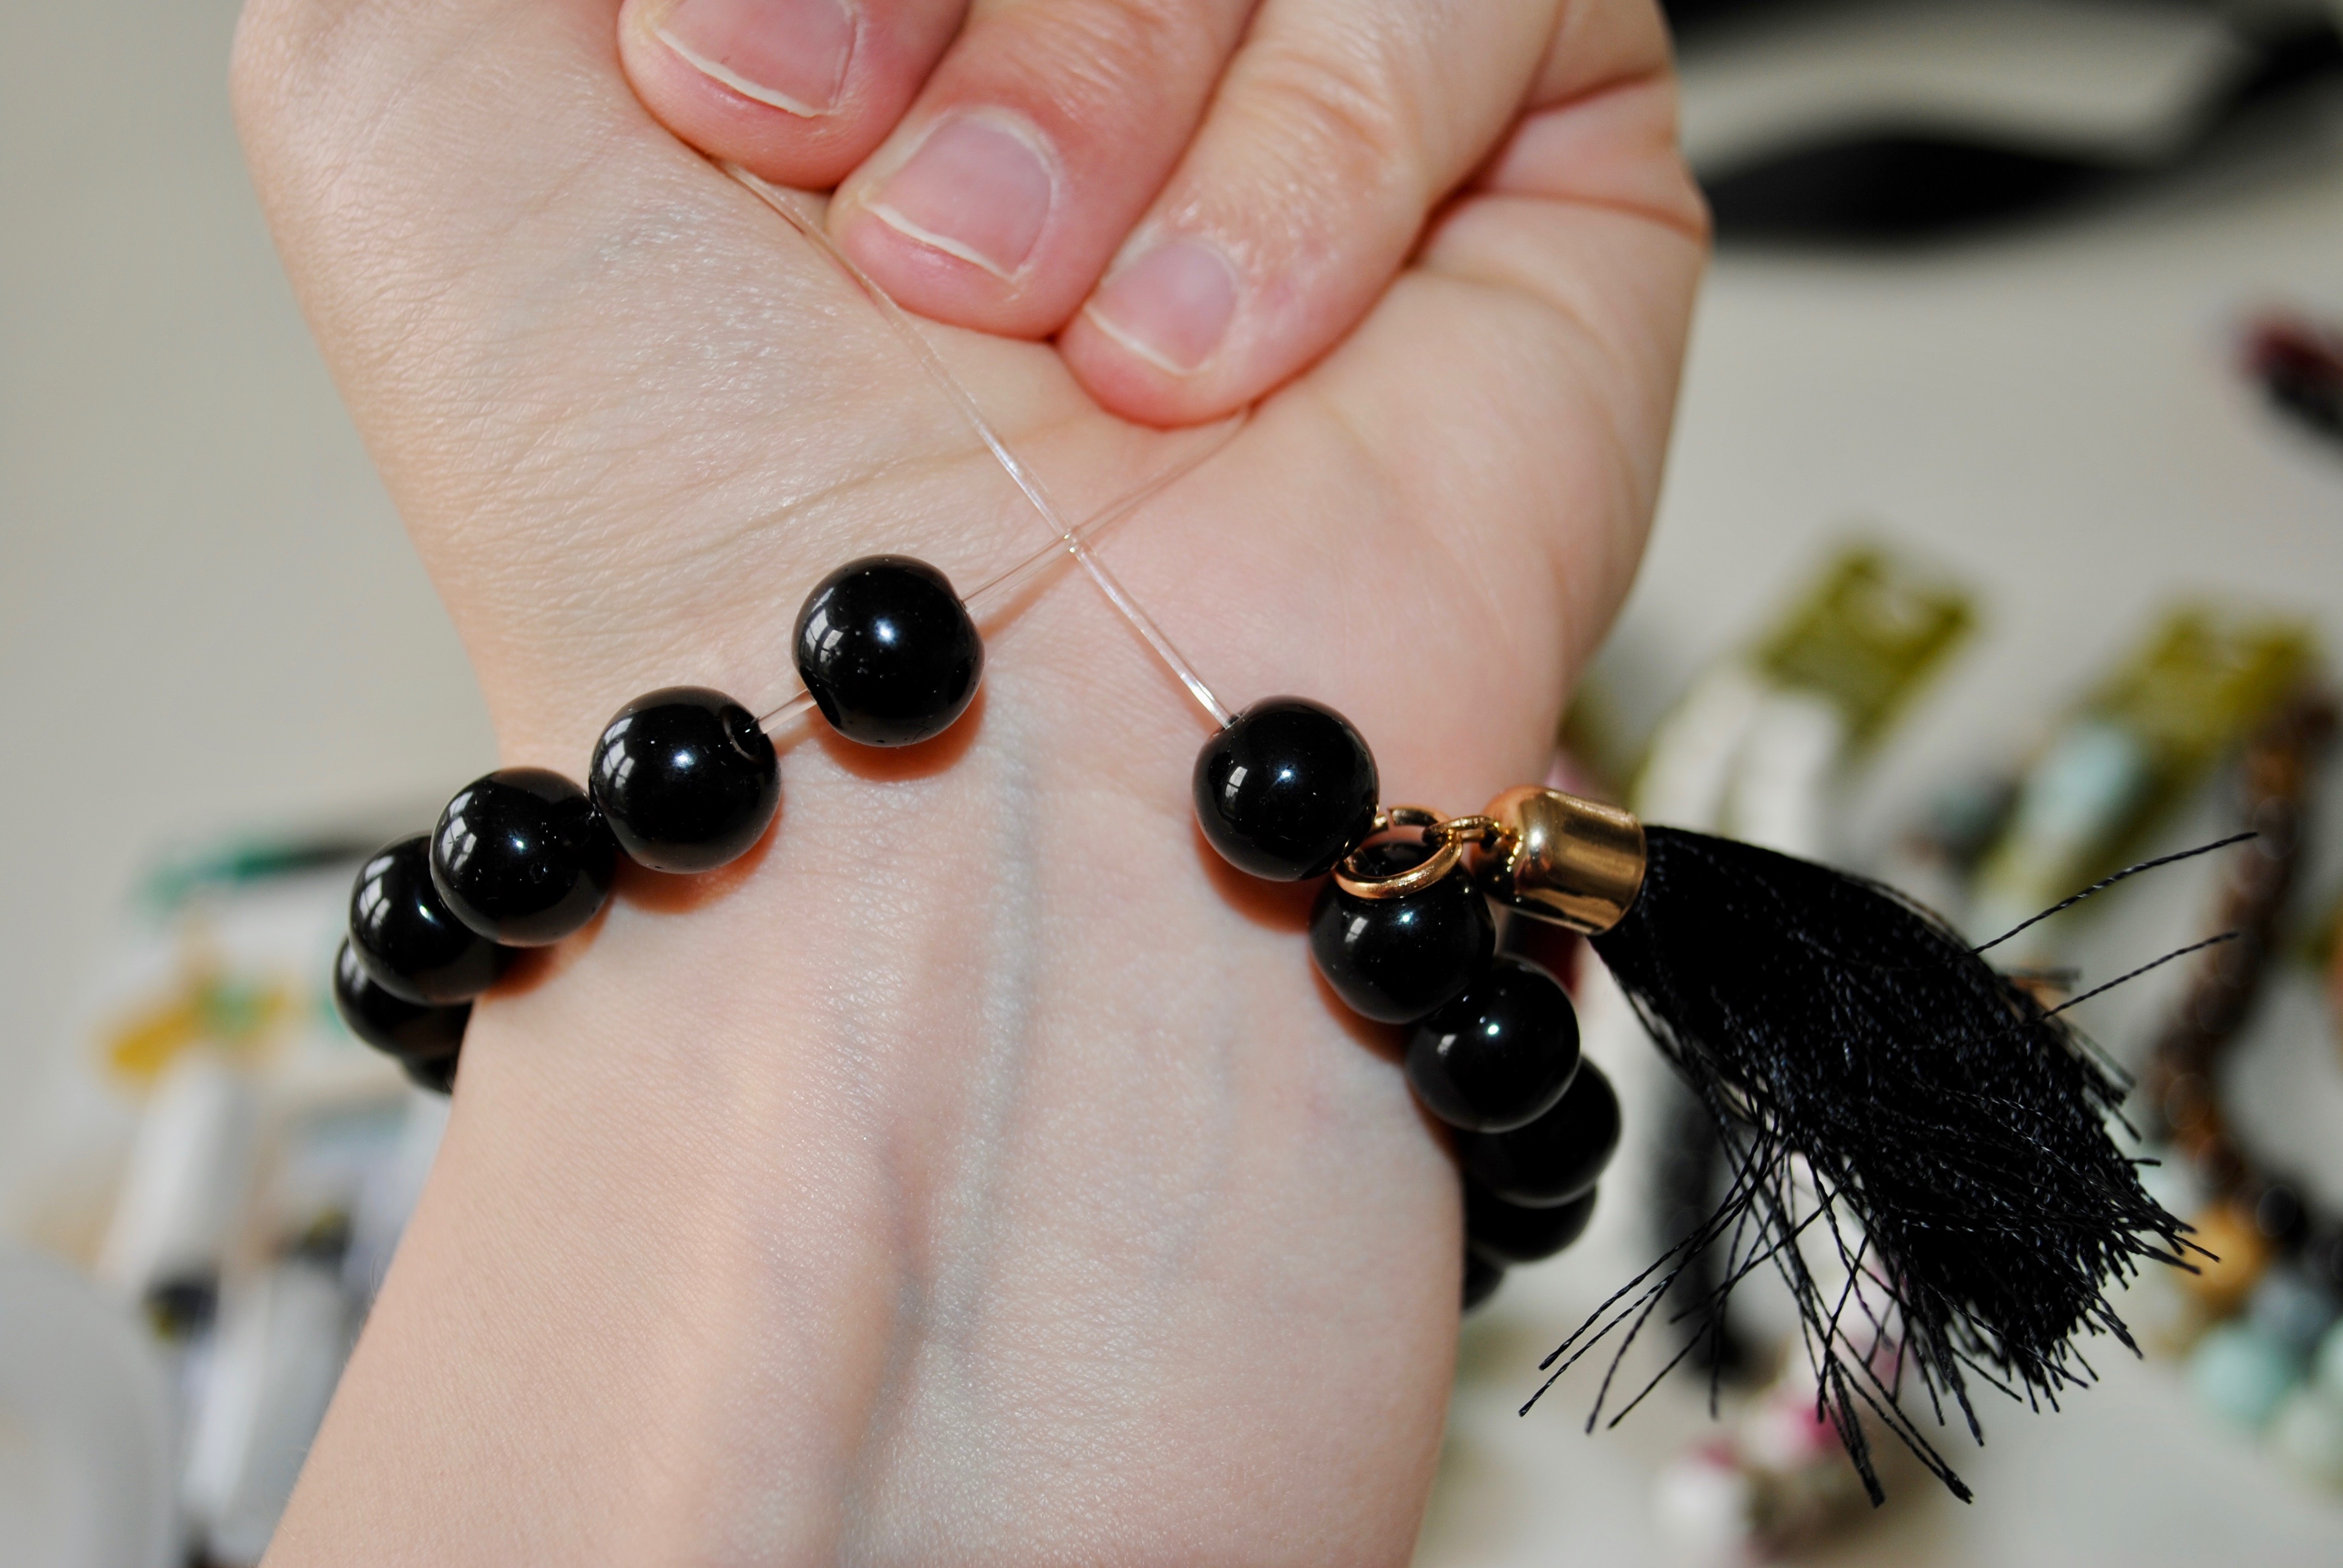
  4. Once even on both sides, measure your wrist and make sure when tight you have enough beads covering your cord
  5. Then double knot your two cord ends together and seal with glue

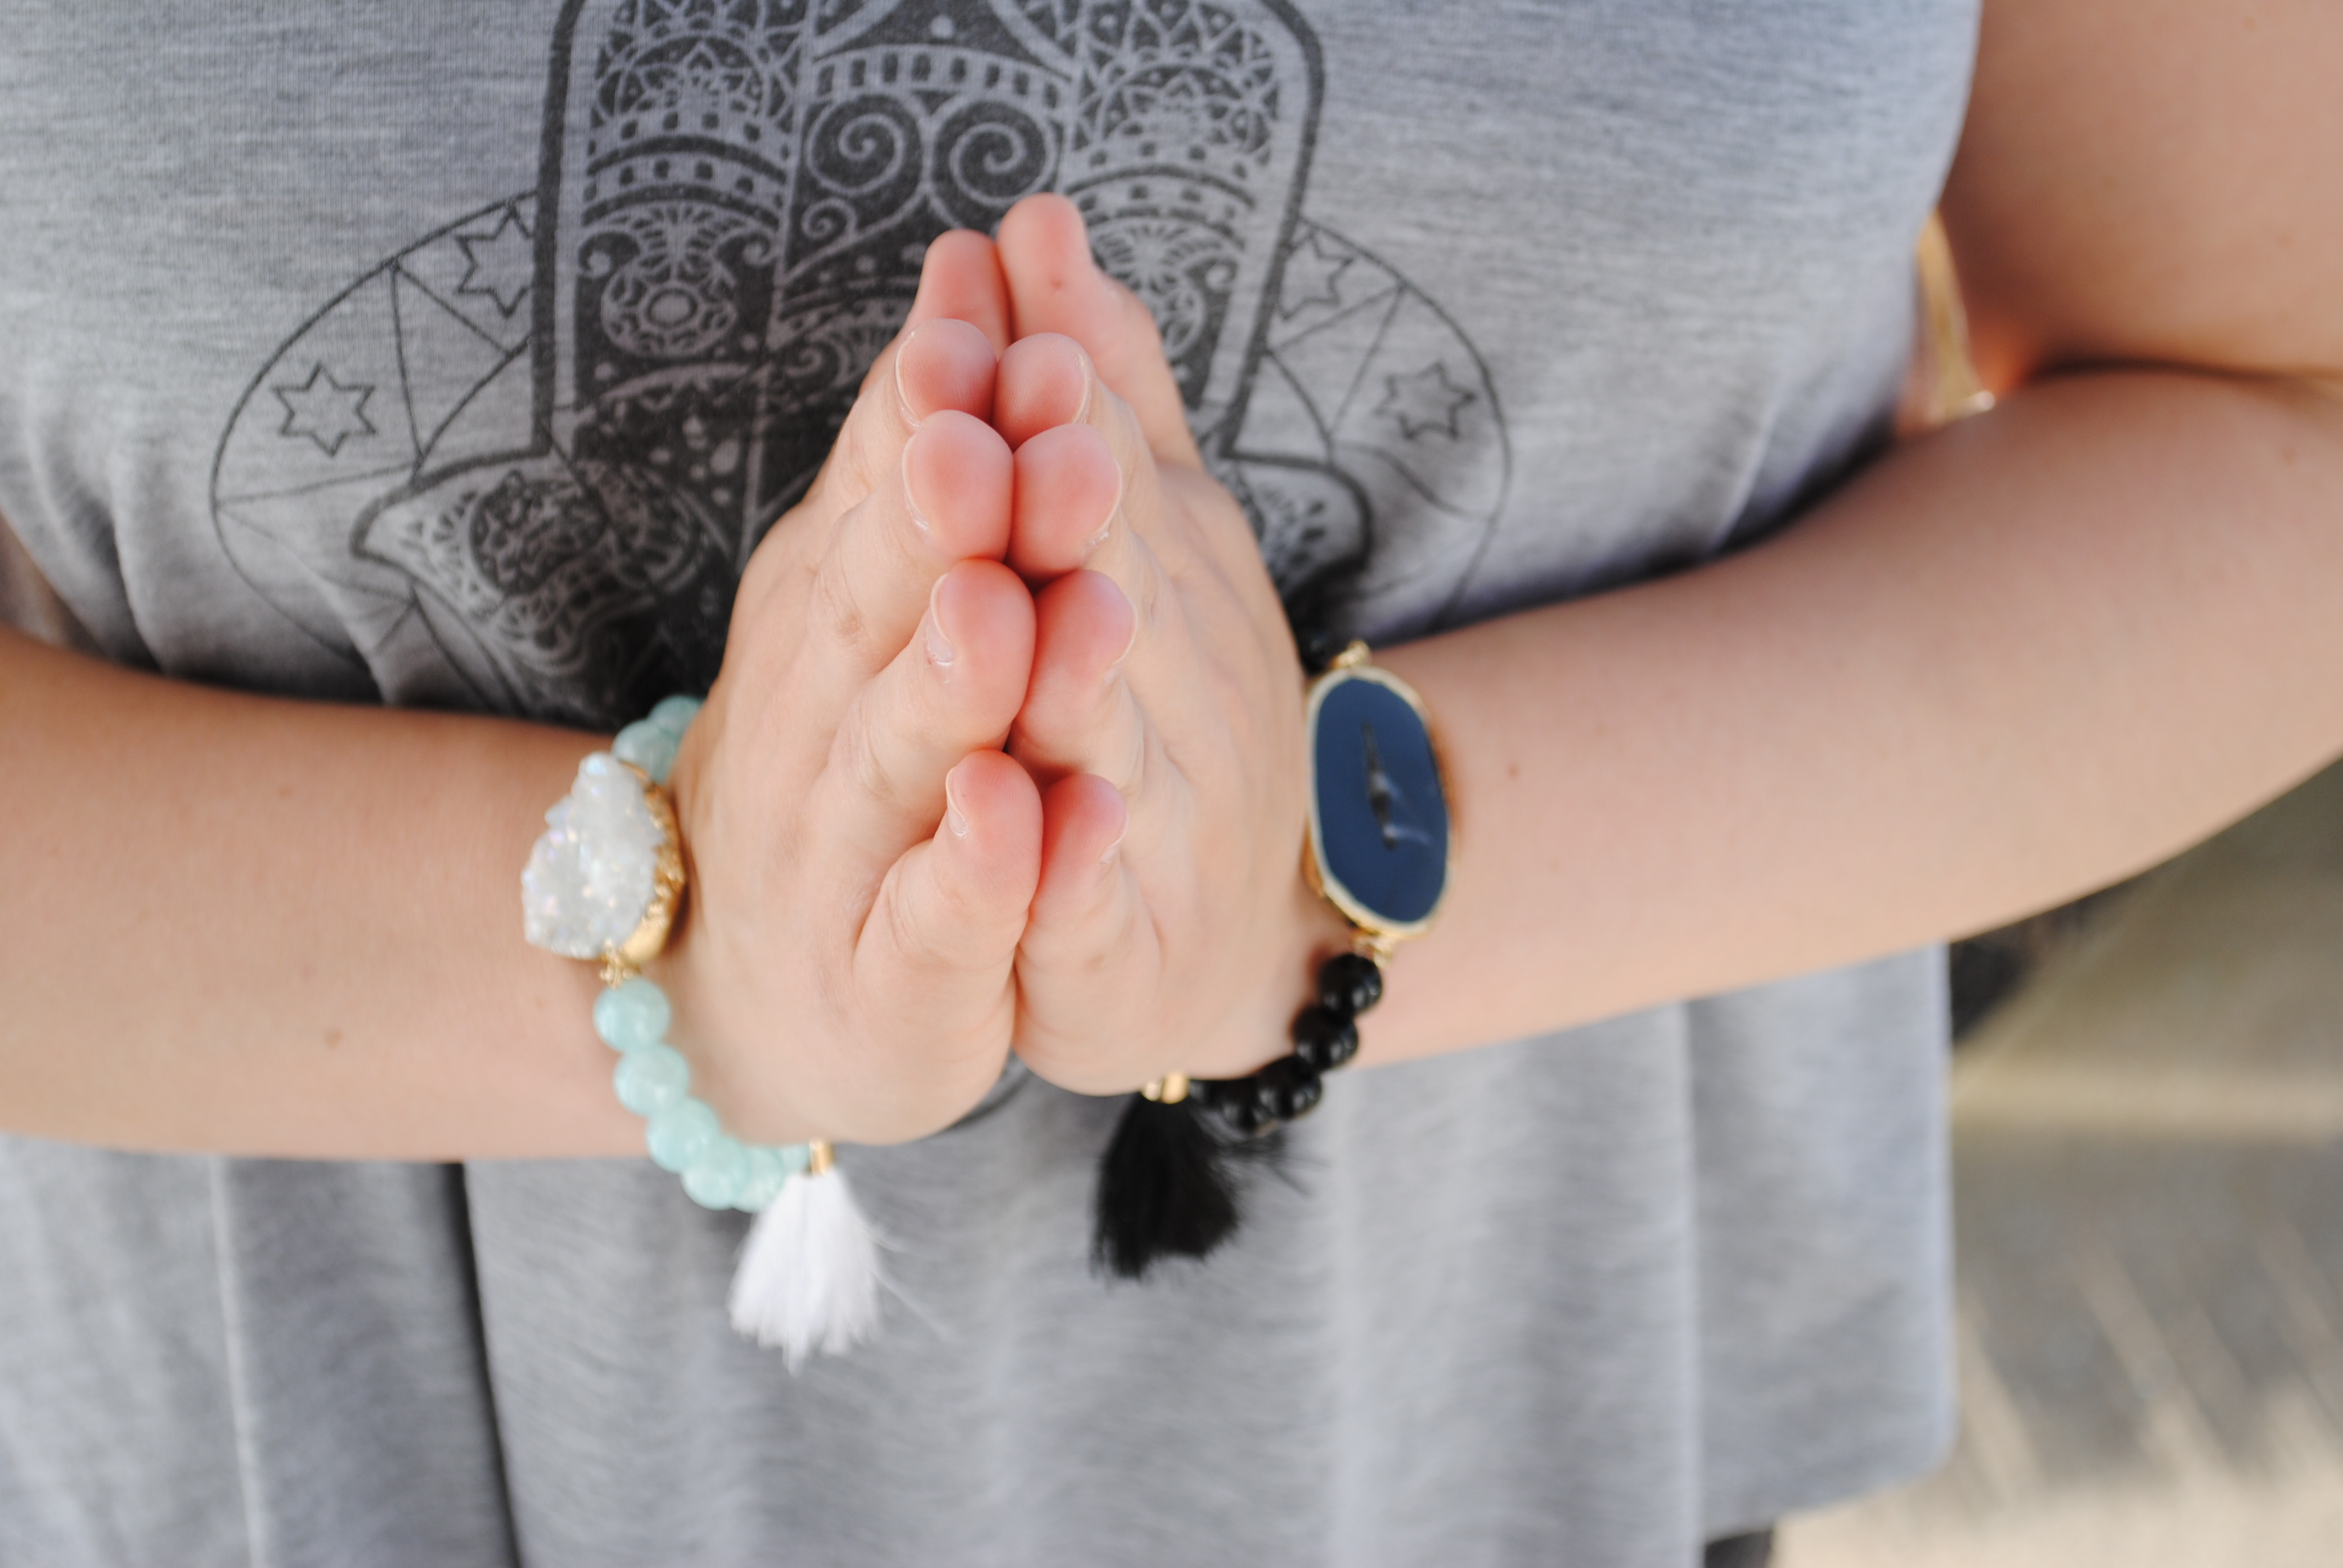
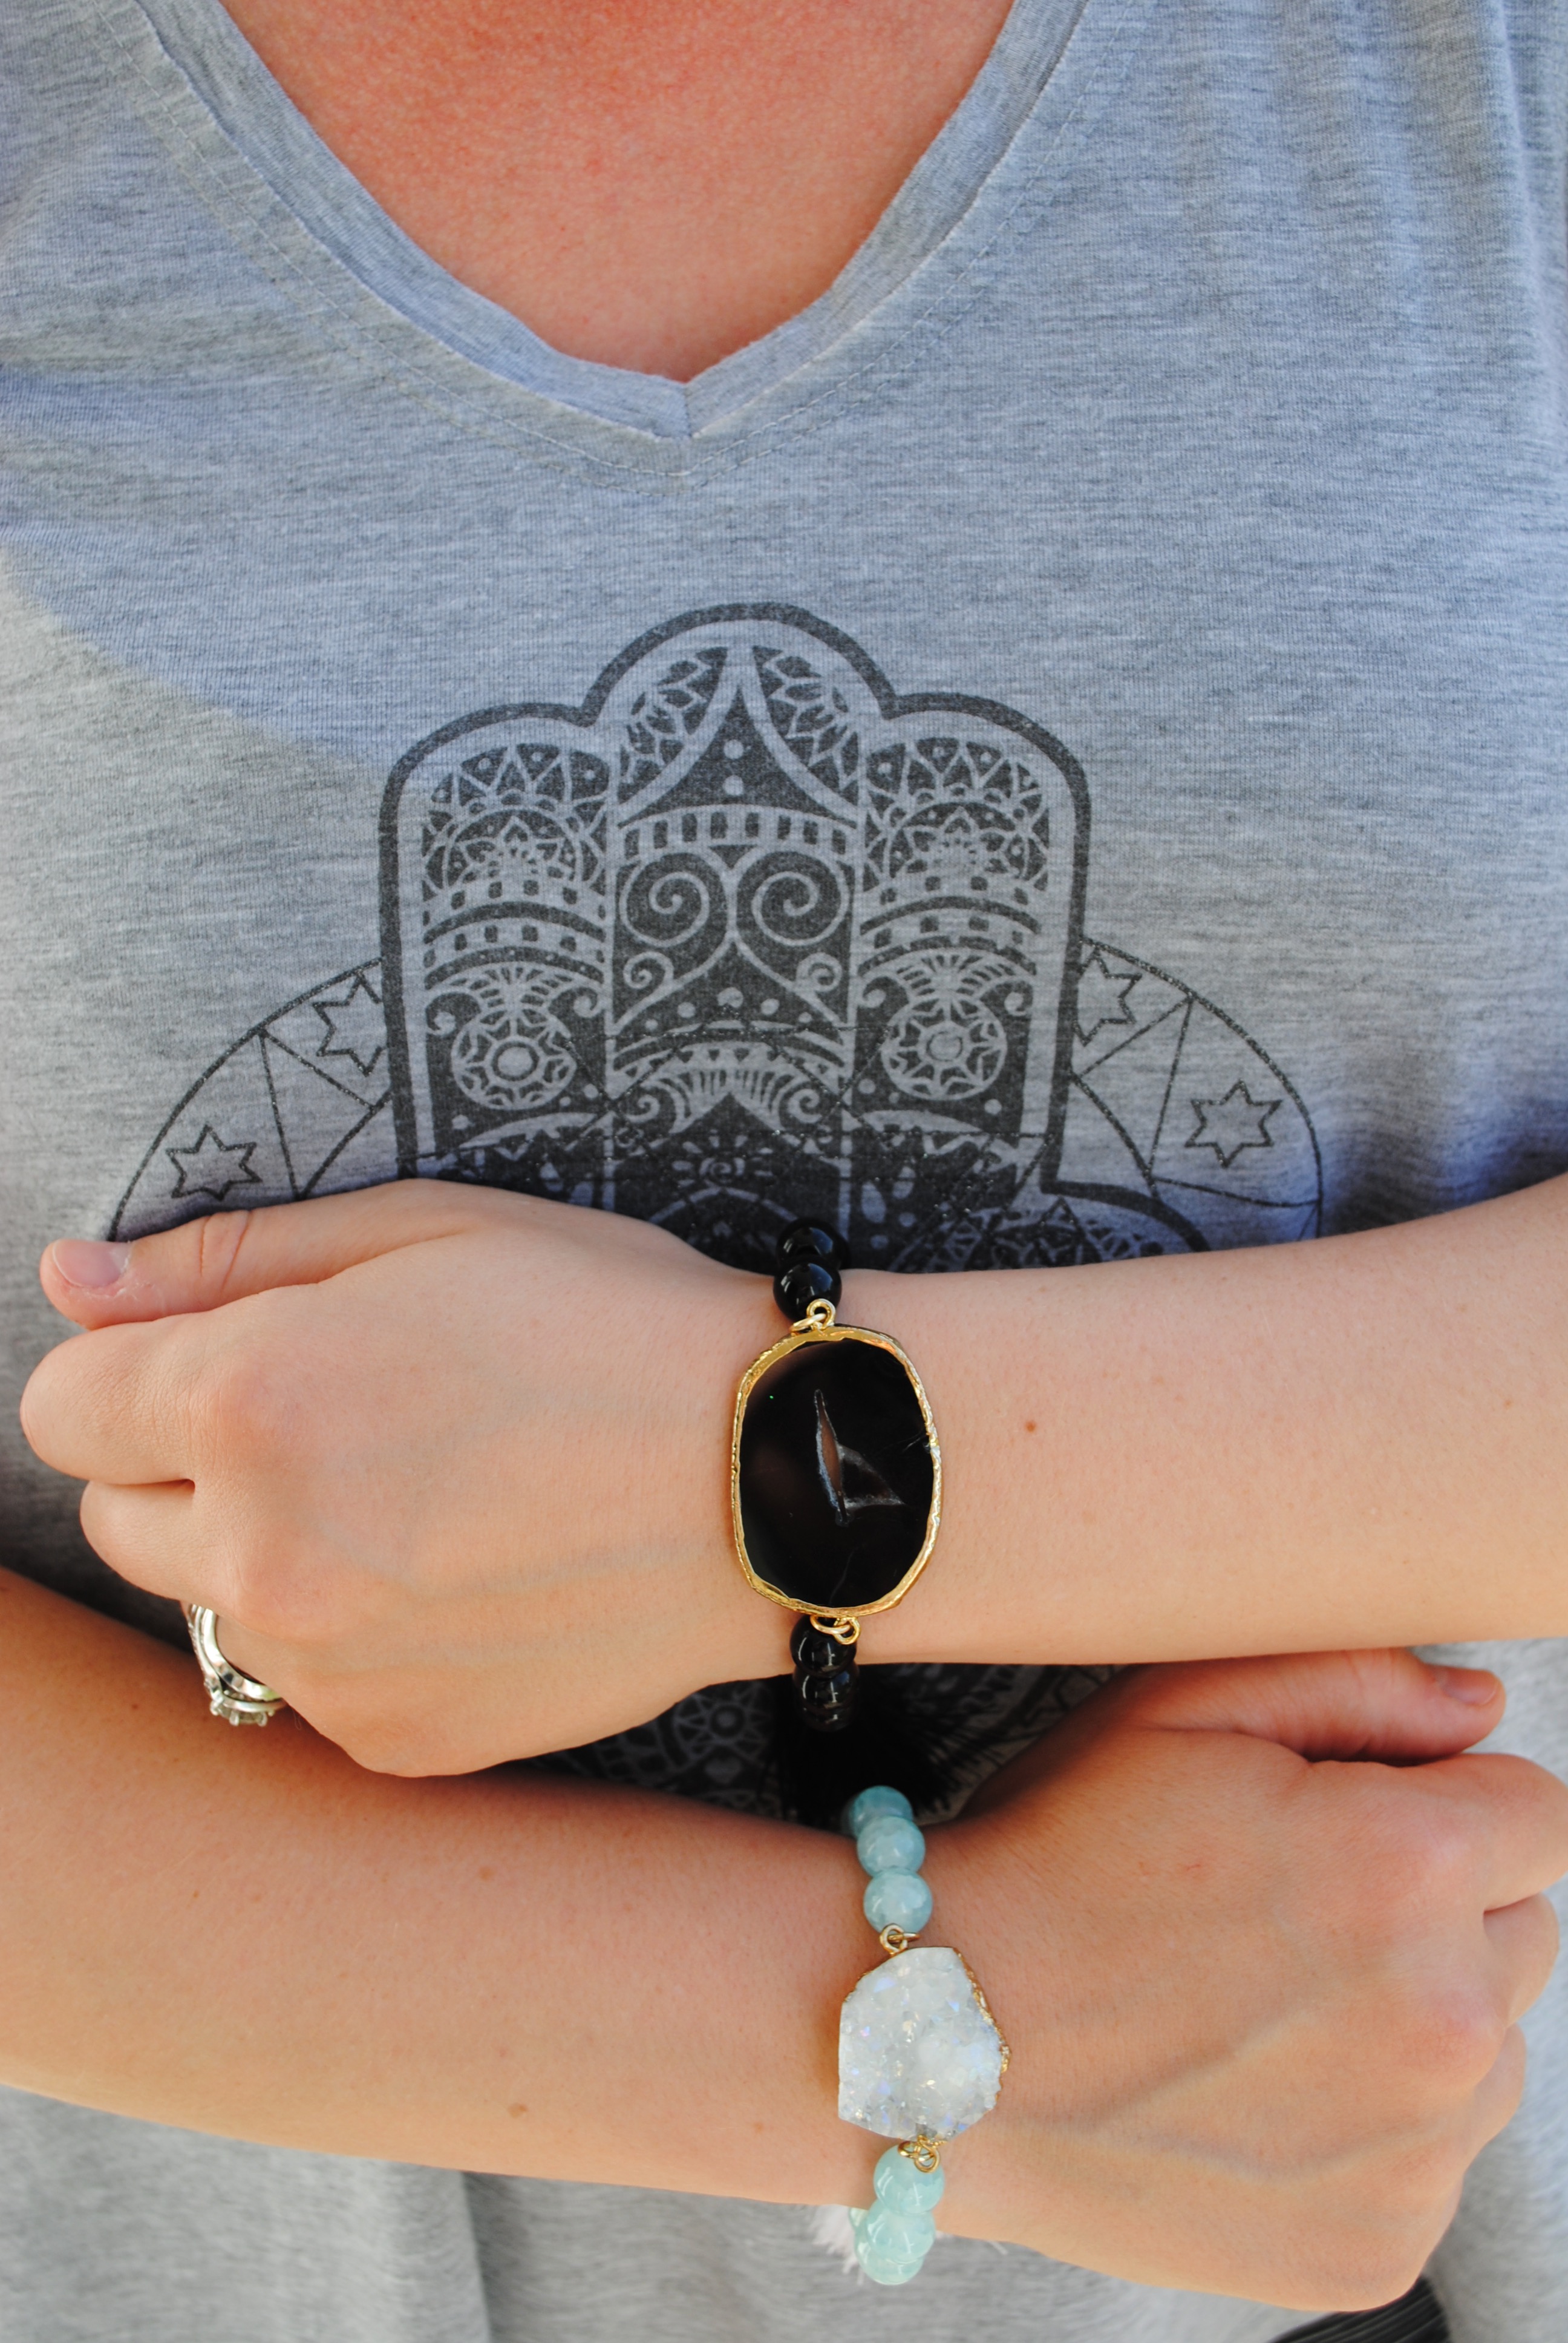
So step into spring with these super fun boho bracelets. They are the perfect addition for any outfit and you can tailor to exactly your taste and personality. This would also be a wonderful ladies night craft. Get all your girlfriends together and have an amazing time making unique bracelets together. It would be so much fun to see what everyone makes. Happy spring crafting!