Monday, March 5, 2018

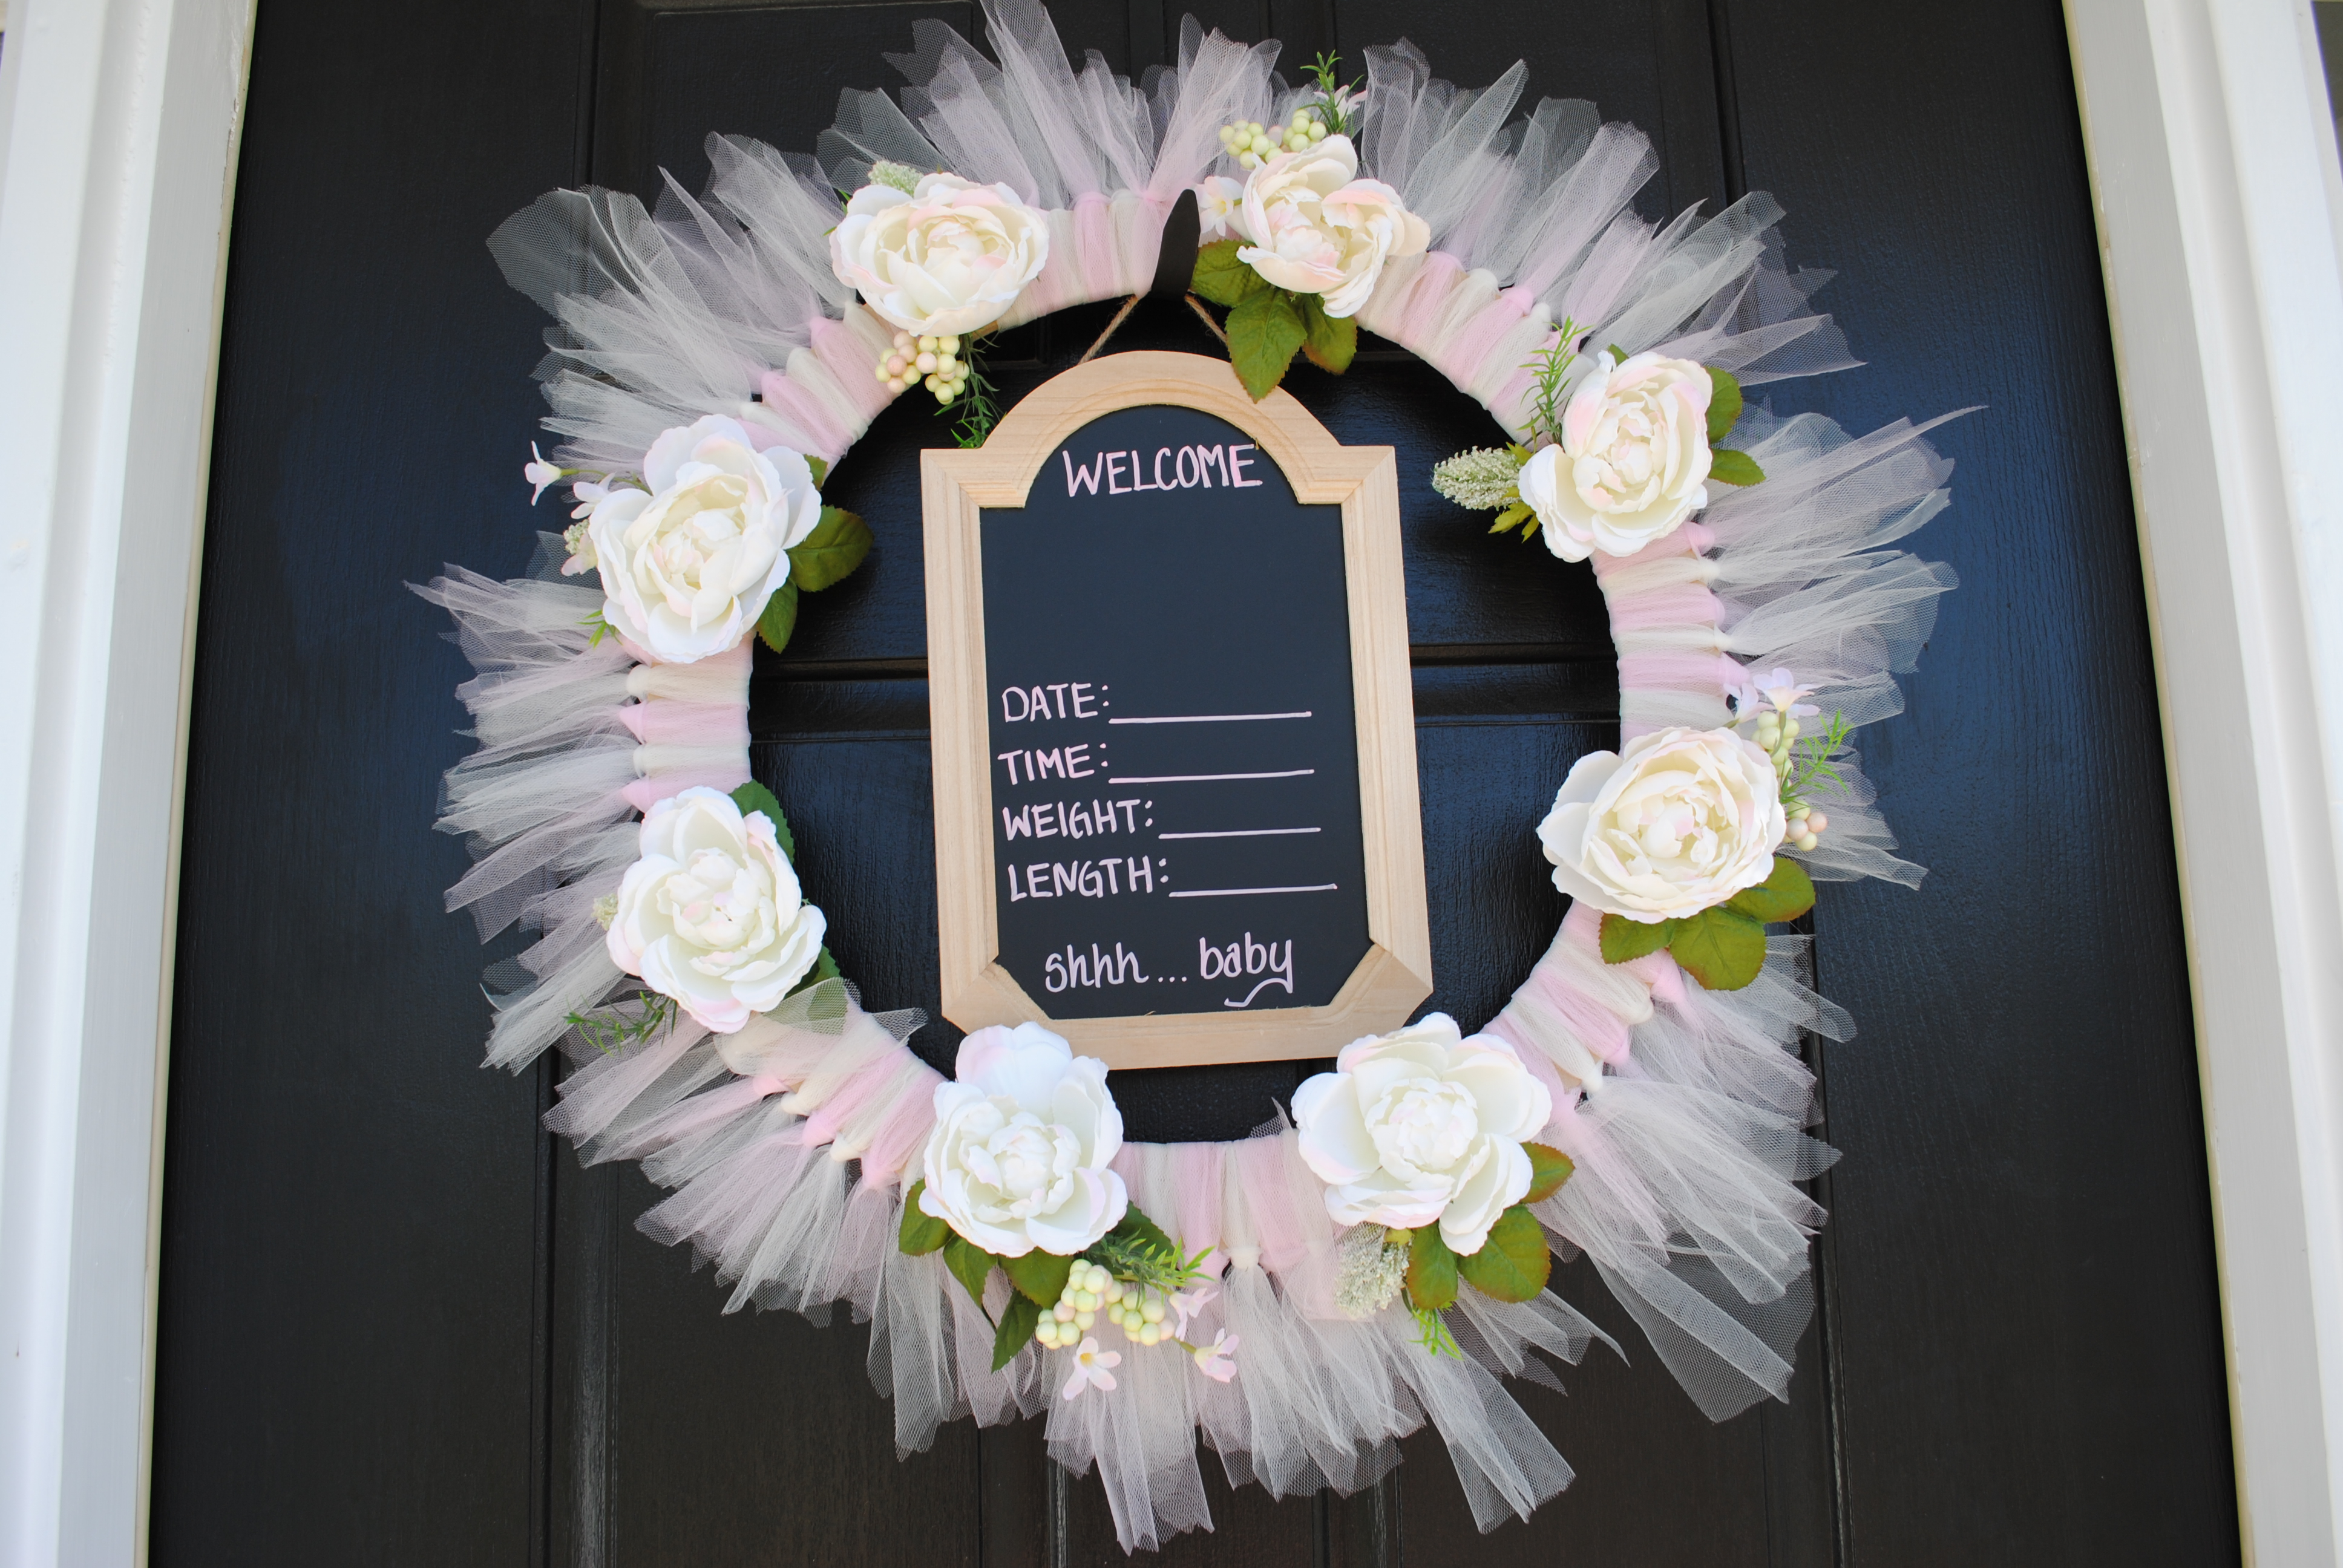
New Baby Announcement Wreath

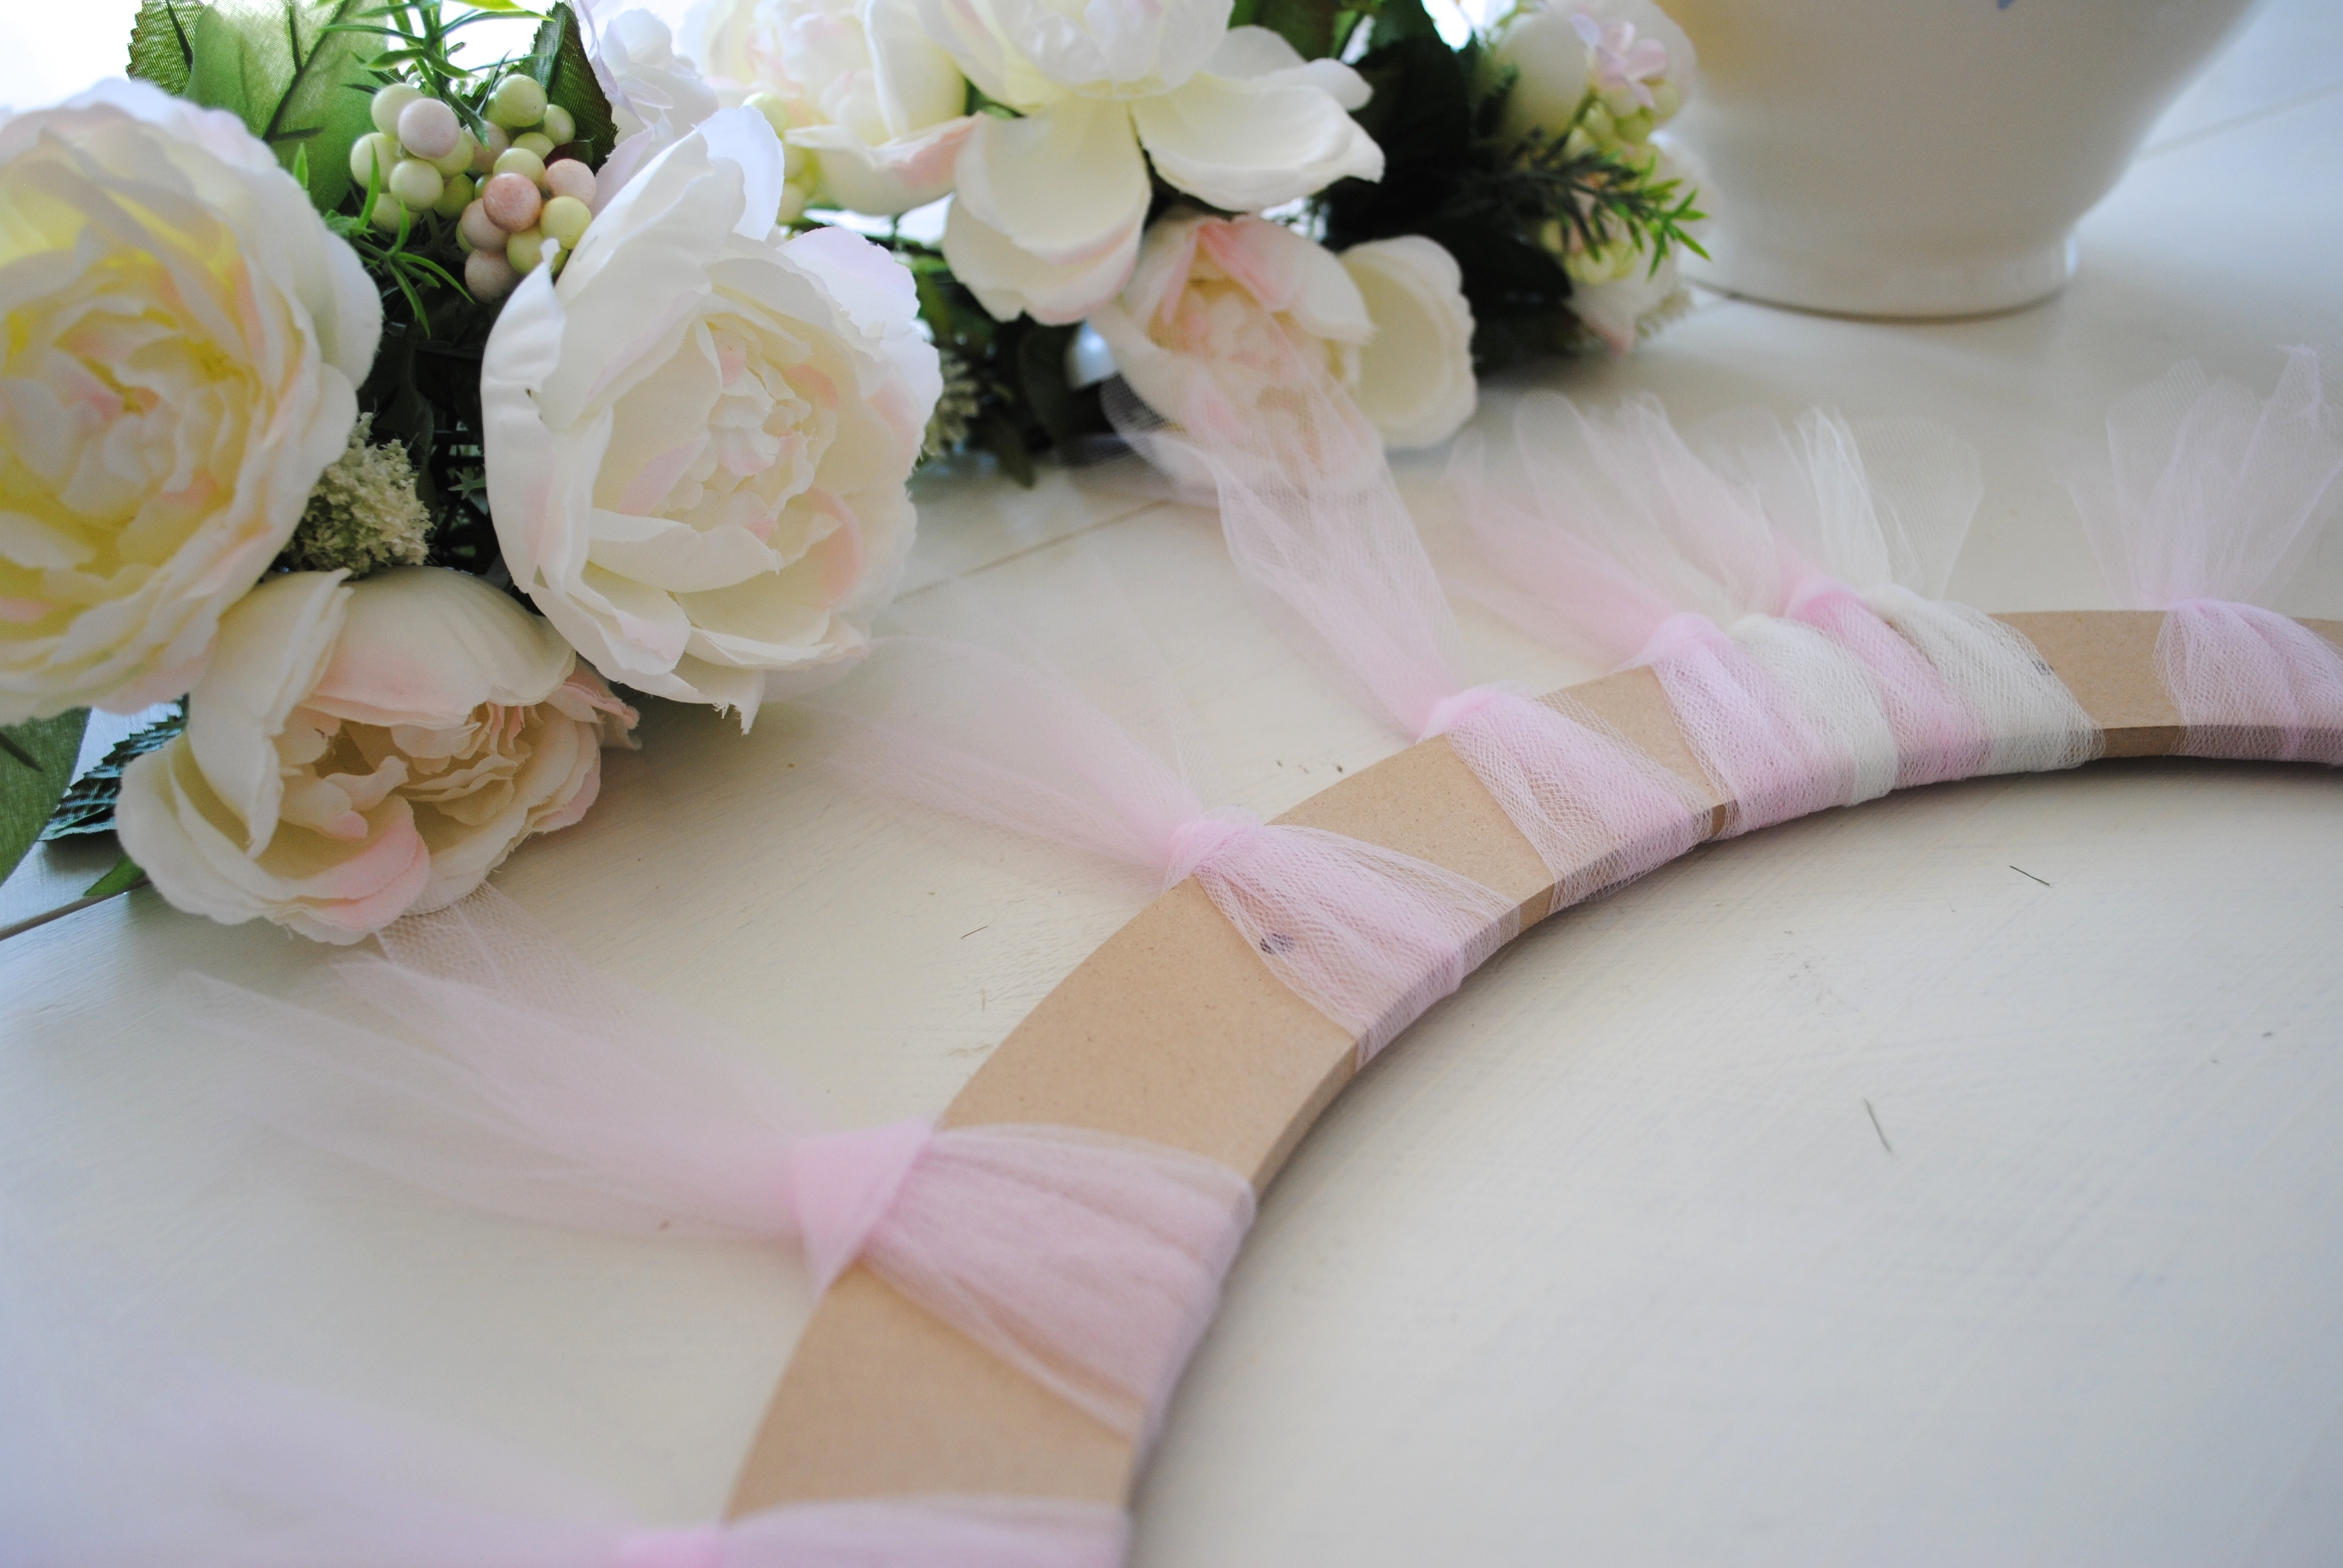
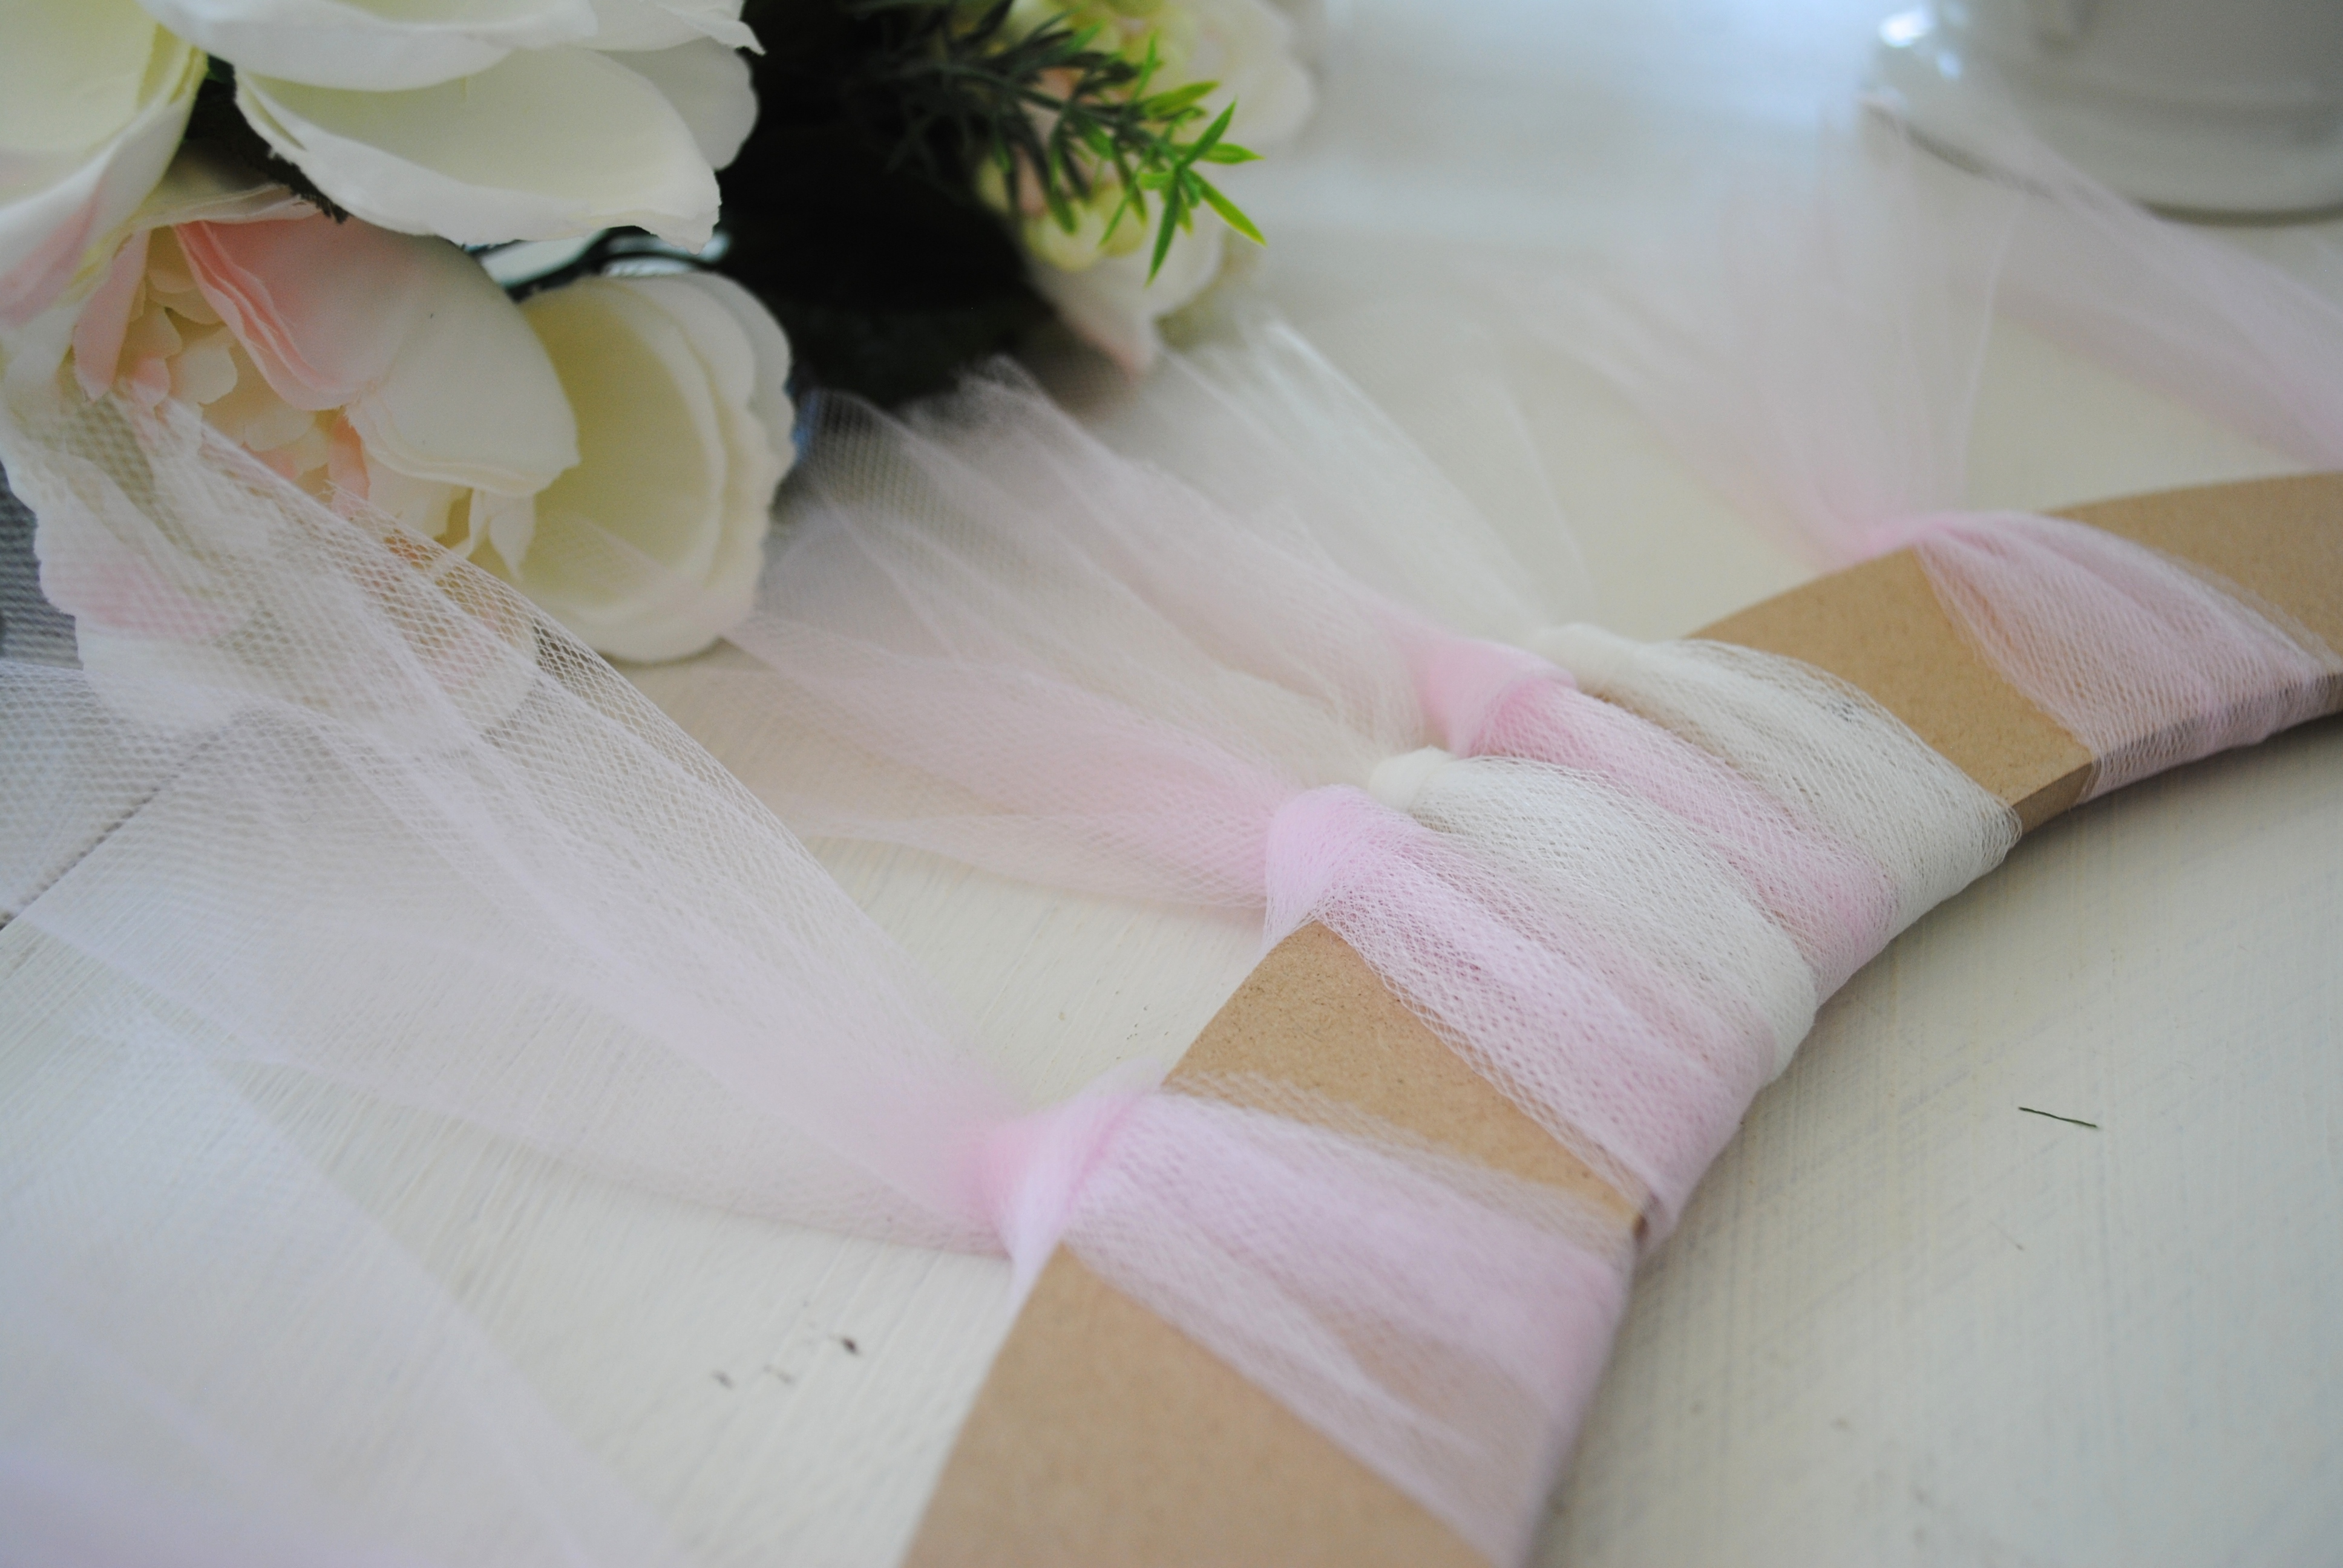
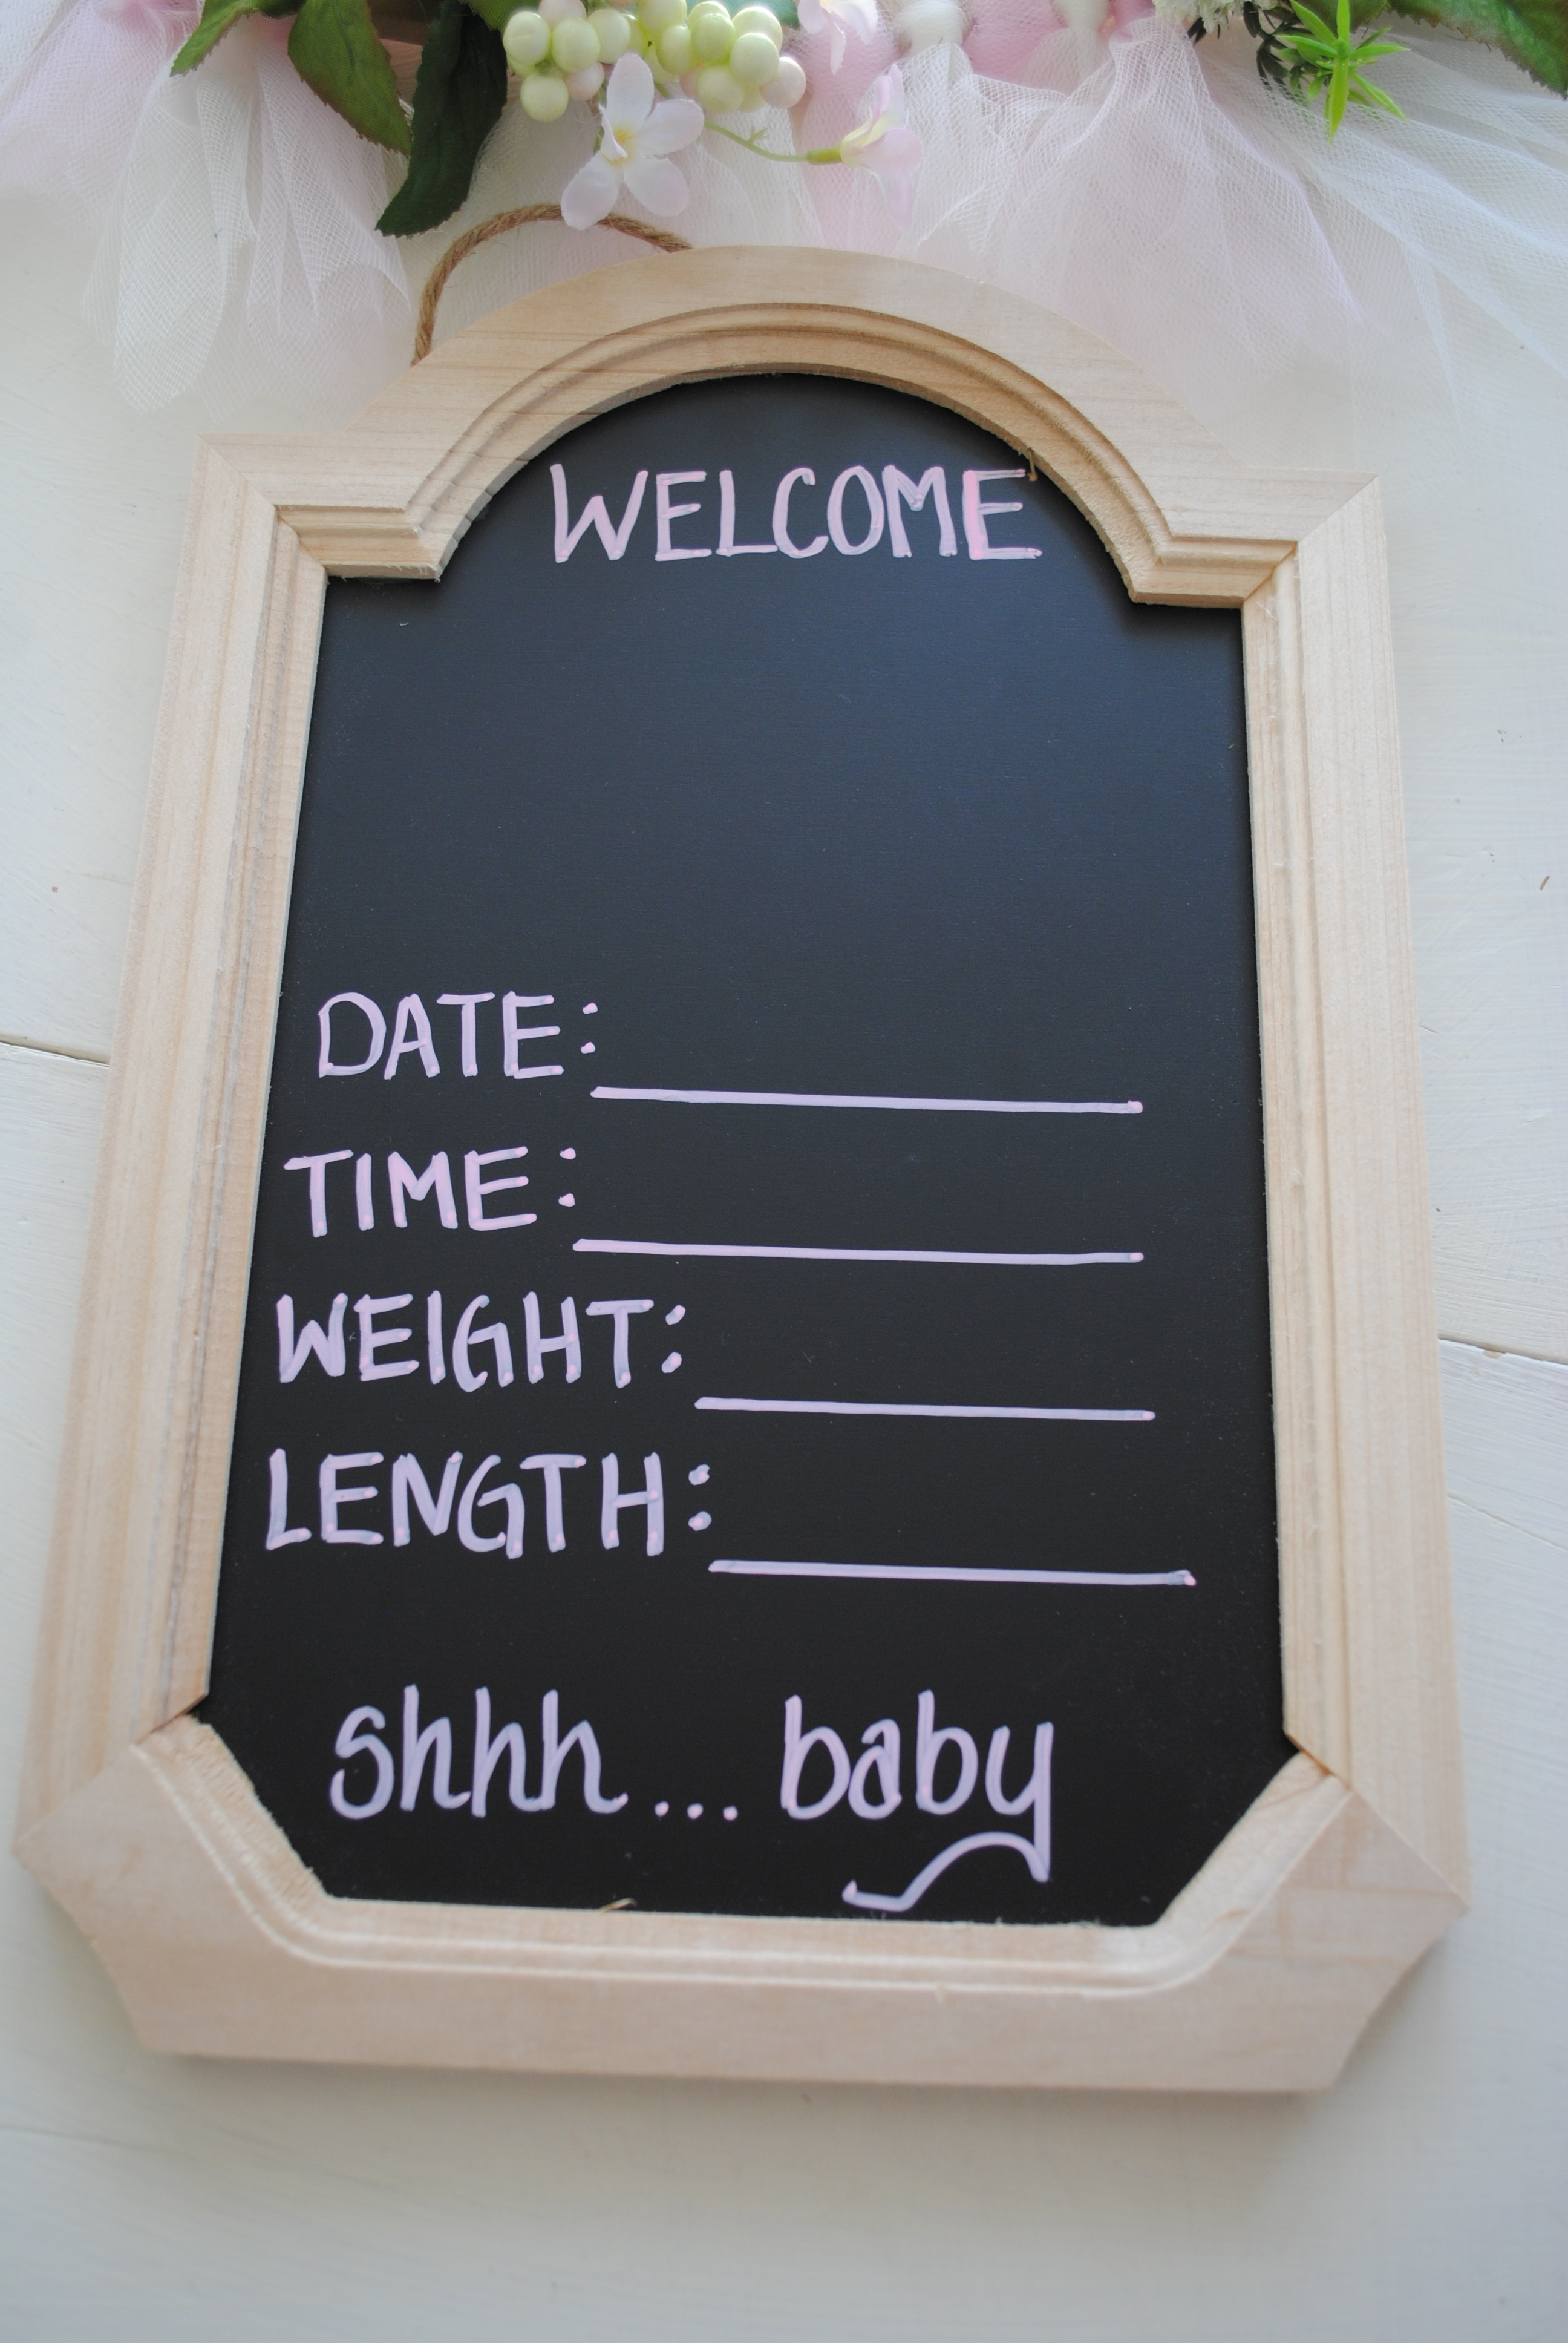
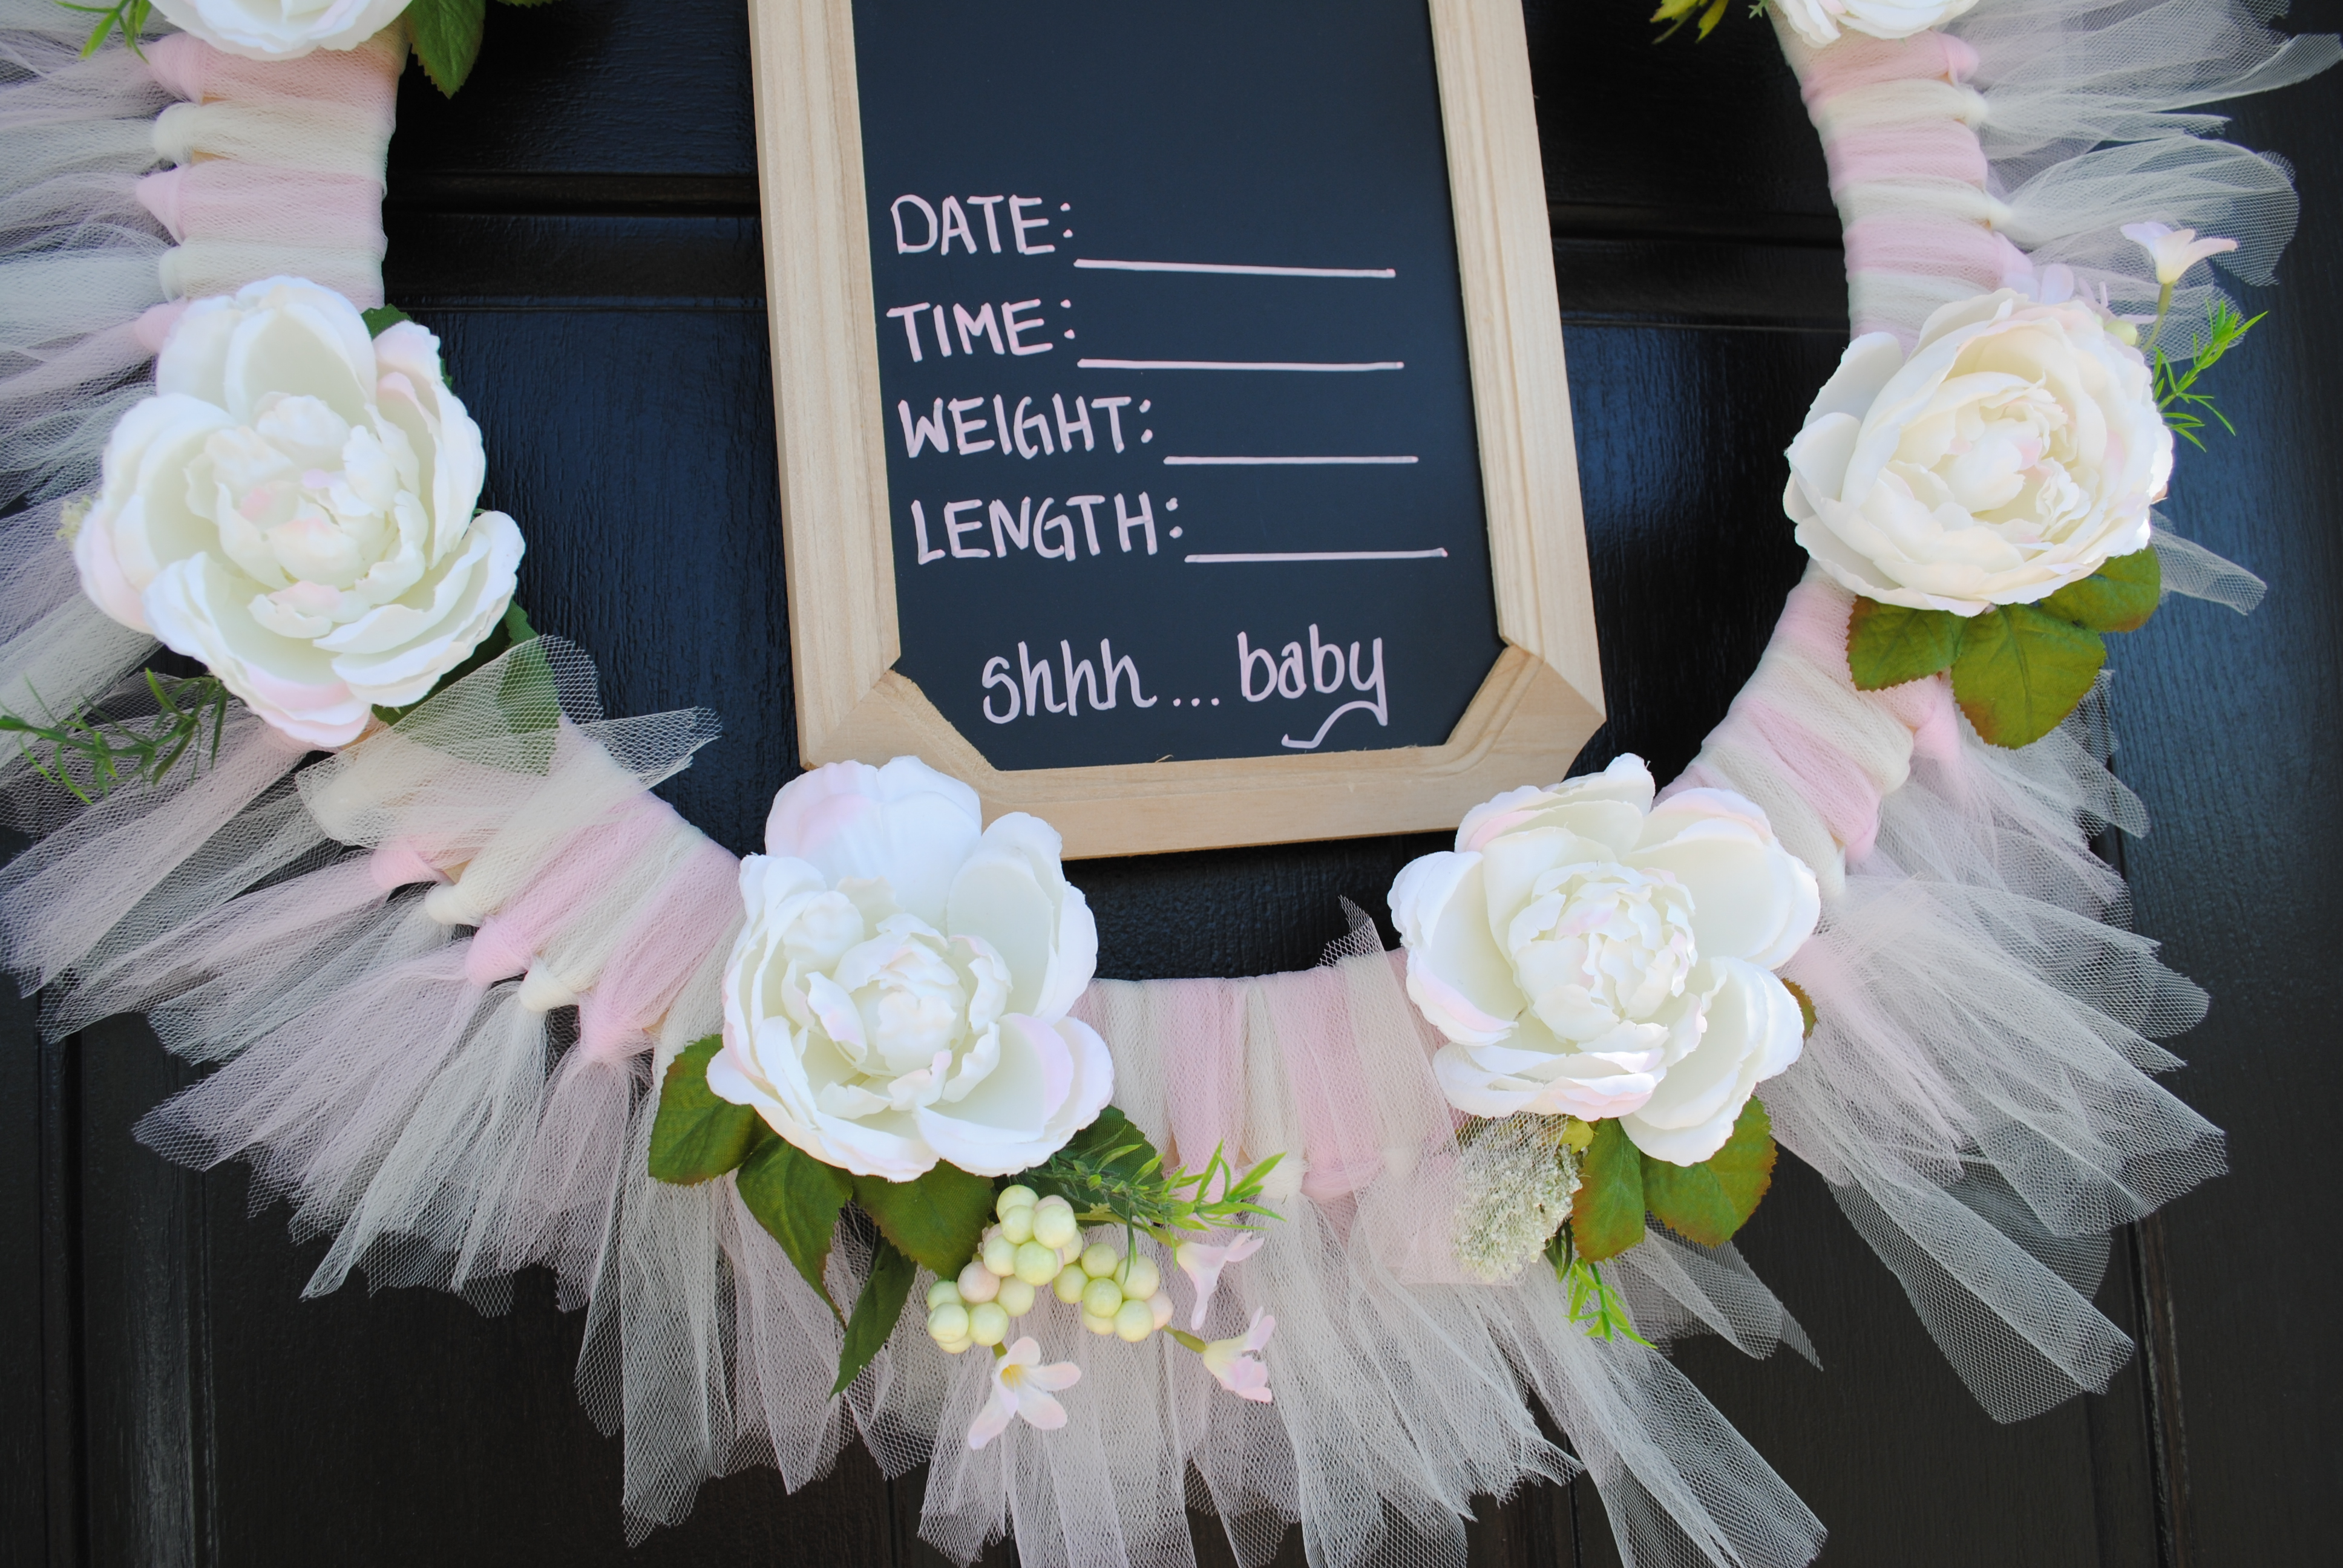
Well I’m 2 days away from my due date and I’m sooooooo anxious to meet this little girl. In an effort to keep myself busy, I decided to create a little tutu wreath that I could place on our front door to welcome our sweet new baby girl. I love making my home special with every little personalized detail, including an adorable way to announce a new baby in the house. Oh and you will notice a large space on the chalkboard for her name…which t-minus 48 hours is still undecided. Yikes!
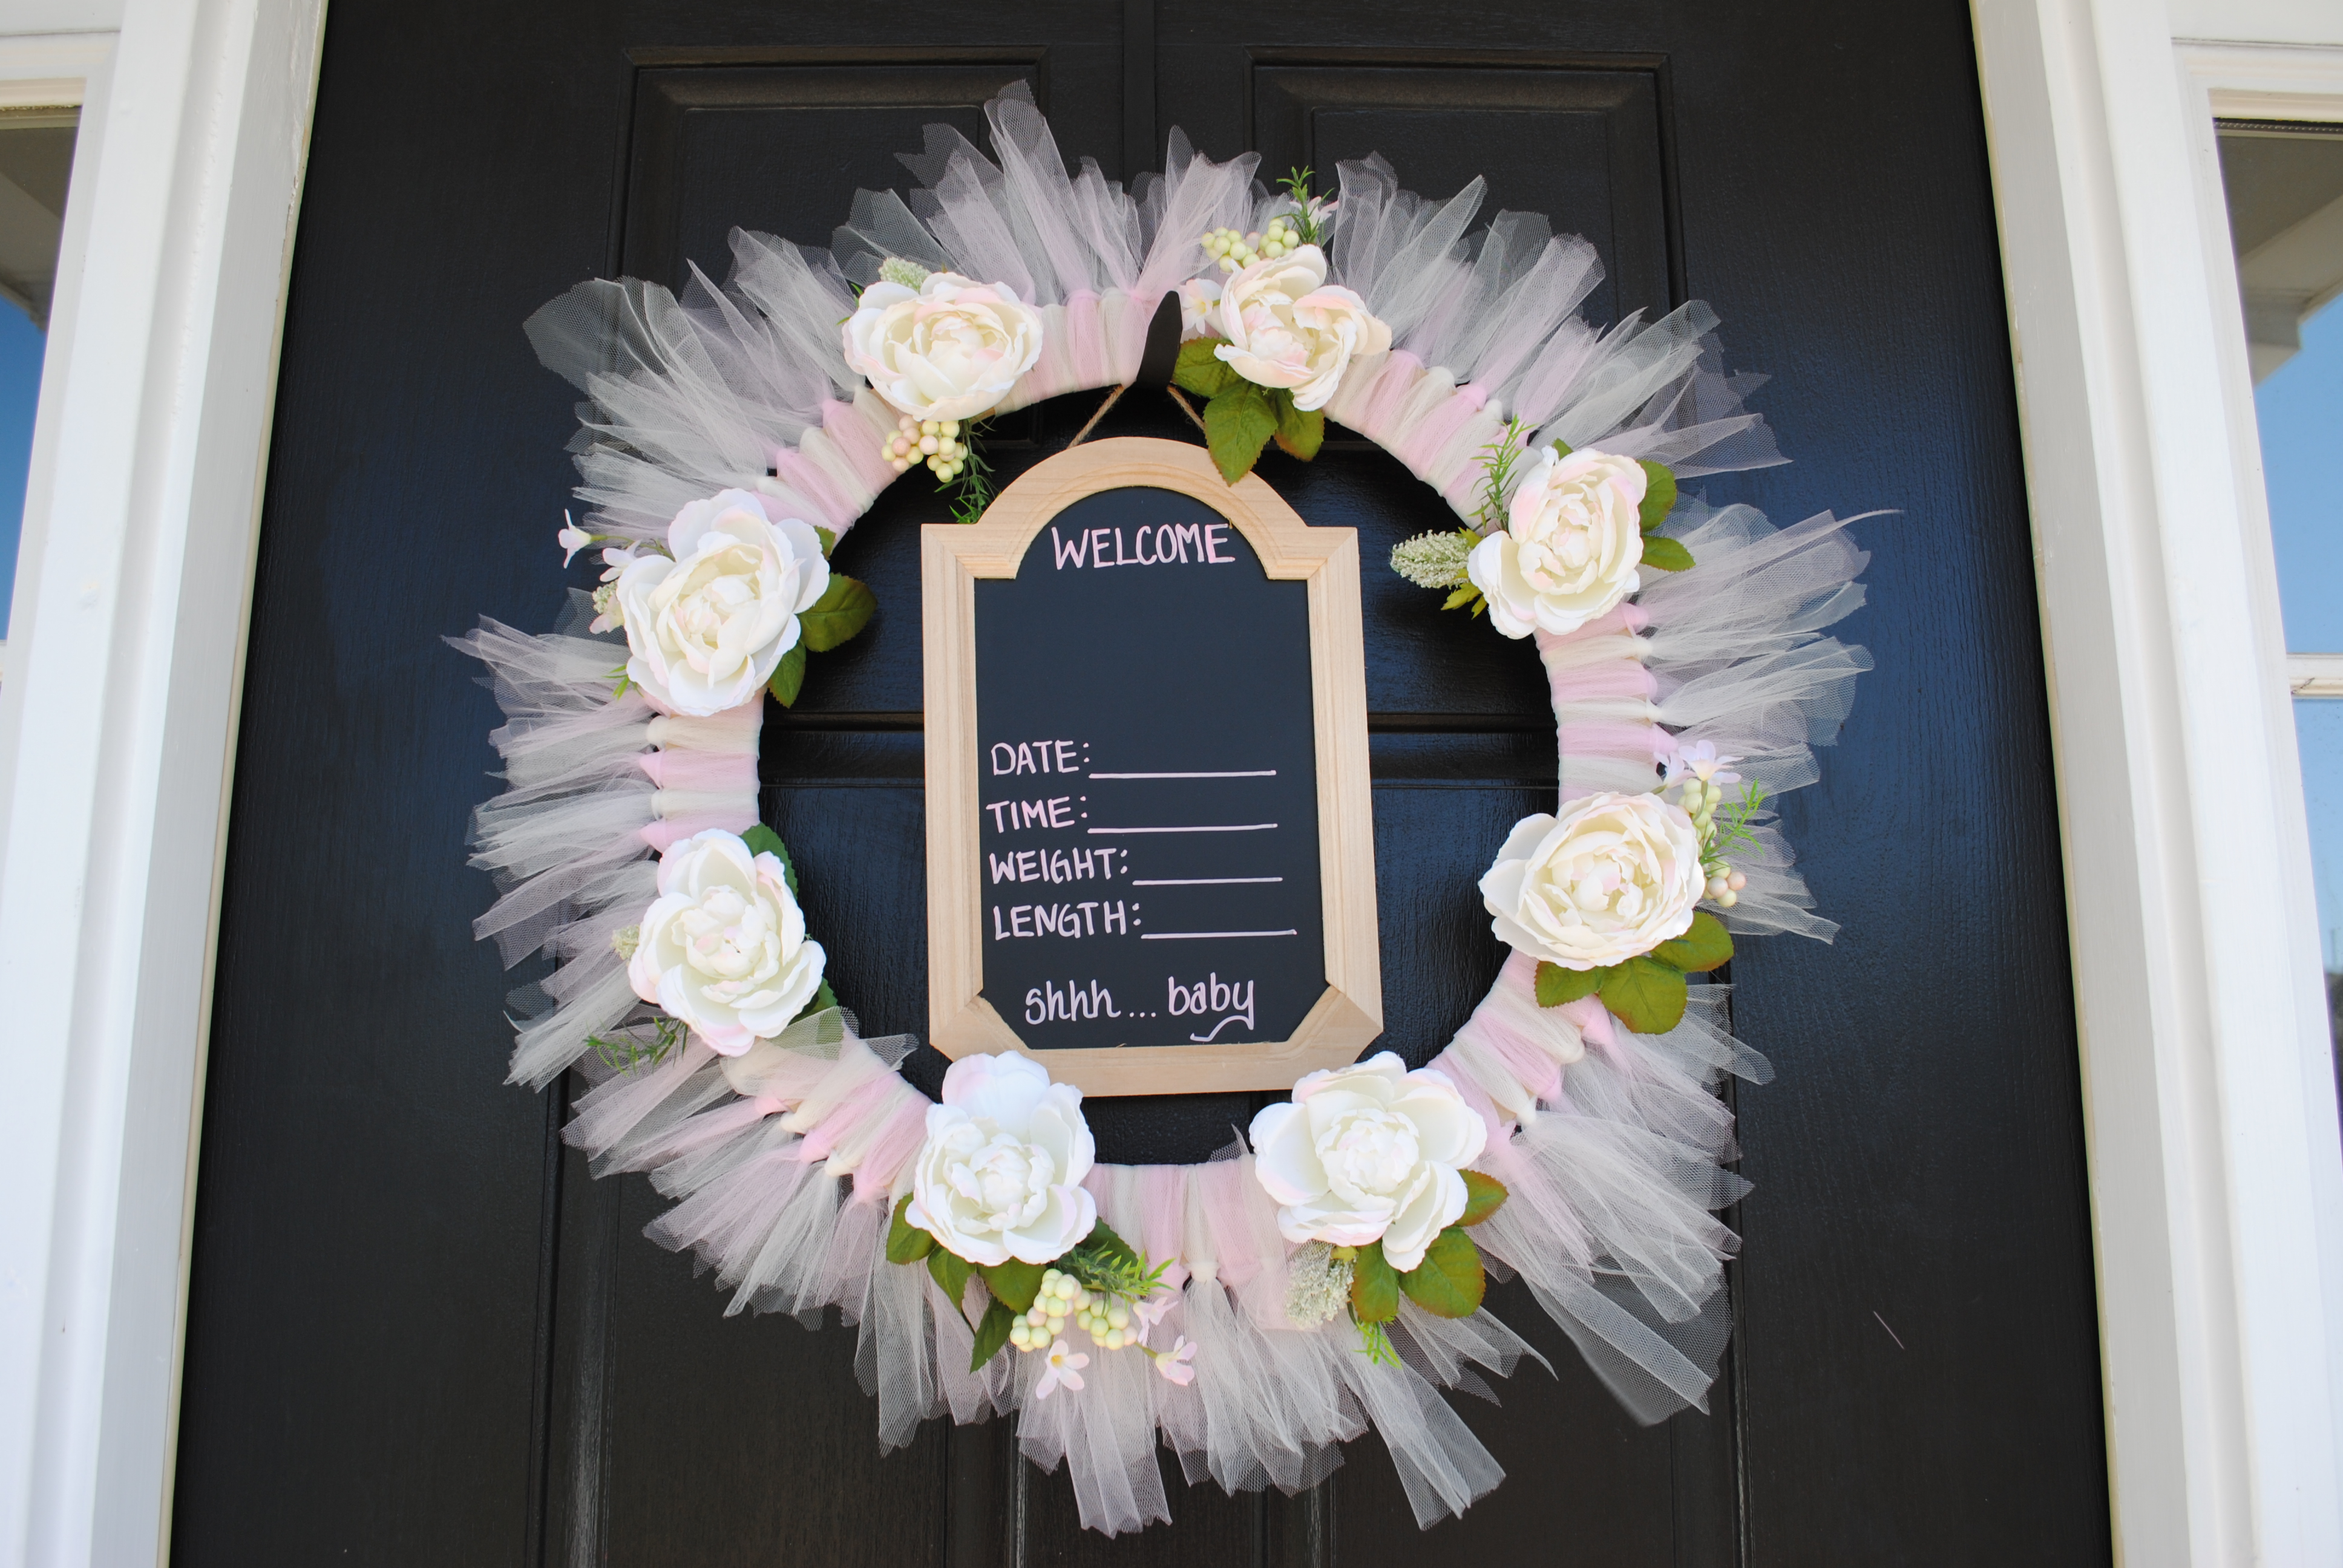
Hartley and I had a fabulous shopping trip Sunday morning and she is just getting so excited about her baby sister and showering her with lots of baby gifts. She was thrilled to pick out all the little flowers and tulle colors. I cannot wait to see her hold the newborn for the very first time. It will be the most precious moment.

Supplies:

  • 1 18″ wooden wreath (I choose this because it was cheaper, but you can use a foam one too)
  • Tulle
  • Faux flowers
  • Chalkboard
  • Scissors
  • Hot Glue
  • Chalk Paint Pen

How To:

  1. Cut tulle into about 12″ length pieces
  2. Fold in half and pull ends through
  3. This wooden wreath frame had small holes which I used to place my flowers in with hot glue but if you are using the foam version, just glue the flowers in a design you like
  4. Create chalkboard by using paint pen and some sort of straight line (learned this lesson post welcome)
  5. Attach chalkboard to wreath with leftover tulle or twine
  6. Complete with your baby announcement

You could totally make a boy version of this of course by using different colored tulle and placing dinosaur figurines, mini cars, sailboats, or anything you like.
If you are looking for some more unique gift ideas for baby showers or new moms…try UncommonGoods. UncommonGoods, works towards a more environmentally friendly, socially responsible and an ever-more rewarding place to work and conduct business. They are committed to offering you a creative and exciting merchandise assortment.  Their suppliers – from artists to small manufacturers – try to make their products in a more socially and environmentally responsible manner. UncommonGoods has donated over $1,000,000 since 2001. Also, try out Sunny, their new expert gift finder!
This is a sponsored conversation written by me on behalf of UncommonGoods. The opinions and text are all mine.

Sunday, December 31, 2017

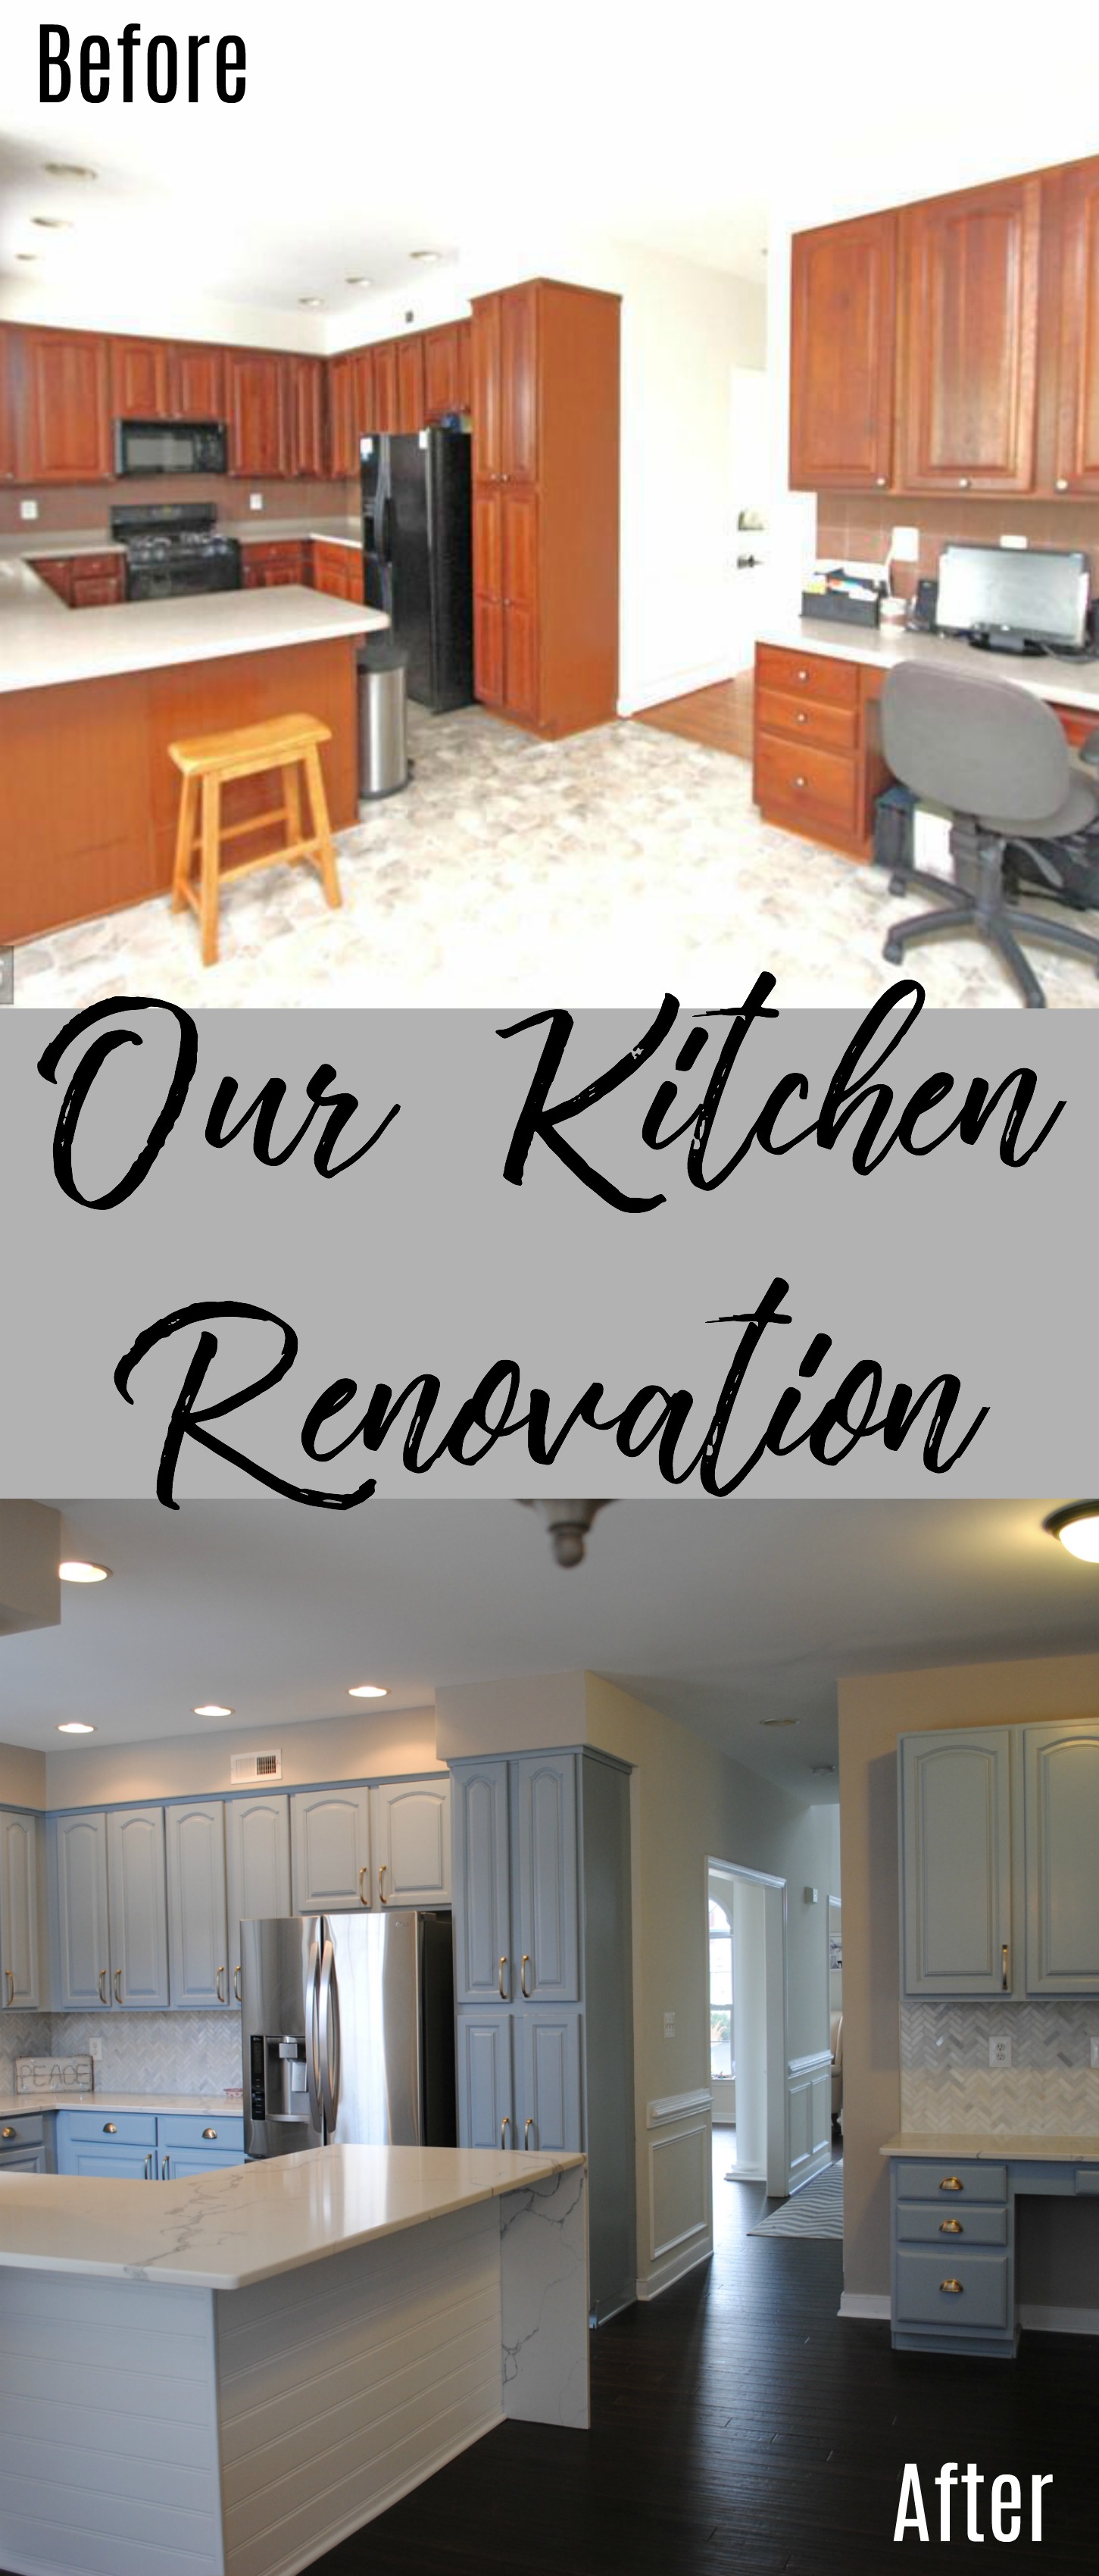
Our Kitchen Renovation

New Year = New Kitchen! Happy 2018!

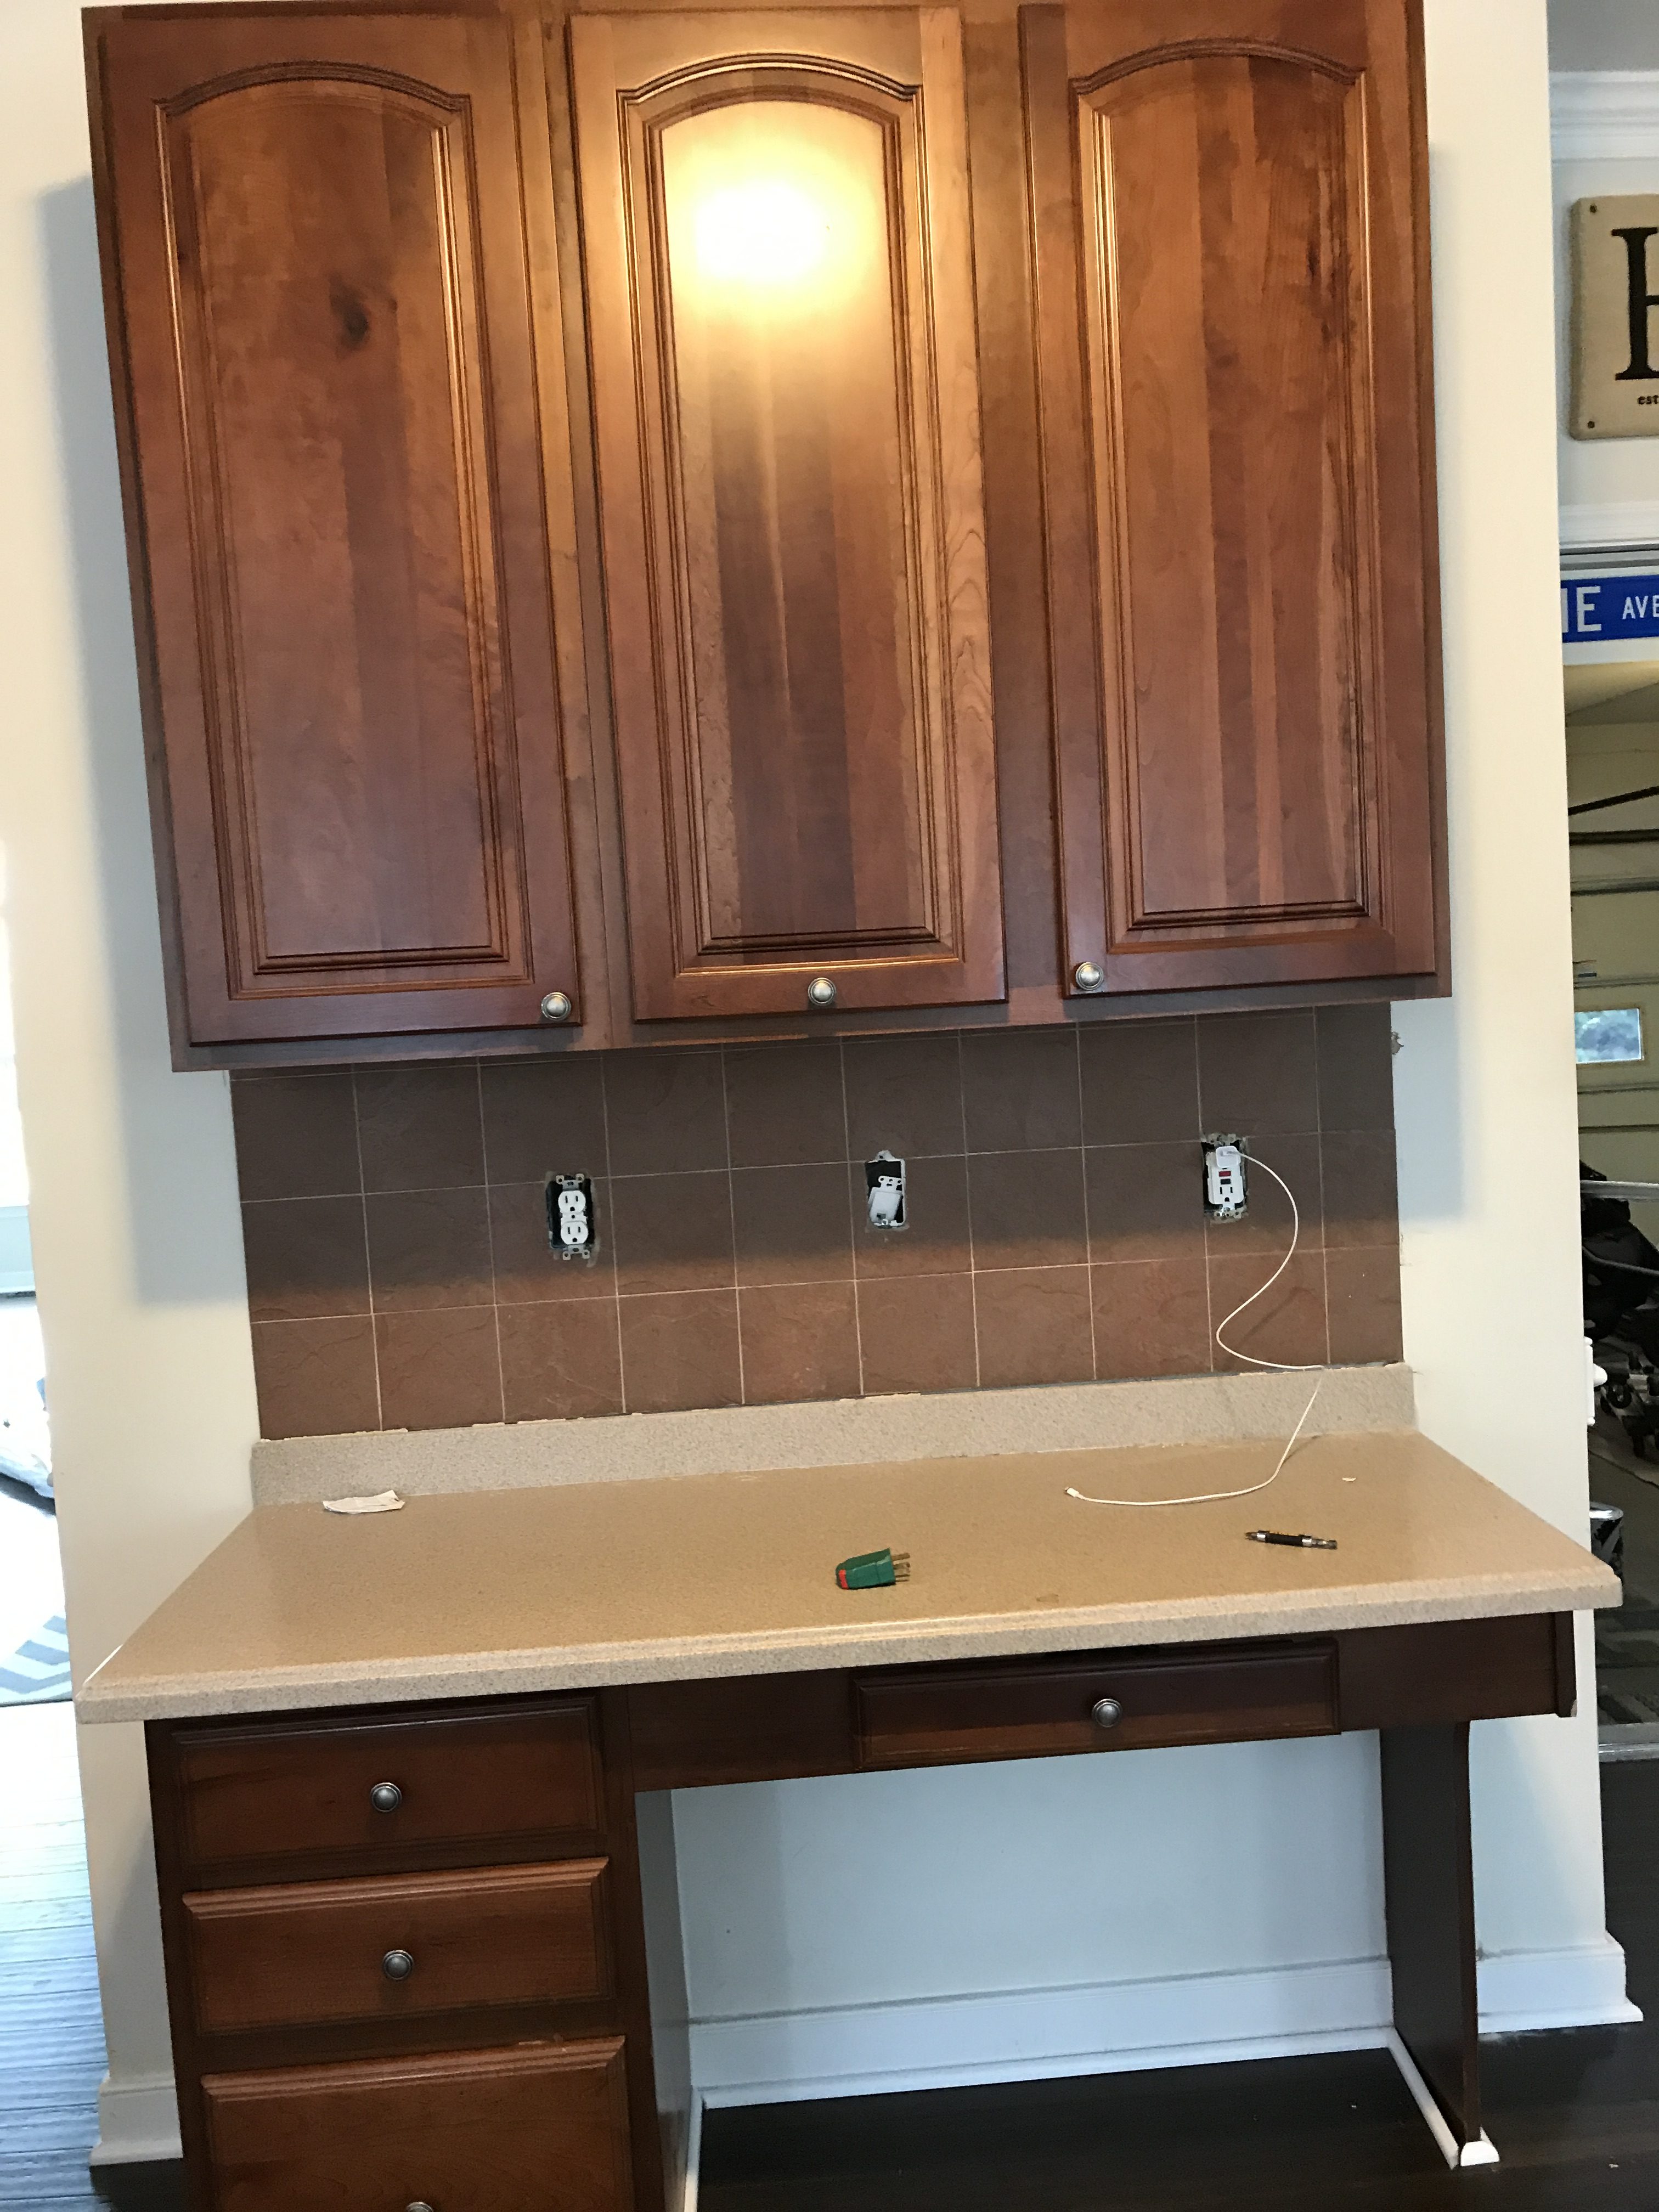
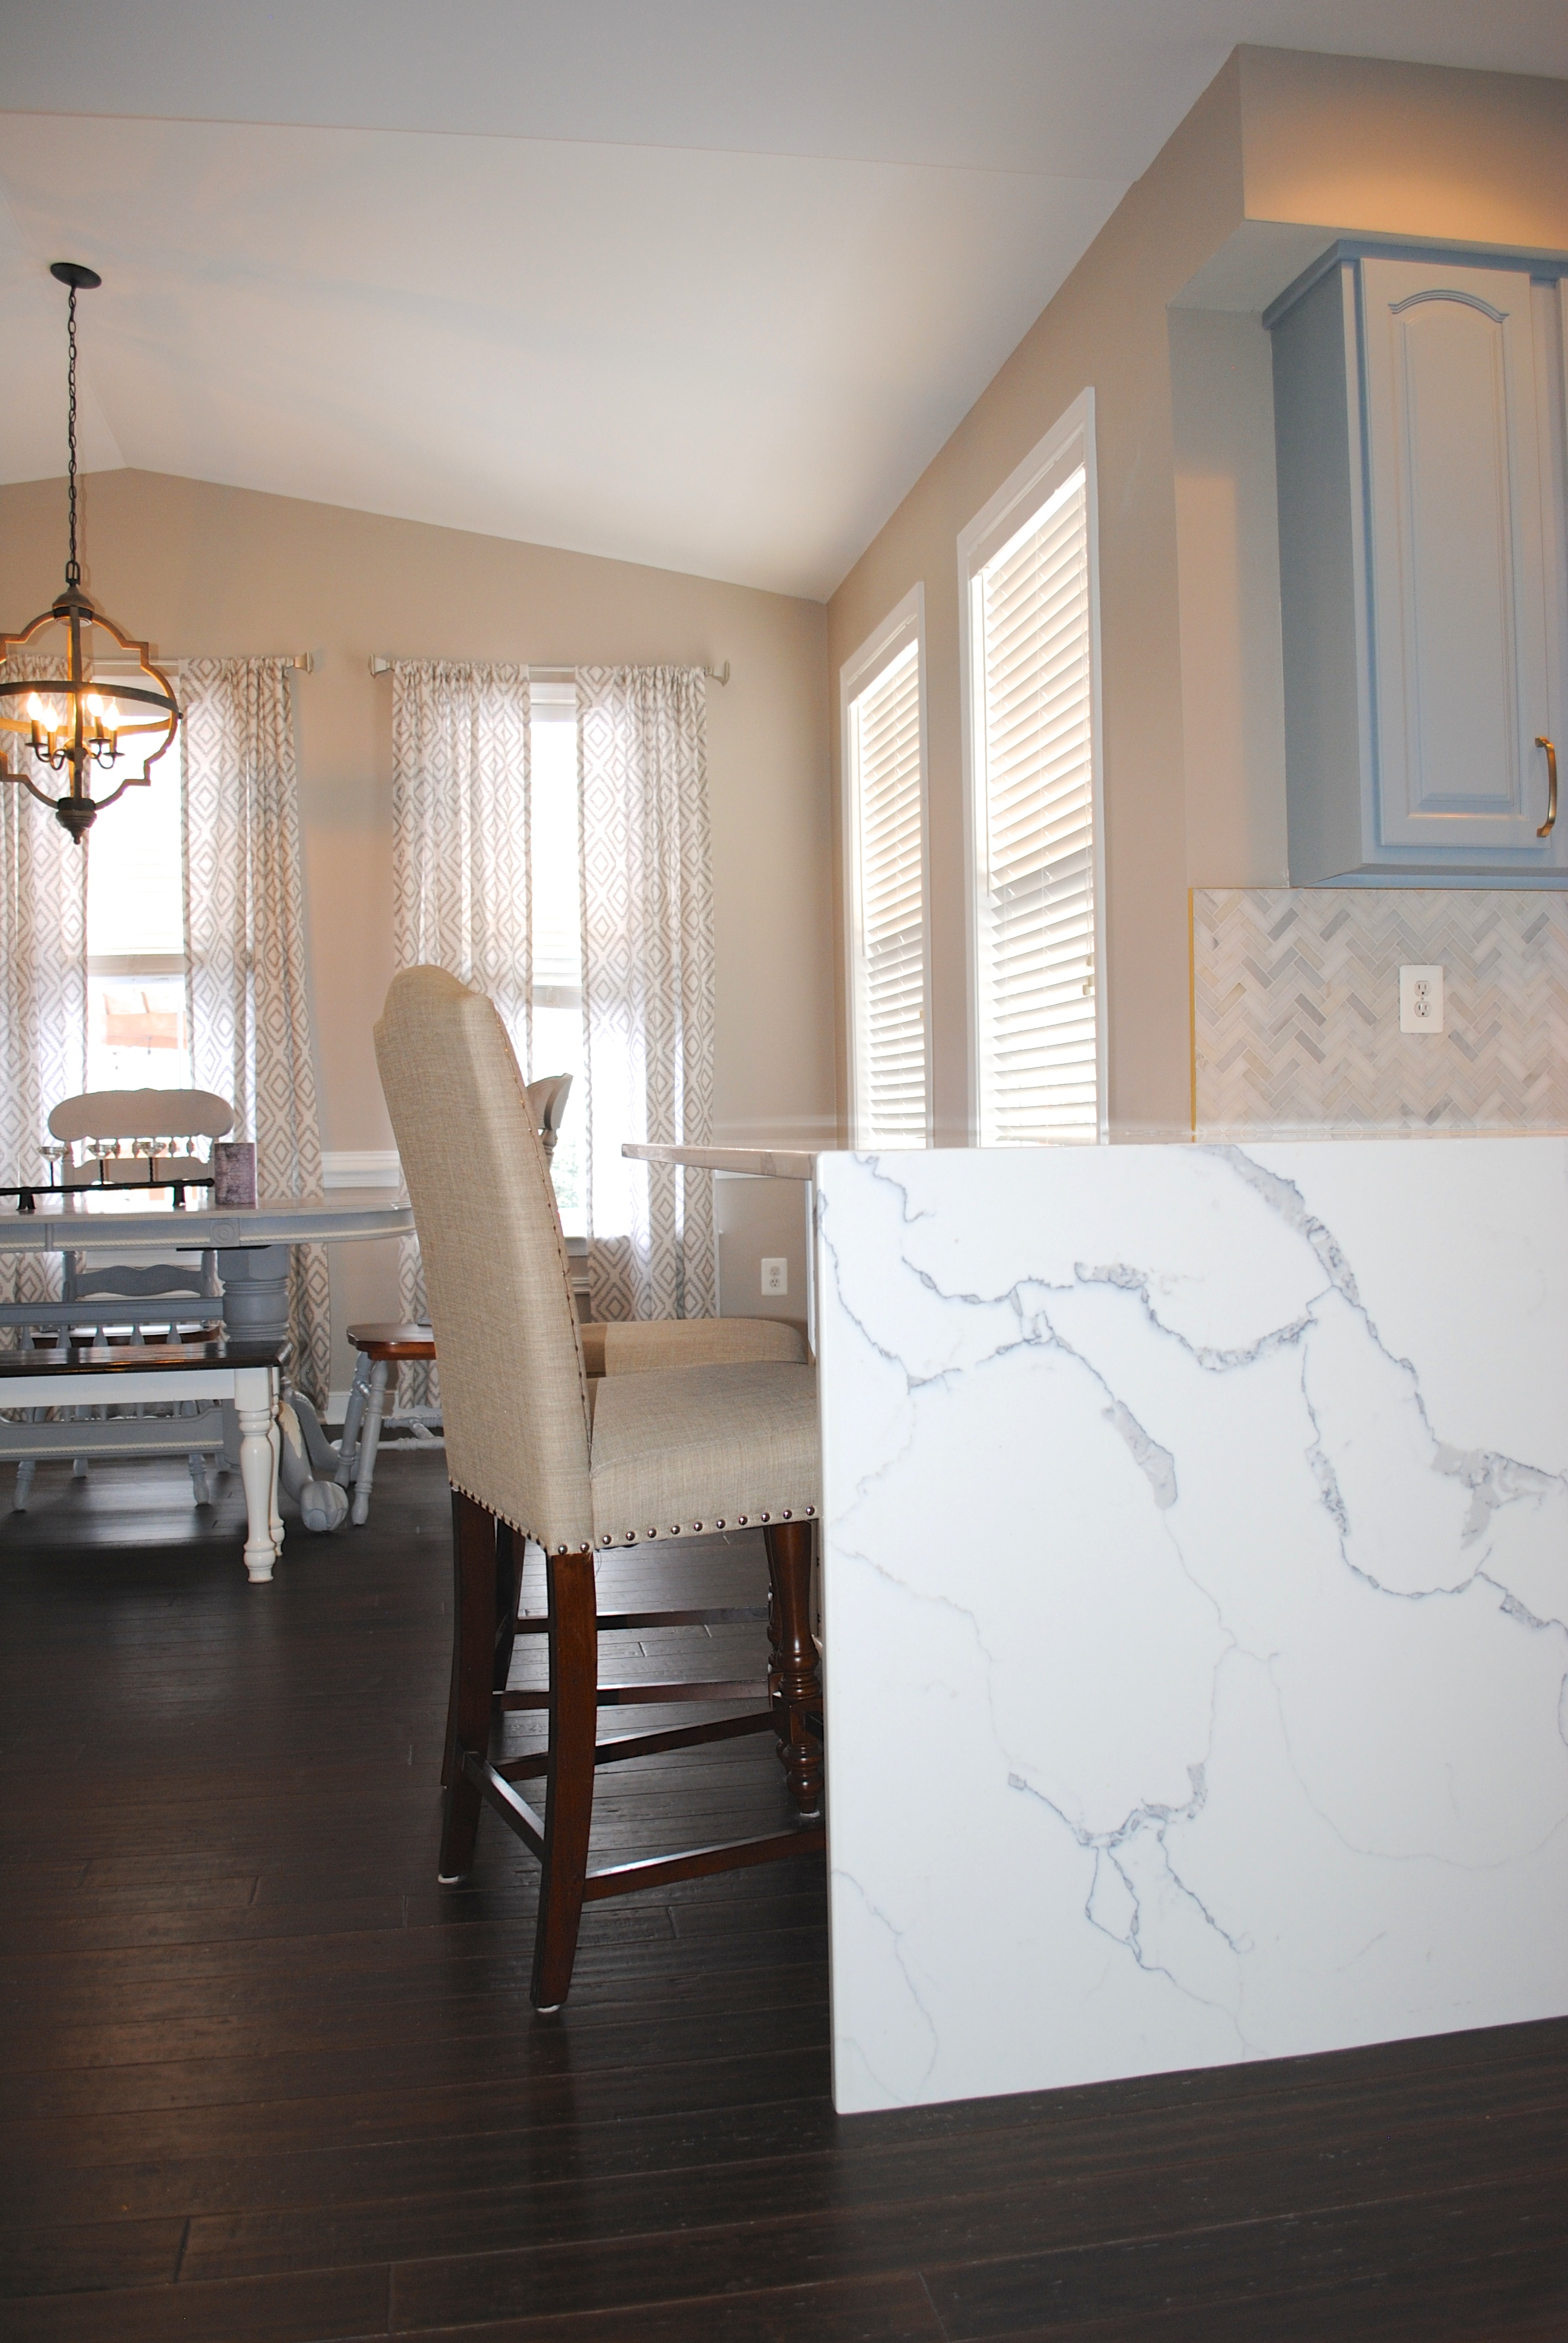
When we walked through our house, I thought ehhh not the huge dream kitchen I was hoping for BUT I can work with it and make it my own. And luckily no one had touched it, so I had no guilt about tearing up new renovations that weren’t my style. So after months of deliberation on colors, tiles, hardware, countertops, appliances, driving my husband absolutely insane…we are FINALLY done.

So this was my BIG Christmas 2017 gift. I told the hubby to put a big bow on the kitchen, but he just reminded me to look over and that was my gift.

BEFORE

DURING

AFTER

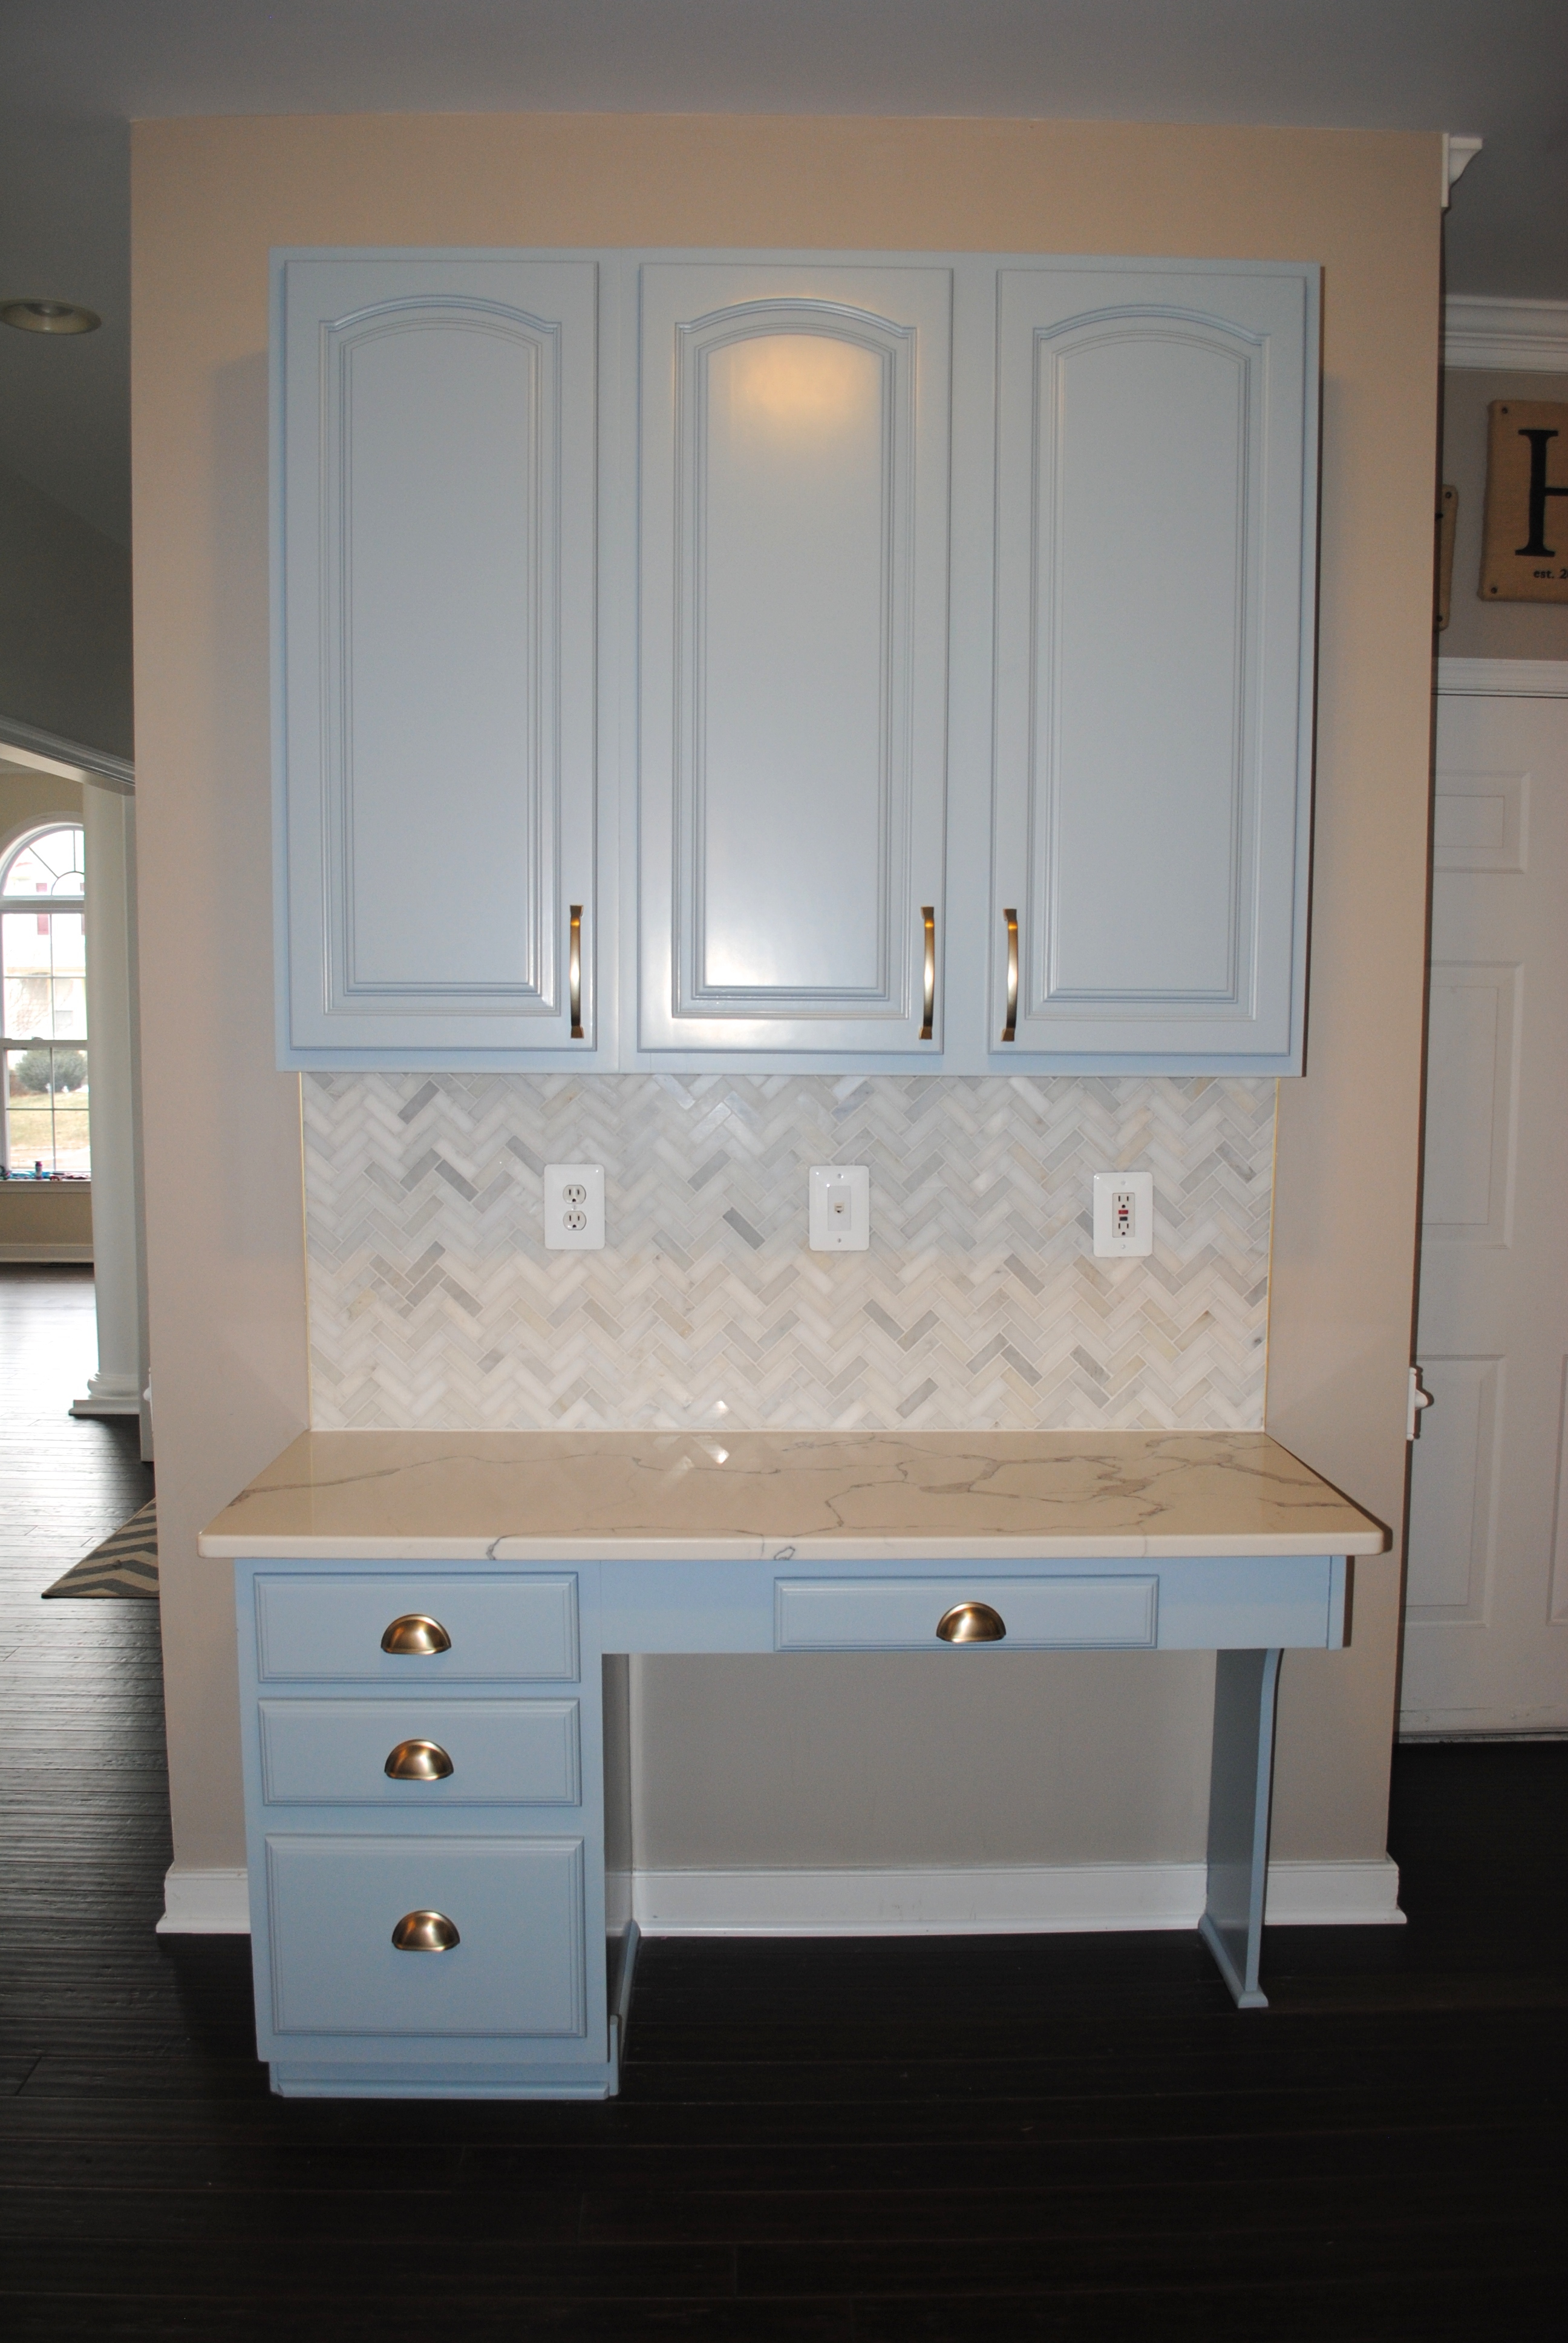
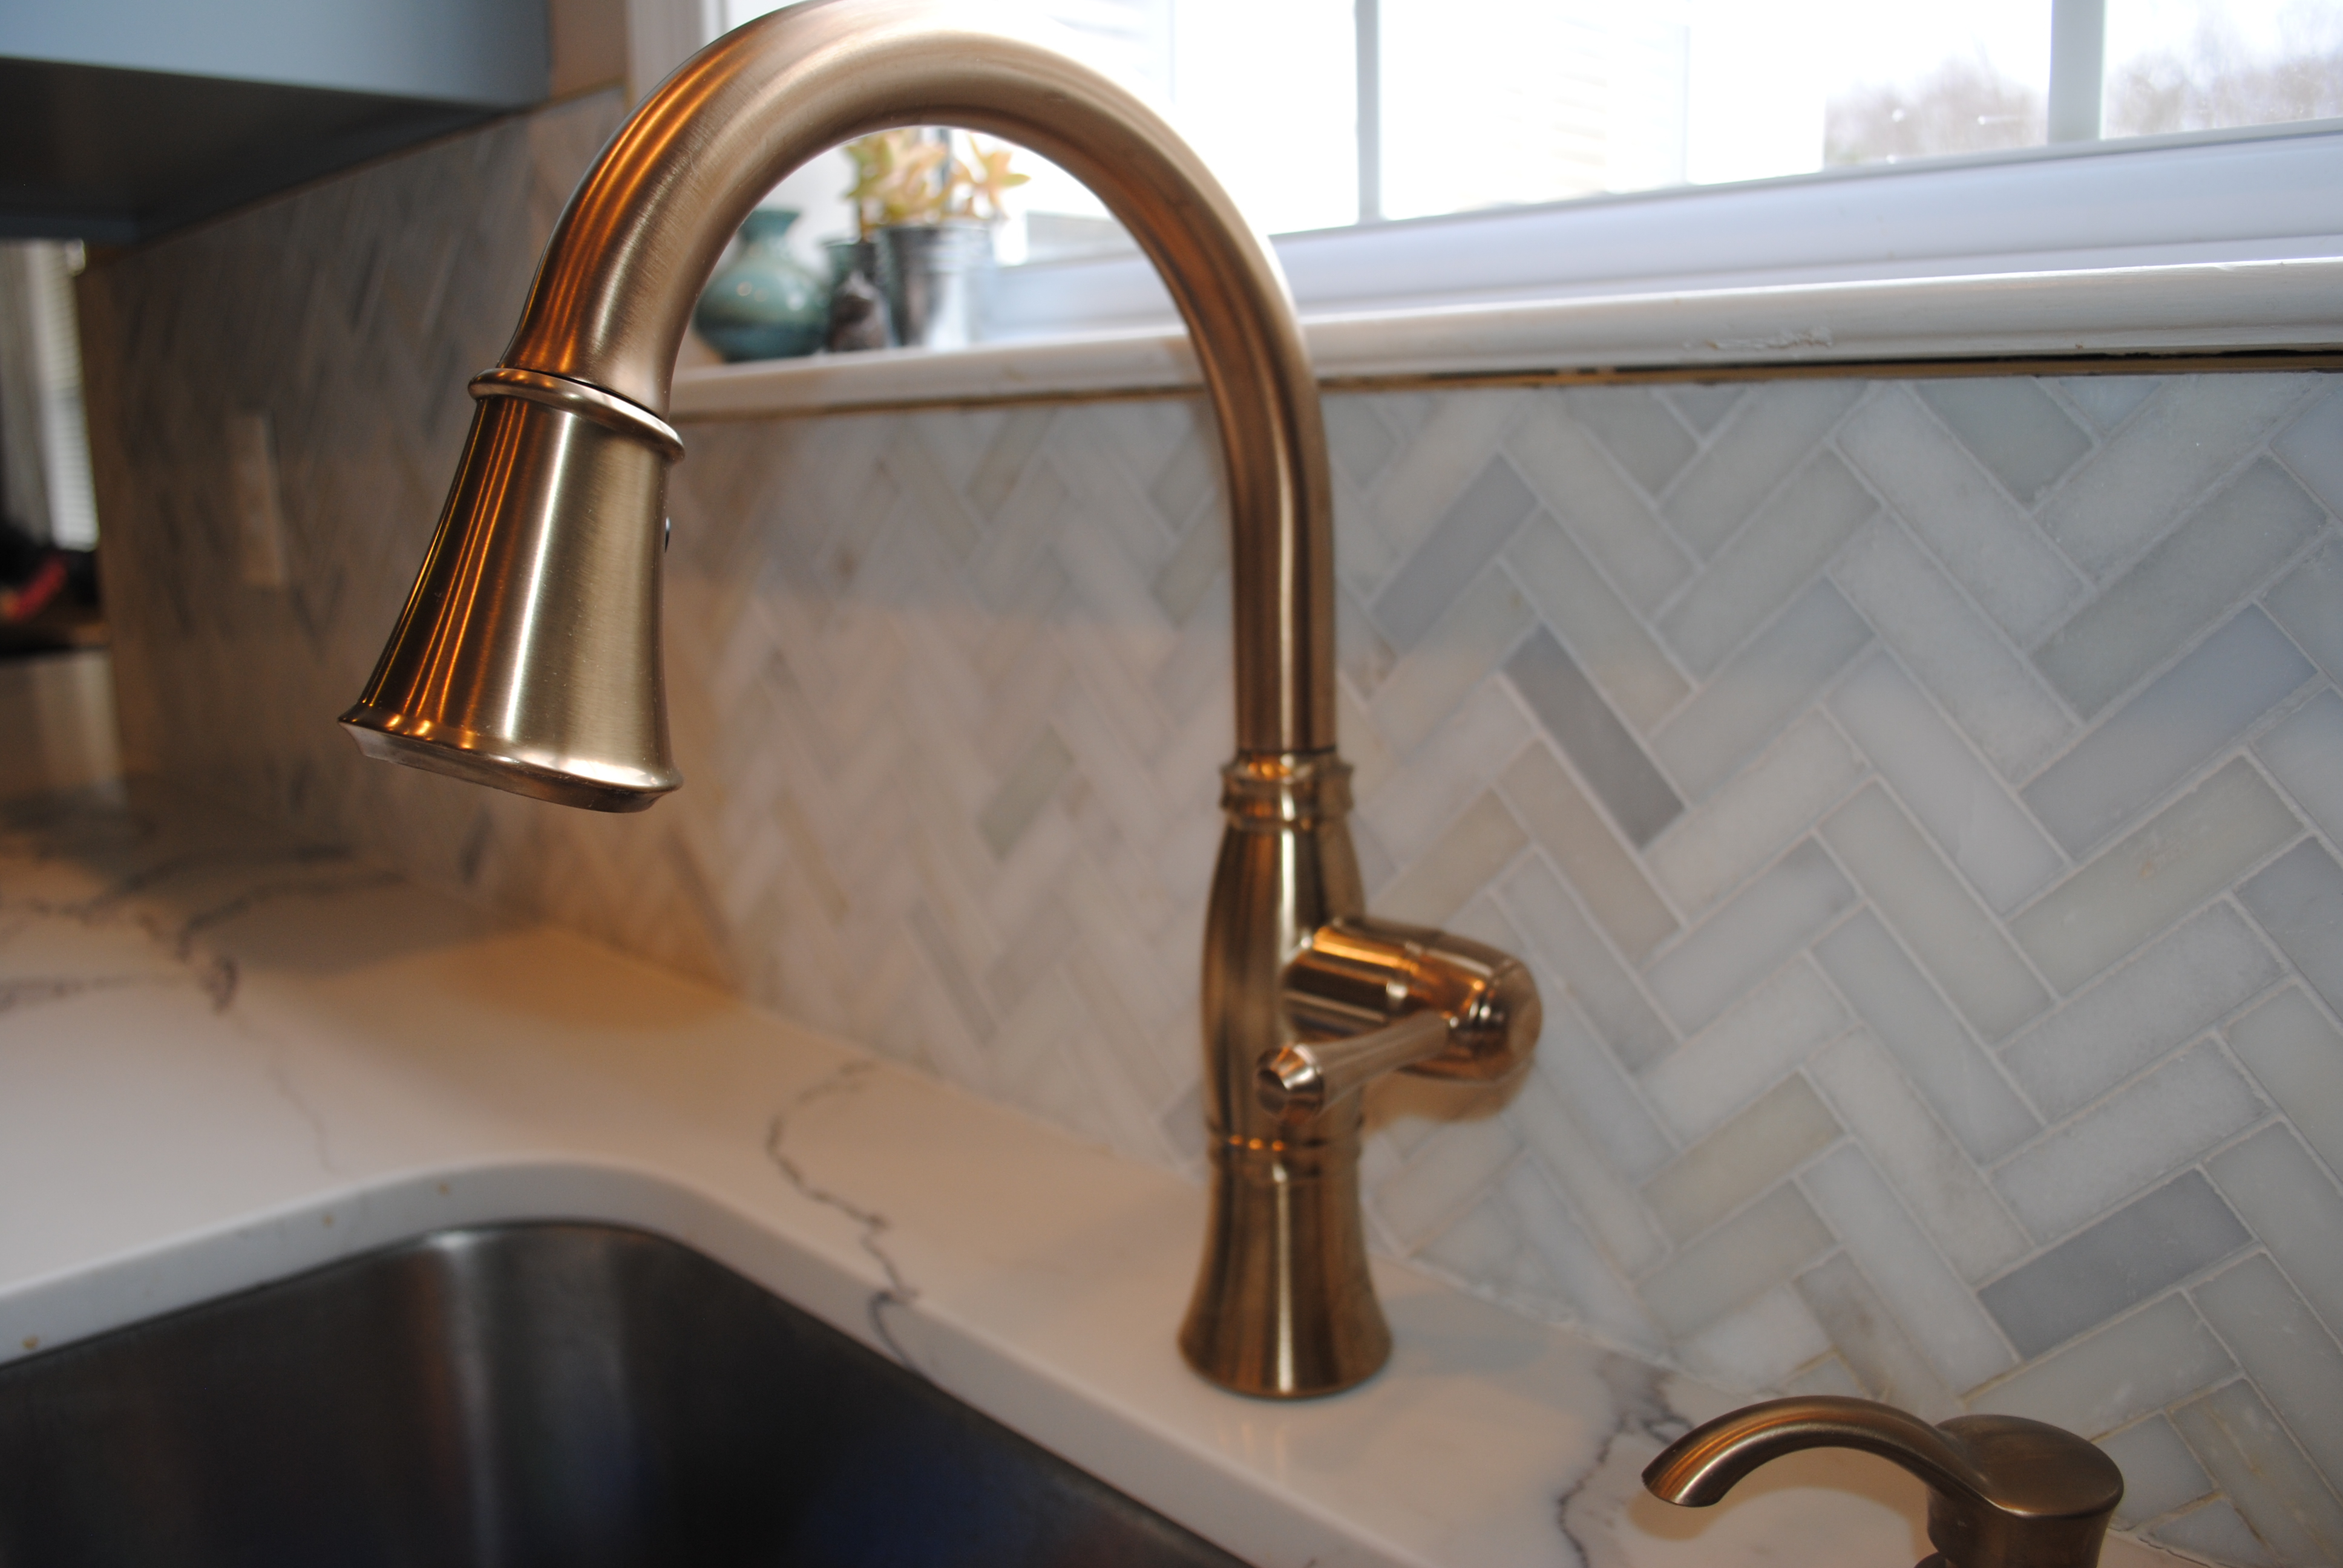
The kitchen is a complete reflection of my classic yet unique or ambitious style. I decided on classic quartz countertops for their durability and remarkable marble pattern. I matched the white/grey countertops with a stunning herringbone pattern marble backsplash with a unique gold schluter trim that matches great with the hints of golden champagne I brought in on the hardware (pulls and handles) and champagne bronze faucet. The cabinets were professionally painted, because after our small attempt, I knew that I would be super unhappy with a DIY result. And boy am I glad we didn’t go forward ourselves because the incredible finish we have now is stunning. The color is bold, yes it’s blue. It’s a little more blue than I wanted but everyday I am falling more in love with it and it truly is a happy kitchen and a reflection of my personality. The paint color we choose was Benjamin Moore Nimbus Gray. Willie did a fabulous job on the peninsula as he added a gorgeous white beadboard and trim that I love and glad it’s not the same color as the cabinets. And this DIY project is totally doable and very low cost (like under $30)! And finally my amazing appliances…the double oven is absolute heaven and my fridge is perfect, I just want to kiss it everyday haha.

Monday, November 20, 2017

Thrifty Reusable Gift Wrap Ideas

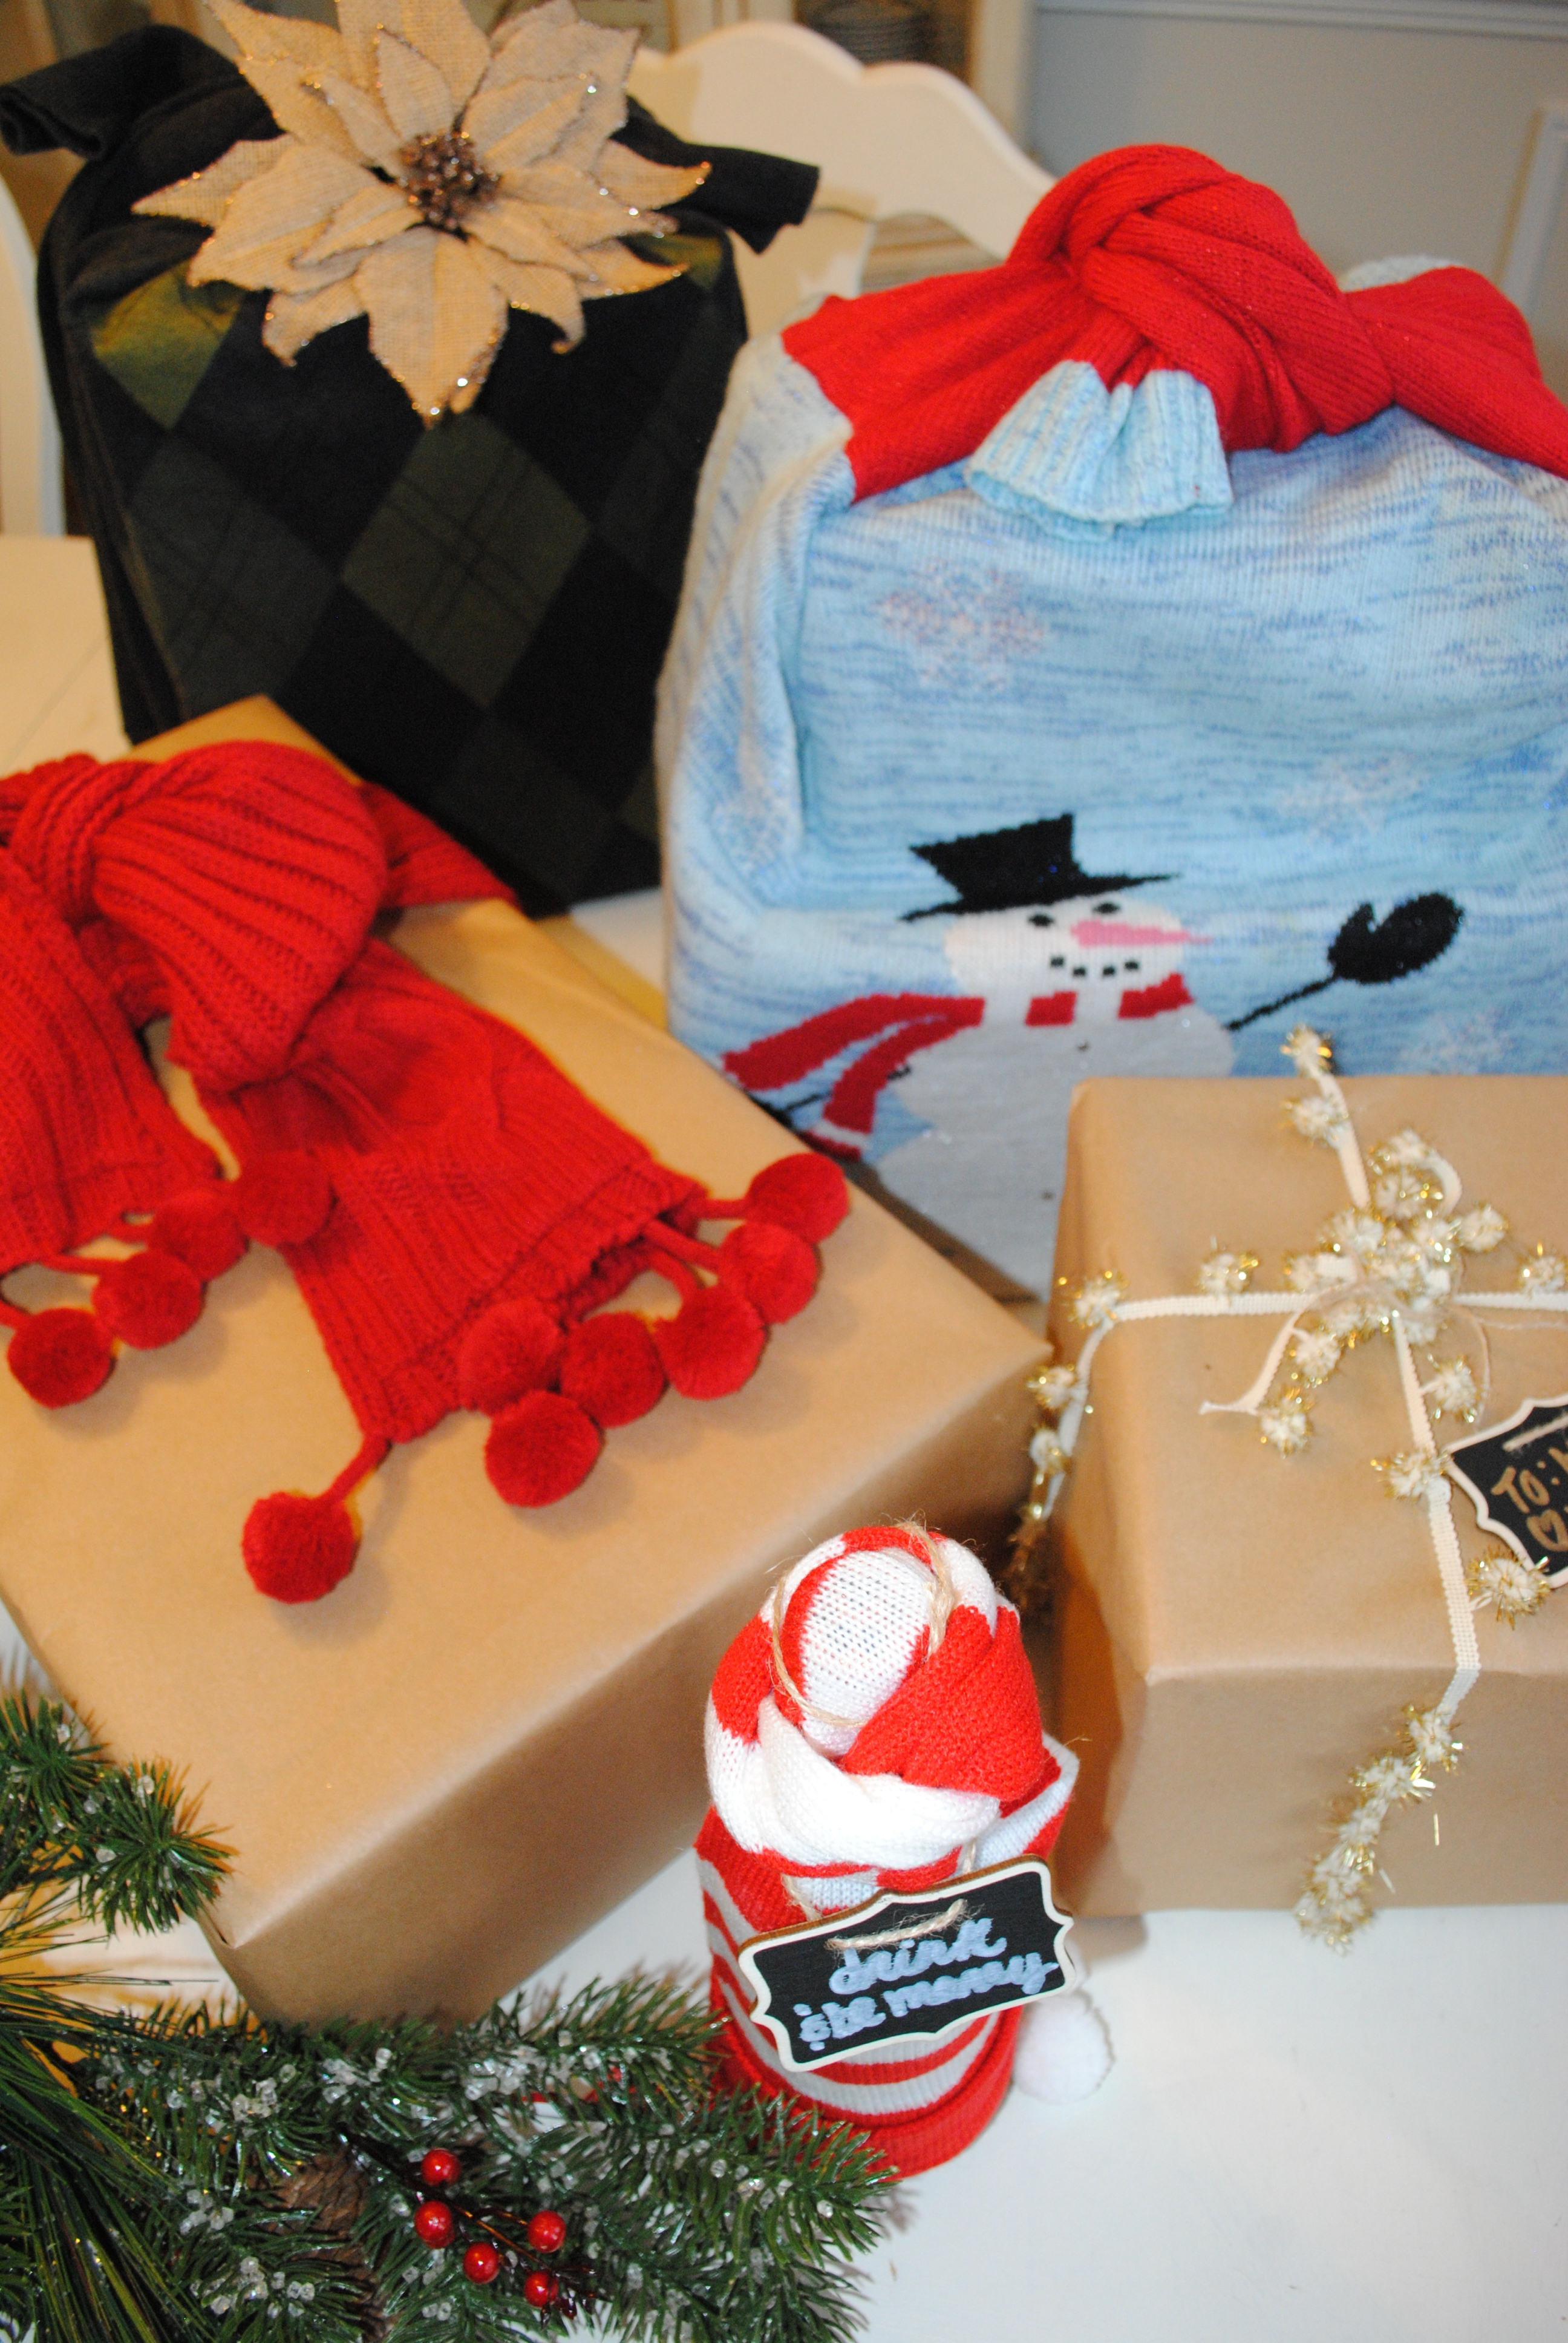
What does an old sweater, leftover craft ribbon, a stocking, brown craft paper, and a thrift store scarf have in common? They can be used to wrap gifts! Yes, that’s right. Gift wrapping ideas for the thrifty and frugal. This post is inspired by my friends at thredUP where you can save TONs of money shopping second-hand online. I always think #secondhandfirst during the holidays in order to save money and recycle items for a more eco-conscious holiday.

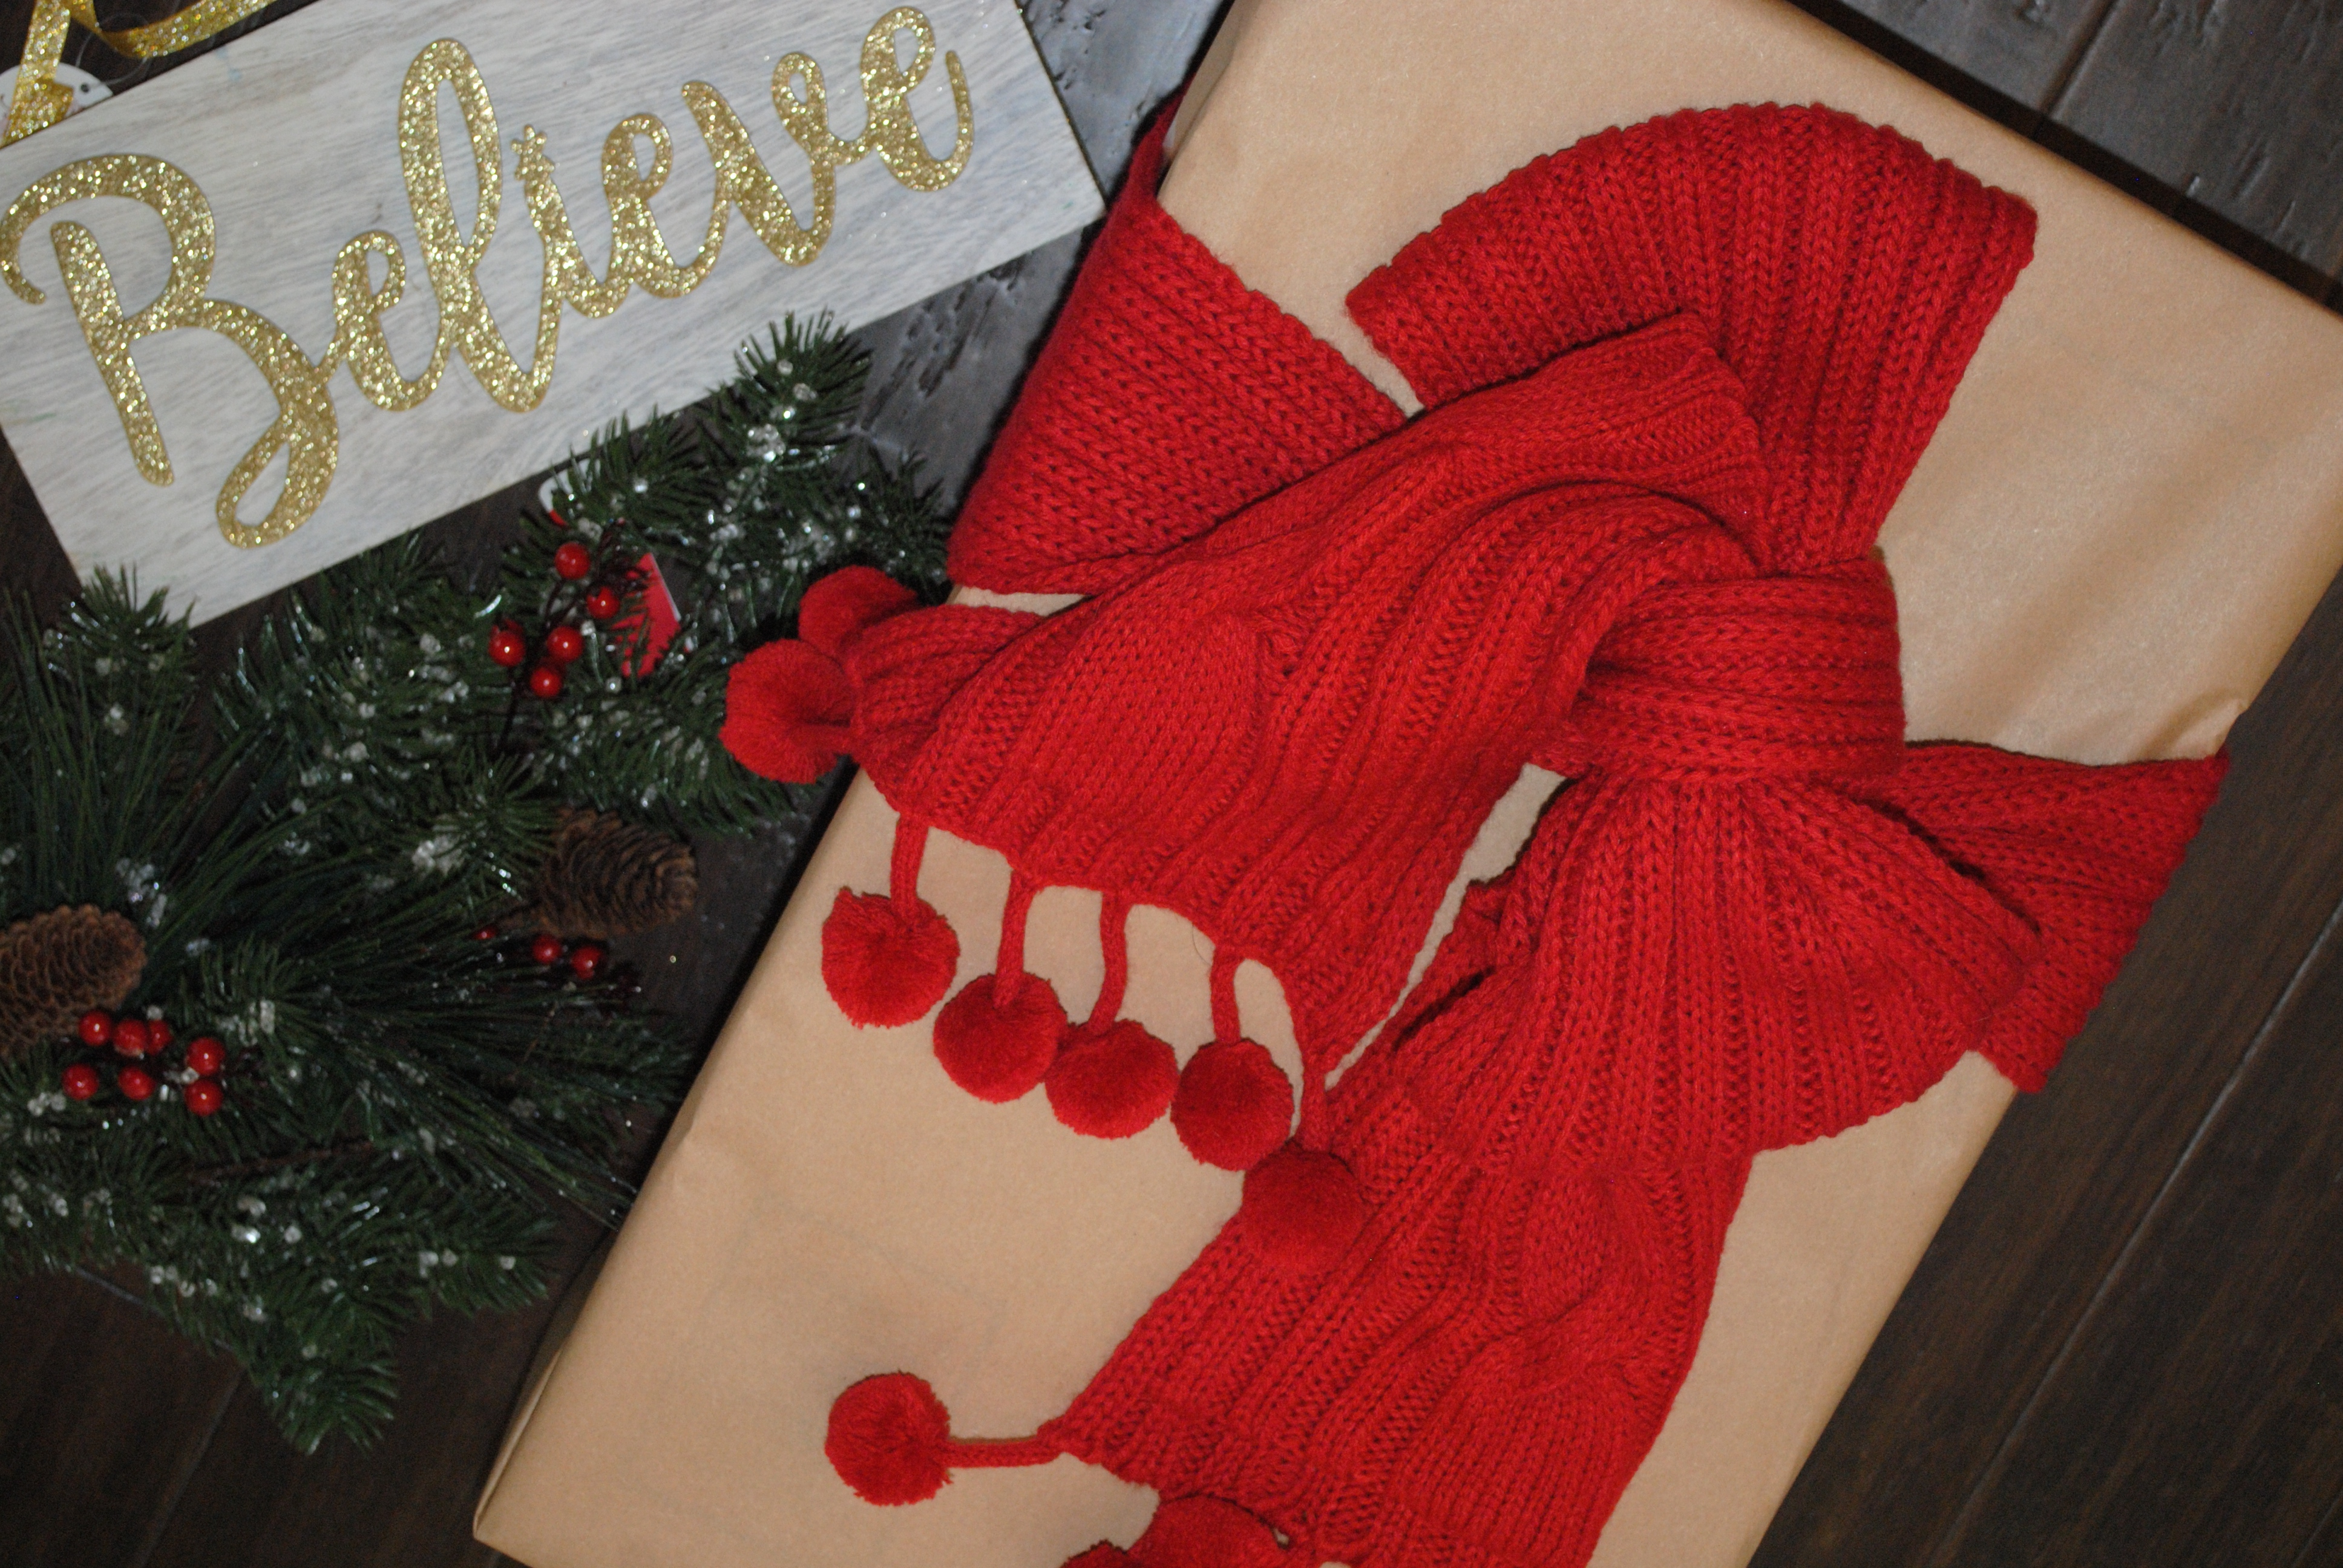
First the scarf I found brand new with tags at the thrift store for $3. This is such fun idea because all you need is craft paper, or matching gift warp, scissors, and tape. Wrap gift in the paper and just tie the scarf around your box like a ribbon with a big bow. The person getting the gift not only gets what’s inside but also an amazing new scarf for winter.

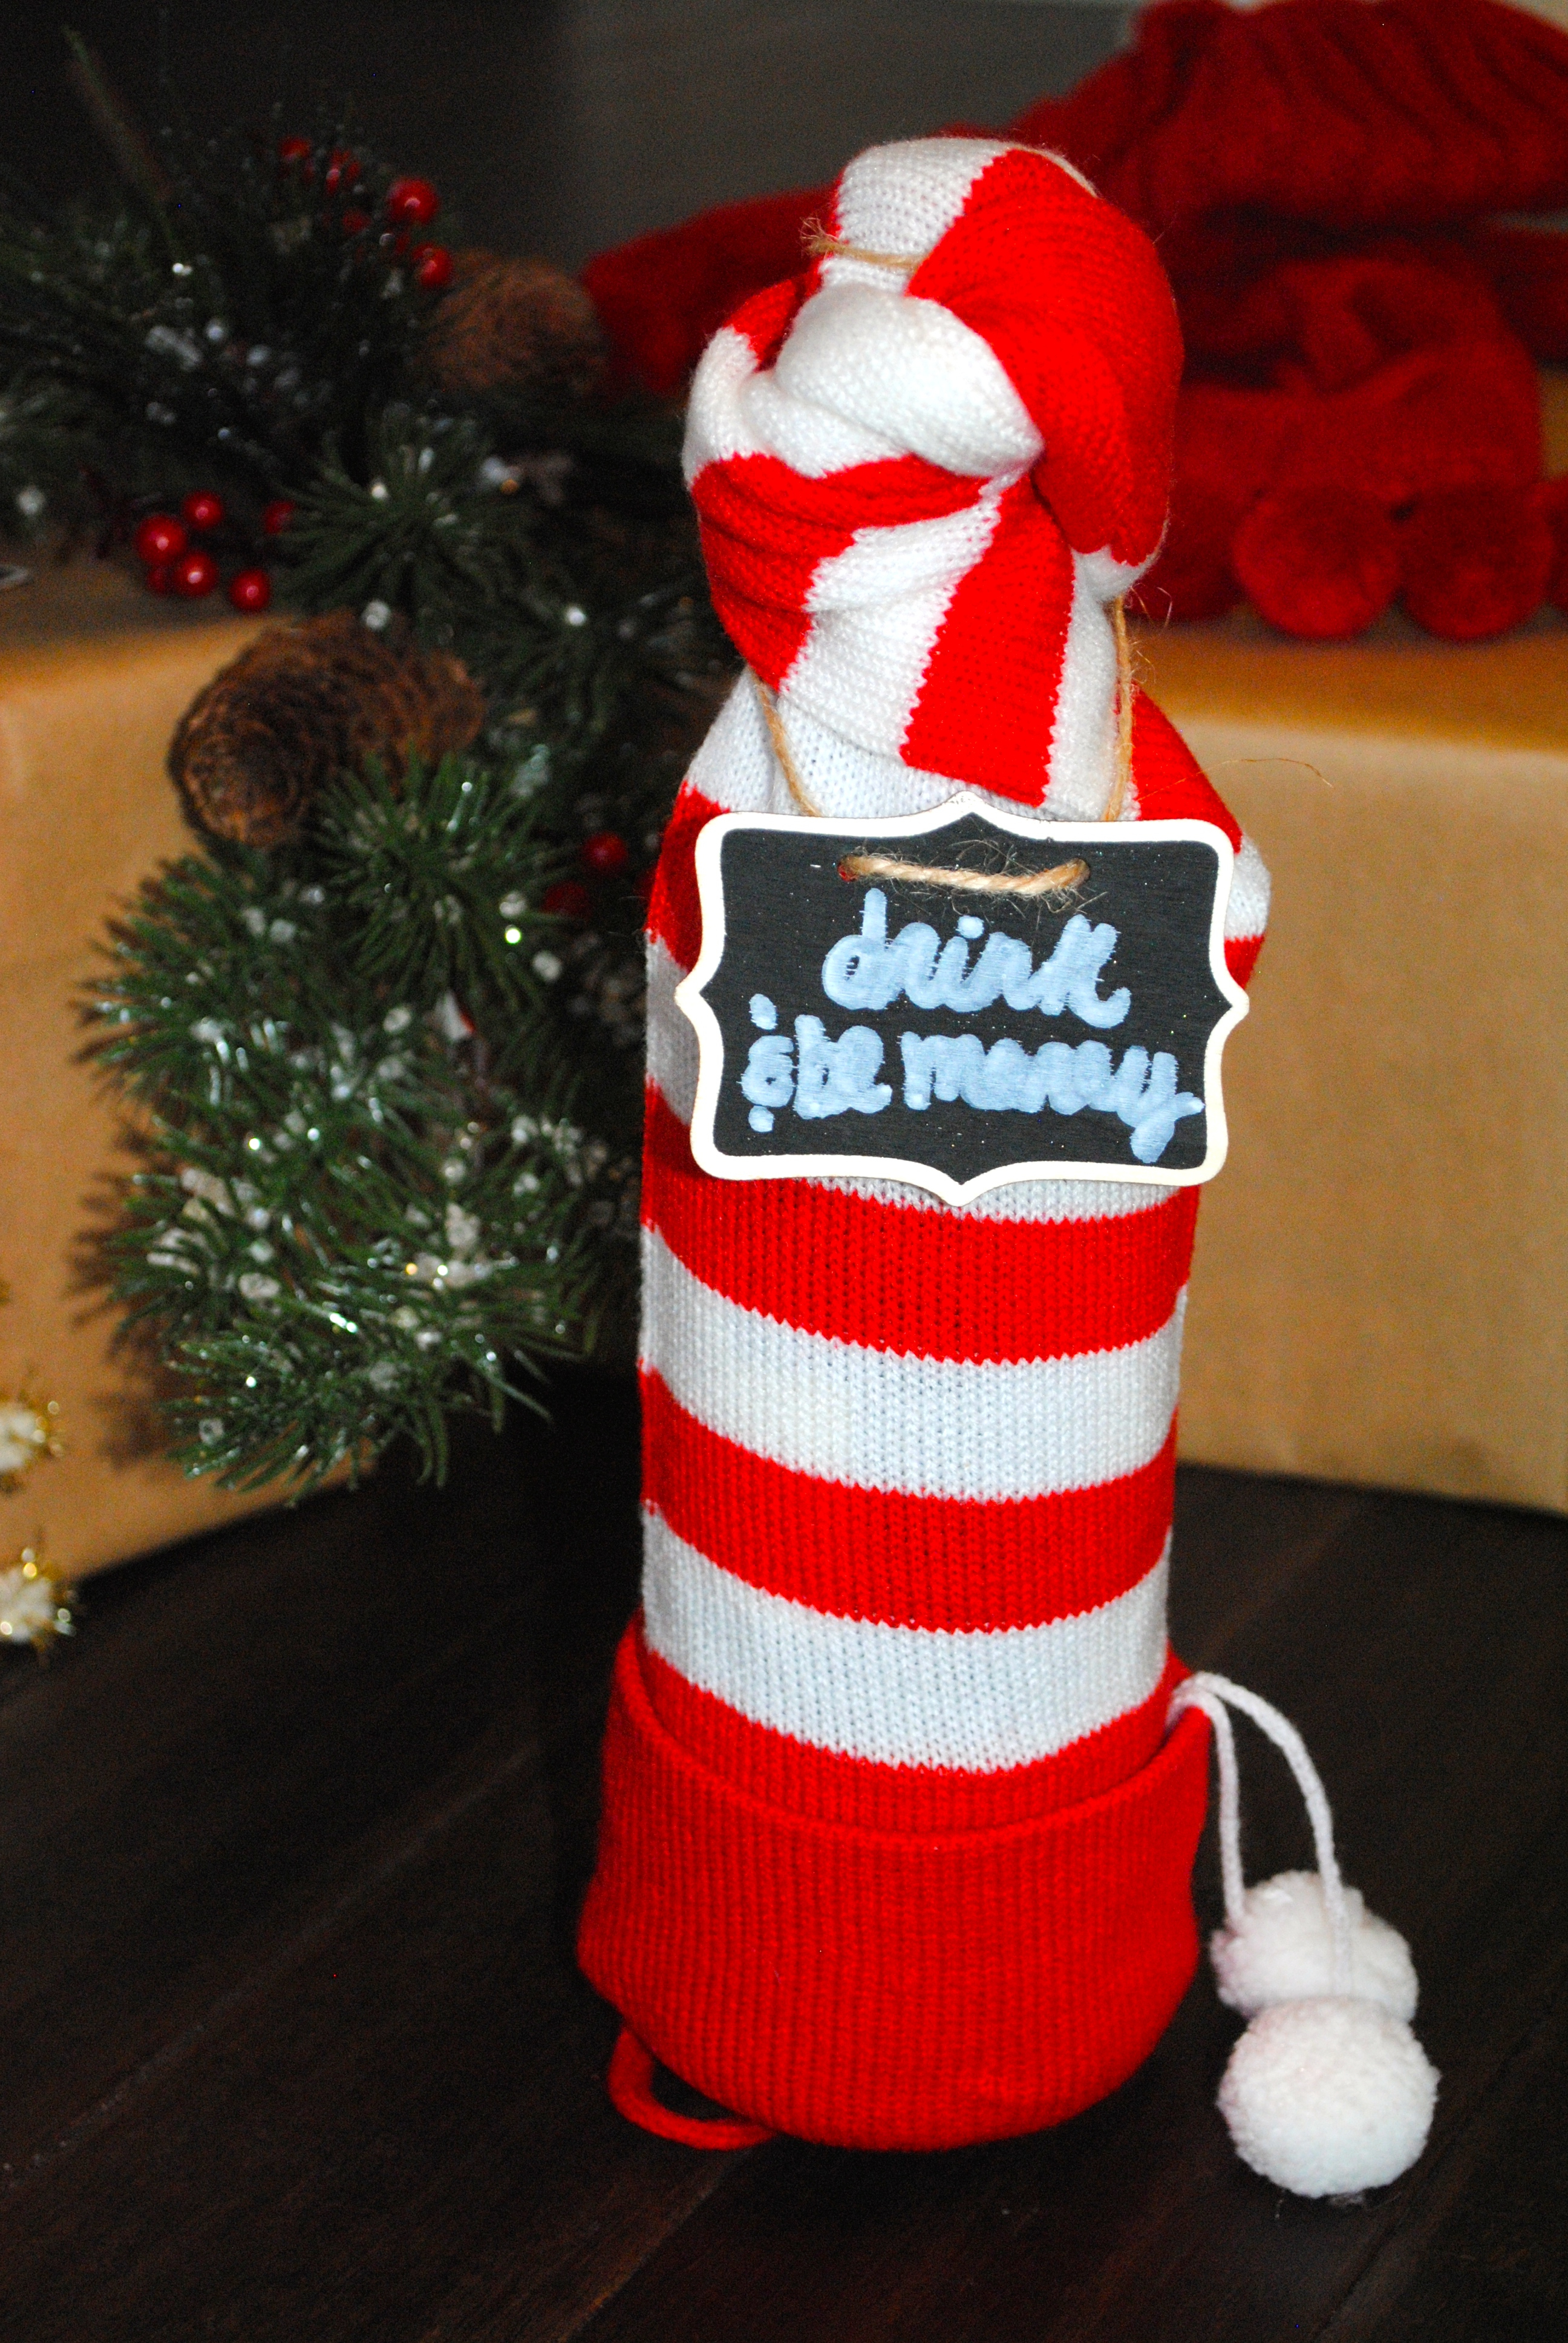
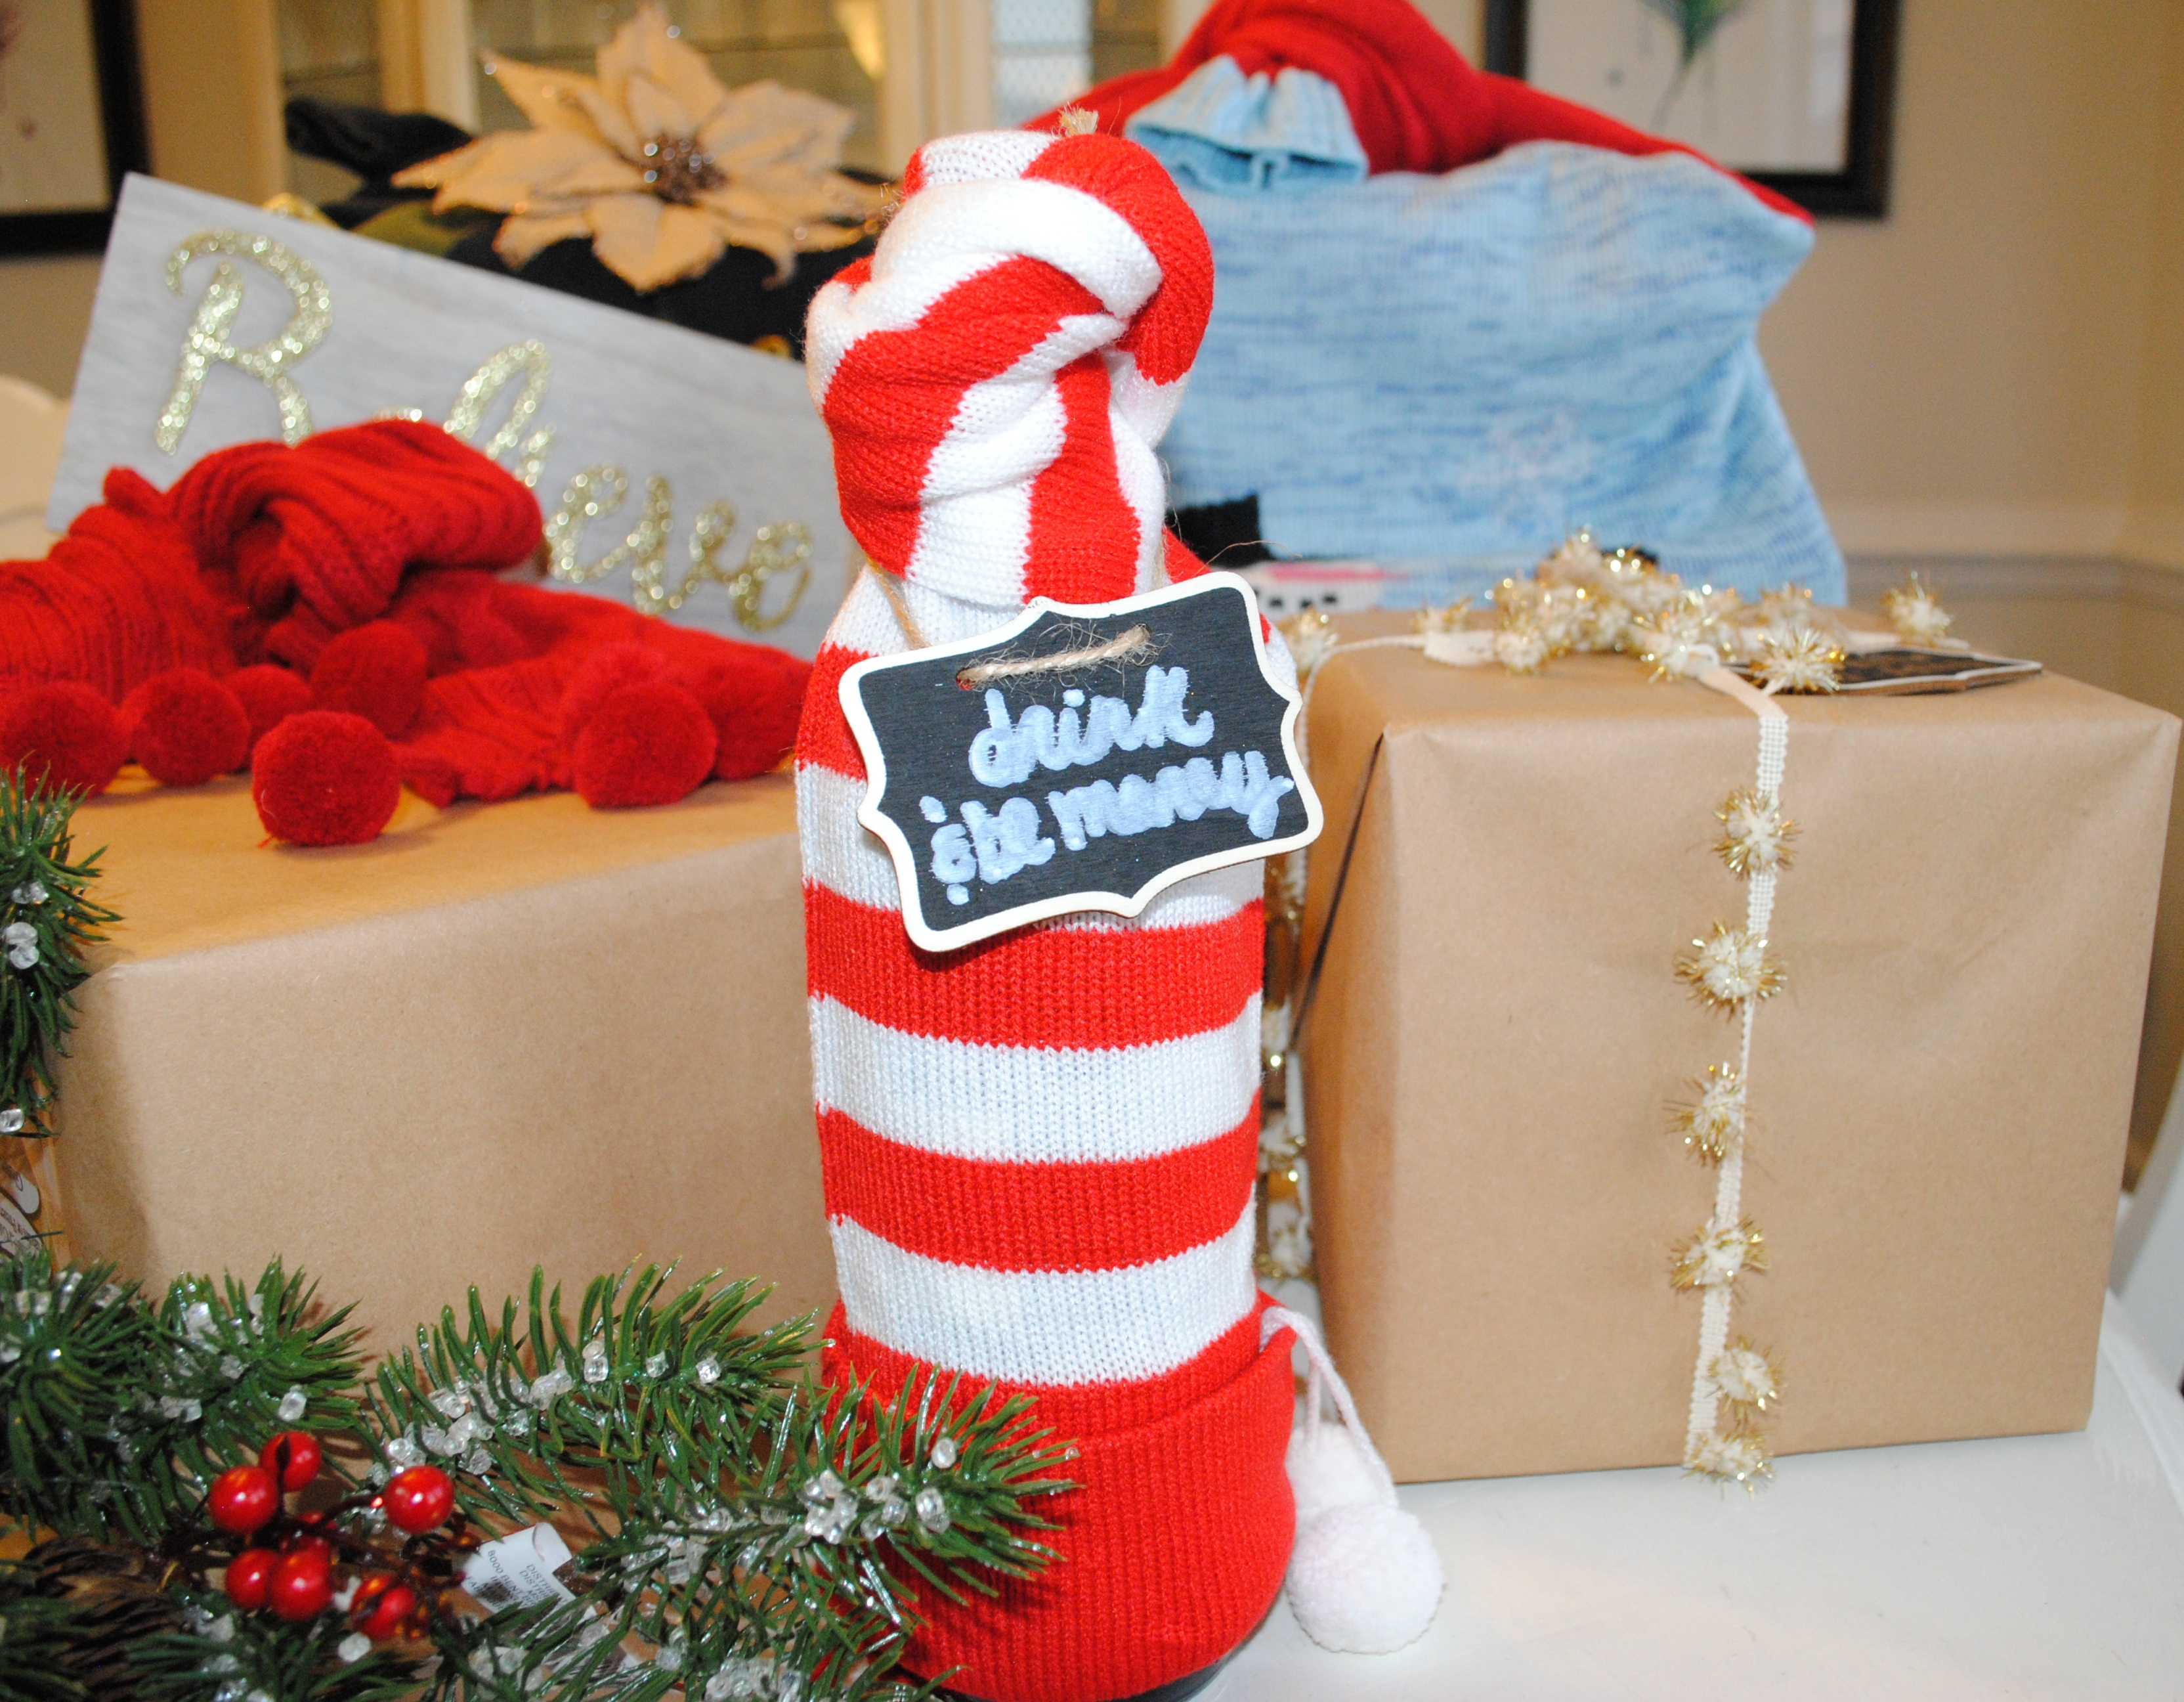
For the stocking wine bottle wrap, you may have an extra stocking lying around or for me I found this one for $1.50 at the thrift store.  Easy peasy assembly by just sliding the stocking over the wine bottle and twisting and tucking the footy part into itself. Finish the wrapping with an adorable “drink & be merry” chalkboard sign labels or paper tag and viola an adorable DIY gift wrap that the person can reuse again or in their home!

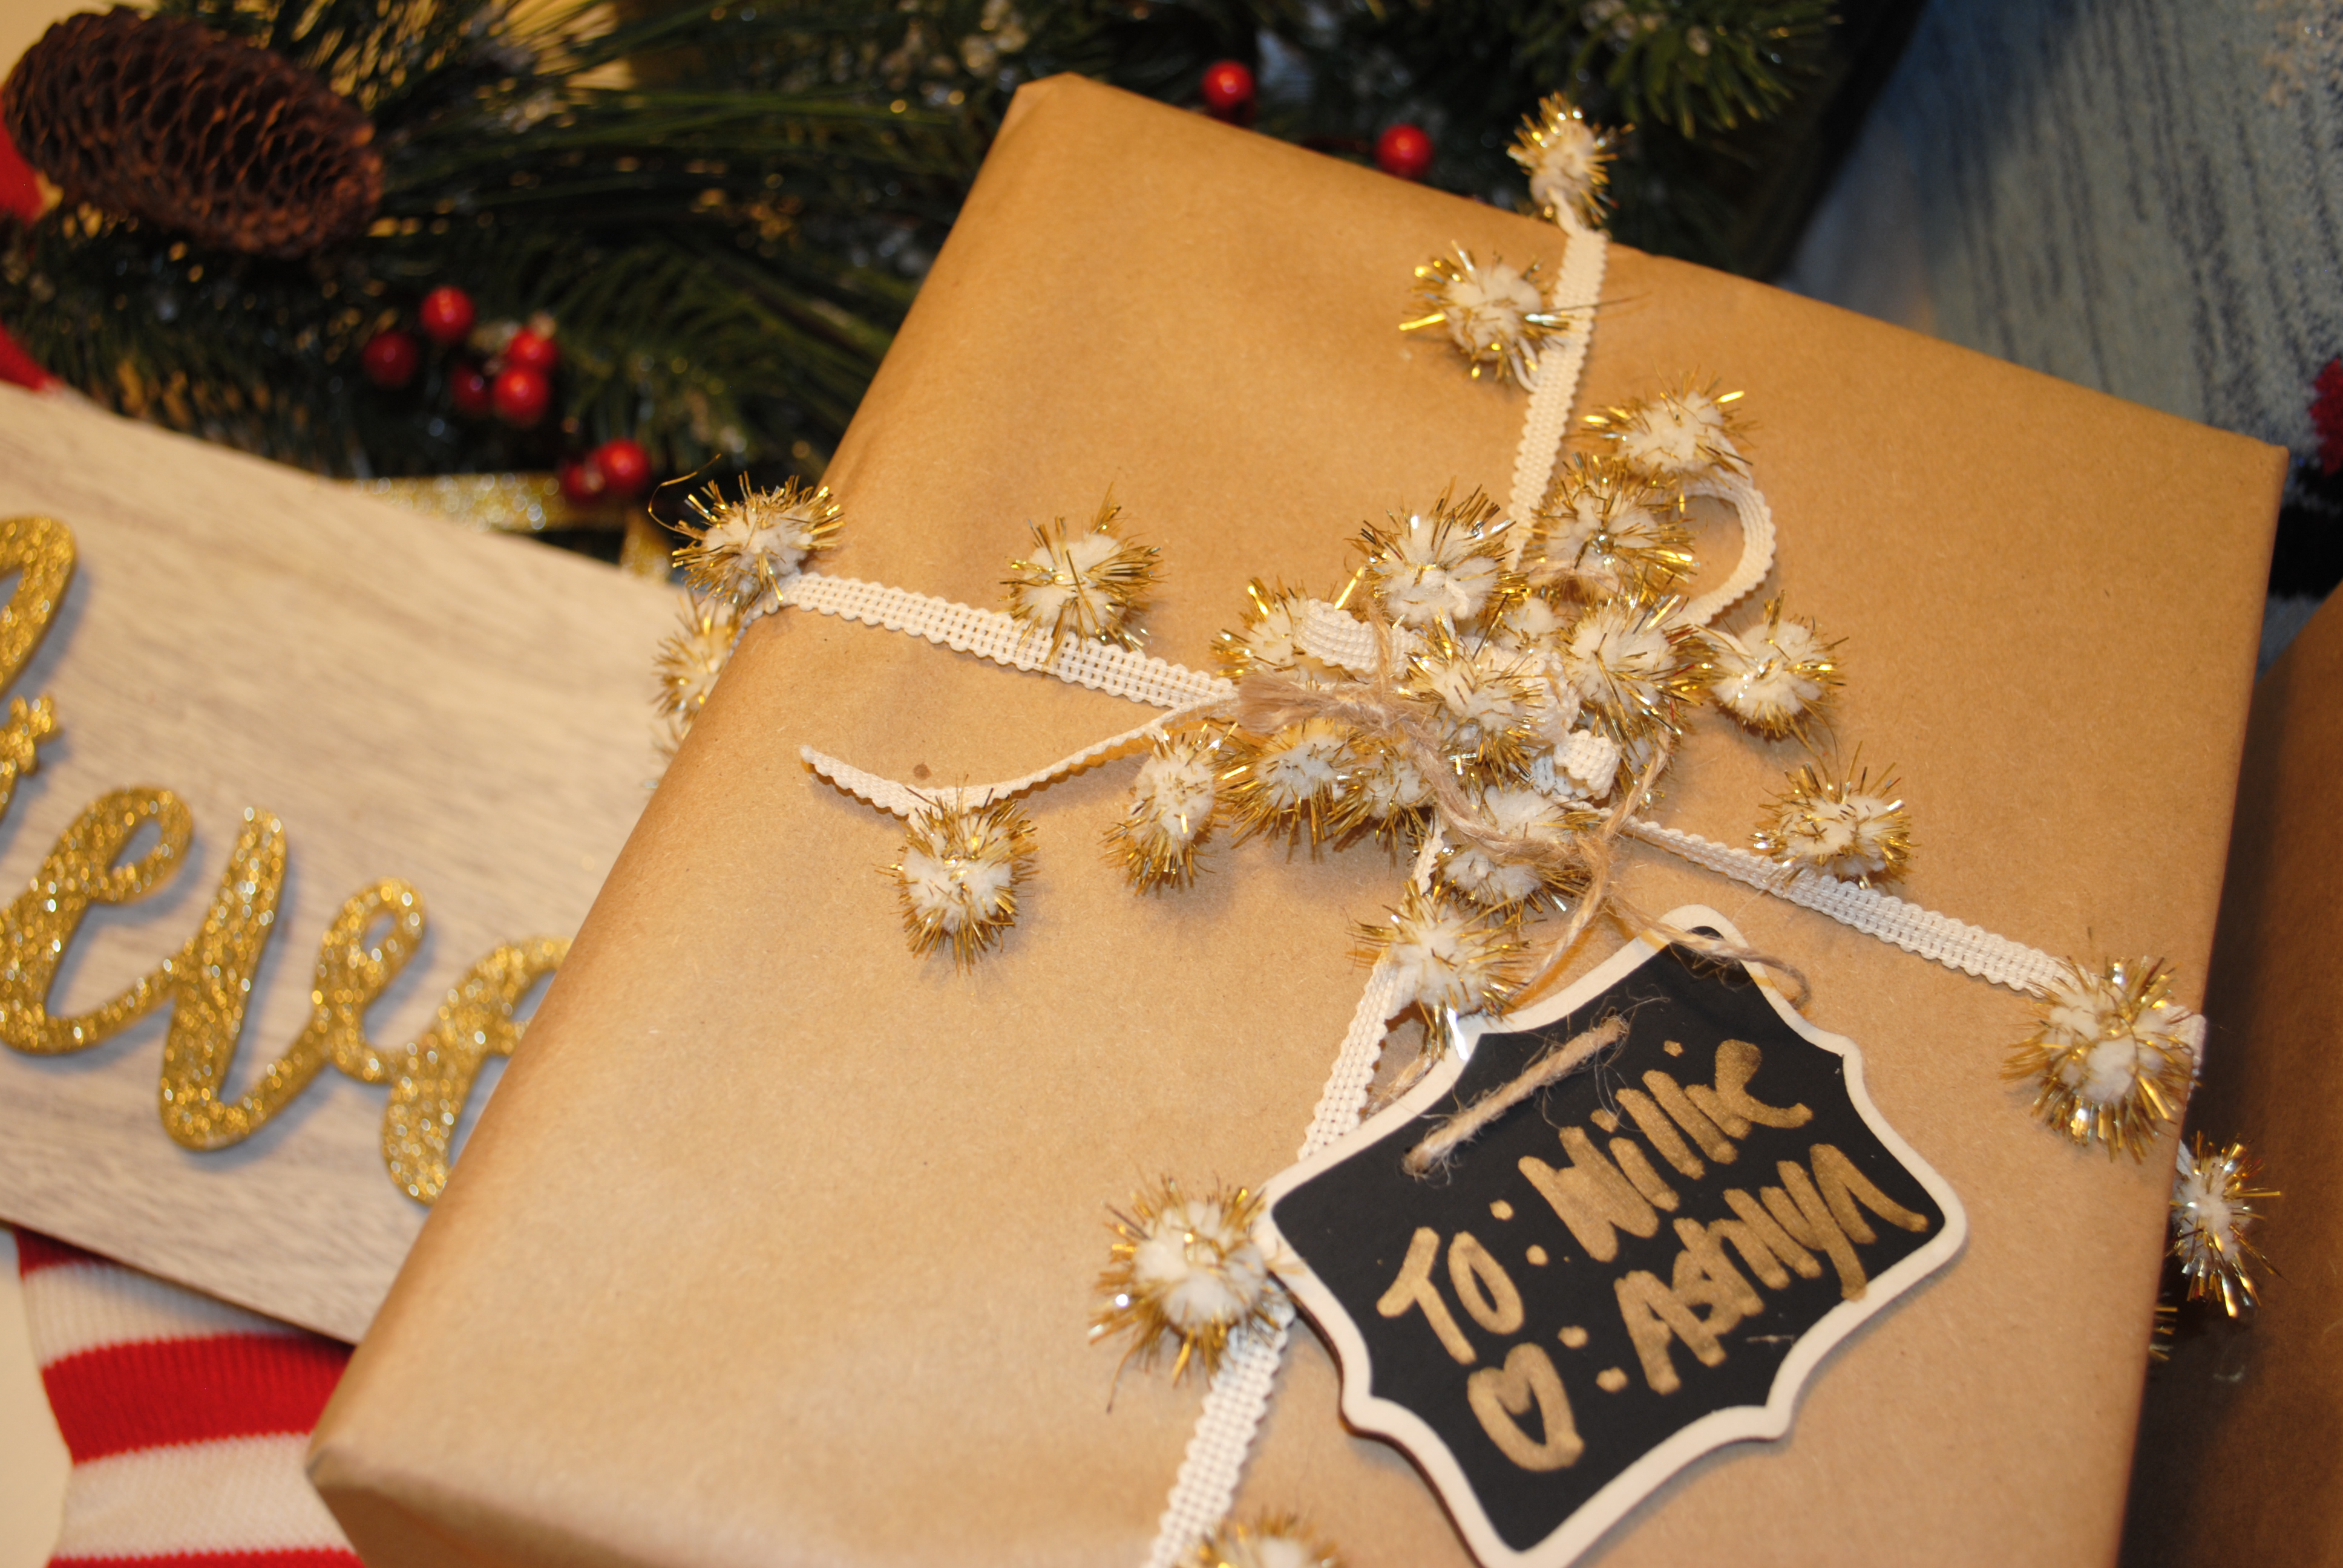
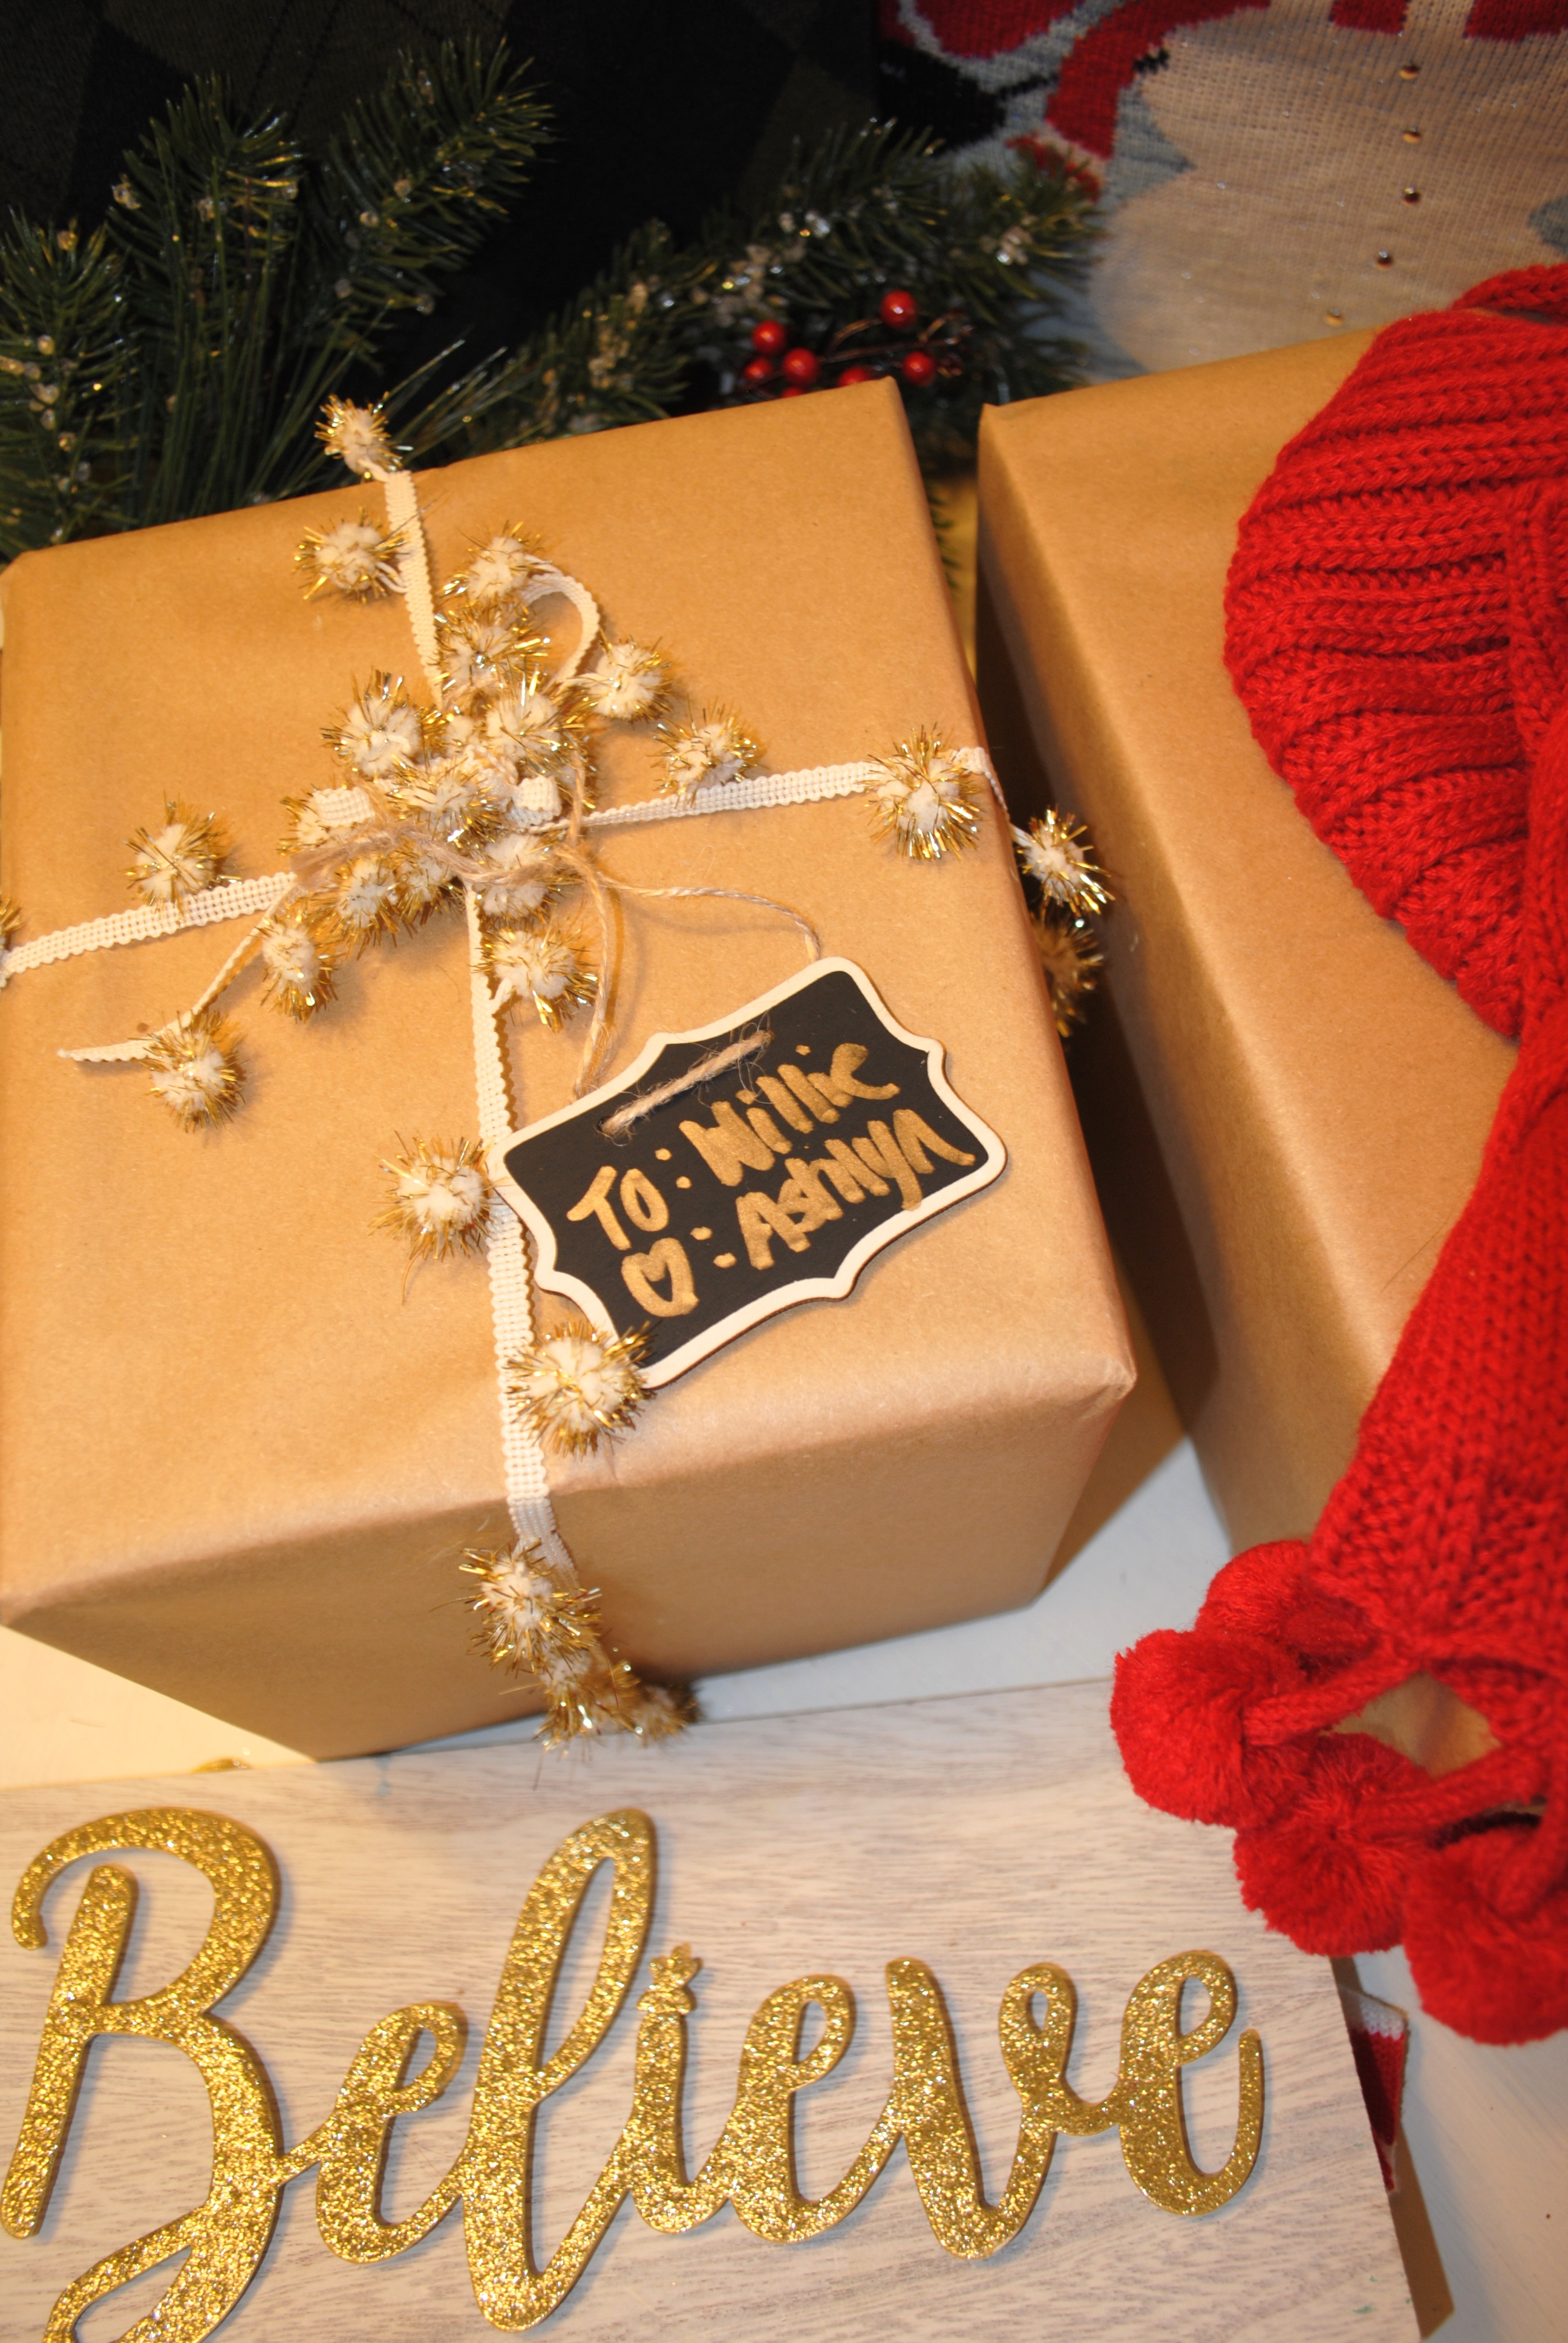
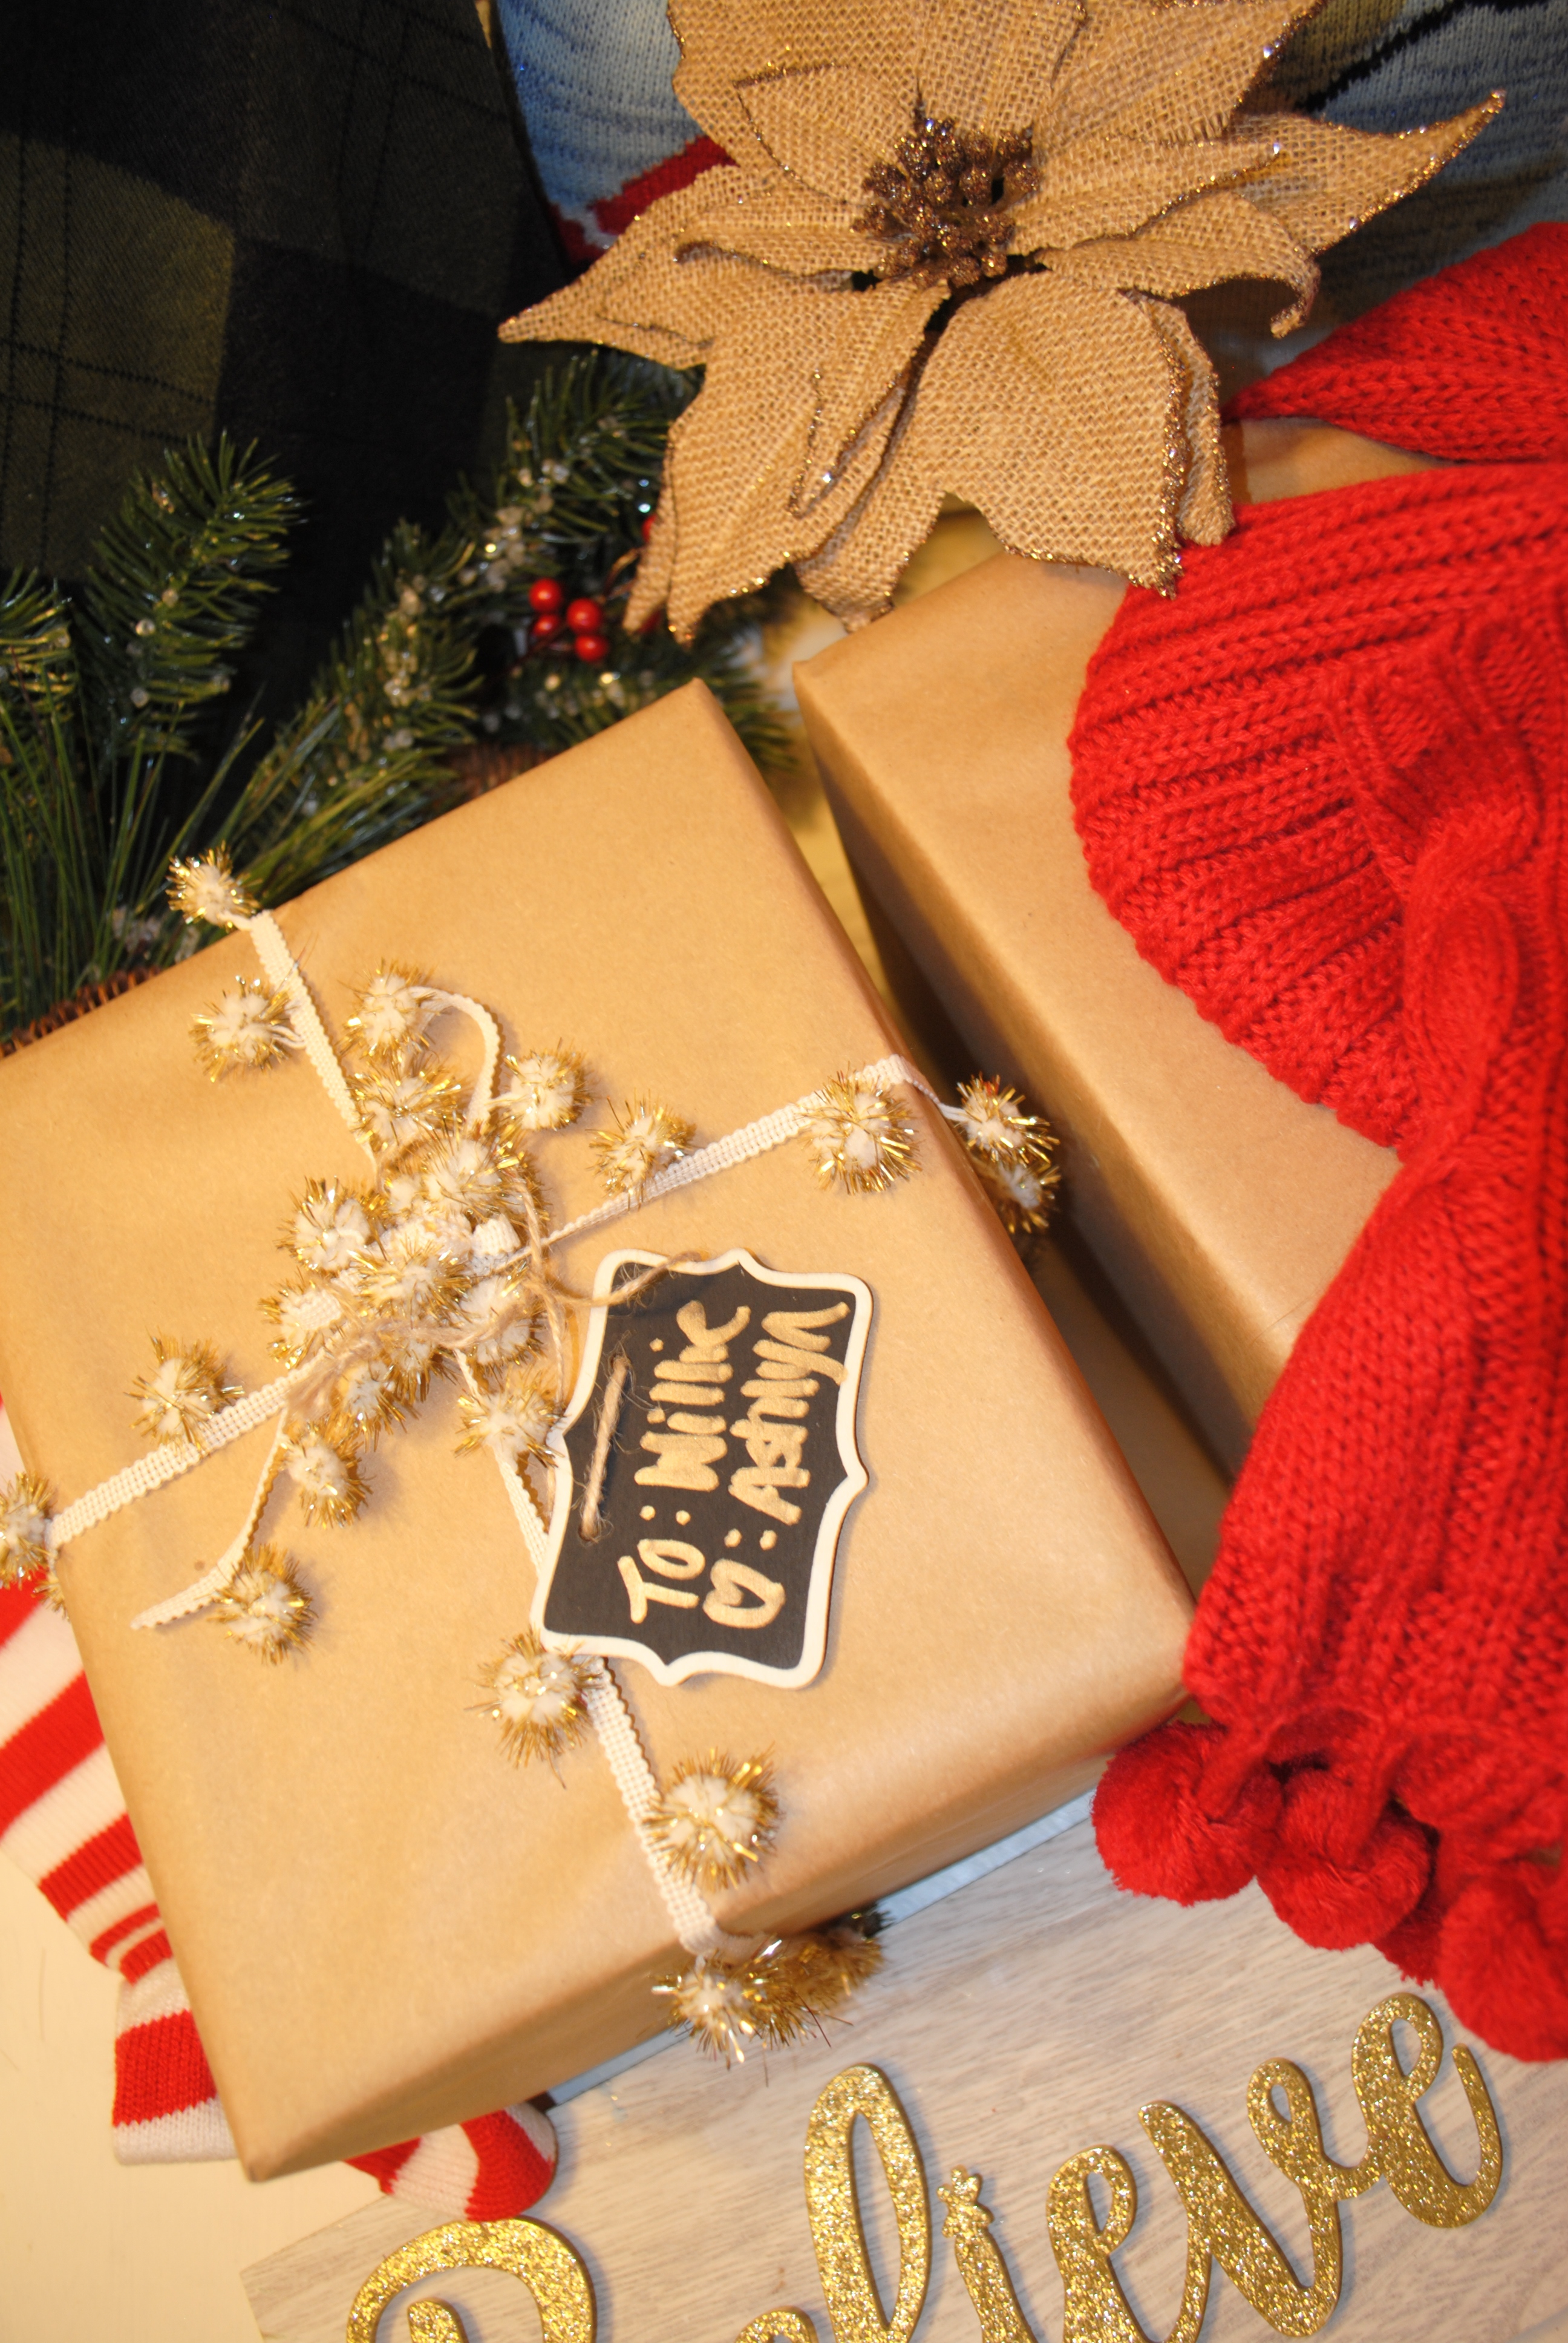
The craft paper and leftover ribbon is like a normal wrapping paper where you’ll need just scissors and tape. After measuring and centering your gift, take the long end pieces up to go under one another and secure with tape. Next, take your two short ends and make pointed ends that will meet in the middle to secure with tape. Finish with looping leftover ribbon around the gift with ultimately making a box to secure it. The craft paper roll will last you ALL Christmas if you purchase a big one, so it really is a cheap way to wrap gifts. If you don’t have leftover craft ribbon, try buying a large spool of twine and add either tree trimmings, pine cones, feathers, chalkboard sign labels, or faux flowers to finish off the DIY look.

Finally for the sweaters. I used an old hubby sweater for one box and a $3.50 thrifted Christmas sweater to create two unique wrapping ideas. You can cut these to fit, but I tried to wrestle with the fabric in order to preserve the sweater to either be worn be the recipient or donated again. Who doesn’t love a silly Christmas sweater, it’s just part of the season! To do this pick the opening side to be your face-down side to be secured with bobby pins. Then, with the arms you create a sort of knot at the top. The sweater is also an amazing and easy way to wrap odd shaped packages. Literally just pull it over the gift, secure bottom and top, add embellishment and you have an adorable gift that anyone would love. Gift wrapping doesn’t have to be perfect! I love the fun ideas that make my gifts special.

Will you try any of these ideas this Christmas? Reusing and recycling is a great way to save money while also creating memorable gifts for all your friends and family. Now I’m ready to start Christmas decorating!

Check out thredUP’s full post: Easy Holiday Gift and Décor Ideas from Our Favorite Bloggers

Tuesday, November 14, 2017

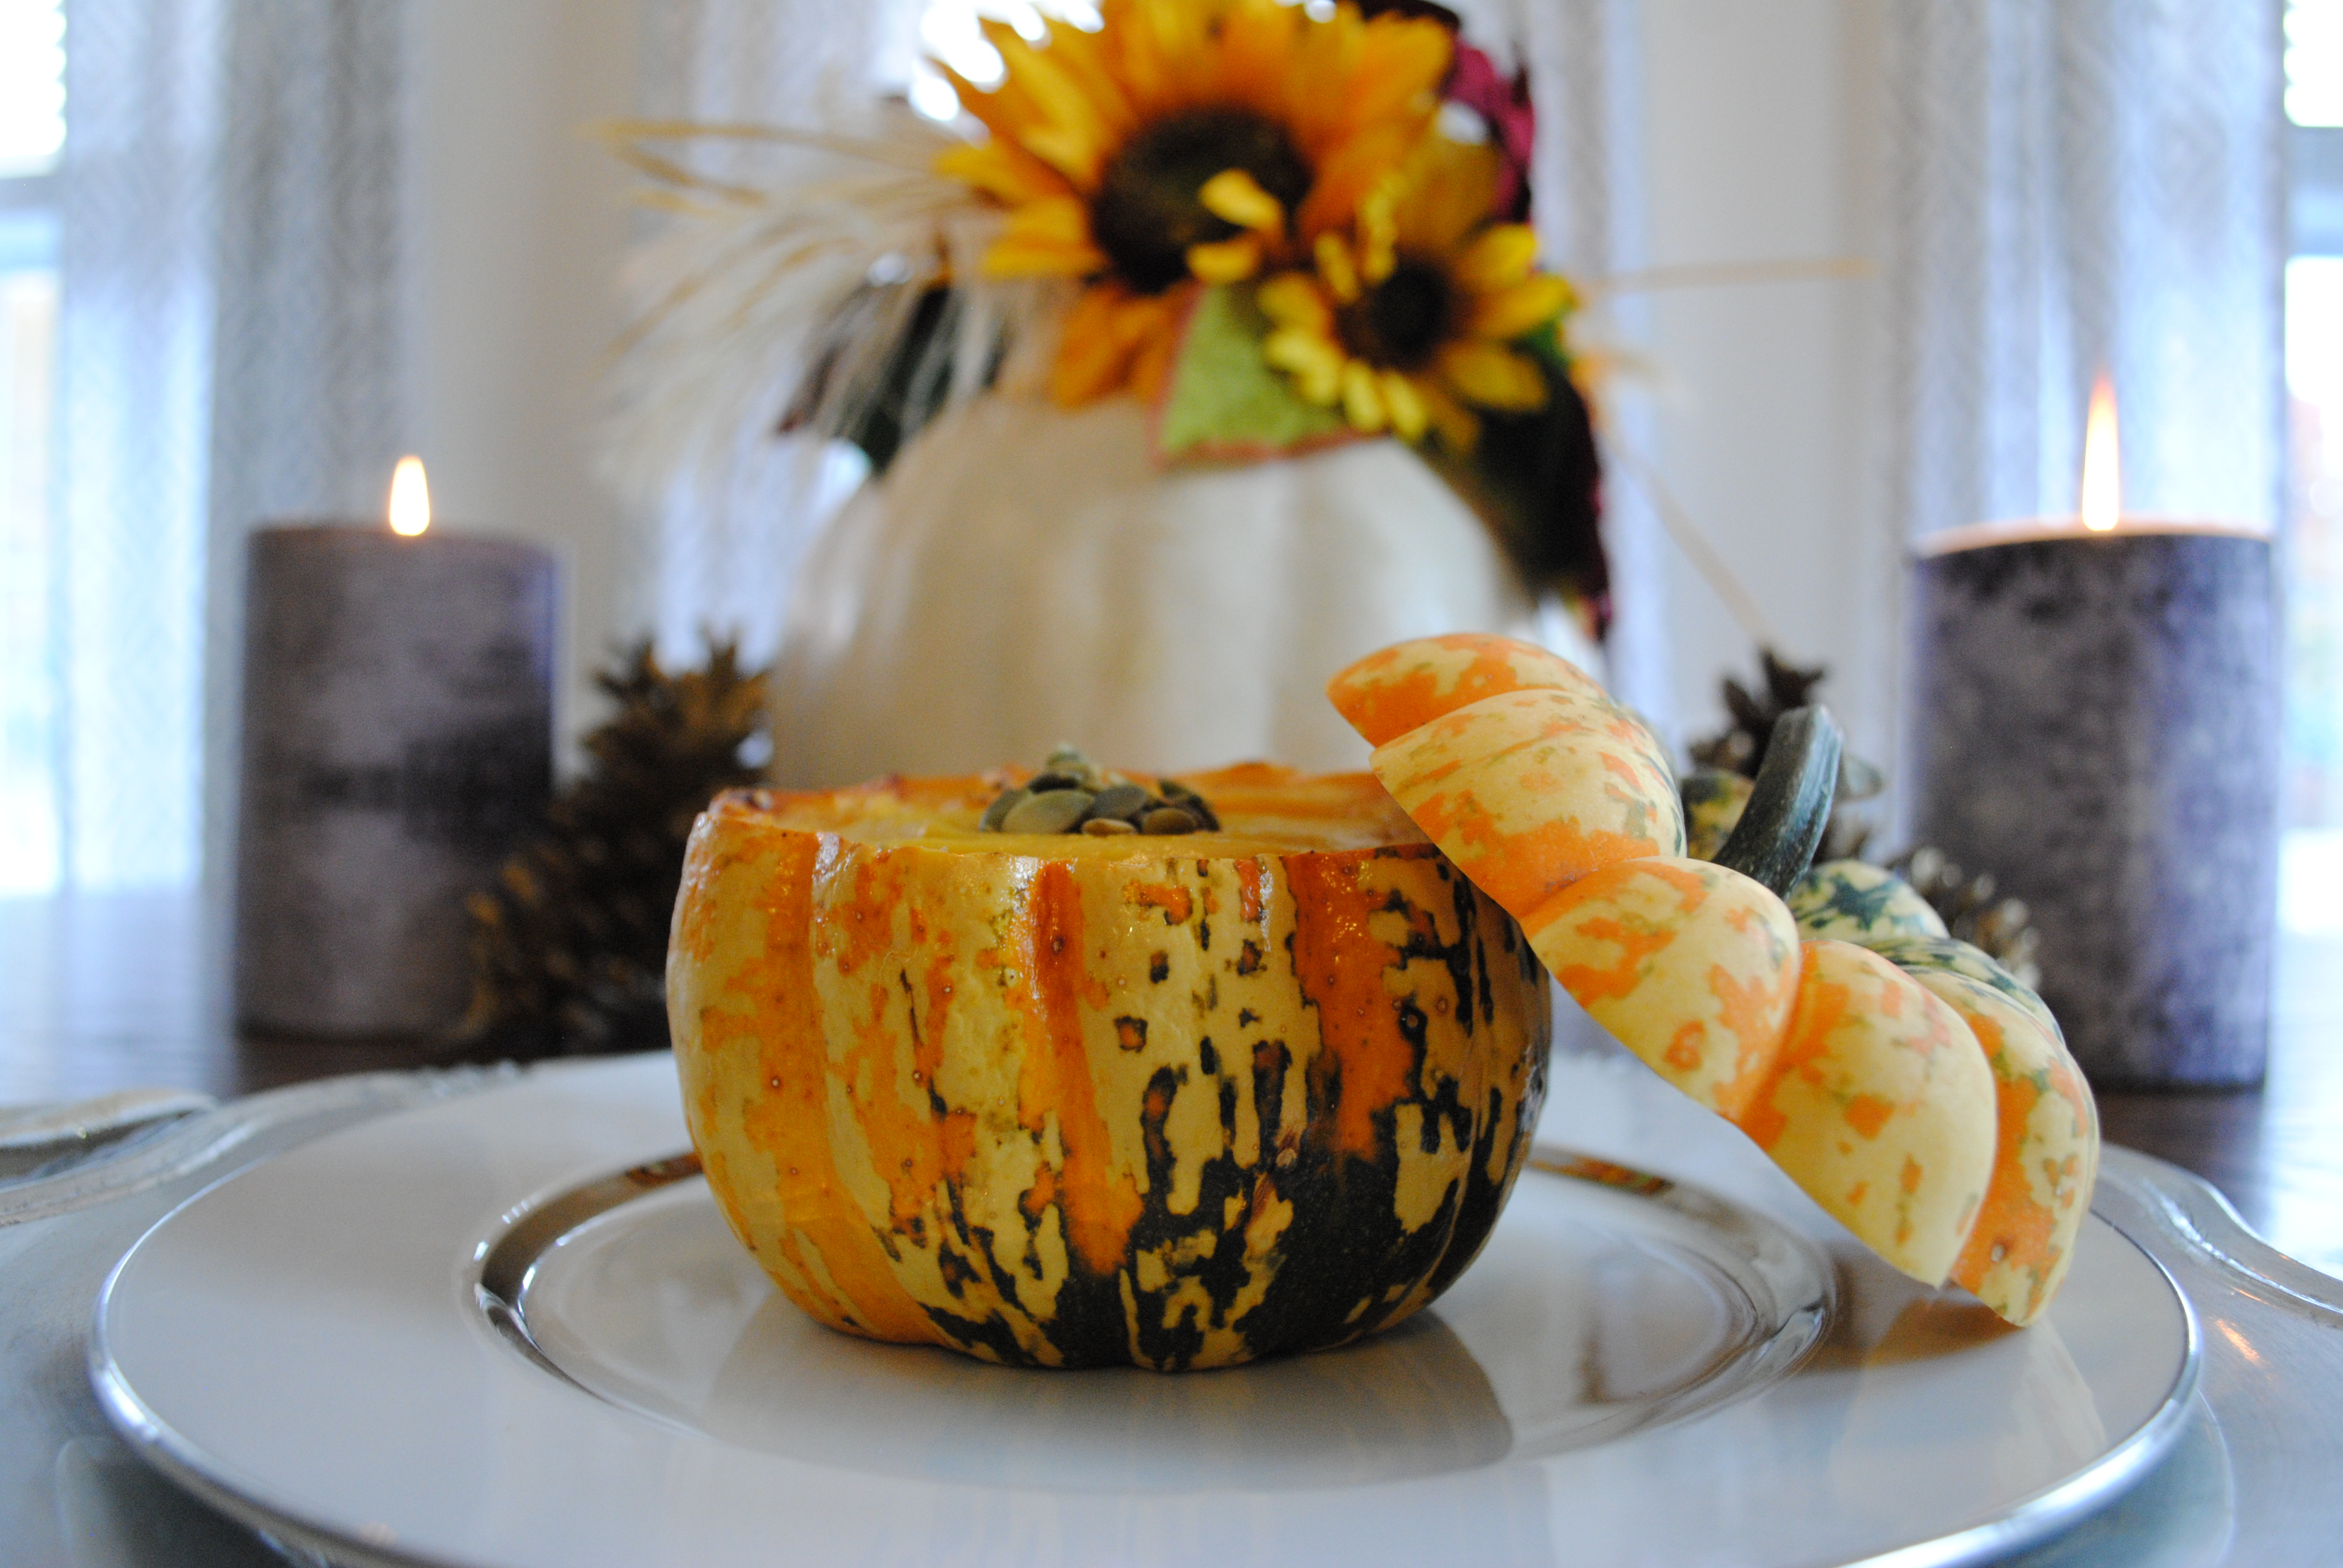
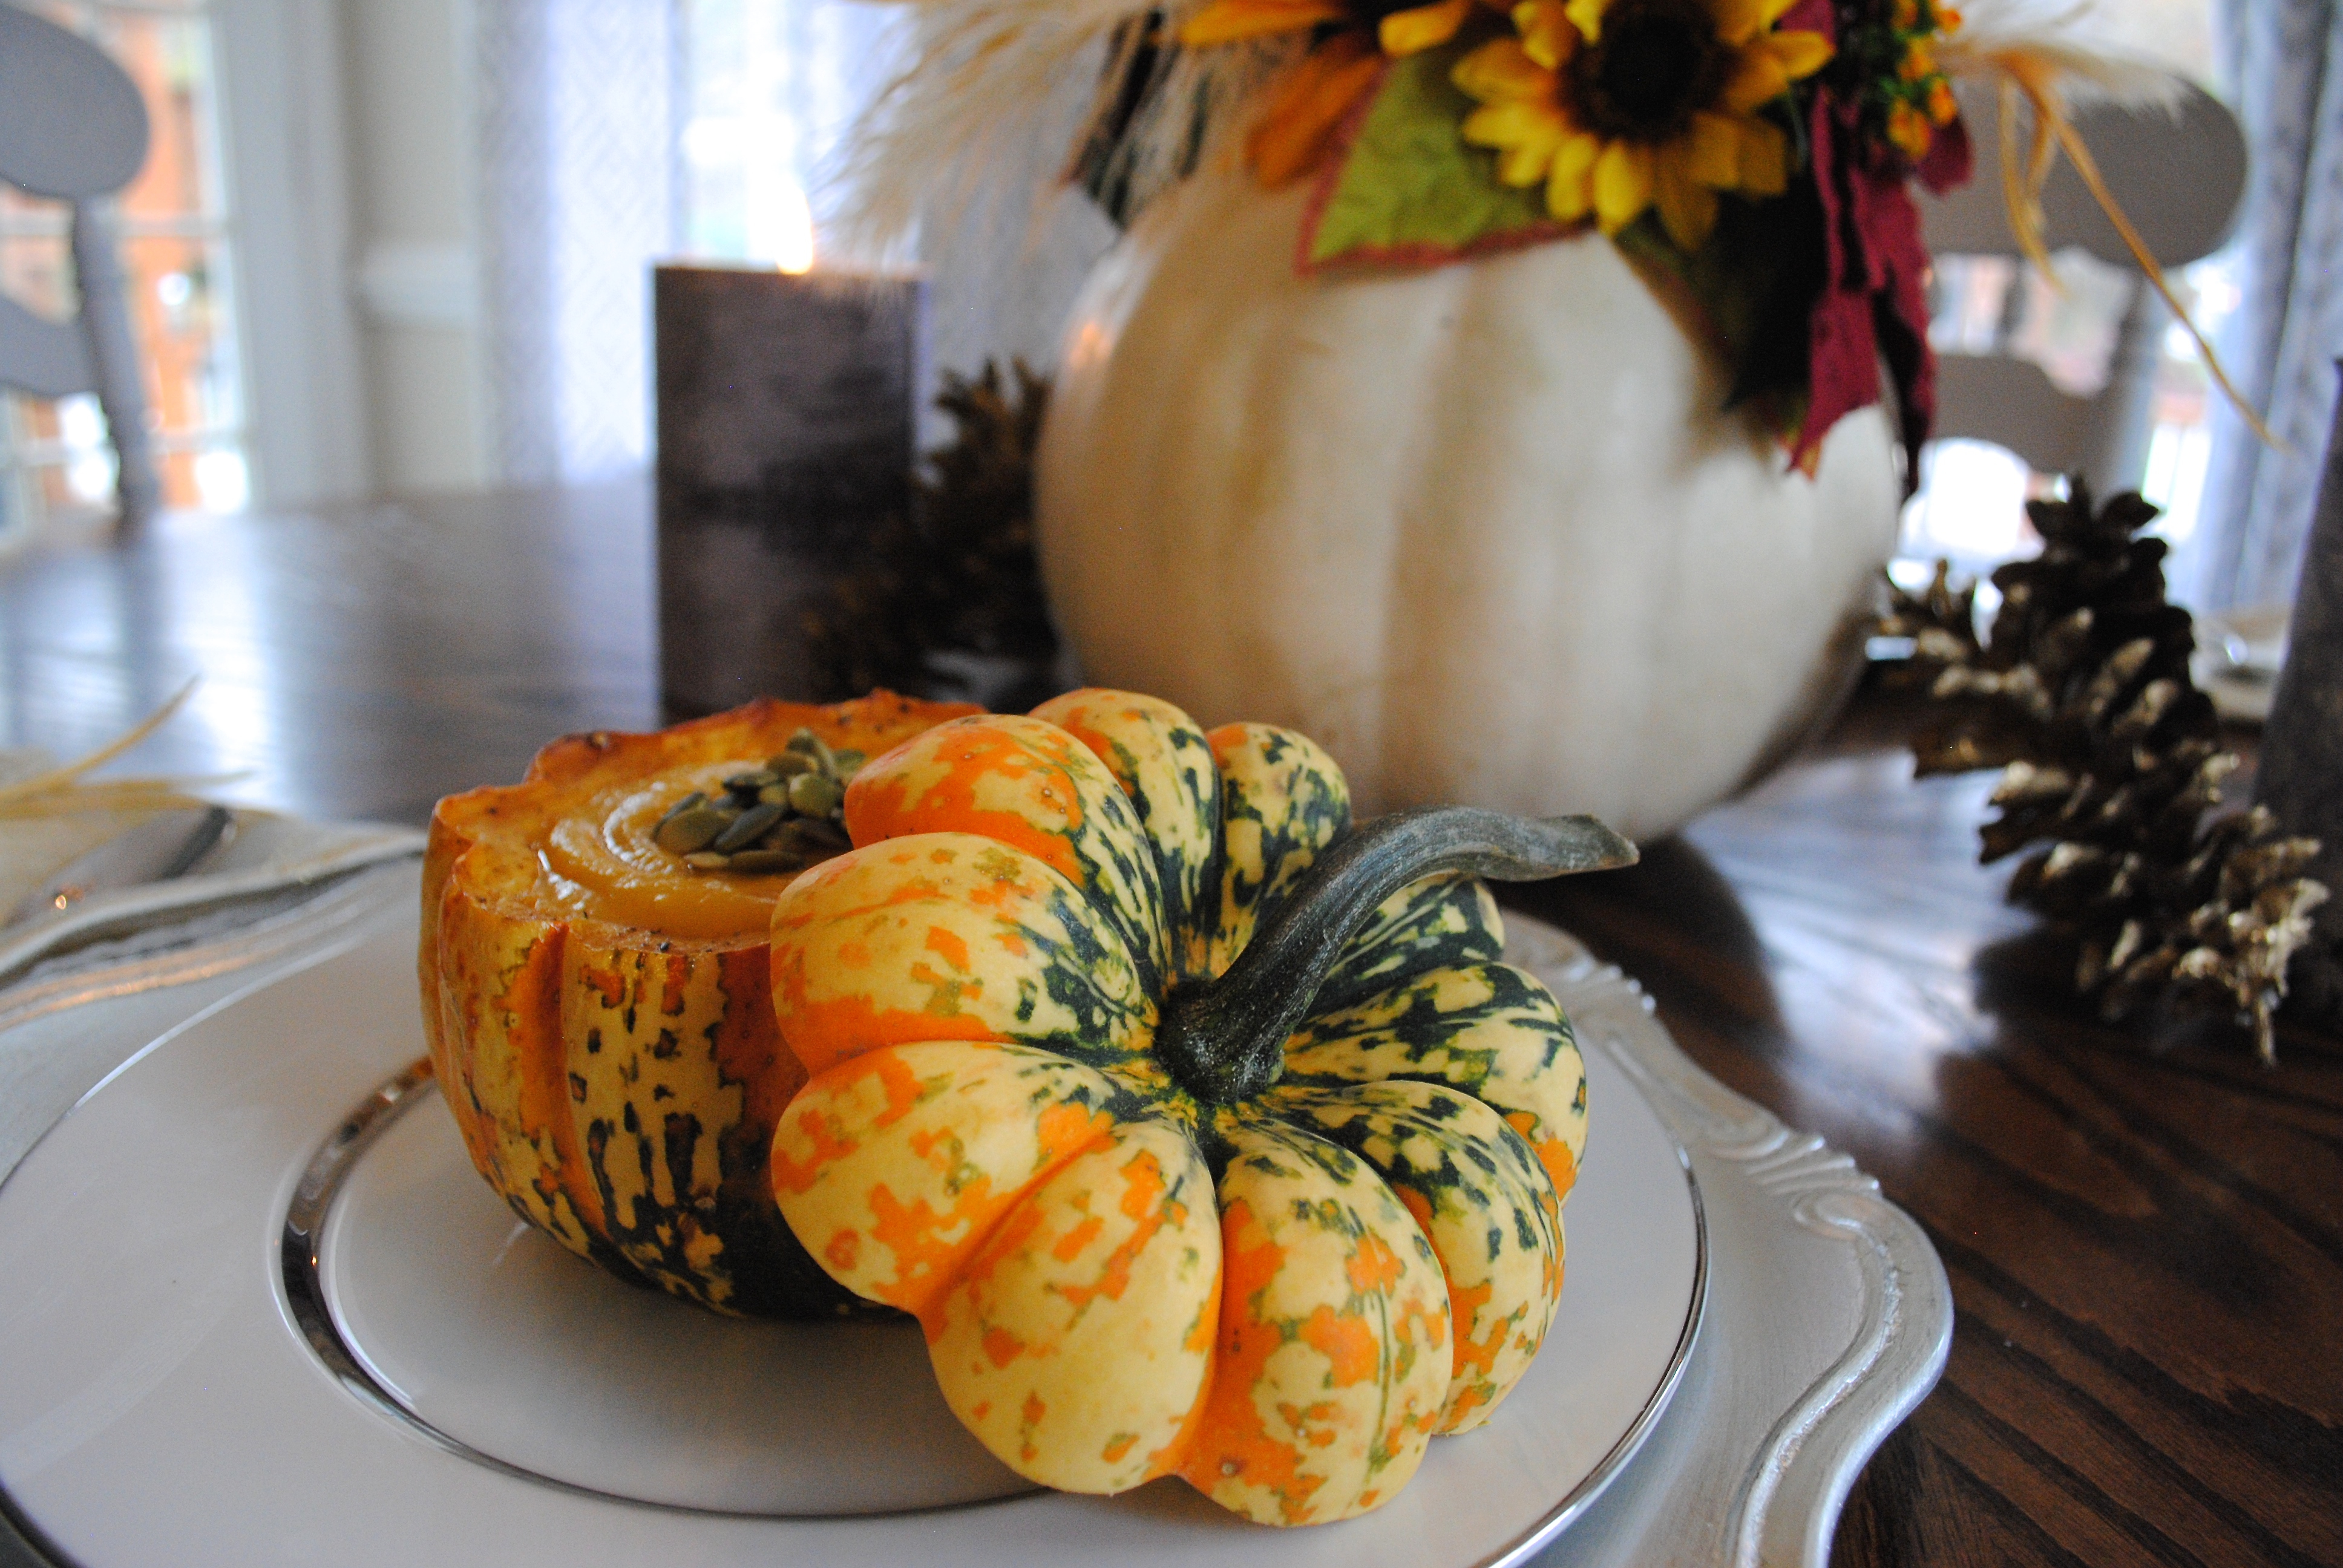
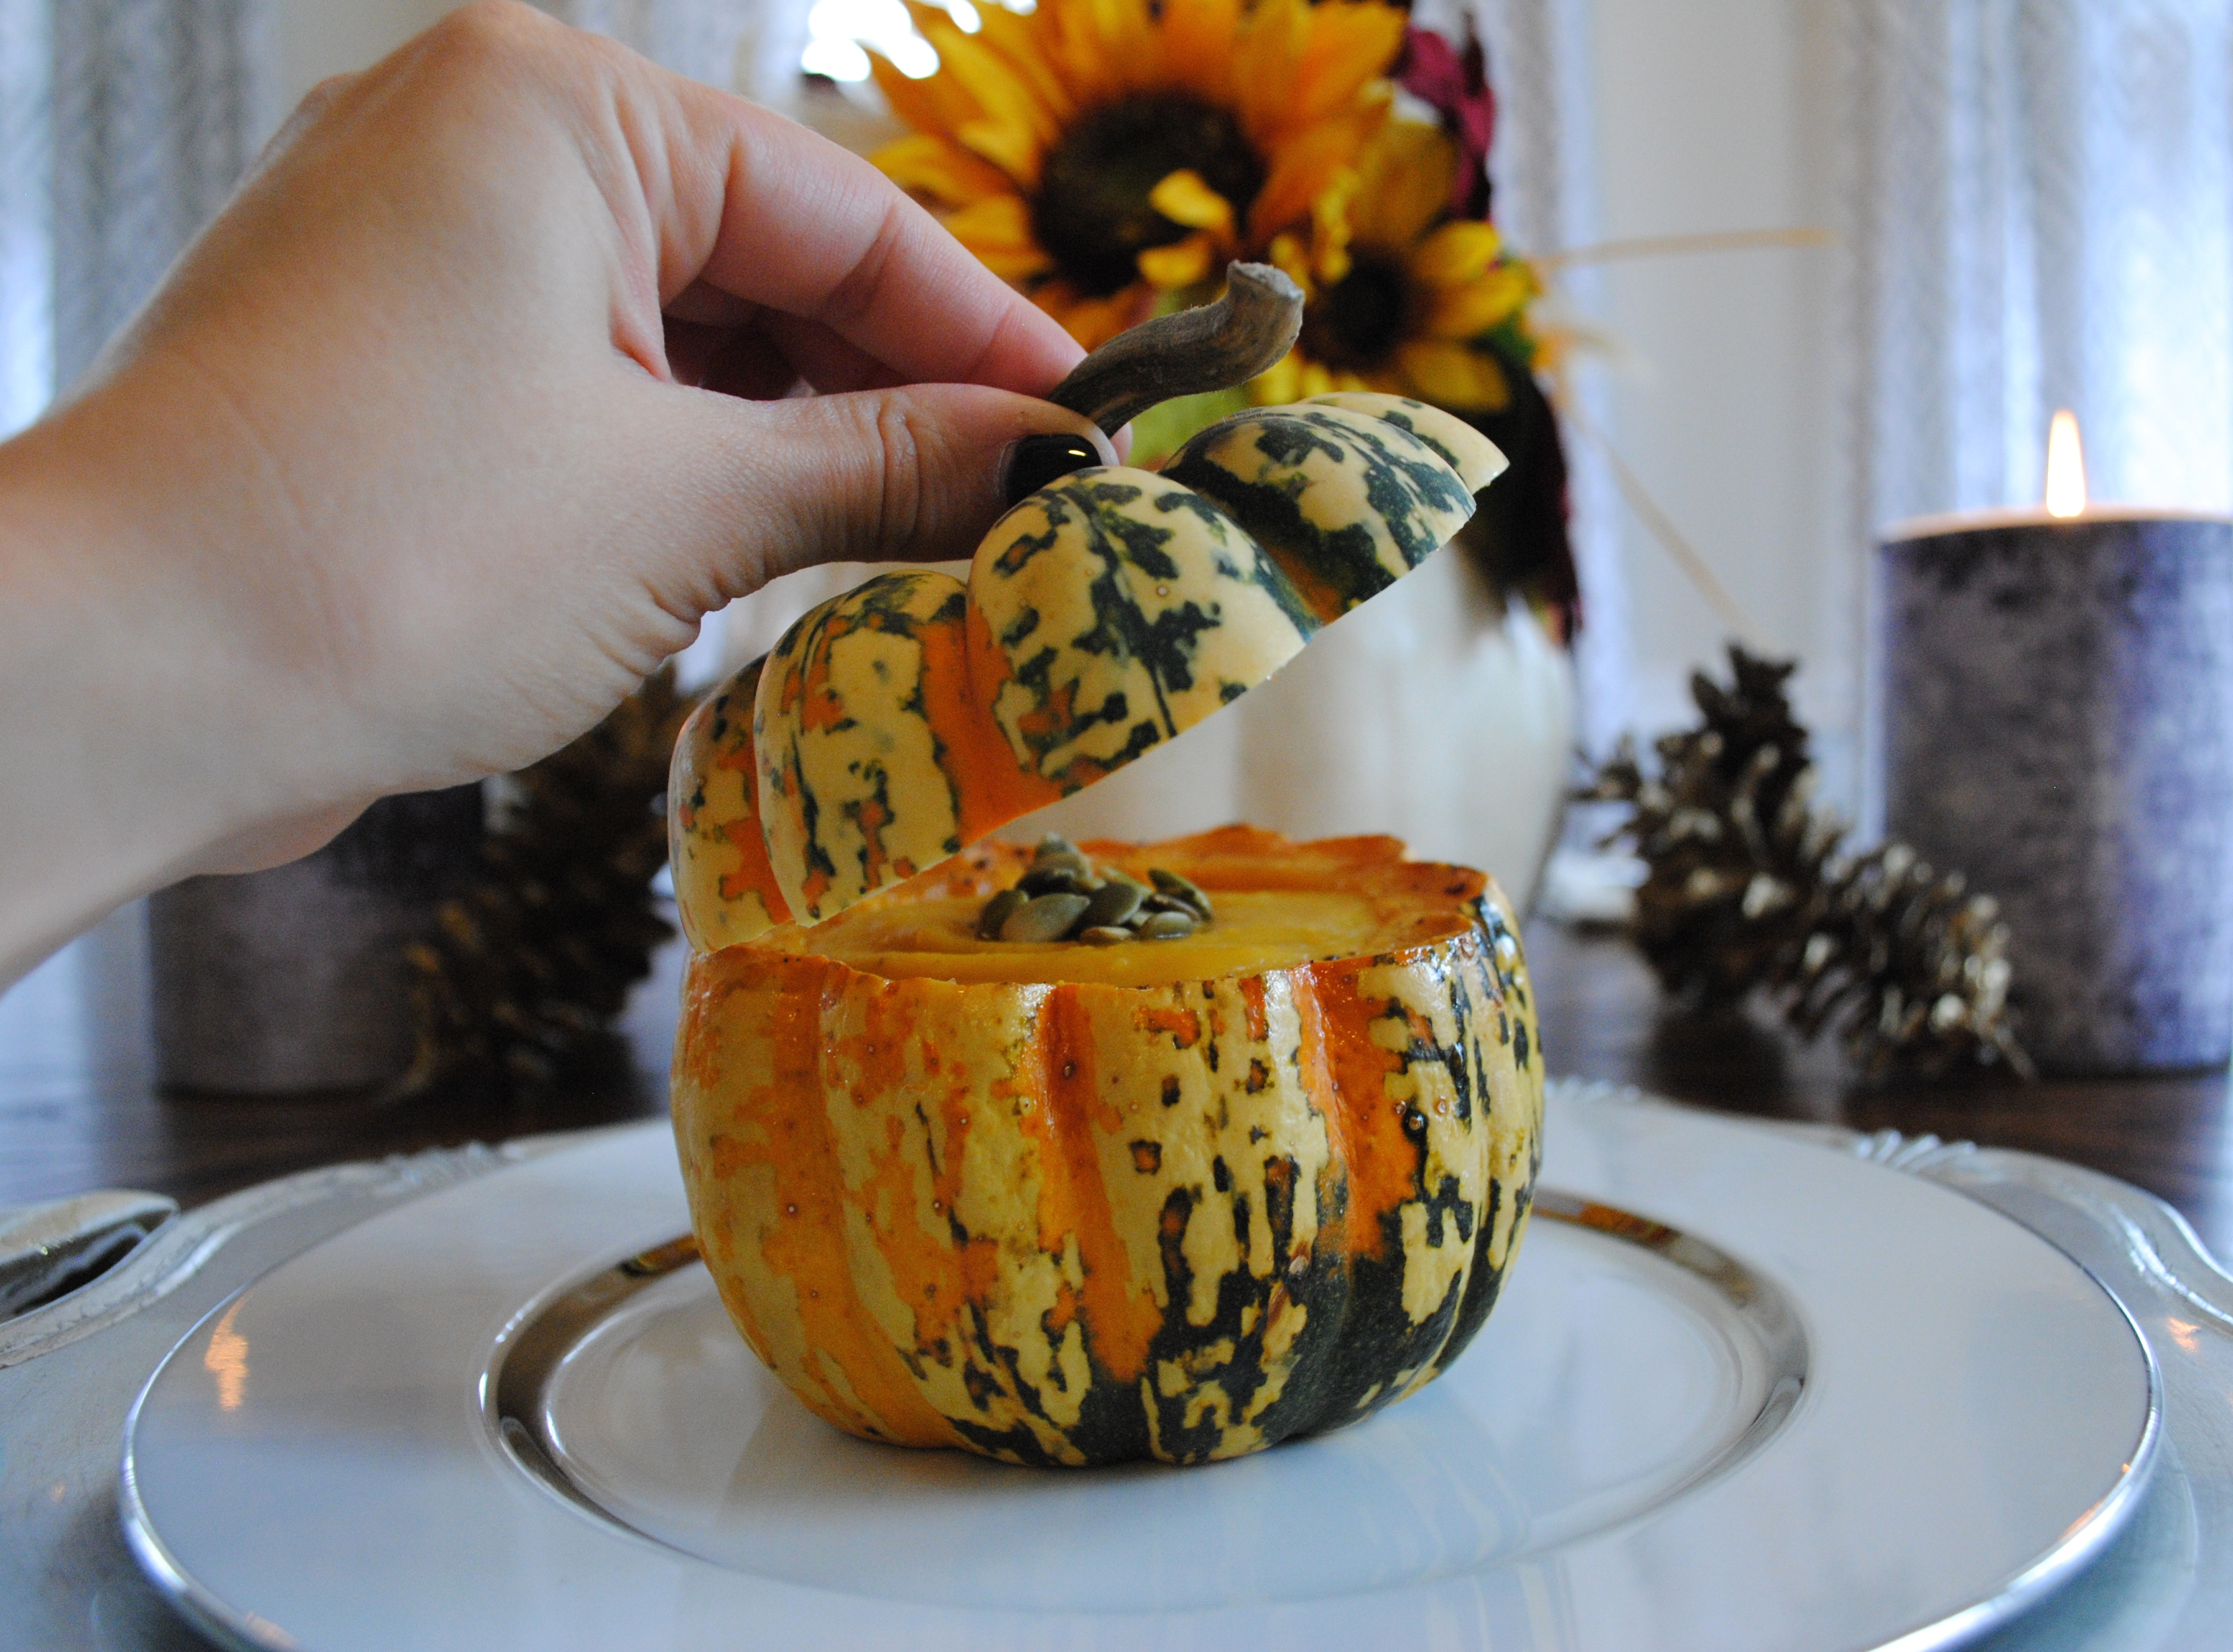
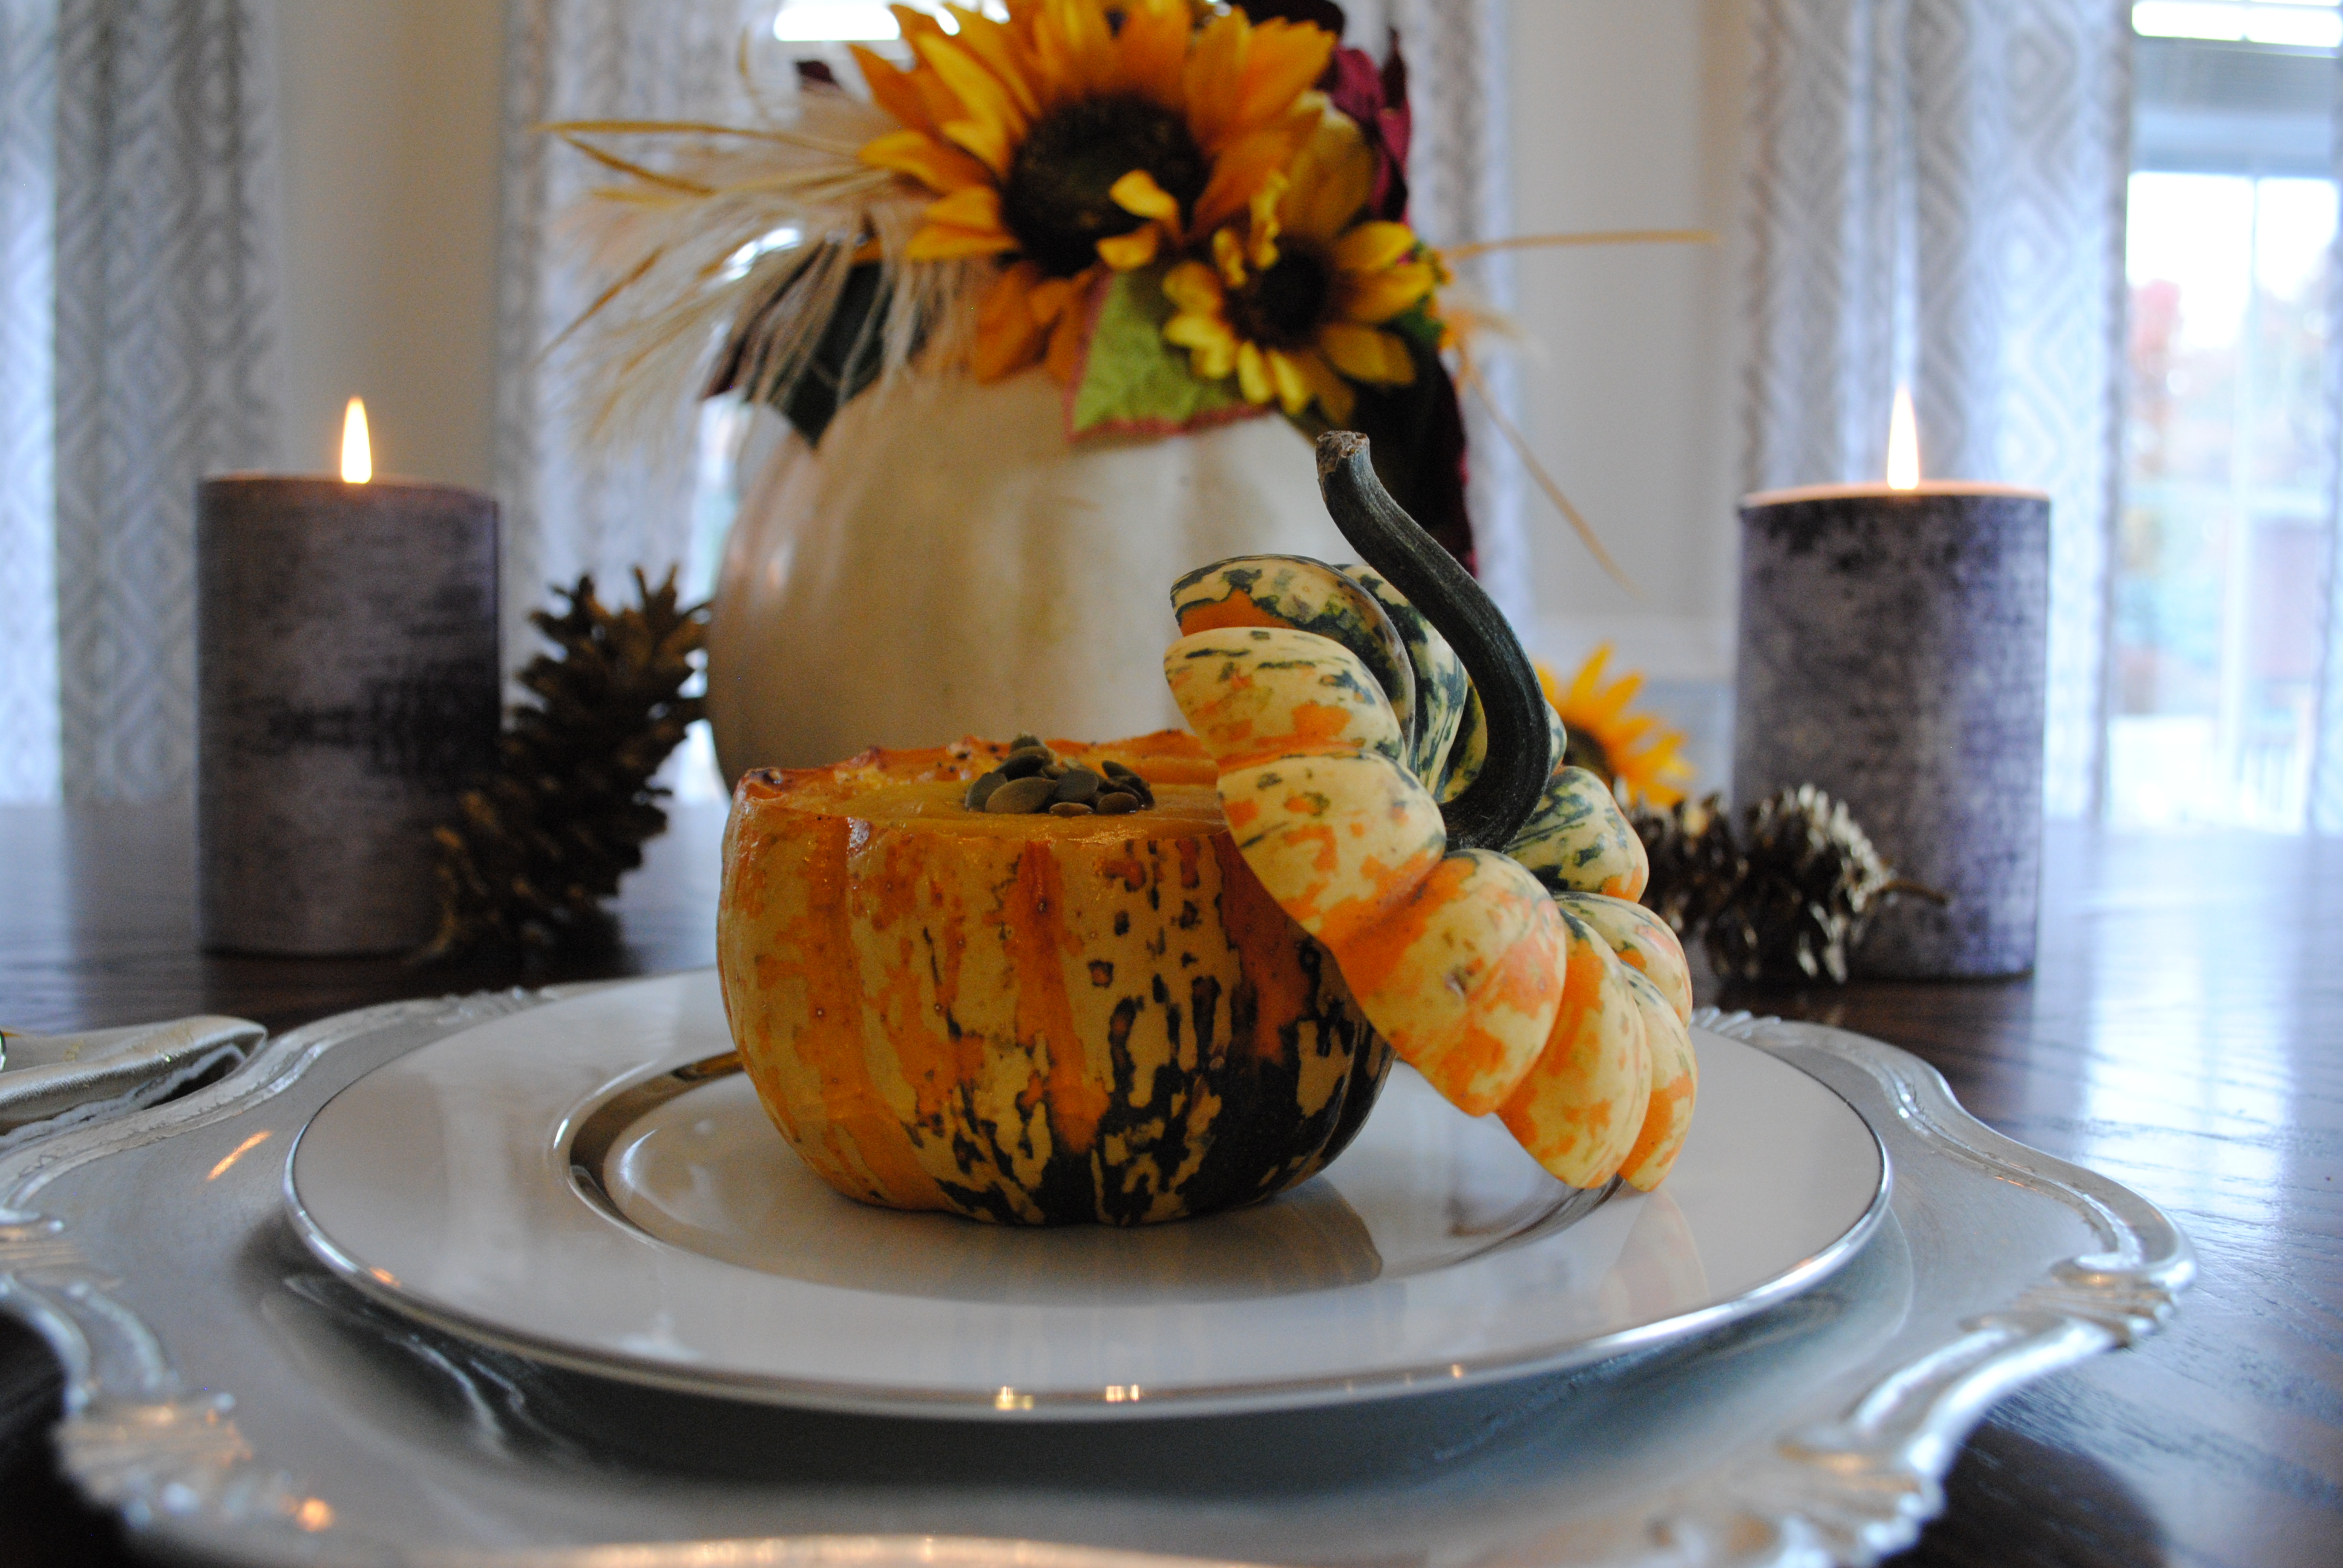
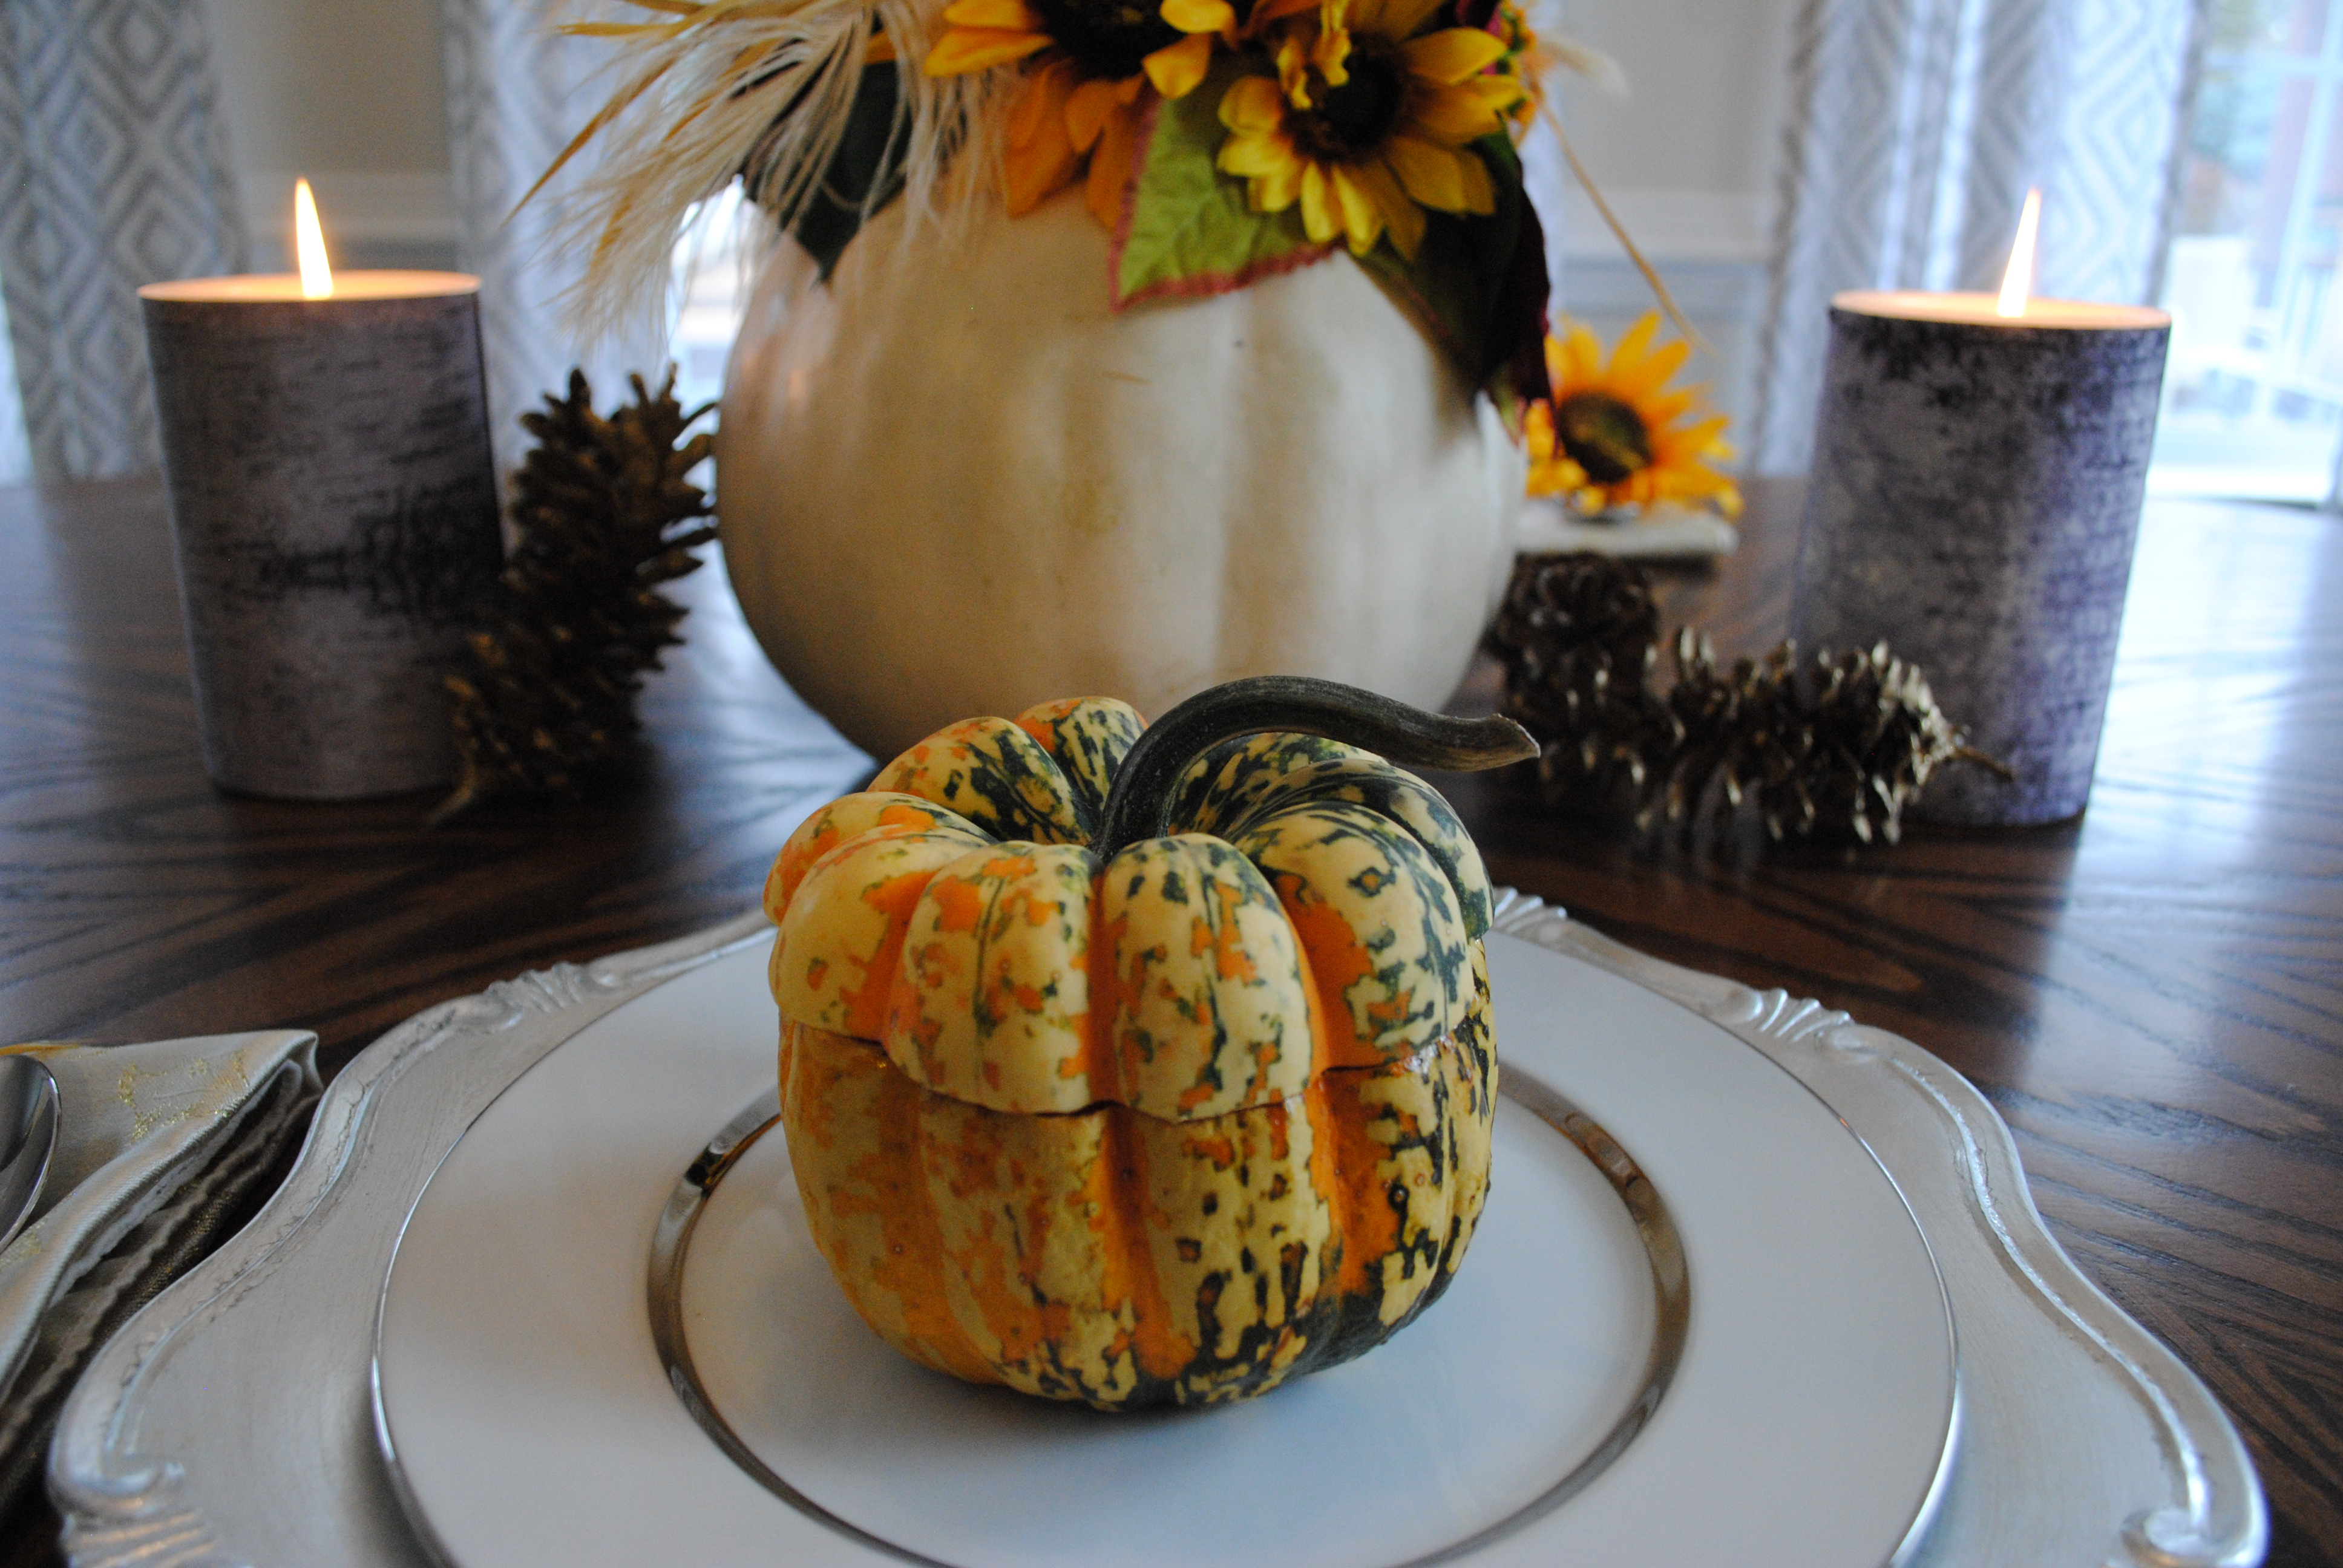
Roasted Squash Soup with Squash Bowls

For months I have been OBSESSED with the Whole Foods triple squash soup. It has a little texture of the fresh vegetables and is the perfect light lunch with amazing fall flavors. So on a mission to have this yummy soup year-round and control my ingredients, I created this recipe. Roasting the squash brings out the delicious flavor. Then you just simmer with a little coconut milk, broth, and spices, then it’s ready to be blended. Oh and can we talk about the stunning confetti squash bowls?!? How perfect are these as a first course for Thanksgiving?

Roasted Squash Soup

Ingredients:

  • 2 Delicata Squash (peeled, deseeded, chopped)
  • 2 Butternut Squash (peeled, deseeded, chopped)
  • 2 Acorn Squash (halved, deseeded)
  • 1 Onion (chopped)
  • Drizzle of Olive Oil (just enough to cover all the squash)
  • Salt & Pepper to taste
  • 1 Can of Unsweetened Full Fat Coconut Milk
  • 1 Carton of Vegetable Broth
  • 2 tbsp. of Minced Fresh Ginger
  • 1 tsp. of Cinnamon
  • 2 tsp. of Turmeric
  • 1 tsp. of Garlic Powder

Directions:

I used a triple squash combination of acorn, butternut and delicata.  For the butternut and delicata I peeled, deseeded, and diced into cubes. I put them on a baking sheets with one chopped onion, olive oil, salt and pepper. For the acorn, I just cut in half, deseeded, drizzled olive oil, salt and pepper. Both of these baking sheets I baked at 425F for 1 hour. Once cooked (should be able to pierce smoothly with fork) you can add to a simmering pot of broth, coconut milk, spices and fresh ginger for about 15-20 minutes. After simmering use an immersion blender or batch to a regular blender to create a smooth soup texture. Ladle into a bowl and enjoy! I topped mine off with a few pumpkin seeds too.

Note – this soup is diary free, gluten-free, vegan (sub honey), and can be made Whole30 or Paleo with the removal of honey and the maple syrup from the squash bowls. If making Whole30 or Paleo, be mindful of the broth and coconut milk ingredients. I’ve linked my favorite brands in the recipe. I also used all organic squash, which isn’t necessary but made it super clean all-around!

Squash Bowl

Ingredients:

  • Confetti Squash (if you can’t find these, acorn is pretty too)
  • Drizzle of Olive Oil
  • Drizzle of Maple Syrup
  • Salt & Pepper

Directions:

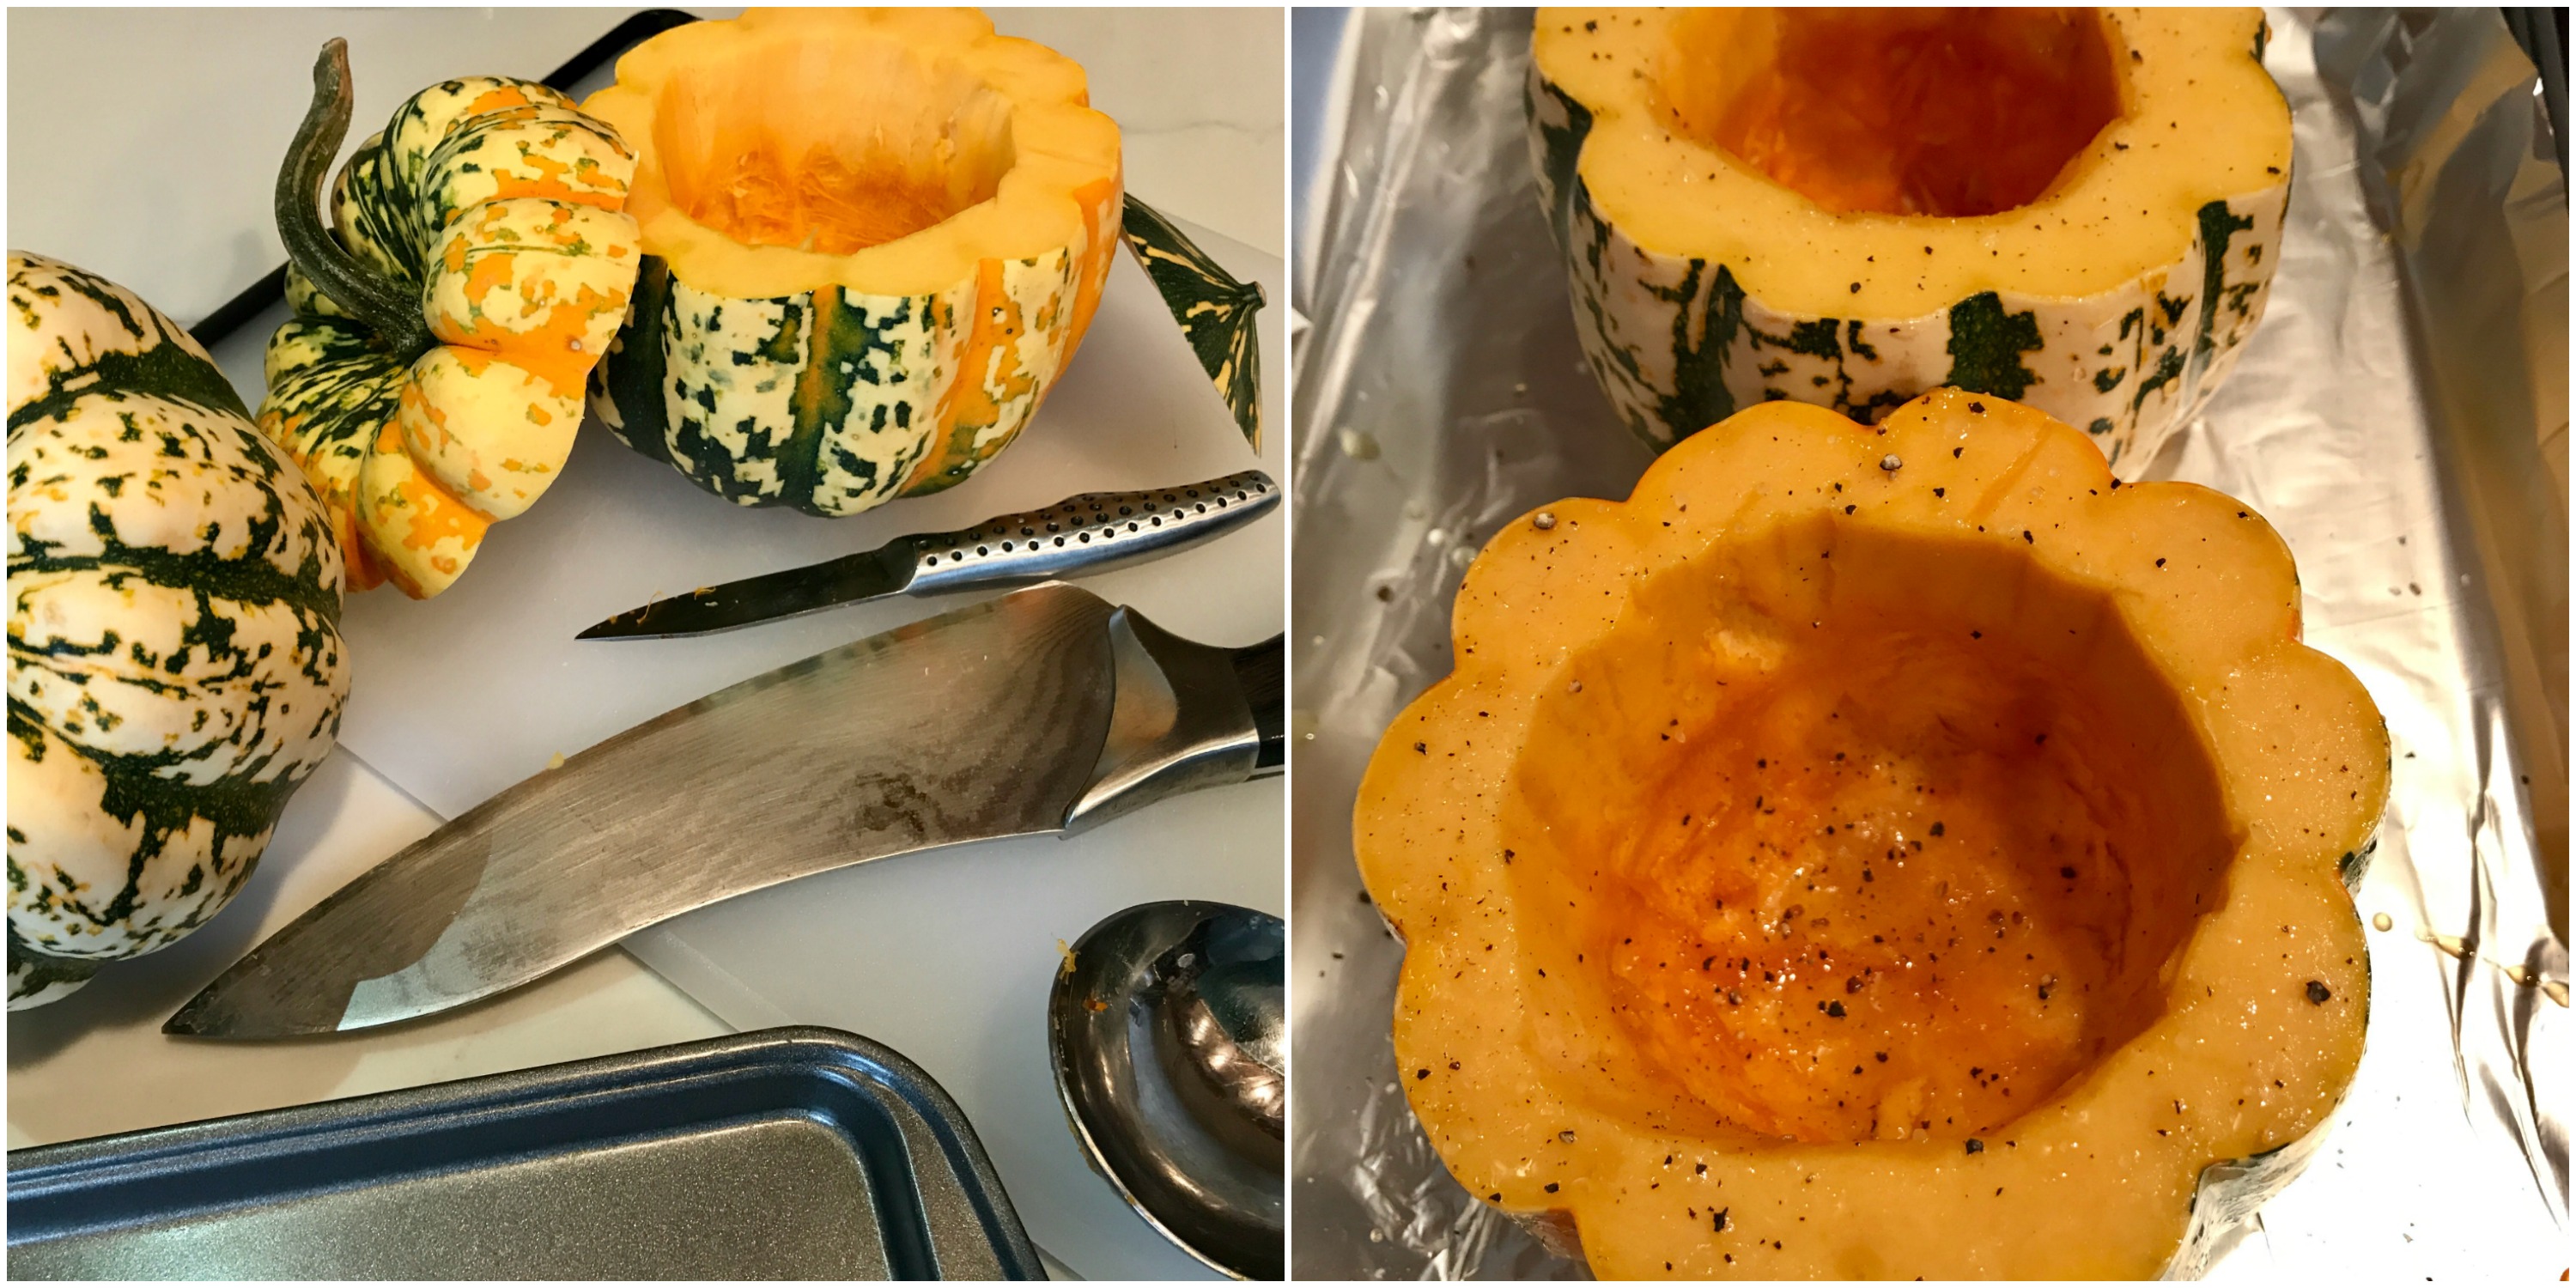
Carefully cut off top off (about 1/2 inch down from top) and slight off bottom to enable the squash to sit flat. Cut a circle and pierce through with spoon to scoop all inside out. Drizzle with olive oil, maple syrup, salt and pepper. Roast at 400 for 45 minutes. I did not roast the top to keep it sturdy, but if you would like to, you can.

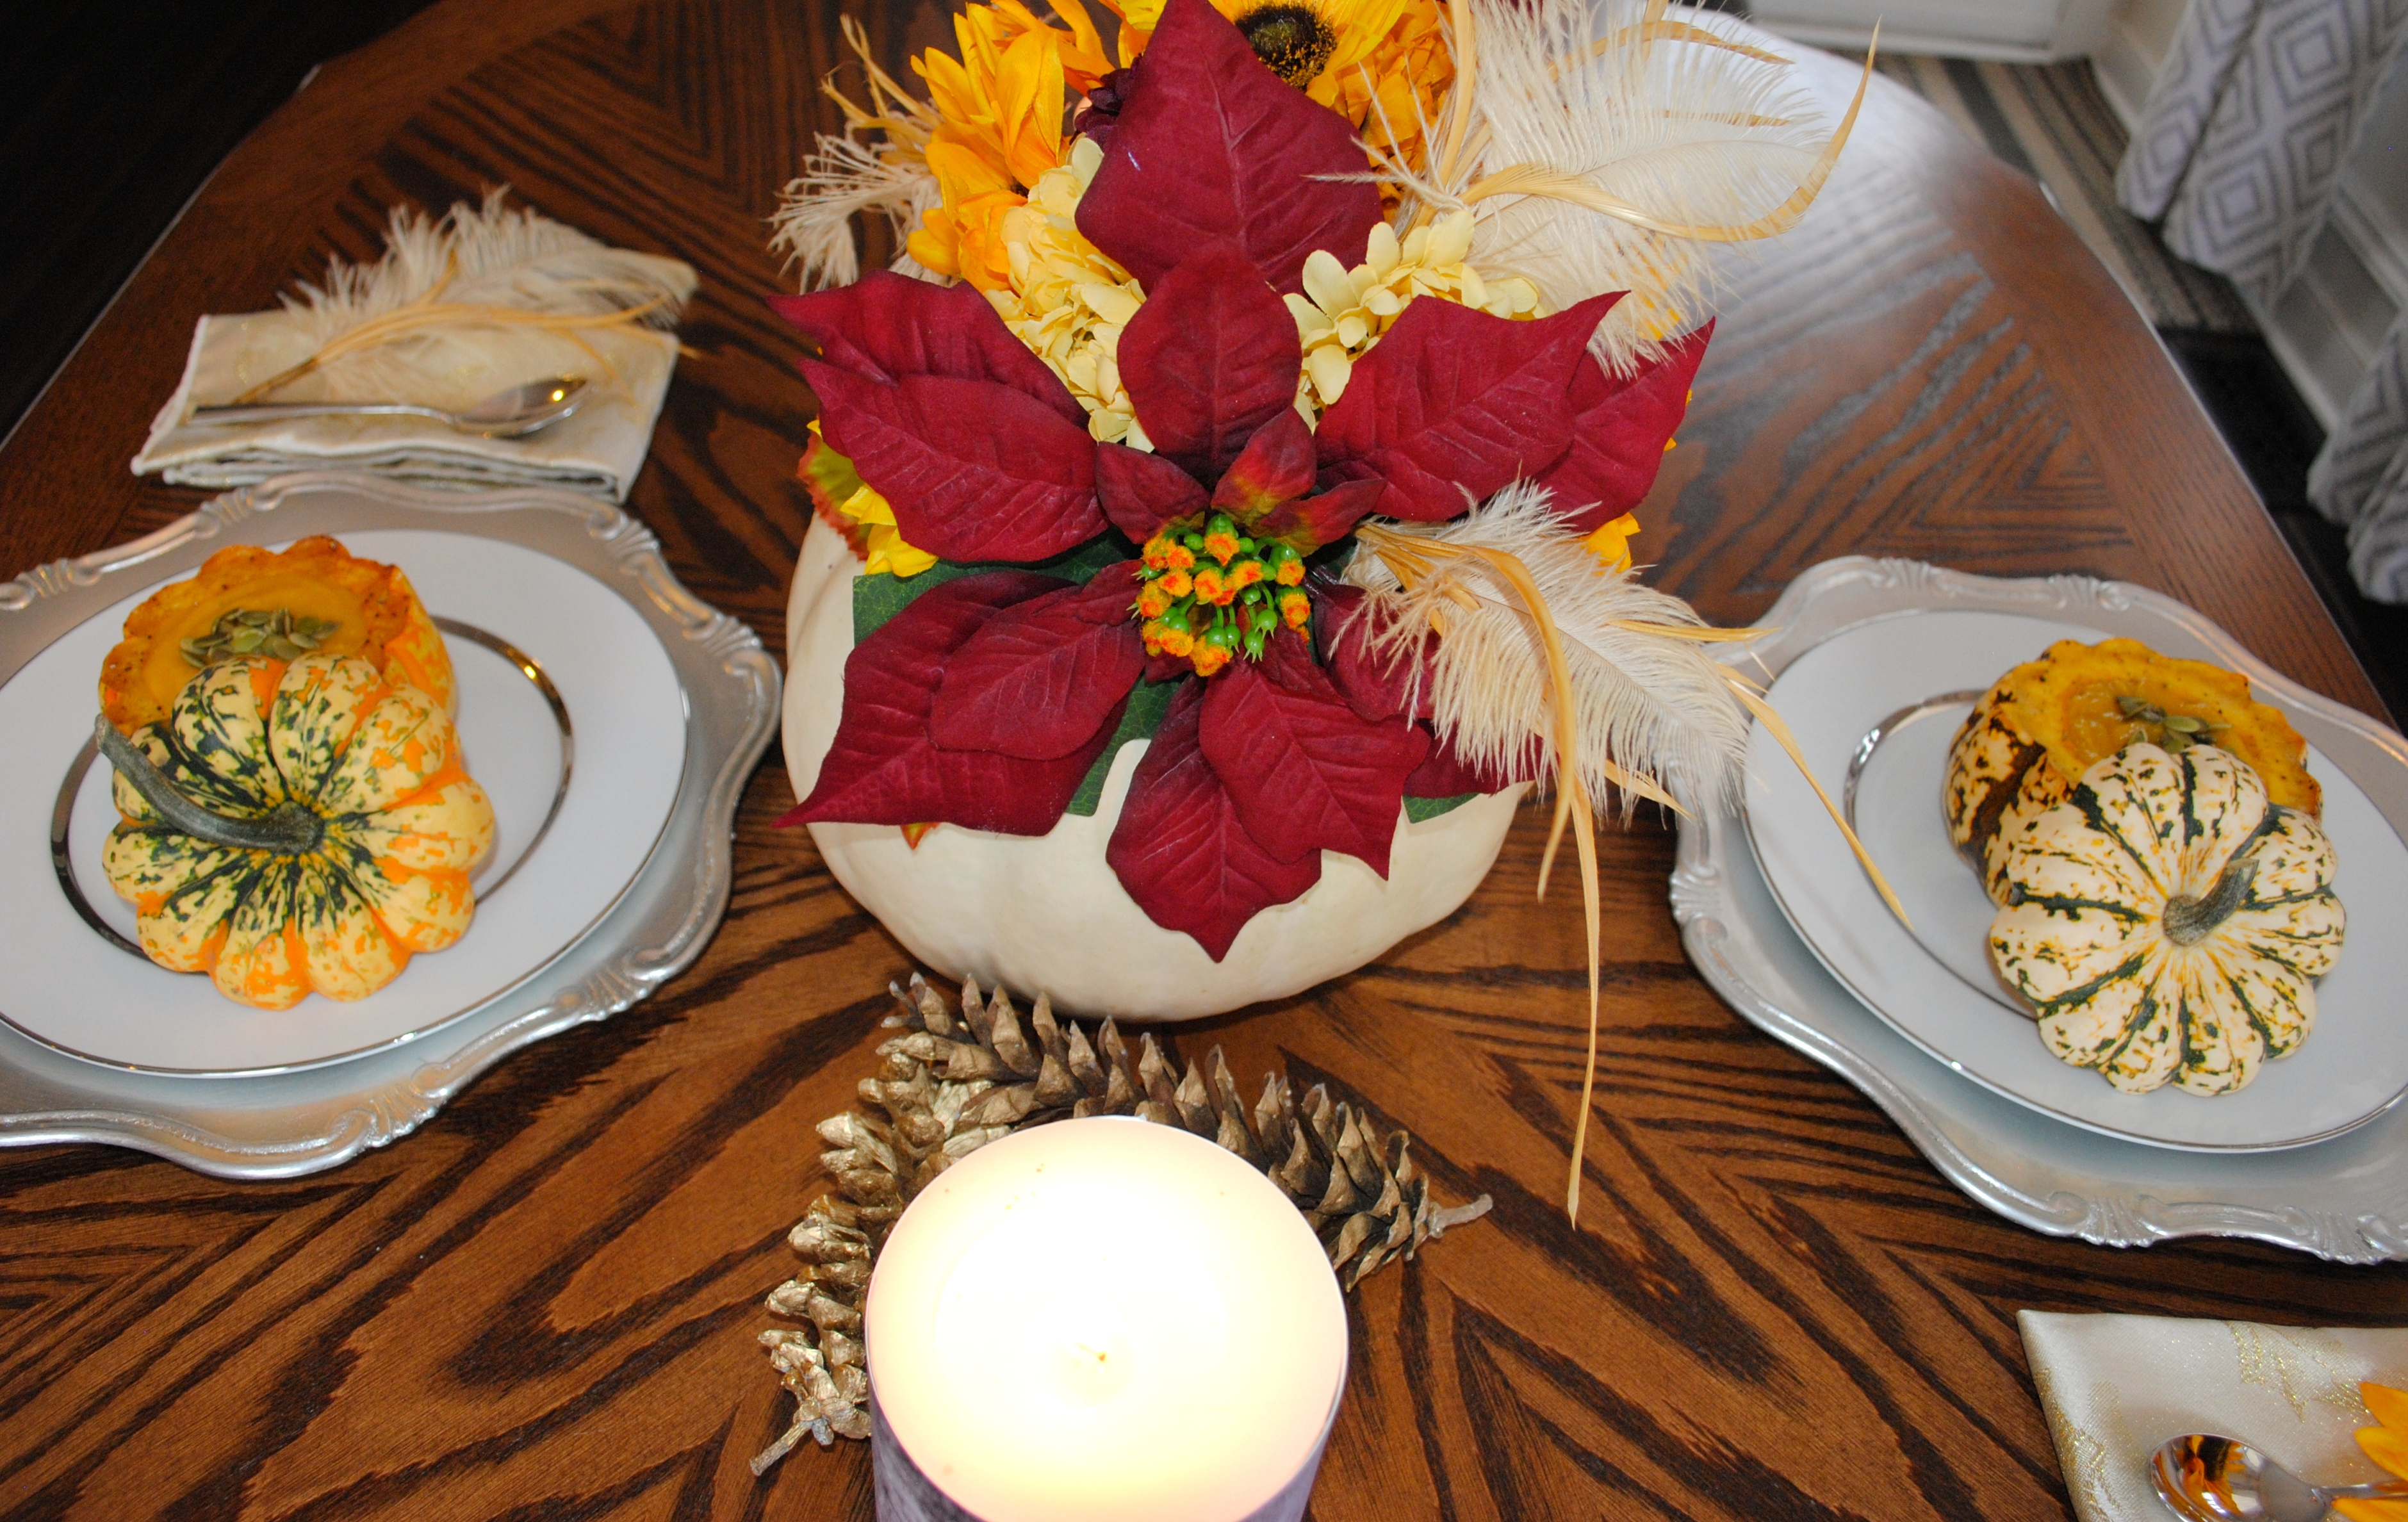
Adorning your Thanksgiving table with these cute little soup bowls will surely impress your guests. You could also treat your special someone to a fancy dinner at home and dress the table for them. Use things are the home to create a special tablescape. I used my grandmother’s china, thrift store napkins, pinecones I painted last year, and my stunning floral pumpkin centerpiece.