Friday, October 20, 2017

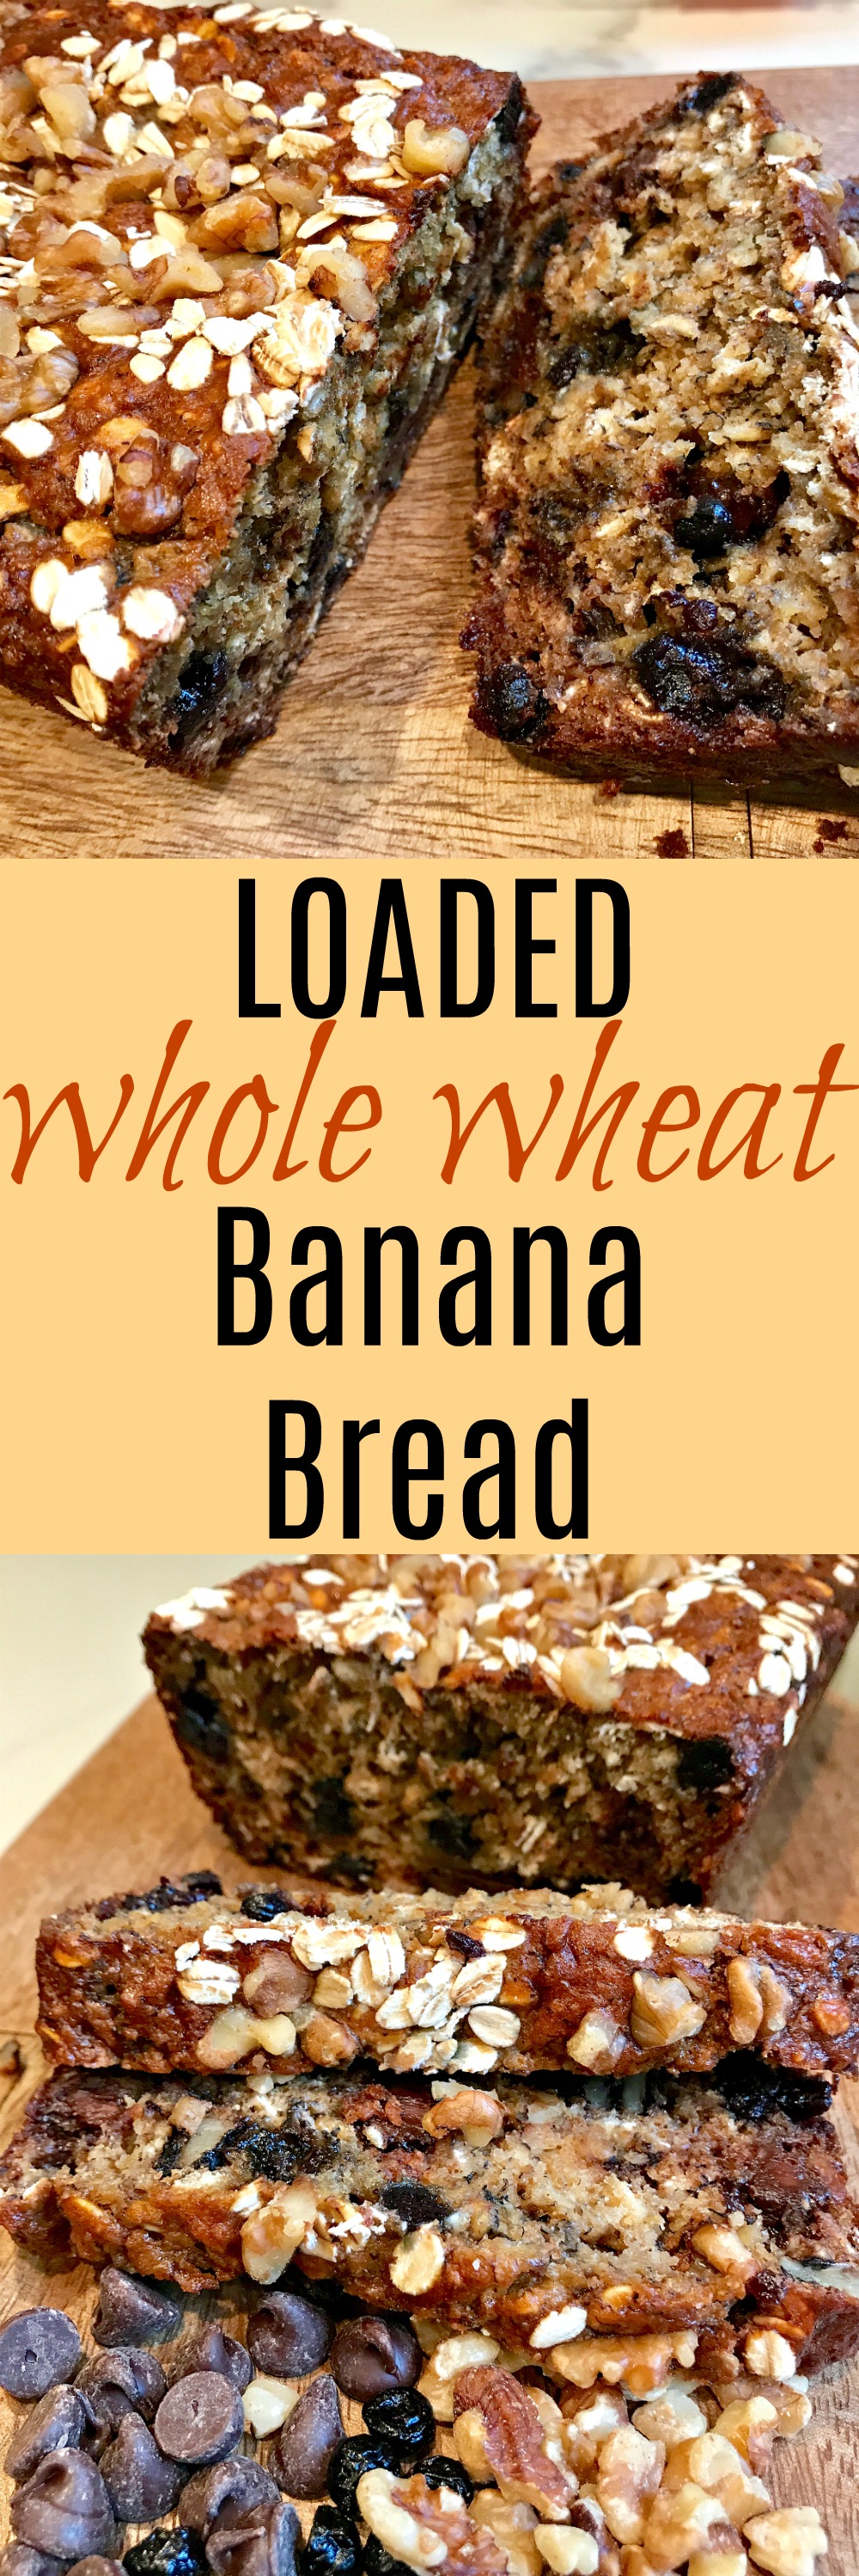
Loaded Whole Wheat Banana Bread

Ahhh I cannot believe we find out the baby’s gender today! The halfway mark in my pregnancy seems surreal. It has been flying by. I felt the baby (more than the tiny flutters) today and it just flooded me with memories and emotion thinking back on my first pregnancy. All the pregnancy pains (including no red wine during fall hehe) just drain away with those magical movements and you are quickly reminded how blessed you are to be carrying your little bundled of joy.

Alright, enough sappiness haha…who doesn’t love a fabulous banana bread? Sweets and bread have been my biggest pregnancy craving and has turned into my guilty pleasure for sure!
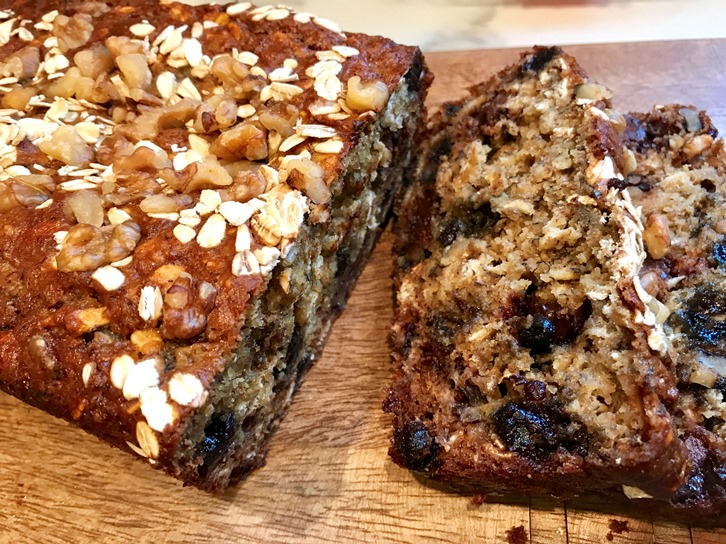
This recipe is to die for.  It completely fills my sweet tooth (which is ALL THE TIME) and a perfect healthy option that I feel good eating to start my day. Naturally sweetened with banana and honey and made with whole wheat flour, oatmeal, wheat germ, greek yogurt, dried blueberries, chocolate chips and walnuts, this is one of the most LOADED banana bread recipes you will find! Super indulgent but with all the good stuff for you!
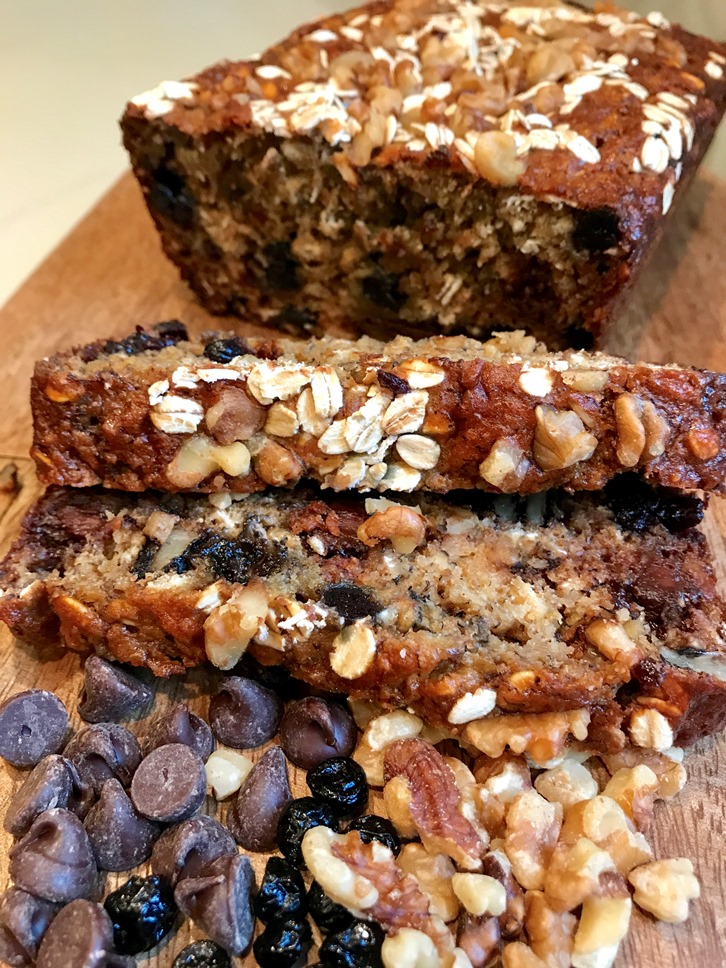
Ingredients

  • Cooking spray
  • 1 heaping cup mashed banana (about 3 very ripe bananas)
  • 1/3 cup honey
  • 1/3 heaping cup blueberry greek yogurt (or unsweetened applesauce if you prefer)
  • 1 teaspoon vanilla
  • 1 egg
  • 3/4 cup milk (you can use skim, whole, almond, coconut milk, etc.)
  • 1 cup white whole wheat flour
  • 1/2 cup of wheat germ
  • 1 cup rolled oats
  • 1 1/2 teaspoons baking powder
  • 3/4 teaspoon baking soda
  • 1/4 teaspoon salt
  • 1 teaspoon ground cinnamon
  • 1/2 cup semi-sweet chocolate chips
  • 1/3 cup dried blueberries
  • 1/2 cup chopped walnuts

Instructions

 *Disclaimer – you can separate your wet and dry in two bowls before combining, but for me I just do everything all in one bowl and can’t tell the difference. Hartley adores making this recipe with me, so it’s totally toddler proof too 🙂
  1. Preheat oven to 350 degrees F. Spray 9-inch loaf pan with nonstick cooking spray.
  2. In large bowl combine mashed banana, yogurt, honey, egg, milk and vanilla until well combined and creamy.
  3. Add whole wheat flour, wheat germ, oats, baking powder, baking soda, salt and cinnamon. Mix until just combined (don’t overmix!).
  4. Add chocolate chips, dried blueberries, and walnuts.
  5. Pour into prepared loaf pan, sprinkle oats and extra walnuts over top (if desired), and bake for 50-60-minutes or until toothpick inserted into center comes out clean.
  6. Remove from oven and cool. Cut into 12 slices and enjoy! Keep bread tightly wrapped to maintain moisture.
 
Monday, September 11, 2017

How to Tier & Decorate a Store-Bought Cake


When I get a vision of how I want something to look, it’s pretty hard to change my mind (as my mother and husband know very well). It is probably both a pro and con of my personality. I get determined on my plan and follow it through. Well, our triple birthday cake was one of those visions. I wanted something tiered, simply decorated, easy, budget-friendly, and a way to announce our pregnancy.

After a bunch of market research to specialty cake stores and grocery stores, I learned that designer cakes would cost about $200 and a lot of traditional grocery cakes did not have the ability to create multiple different sizes of round cakes. Then one of my many lunch trips to Whole Foods, I just figured I would ask…and behold…they did do 9”, 6”, and 4” round cakes that the bakery manager said I could tier myself at home for around $60 compared to the tiered wedding cake they could make for about $200. YES!! I was ecstatic. Having the ability to order each of the 3 layers with different special flavors for each of us (Willie got vanilla triple berry, I got chocolate chocolate ganache, and Hartley got vanilla boston crème) then they used the same buttercream outside for cohesiveness worked out perfectly. Ohh and in the long-run probably only cost me about $30 more by the time I bought pans, ingredients, and cake piping materials…oh and about 100% less stress.

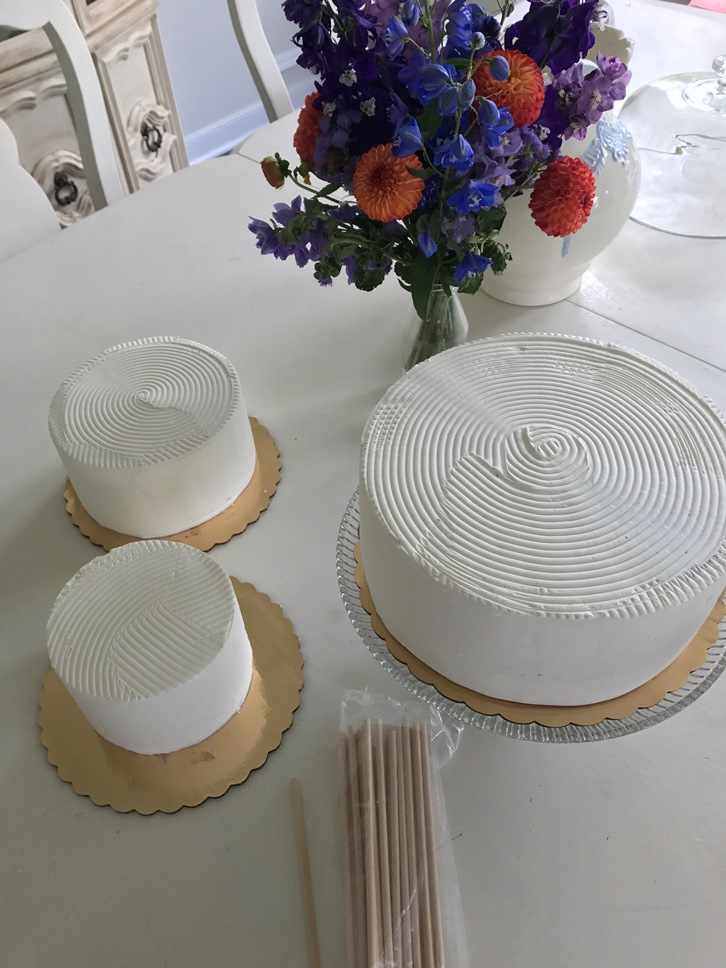
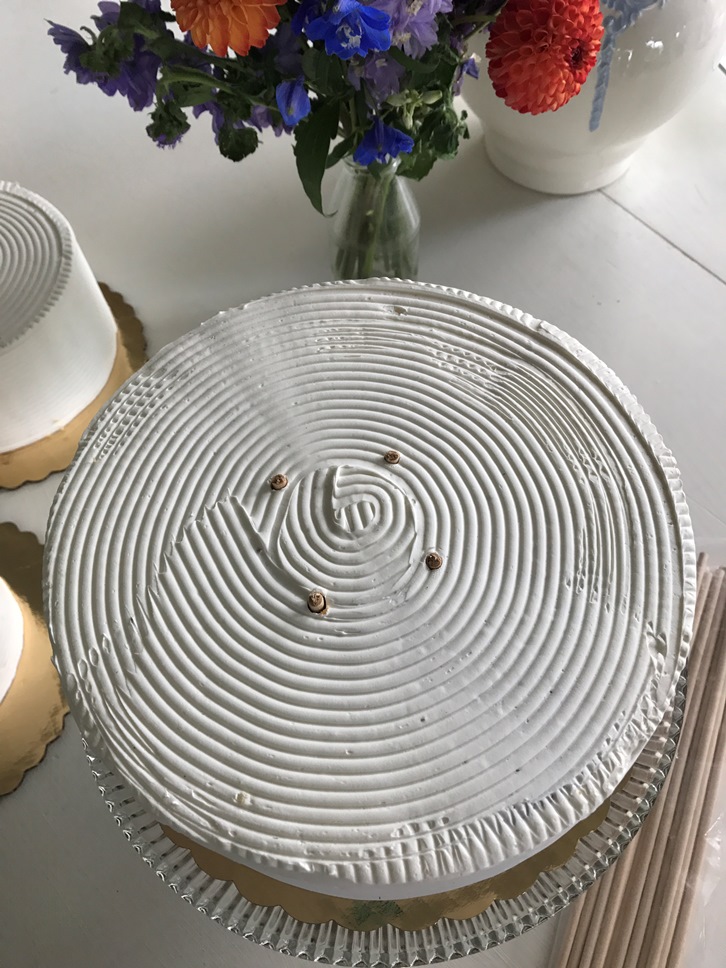
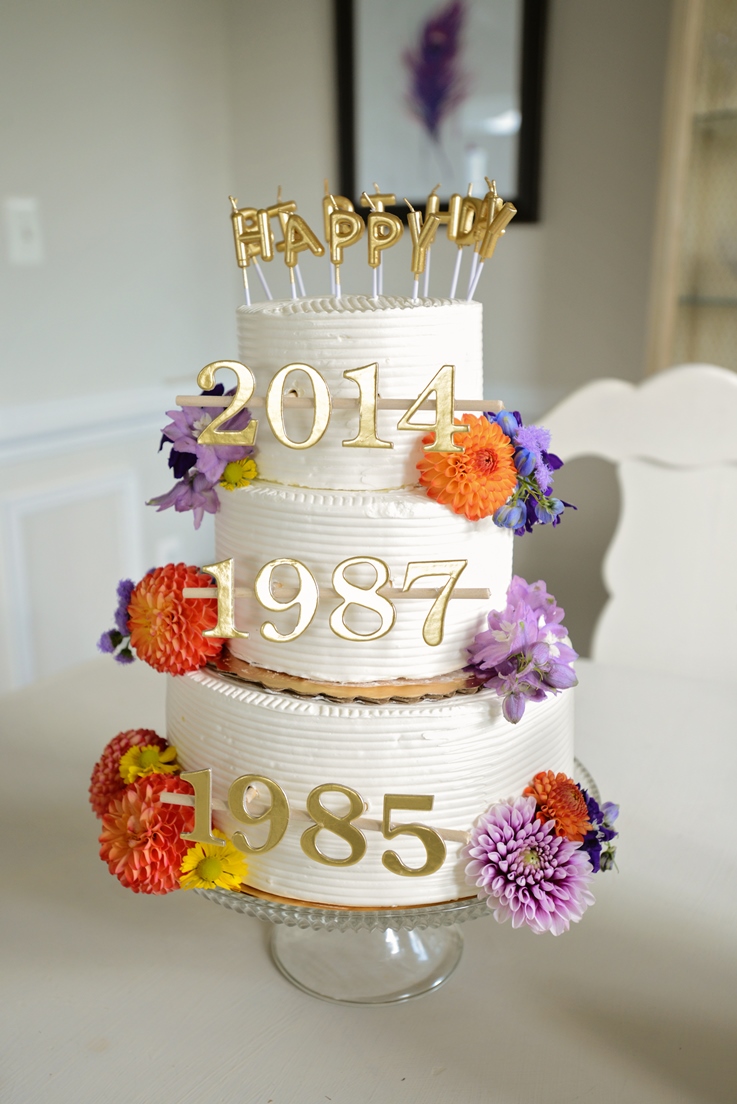
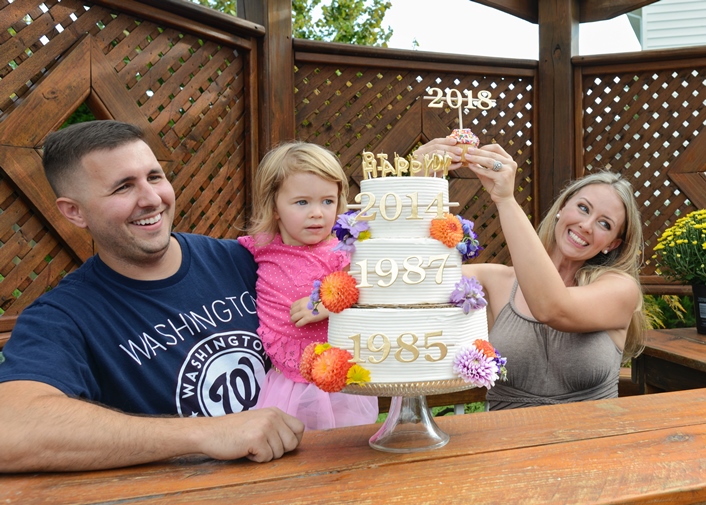
So when I got them home the morning I kept them in the fridge until about 2 hours before the party started. Then all I did was start with the 9” on my thrift store cake stand. Then, I placed a wooden dowel from the top all the way until it hit the stand to measure where I needed to cut. You want the wooden dowel to be right level or a tad below the top of your cake (notice the below pic…this is too high, I needed to cut off more to be flush with top). I placed 4 wooden rods in my 9” base cake. I also decided to leave the base cake board on the 6” to layer just for ease or transfer and it matched the gold theme we had going. But this is not necessary if you want to tier cake to cake. I did the same measuring for the 6” dowels and placed 3 to hold the 4” topper. Then, I carefully used a spatula and fingers to transfer the 4” from its cardboard base to the top of the 6” cake.

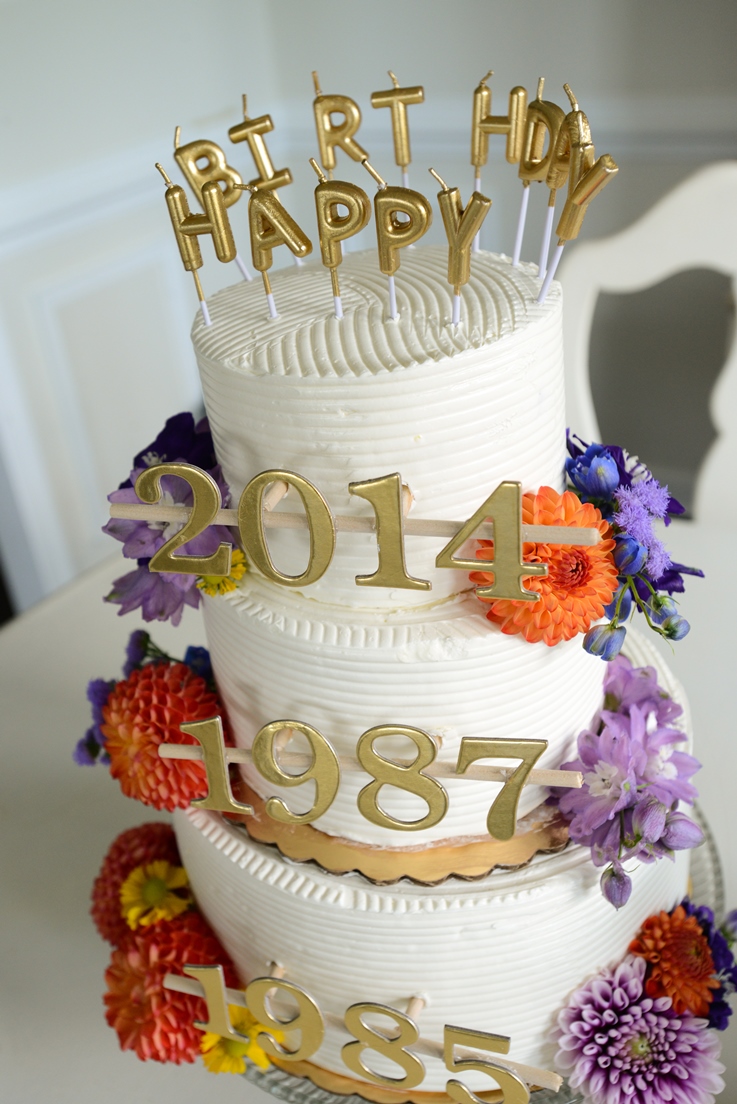
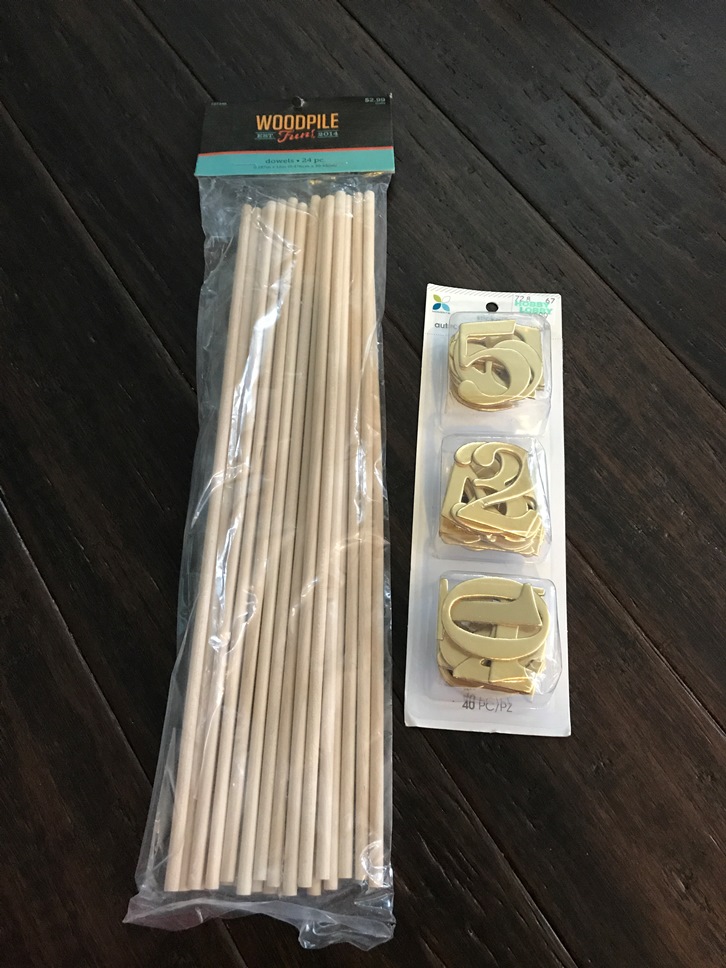
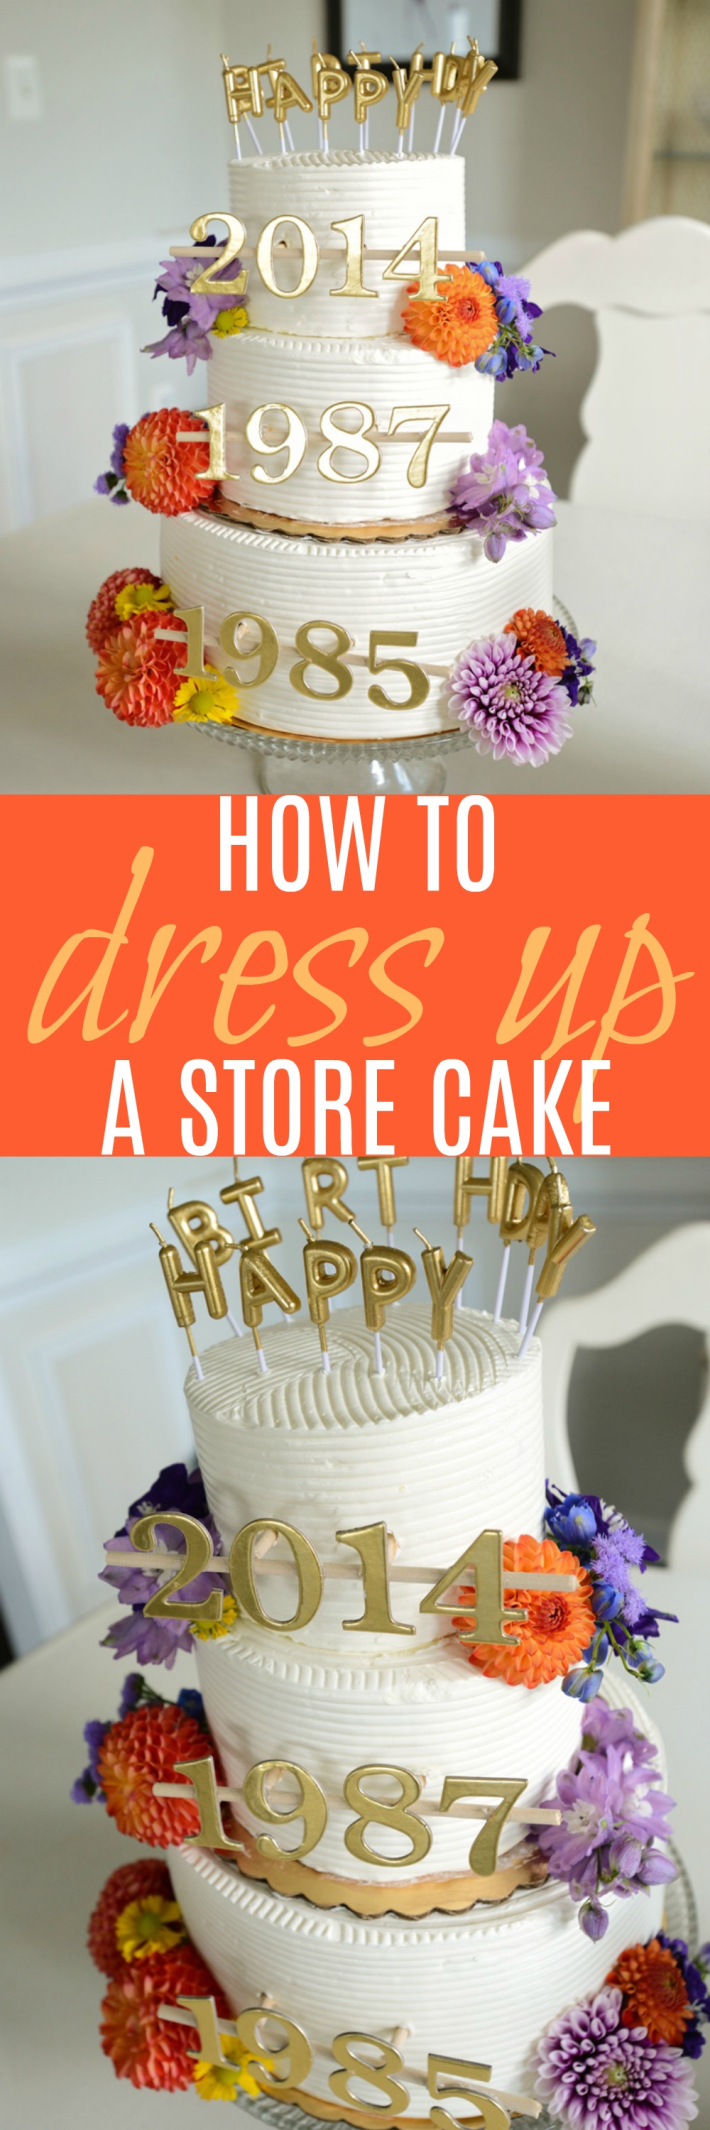
Finally once it was all tiered, I decorated using my stunning farmers market flowers I got for the party. Having a good assortment of greenery and flowers allows for the most creativity. There really is no specific technique to placement, just snip about an inch from the bloom so you have some of stem to stick into the side or bottom of the cake. Then layer different colors and sizes to your preference. I finished with the year “toppers” for each cake that I made with numbers, wooden dowels, and hot glue. Then lastly, the Happy Birthday gold candles.

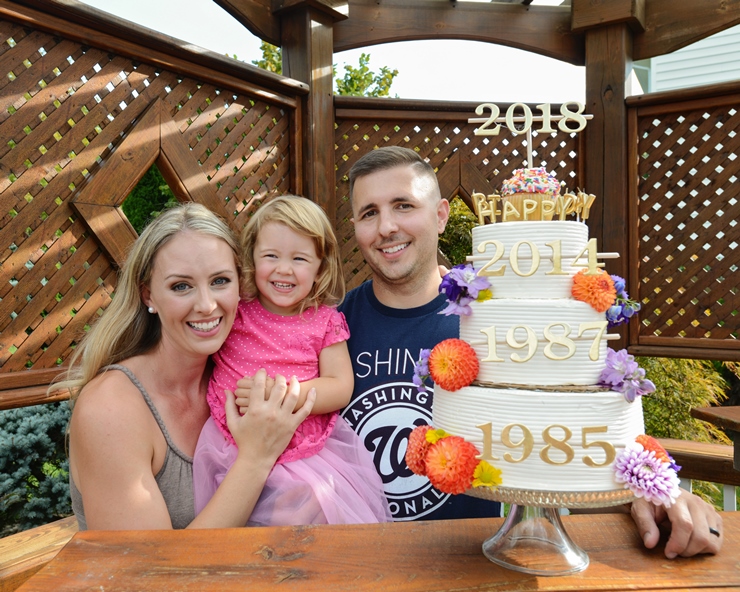
I had stashed the 2018 year in my china cabinet which Willie smuggled out along with the sprinkle cupcake. So when we got behind the bar, I just placed the 2018 on top so I could grab and SURPRISE! It was perfect. And just luckily the cupcake fit flawlessly on the top in-between the candles.

So for $60 for the cake (9” was $30, 6” was $20, and the 4” was $10) plus $6 in flowers, $3 candles, and $5 in numbers and dowels that I multi-purposed to use for my cake rods…I think it was a stunning DIY version of a decorated cake! Don’t underestimate the power of store-bought cakes. You can tier and decorate yourself for a custom vision of your own! DIY Playbook has a great naked cake version if you want to check that out too!

Photos: Myself and Kimberly Lyddane Photography

Thursday, September 7, 2017

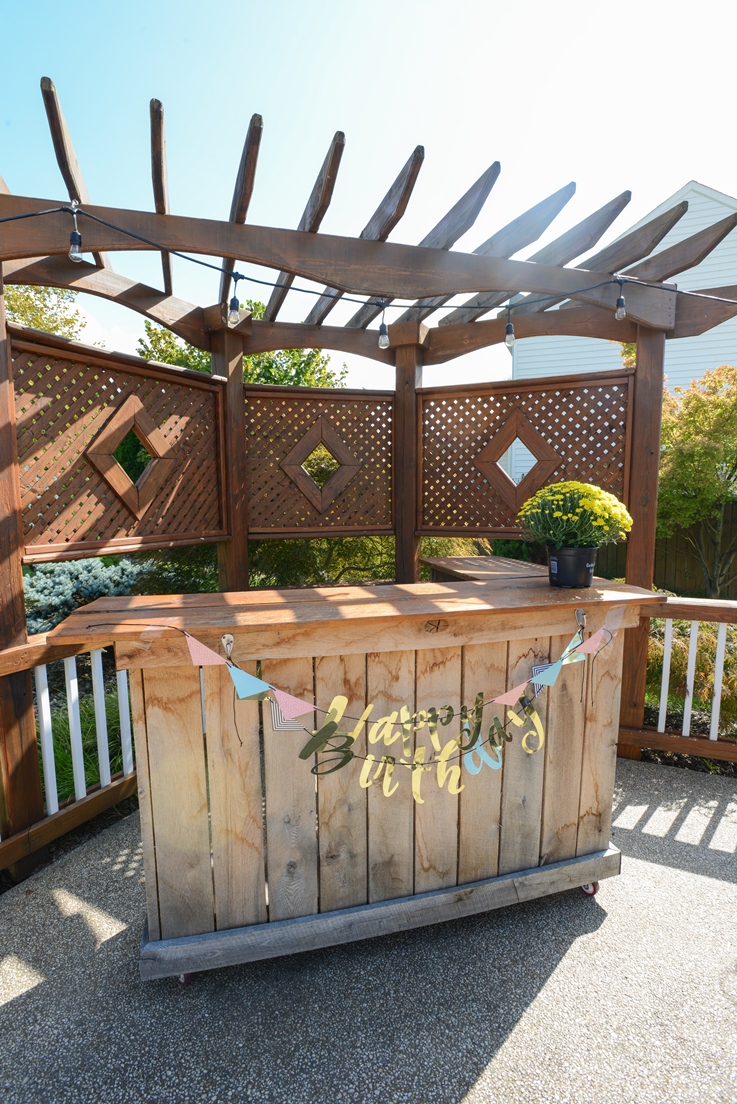
Our Tribe’s Birthday Party

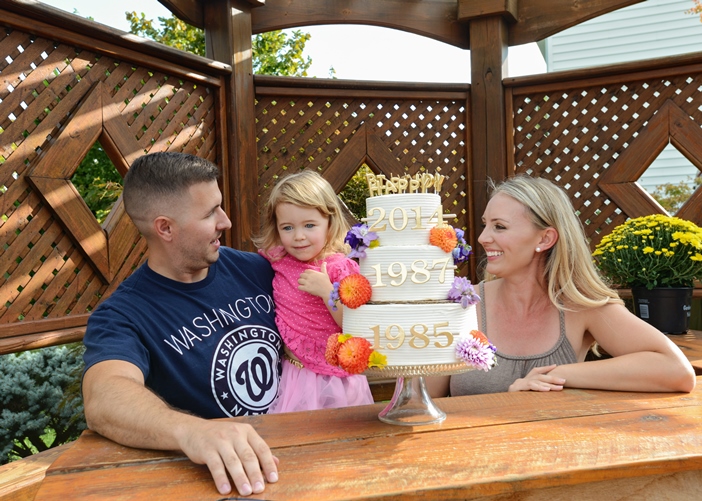
Months of planning finally paid off and we had an amazing time celebrating our tribe’s birthdays all together! Willie turns 32, I turned 30 (ekkk), and Hartley turned 3 all within a few weeks of one another, so I thought, why not have a combination birthday bash?!? Oh and finding out I was pregnant (YES) on July 4th weekend pushed me even further to have the most amazing surprise for our family and friends in September.

So SURPRISE!! We are having our 2nd child. The first trimester was stressful. I am so lucky in some ways to have skipped this nervous, anxious, worrisome first 3 months with Hartley. But we made it and everything looks healthy so far, so onto our second trimester already…whew.

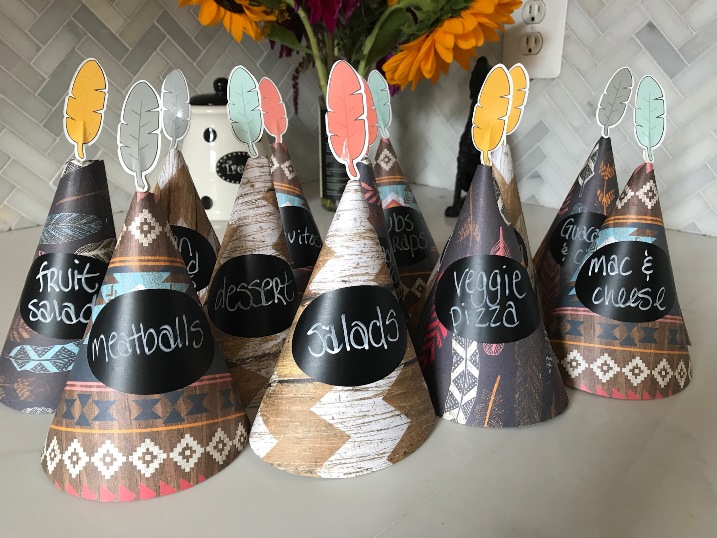
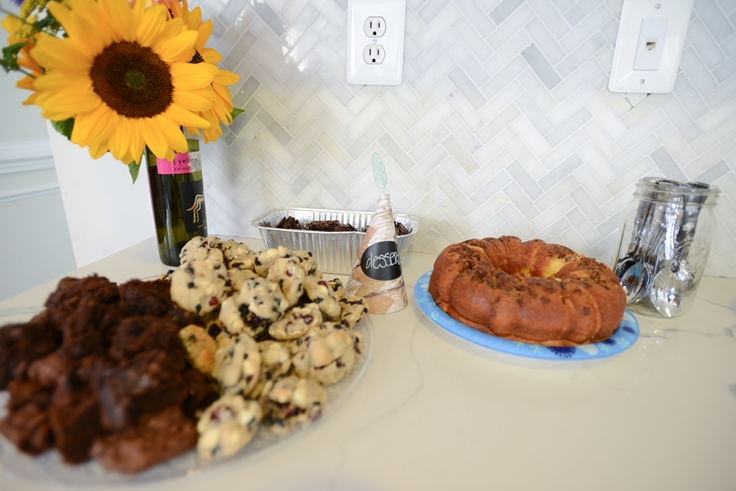
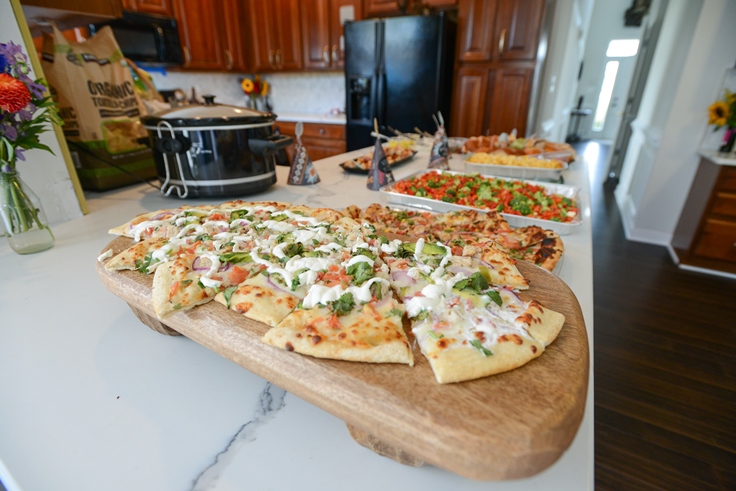
We are very blessed to have such an amazing support system. Our family and friends always go over and beyond to help and support us, so having this party to enjoy with them was fabulous. I made heavy appetizers and with help we rounded out a great menu that kept everyone full and happy. Ohhh and did I mention these adorable DIY teepee food labels I made using scrapbook paper, chalk labels, and little feather toothpicks from Hobby Lobby? I mean…how perfect are they?

For the cake I bought 3 different round cake sizes and flavors from Whole Foods and tiered and decorated myself. It turned out perfect! I will have to do a detailed post on this, because for a little over $60 this cake turned out perfect and was super yummy!!

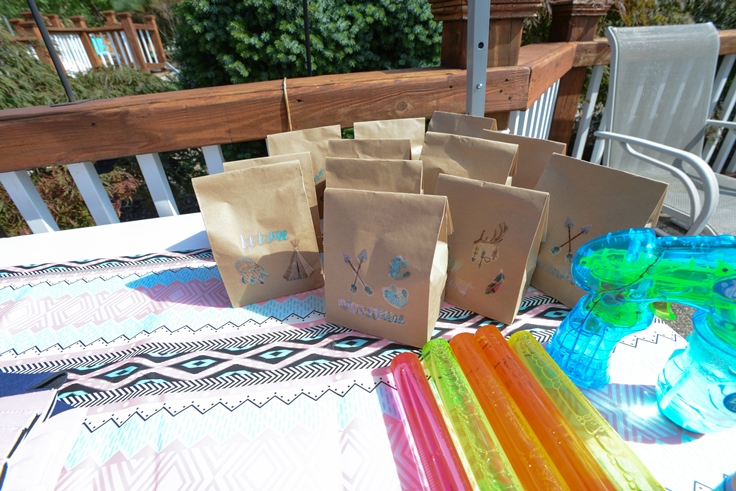
Some other details I created were using leftover mini dreamcatchers from Hartley’s room, making fun kid goodie bags, farmers market flowers, fun tribal designed plates, napkins, toothpicks from Hobby Lobby.

Thank you everyone again for showering us with love and support!

Photos: Kimberly Lyddane Photography

My Makeup: Beauty By Brigid

Monday, August 14, 2017

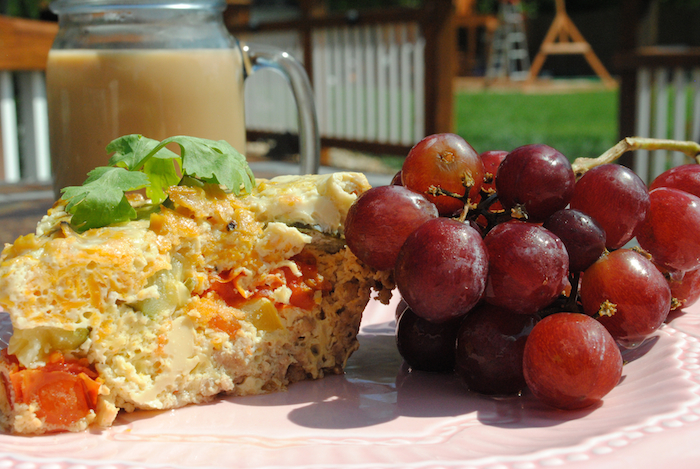
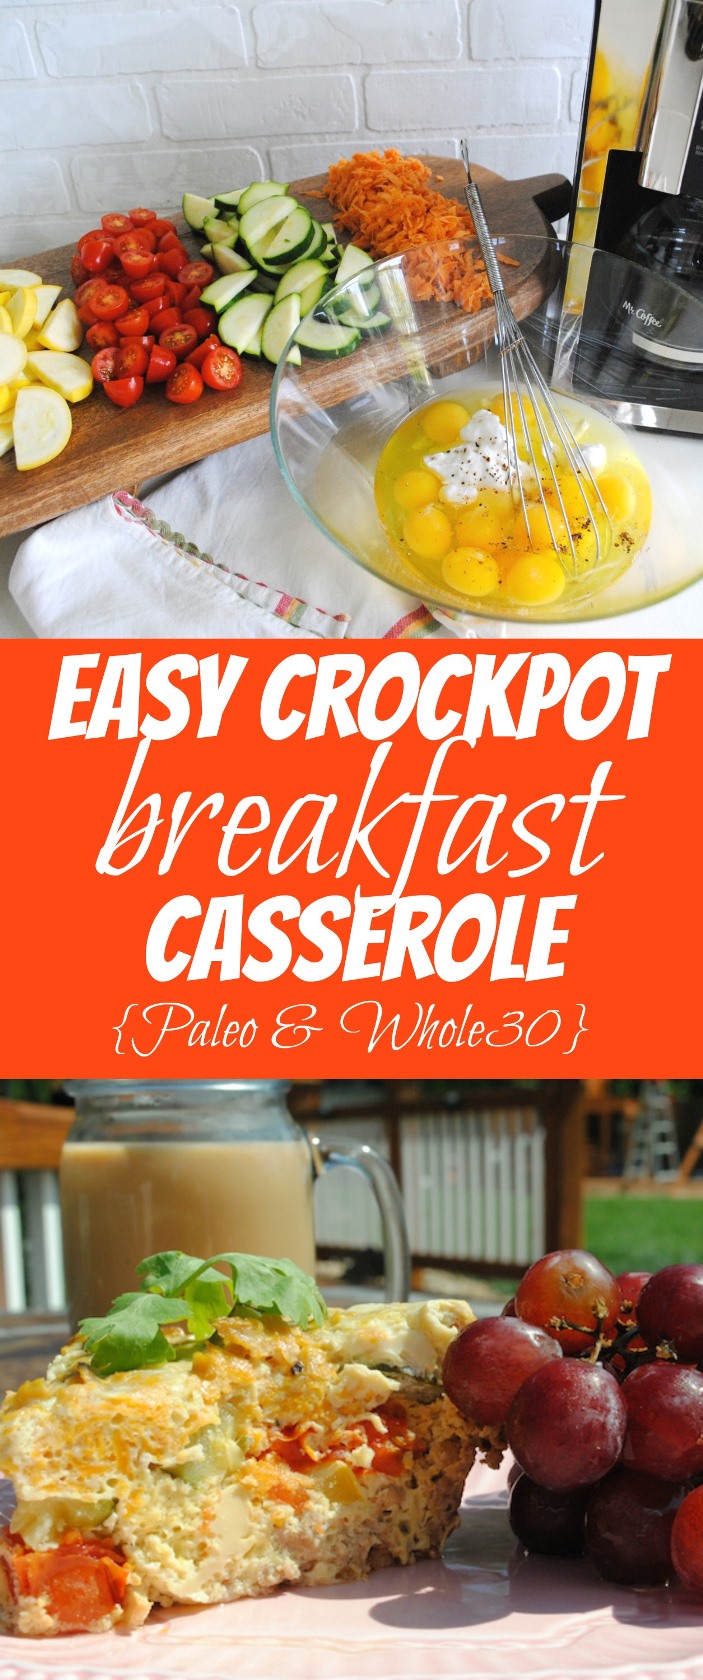
Easy Crockpot Breakfast Casserole {Paleo & Whole30}

This shop has been compensated by Collective Bias, Inc. and its advertiser. All opinions are mine alone. #BrewToPerfection #MrCoffeeDay #CollectiveBias

For the crazy project filled weekend we had…This easy veggie & protein packed breakfast with lots of coffee using my new Mr. Coffee® 12-Cup Programmable Advanced Coffee Brew Coffee Maker was the only way we survived. The kitchen is a construction zone…literally we have exposed insulation and only half of our countertops. We are prepping for new backsplash and countertops…yippee! Willie also worked about 12 hours trying to get a playground assembled for Hartley. It was her fabulous birthday gift from her grandparents and we are super excited to get it set-up. I just keep saying a few more weeks of crazy project-filled weekends and we will be done. We will have an AMAZING new kitchen and the BEST playground for Hartley in our own backyard! Ekkkk I’m so excited for the reveal of both these HUGE projects.

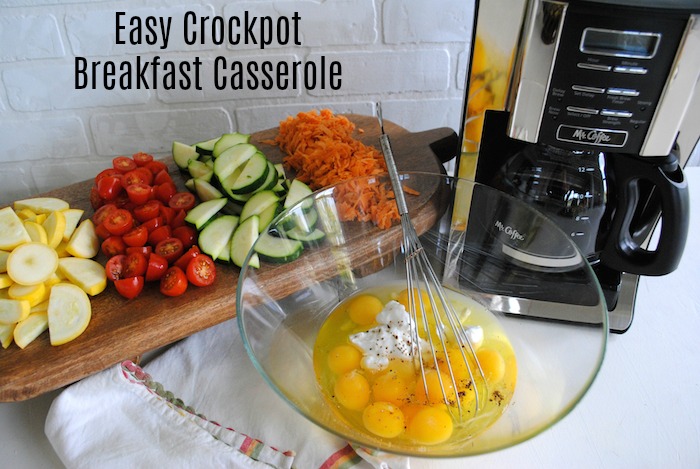
Here’s what you will need to make this delicious make-ahead breakfast in the crockpot:

Ingredients:

  • 1 dozen eggs
  • Can of coconut cream
  • 1 zucchini
  • 1 squash
  • 1 sweet potato
  • 1 pint of cherry tomatoes
  • 1 pound of ground pork
  • 1 tsp. olive oil
  • 1/2 tsp. of garlic powder, italian seasoning, and ground mustard (you can add fennel too if you like)

Recipe:

  1. Brown ground pork with olive oil, spices and salt & pepper (doesn’t have to be cooked all the way through since it will have time in the crockpot)
  2. Set pork aside and let cool
  3. Wash and cut squash, zucchini and tomatoes into bite site pieces
  4. Wash, peel, and shred sweet potato with grater
  5. Crack 12 eggs in separate bowl with lots of pepper and salt and the 1/2 cup of coconut cream (the coconut cream gives it a almost custardy texture…ummmm ymmmm)
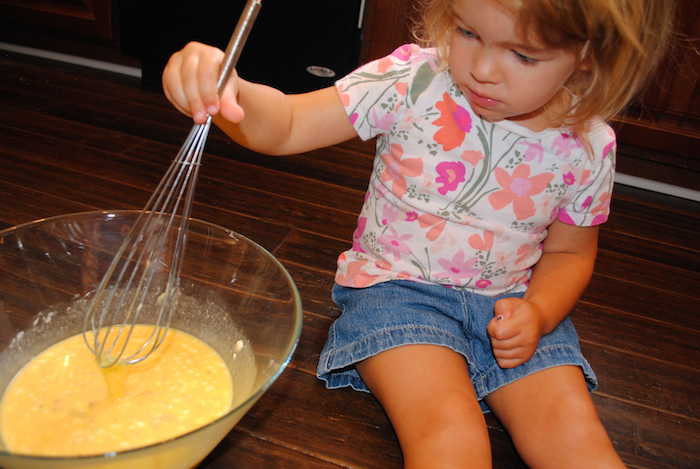
  6. Whisk egg mixture together (kitchen helper pictured…hehe) – it will look chunky
  7. Grease crockpot with coconut oil or ghee
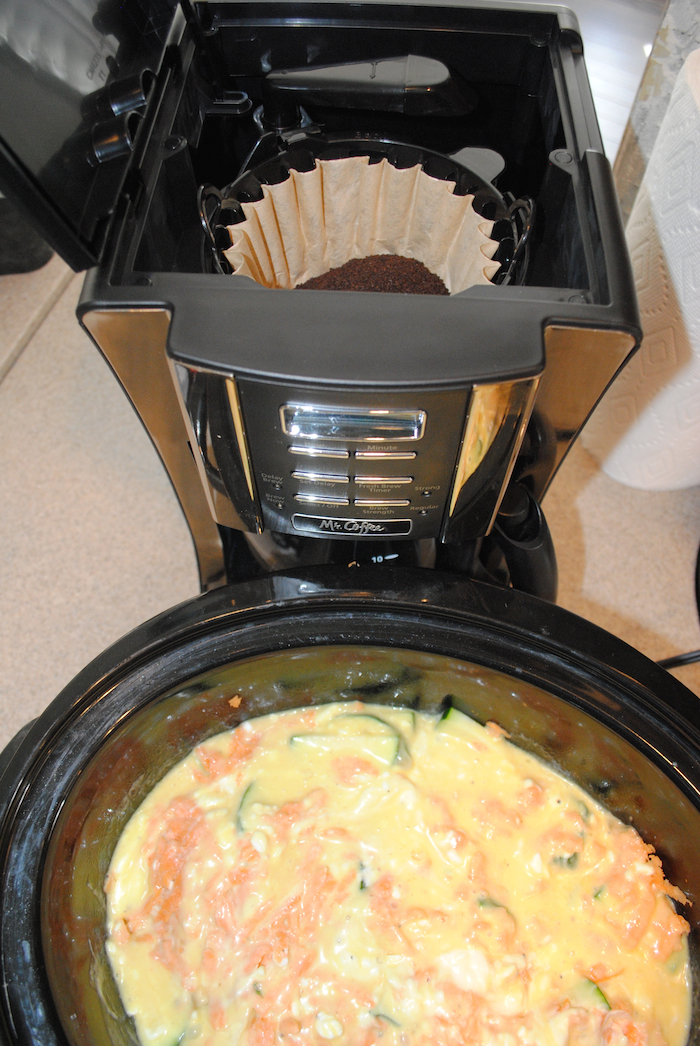
  8. Layer everything in crockpot…I did pork, veggies then egg mixture
  9. Set for 6-8 hours on the low setting
  10. Drain fat liquid from top before cutting and serving (you can drain pork after cooking, but I like the flavor it gives to the dish cooking with it)
  11. Also – if you’re not strict on Paleo/Whole30…add a little cheesy deliciousness for an extra boost of flavor
  12. Cut like a pie or plop big spoonfuls in a bowl and ENJOY!

*Bonus – with this huge crockpot meal, you are set-up for meal prep for your work week 🙂

Before – Set your coffee and egg casserole the night before for a yummy easy morning!

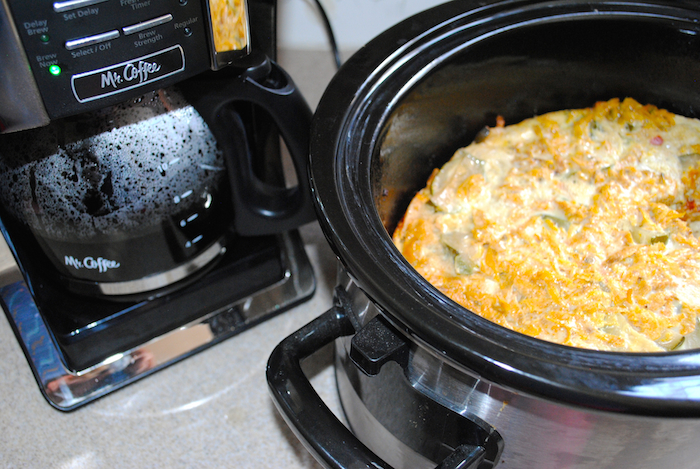
After – How amazing to wake up to freshly made coffee and breakfast already made!

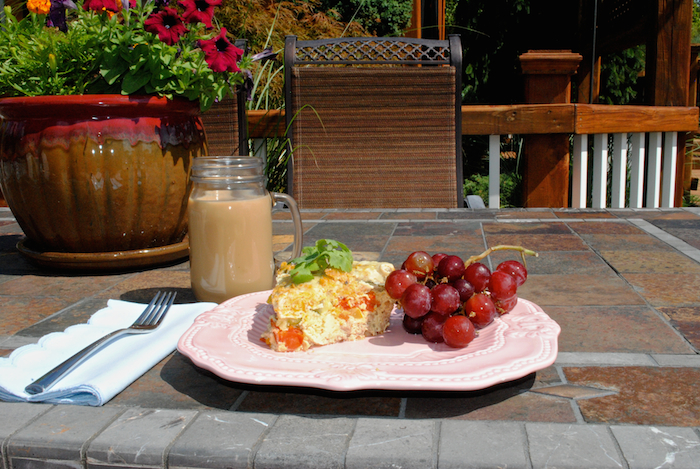
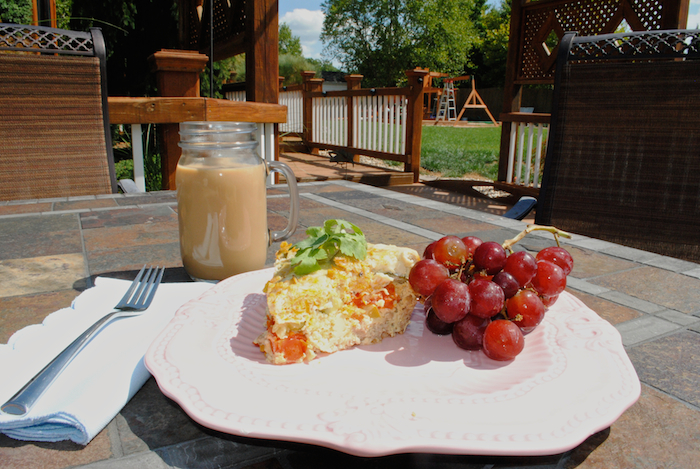
I’m sure all you moms and dads can relate when you pour a hot cup of coffee, but by the time you actually get to it it’s cold. Having a home cooked meal ready for you right when you wake up forces you to take a morning breather and actually sit and relish your coffee and breakfast. All you have to do when you wake-up is sit and sip. Since August is National Coffee Month, I encourage you to take a moment and savor your coffee, because all of us lead busy lives, and sometimes you just need a #MrCoffeeDay!

If you don’t follow Mr.Coffee on social media yet they have great recipes and ideas, especially on how to incorporate coffee in celebration of National Coffee Month. Follow on Facebook, Pinterest (OMG…the Coffee Infused Treat board is pretty much HEAVEN), Instagram (@mrcoffee), and YouTube.

Right now Walmart is offering a a $5 coupon on all Mr. Coffee® Coffeemakers and Espresso Units over $29. Find it in the housewares aisle at your local store. Also, keep a lookout for Mr. Coffee® Product Demo’s at their local Walmart. Having a programmable coffee maker is a lifesaver for a busy mom like me. Go ahead a treat yourself to a fabulous cup of coffee to celebrate National Coffee Month with Mr. Coffee®!

Pin this recipe for later!