Monday, November 27, 2017

Pregnancy Update – 25 Weeks

Hope everyone had a very great thanksgiving filled with love, cheer, and full tummies!

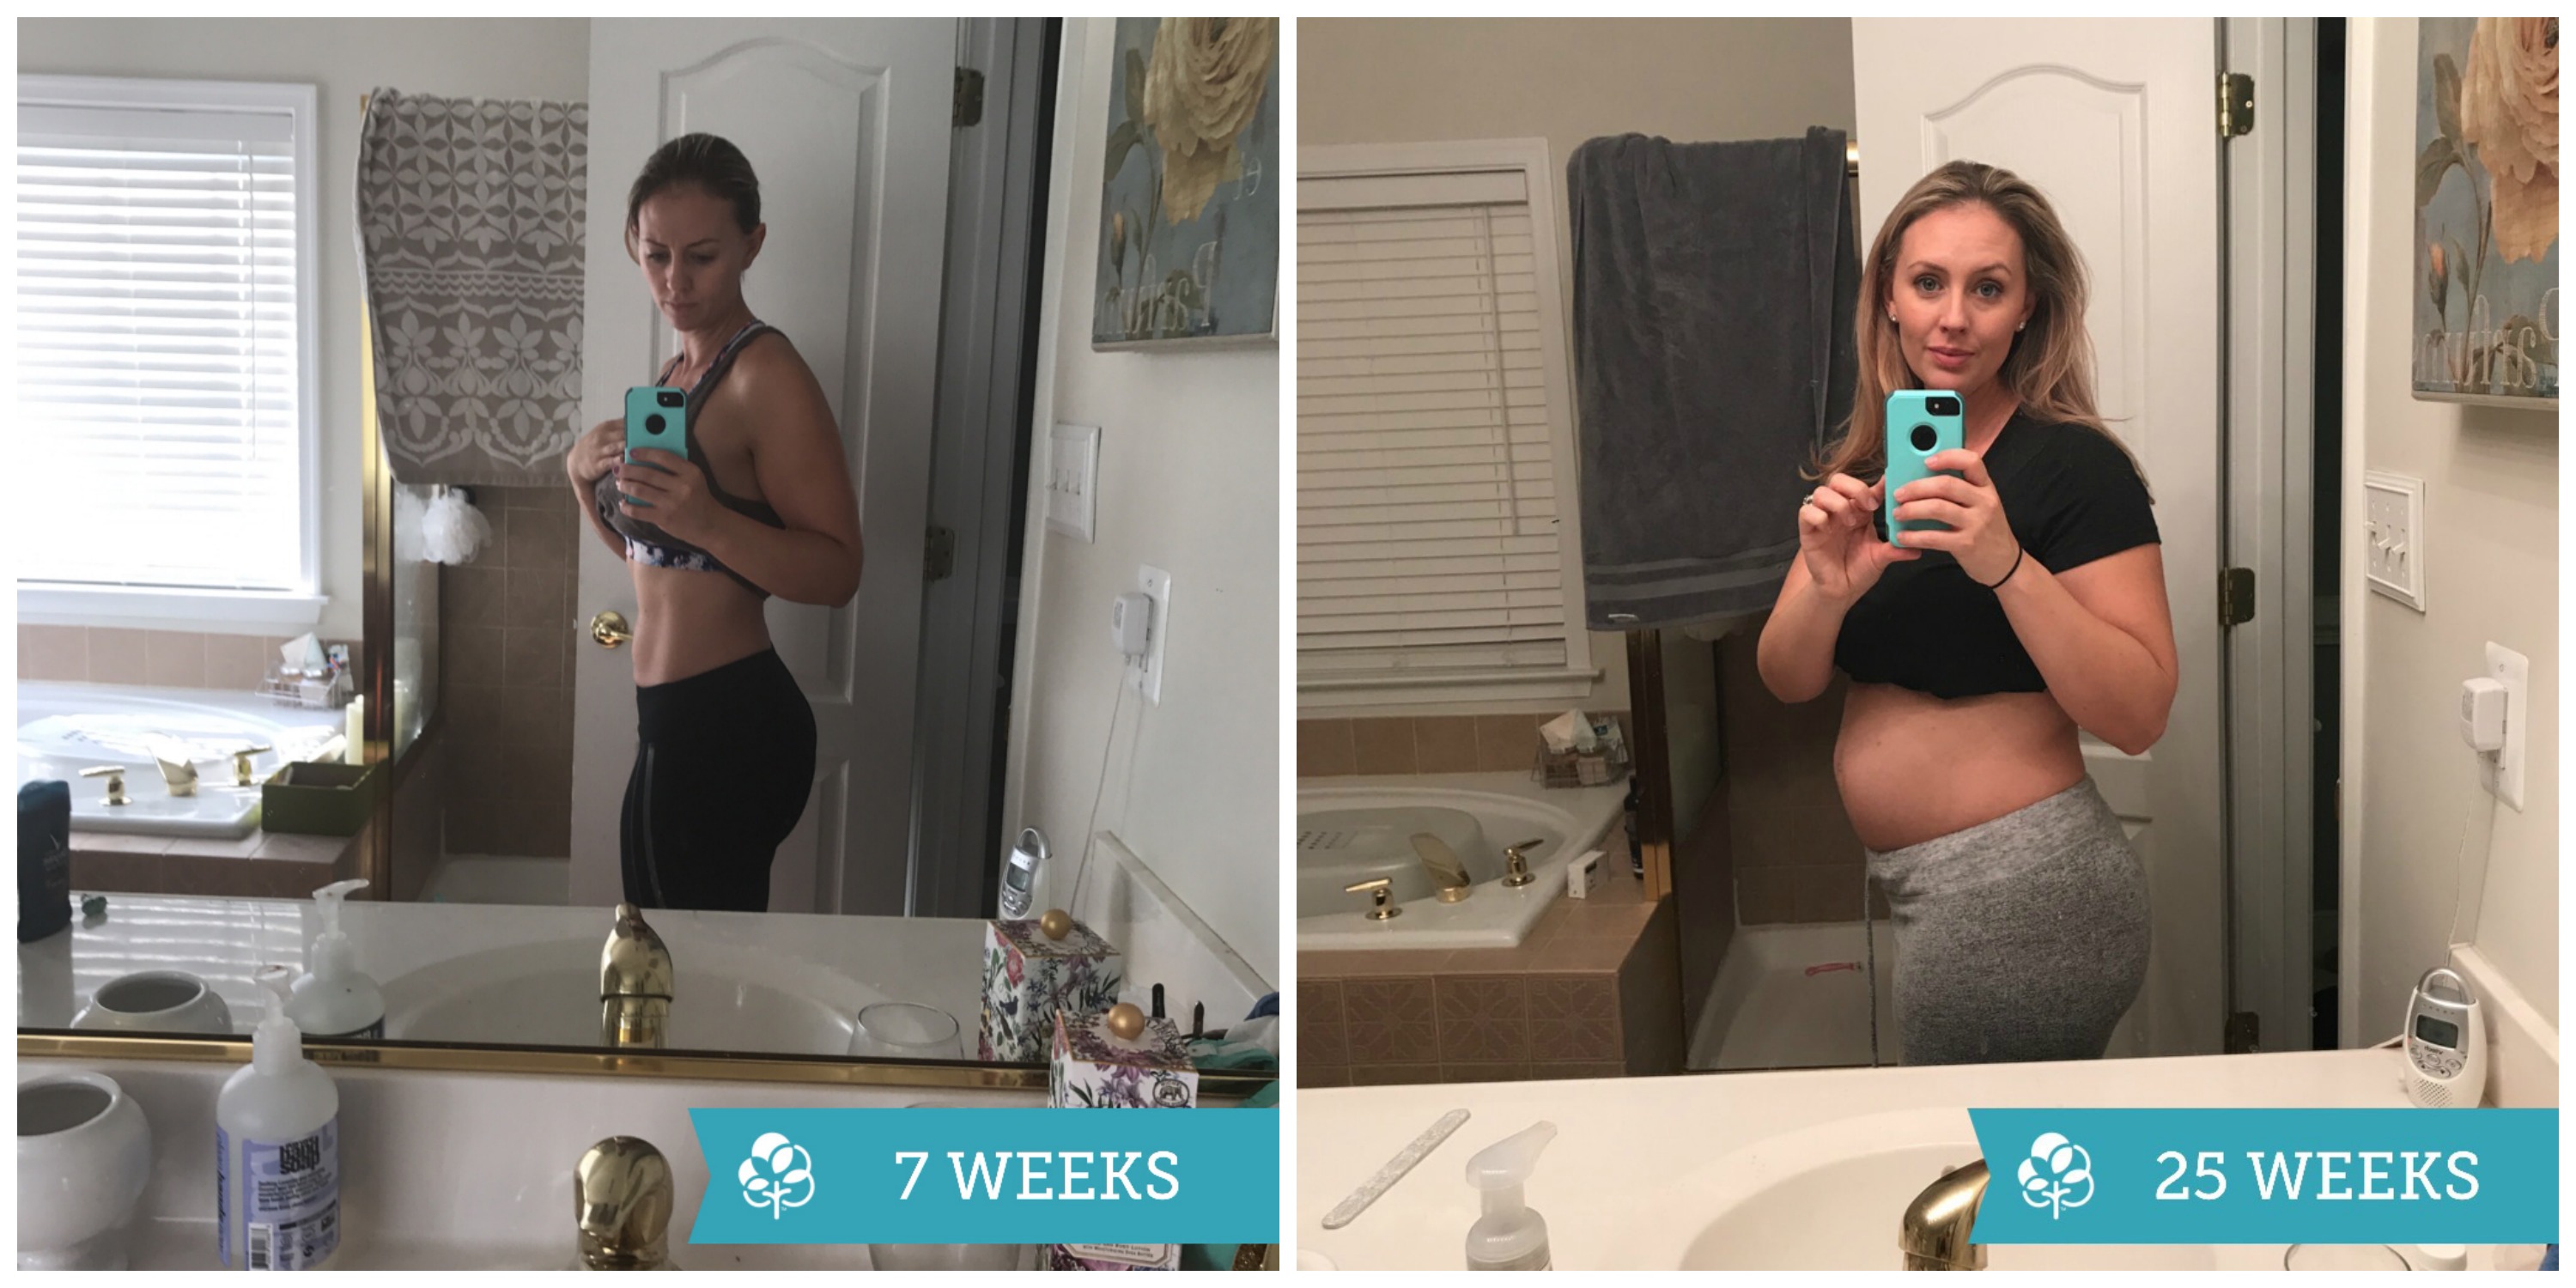
When I looked at Willie the other night on the sofa and said, “I’m 6 months pregnant today” and his response was “No, can’t be…it’s too fast”. I knew I had to get some updates written down. I was all set on trying to write a pregnancy journal since I didn’t with Hartley, but just with everything going on I have had no time to commit to that. I have barley done my weekly bump shots. I have 7 bumpie’s out of the 25 I am supposed to have…whoops!

How far along? 

  • 25 Weeks + Day 6 – tracking right along for March due date – 100 more days to go!

Baby is now the size: 

  • About 13 1/2 inches. Her weight – 1 1/2 pounds – isn’t much more than an average rutabaga (according to my app)

Gender: 

  • Girl

Names:

  • Feeling some pressure on another girl name, but once list is narrowed down we will wait until she is here to decide.

Movement: 

  • Some days I can feel a lot more than others. Once I get Hartley to bed and sit down with my nightly cup of hot chocolate is when I finally get to relax and enjoy all the movement in my belly. It’s the best part of my day!

Sleep:

  • So far I’ve been able to stay comfortable and sleep a majority of the night unless Hartley or my bladder wakes me. I am starting over the knee compression socks to see if that helps with the veins and restless legs I experience sometimes.

Exercise:

  • Still working out about 5-6 days a week. I have modified some of my high intensity classes (like Kazaxe (dance class), Peloton, and Insanity) and hope to make it a few more weeks before it’s too much. Pure Barre has been an amazing once a week lunch workout treat. I’ve started to tell the difference and modifications needed for core work, but I swear it has kept the definition in my abs much longer than my first pregnancy. I also think it’s lifted my growing butt too. At the gym I am sticking to the elliptical and lower intensity stairmaster for my cardio. I’ve kept up with weights and have just lessened my lower body weight. I have narrowed down two yoga studios for prenatal yoga that I want to start in December. I’ve been getting light stretching in but not a regular yoga class since I was directed not to practice Bikram. Need to get my zen on!

How I’m Feeling:

  • Feel great. I’m one of those lucky women who LOVES being pregnant. Only thing really bothering me is my hips. They are pretty sore by the end of the day. Mentally I am a little drained with still being a full-time working mother, worried pregnant lady, holidays, social events, growing my blog business, and trying to finish some projects around the house before the baby. I know I’m killing Willie on trying to finish renos, but I want to be done and just able to enjoy my home.

Weight Gain/Skin:

  • About 17 pounds so far. I feel it mostly in my bottom half. My legs by genetics are the worst part of my body and boy do they take a beating while pregnant. I have a huge spot of spider veins that have popped up above my knee that are super painful at times?!?! With Hartley I had to get varicose vein removal too which was UGHHH the worst experience ever. Ohhh and is normal to be itchy EVERYWHERE!?!?
Food Cravings: 

  • Bagels, bread, muffins, cereal, sweets, sweets, and more sweets. I have been trying to enjoy a bit, but don’t want to indulge too much. My pregnancy diet is such a departure from my normal healthy diet, but temporary.

Food Aversions: 

  • I seem to have less and less interest in more and more foods. Nothing really satisfies or tastes amazing right now.

Survival Items:

  1. Earth Mama Natural Stretch Oil (swear by this stuff!)
  2. Rainbow Light Prenatal Multivitamin
  3. Spectrum Prenatal DHA
  4. Weleda Wild Rose Deodorant
  5. Maternity Leggings & Blanqi Belly Support Leggings

Reading List:

  1. Mama Glow: A Hip Guide to Your Fabulous Abundant Pregnancy
  2. Ina May’s Guide to Childbirth
  3. Birth Happy: The Savvy Woman’s Approach to a Satisfying Birth
  4. The Mama Natural Week-by-Week Guide to Pregnancy and Childbirth

Nursery Update:

  • Finished my changing table remodel. Found it for $10 at a yard sale. Painted it two-tone (pink was supposed to be rose color but more looks like Pepto-Bismol pink…oh well) and finished with pretty baskets and rose knobs (I will share later). Painted the nursery this weekend. Just used leftover paint from our main level living. It’s a stunning greige. I also found a large art piece from Target for above the crib. Probably not too much more since everything was in there from Hartley. Just need to switch their closets and just that organized as well.

Monday, November 20, 2017

Thrifty Reusable Gift Wrap Ideas

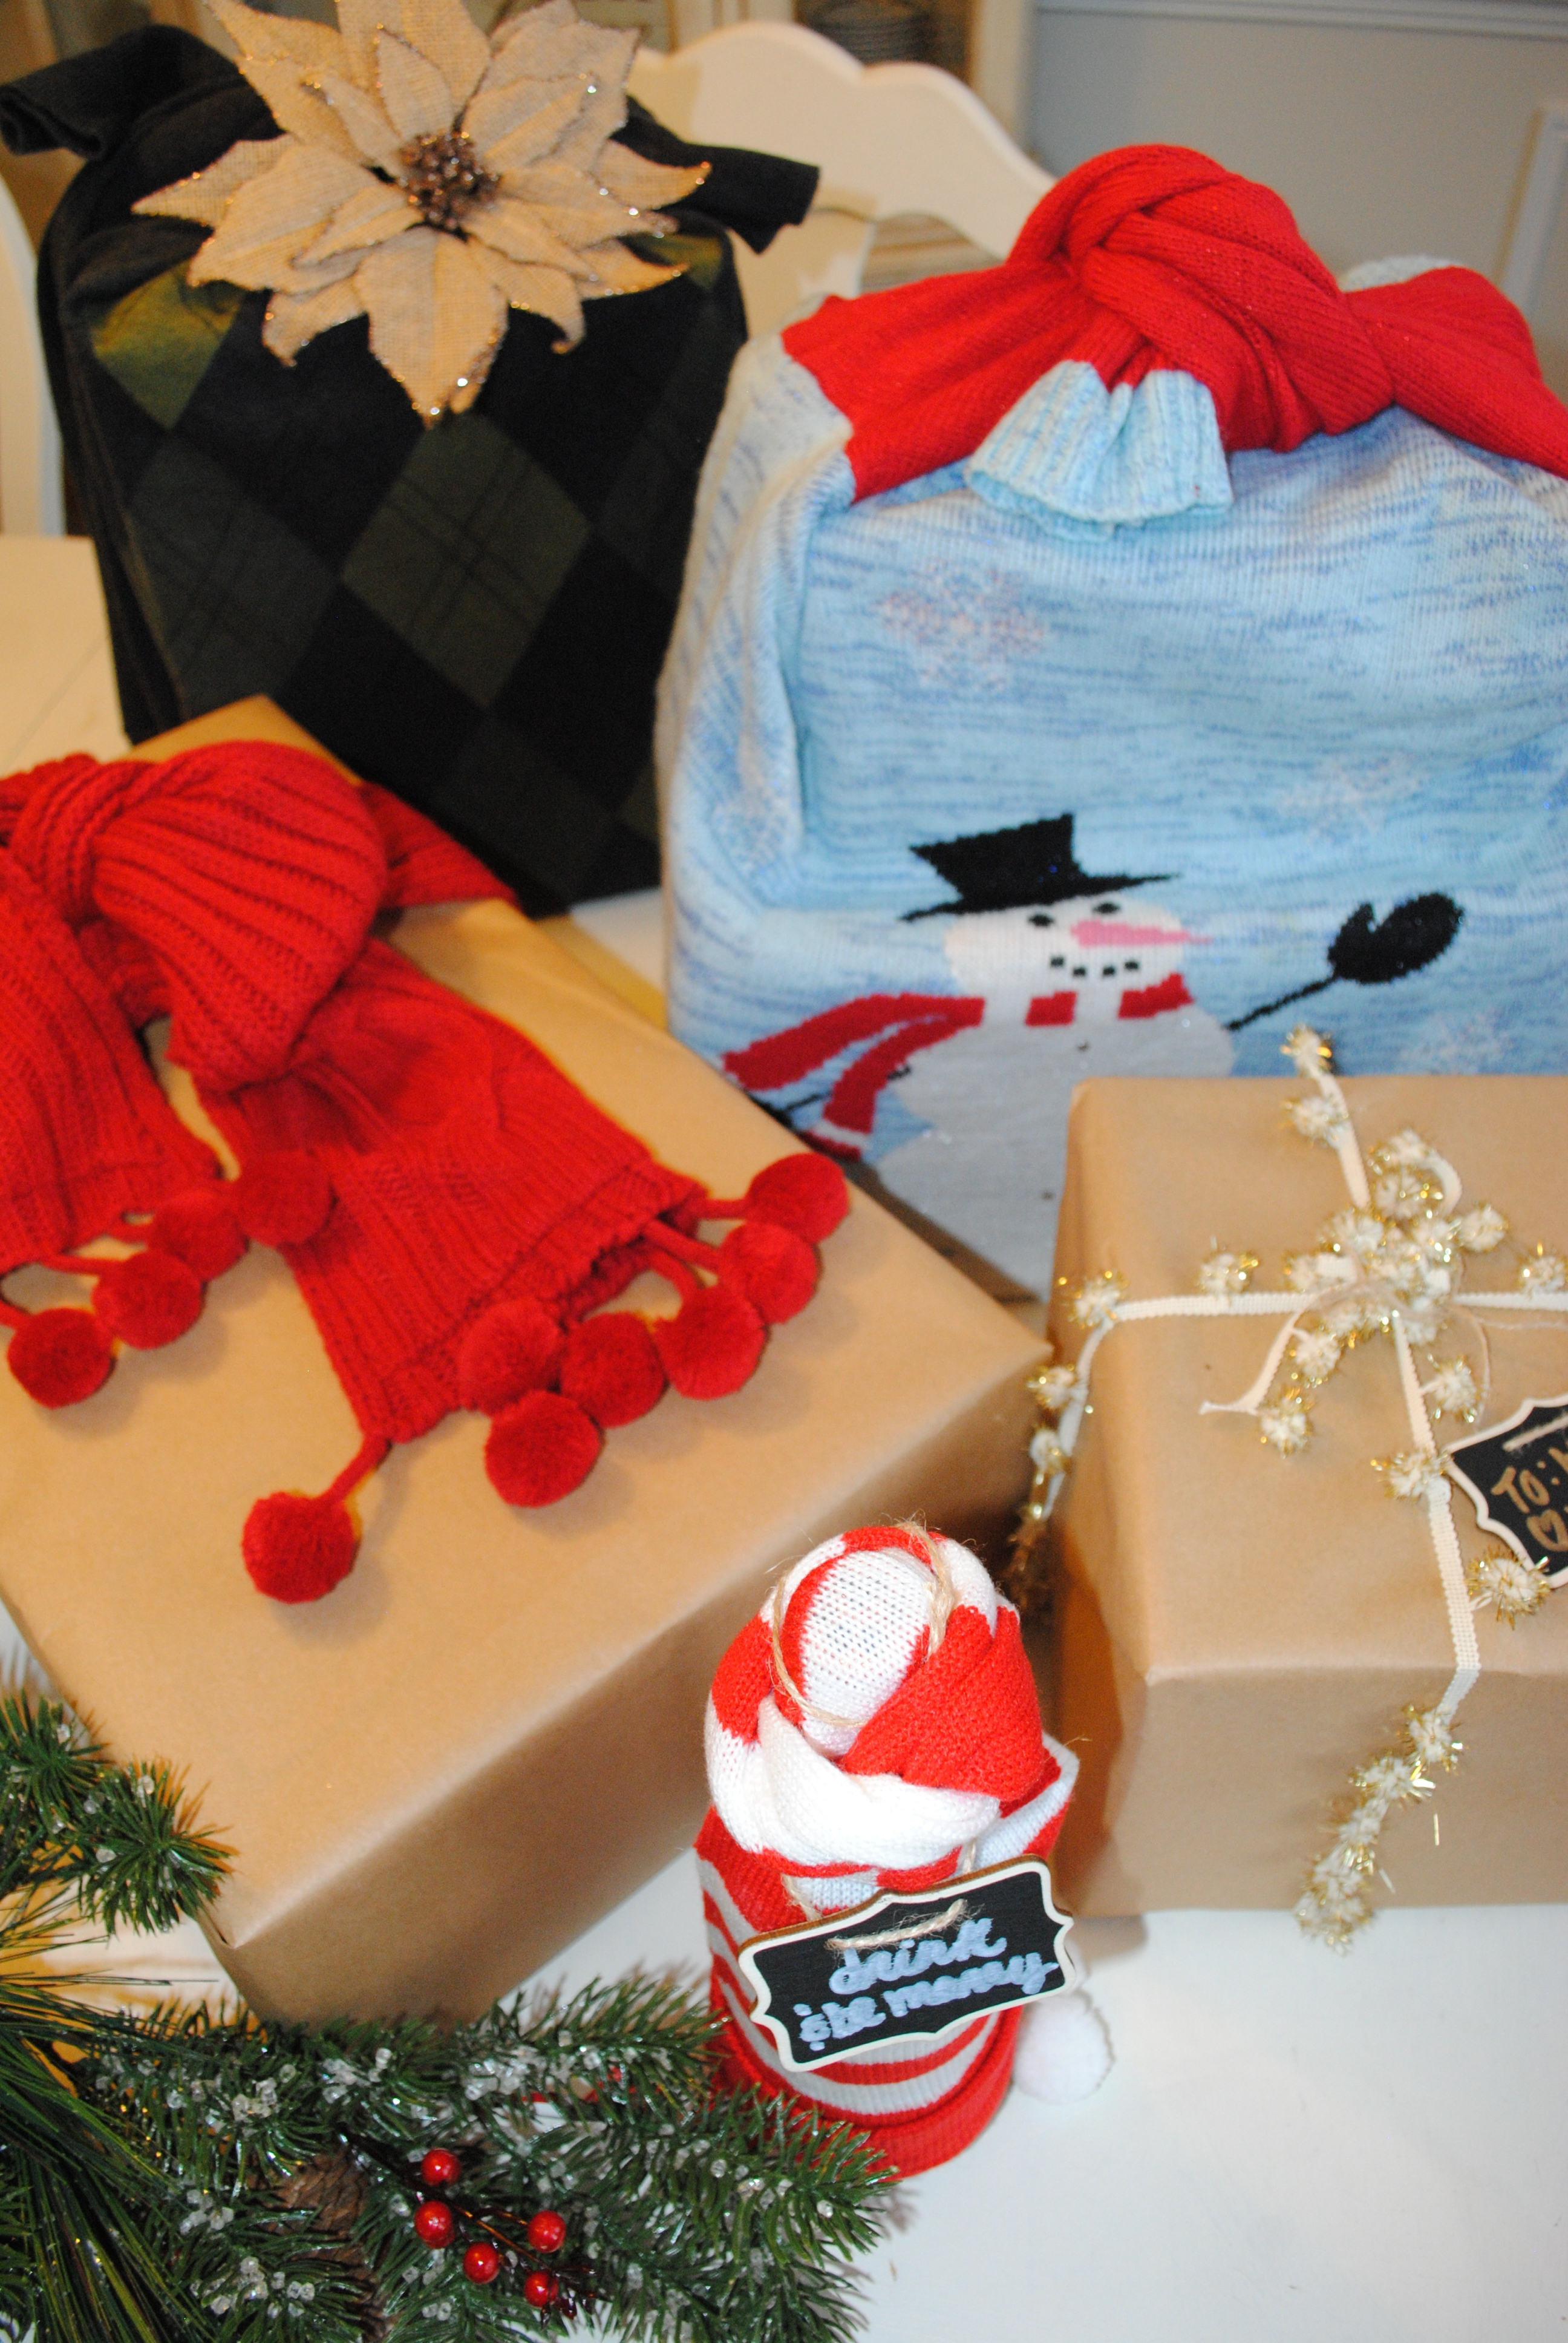
What does an old sweater, leftover craft ribbon, a stocking, brown craft paper, and a thrift store scarf have in common? They can be used to wrap gifts! Yes, that’s right. Gift wrapping ideas for the thrifty and frugal. This post is inspired by my friends at thredUP where you can save TONs of money shopping second-hand online. I always think #secondhandfirst during the holidays in order to save money and recycle items for a more eco-conscious holiday.

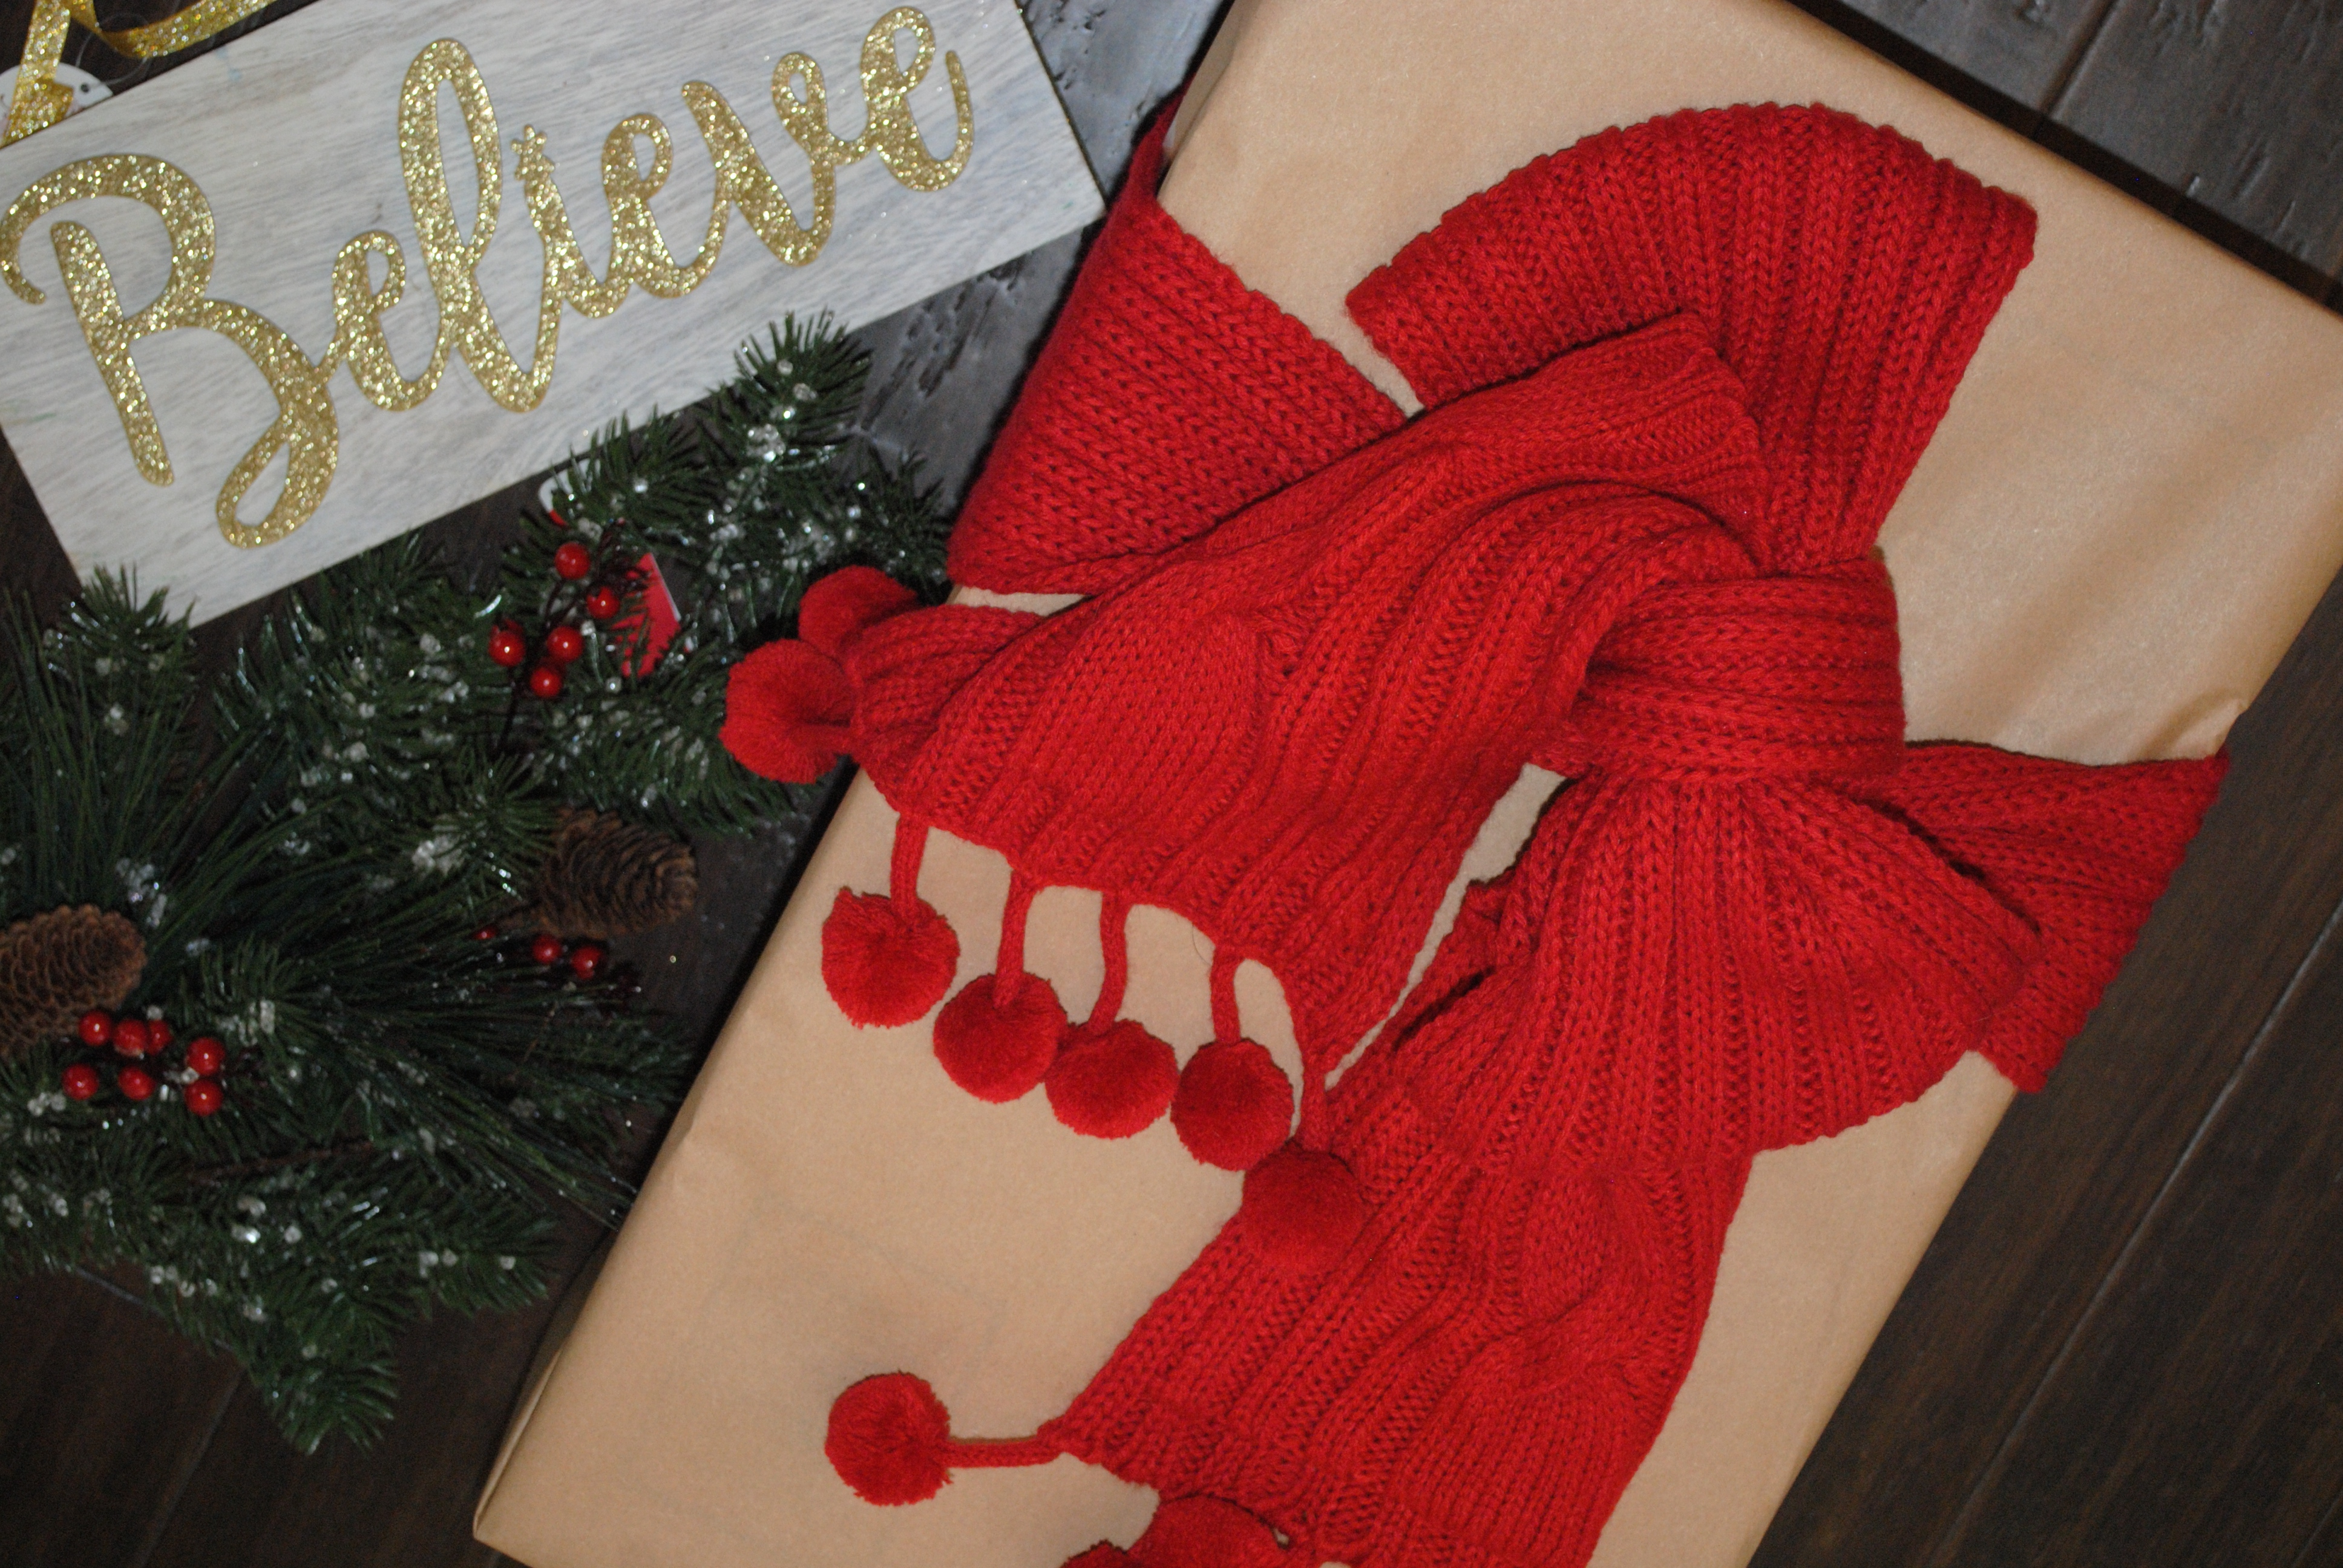
First the scarf I found brand new with tags at the thrift store for $3. This is such fun idea because all you need is craft paper, or matching gift warp, scissors, and tape. Wrap gift in the paper and just tie the scarf around your box like a ribbon with a big bow. The person getting the gift not only gets what’s inside but also an amazing new scarf for winter.

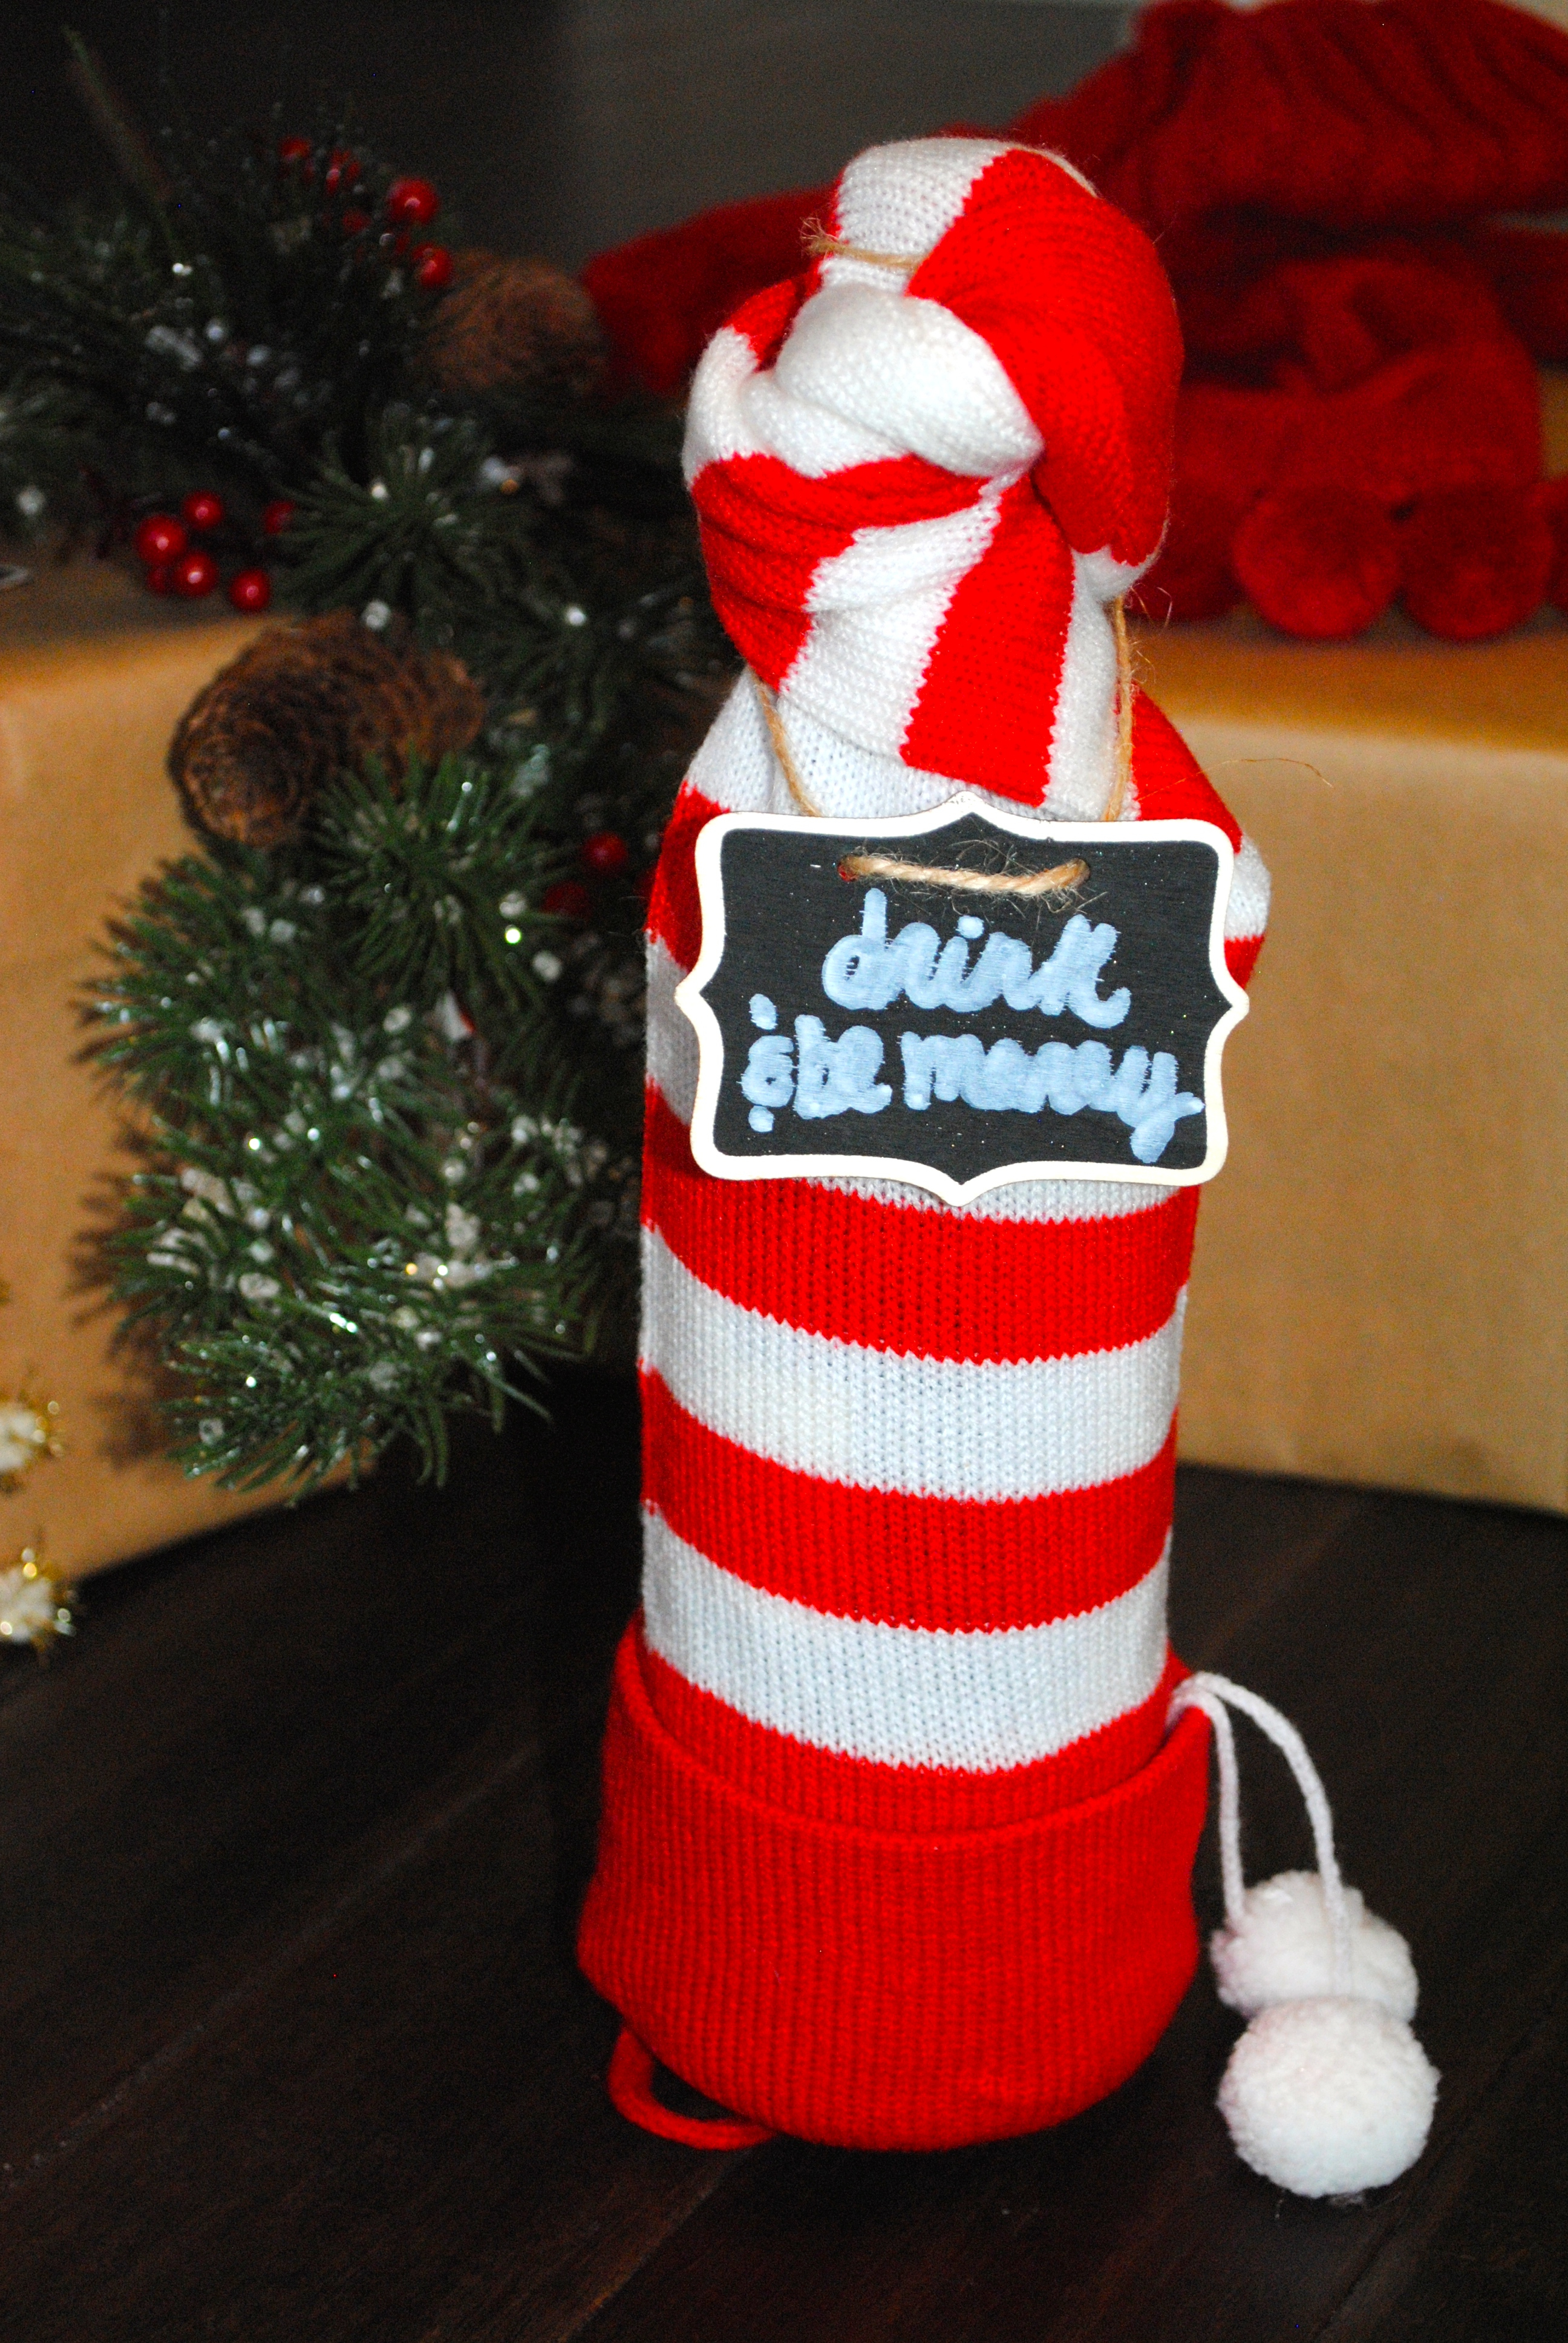
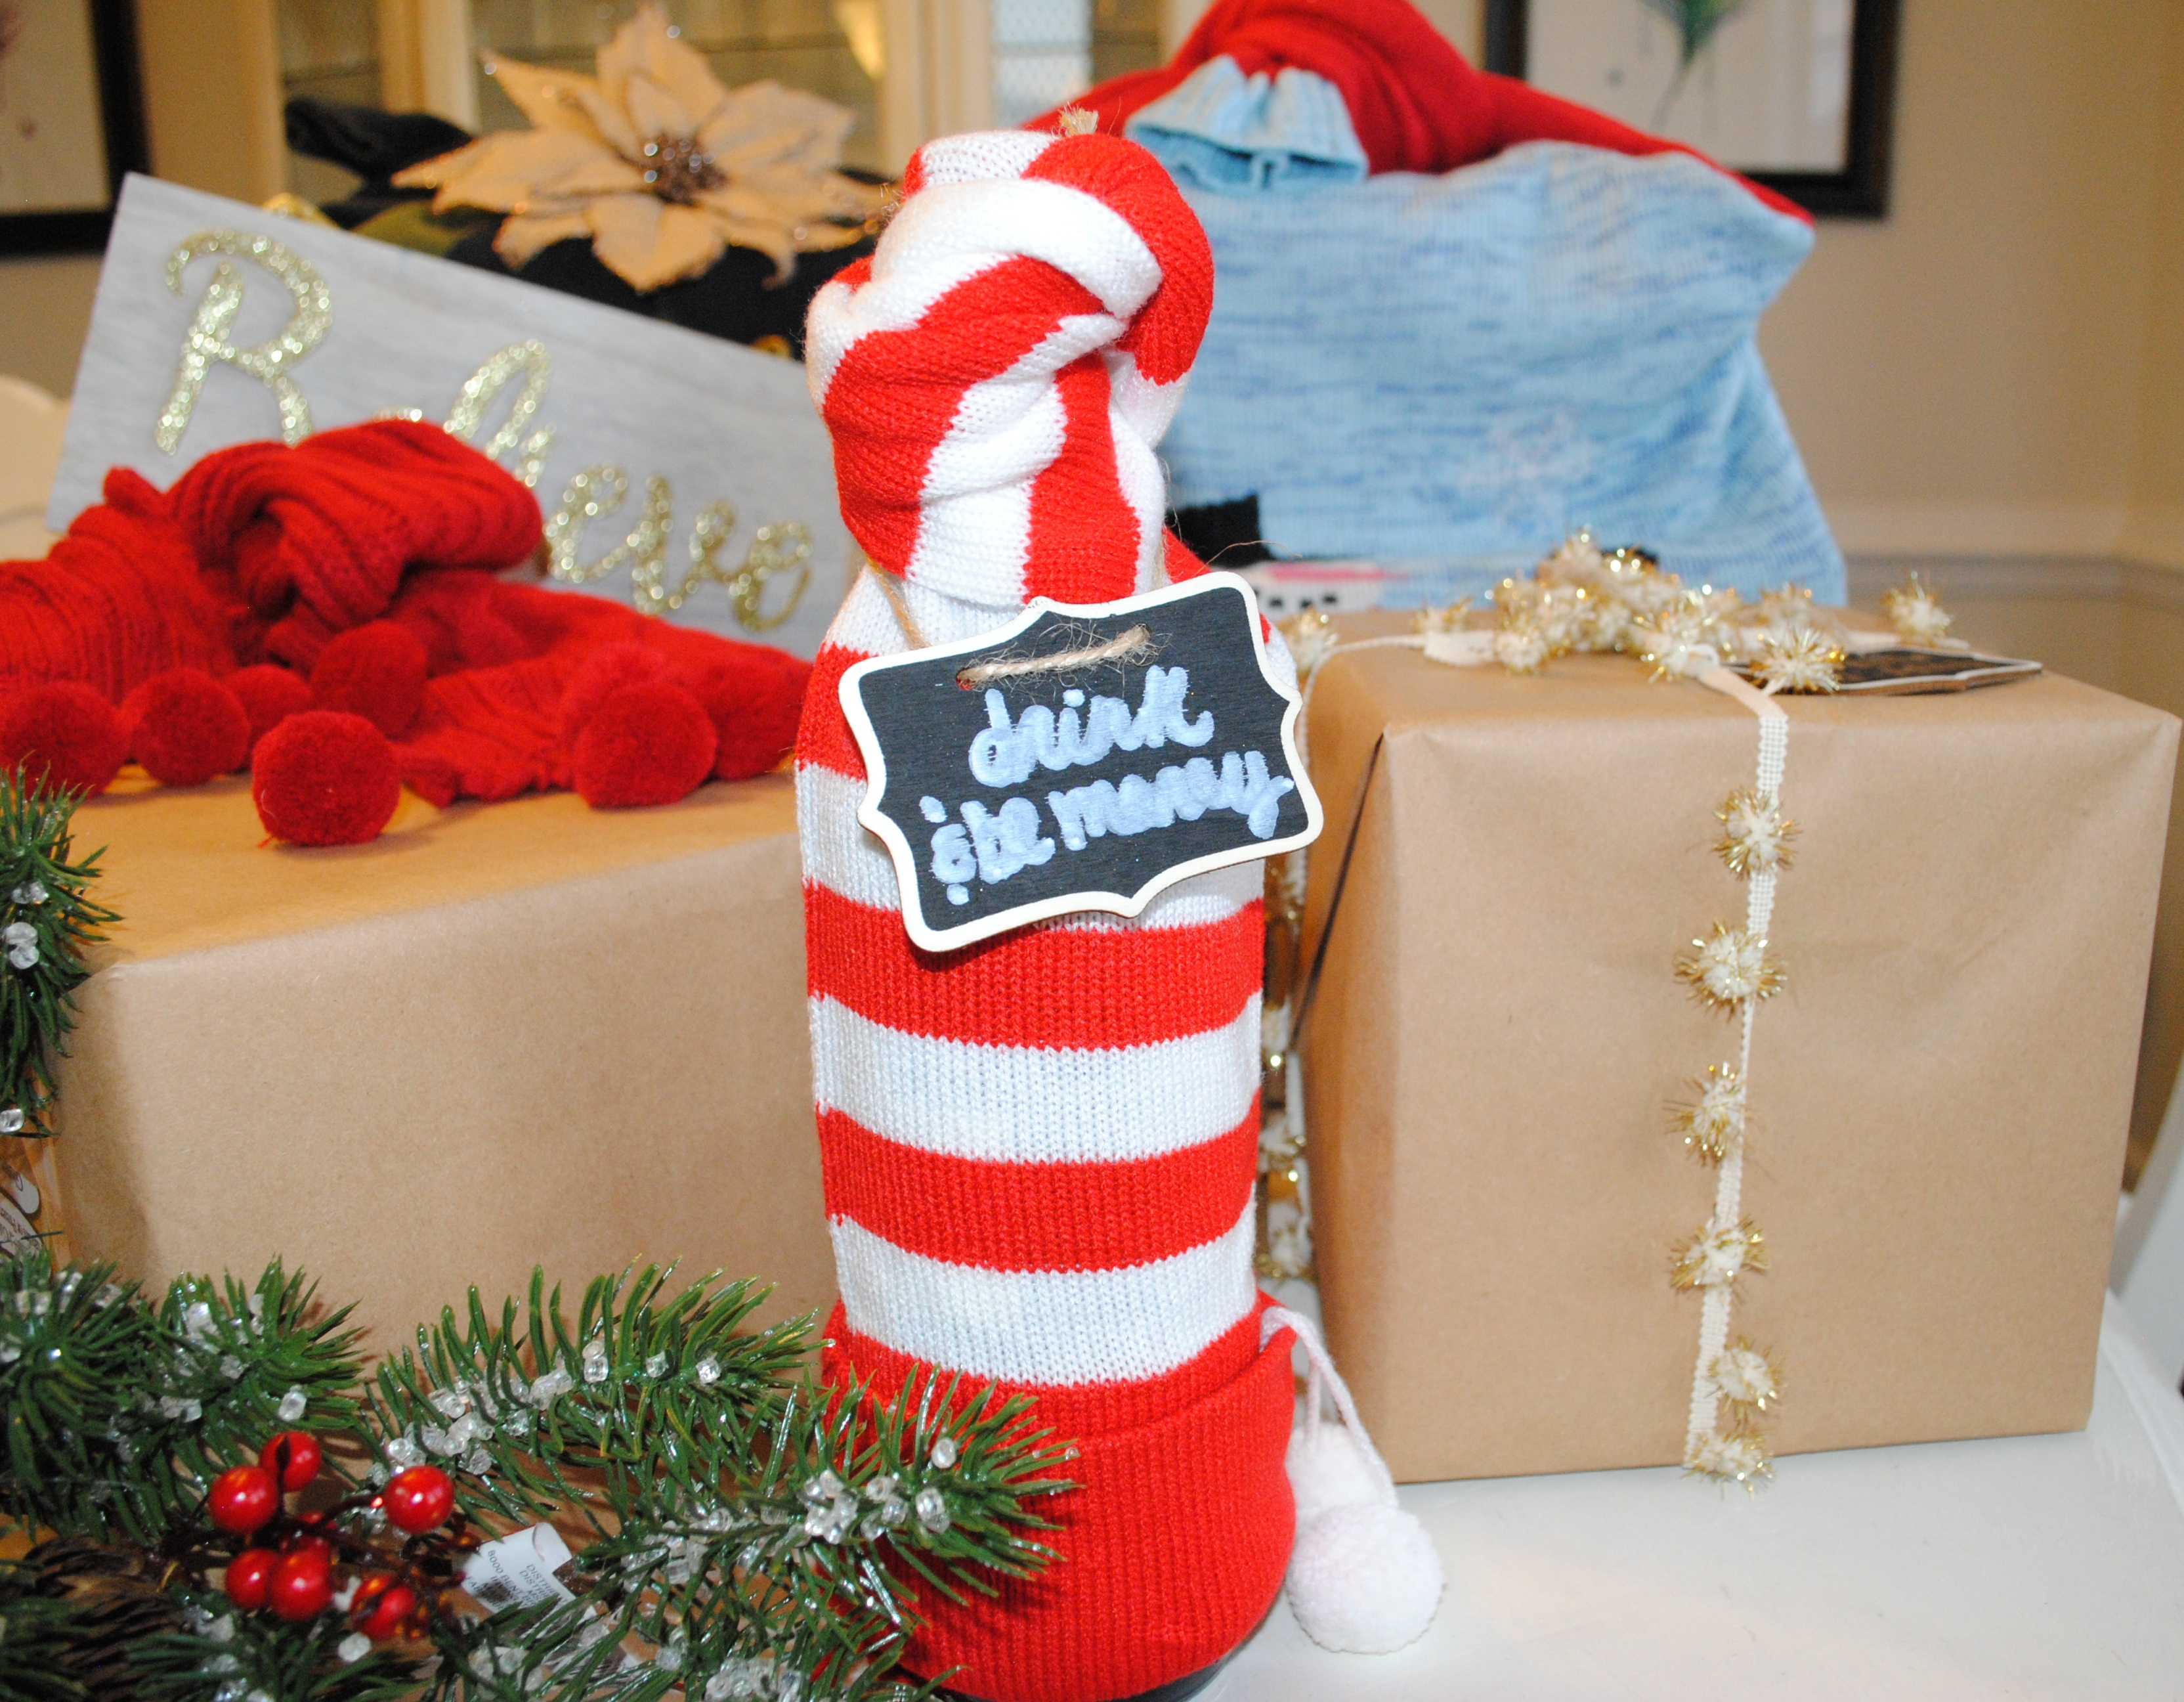
For the stocking wine bottle wrap, you may have an extra stocking lying around or for me I found this one for $1.50 at the thrift store.  Easy peasy assembly by just sliding the stocking over the wine bottle and twisting and tucking the footy part into itself. Finish the wrapping with an adorable “drink & be merry” chalkboard sign labels or paper tag and viola an adorable DIY gift wrap that the person can reuse again or in their home!

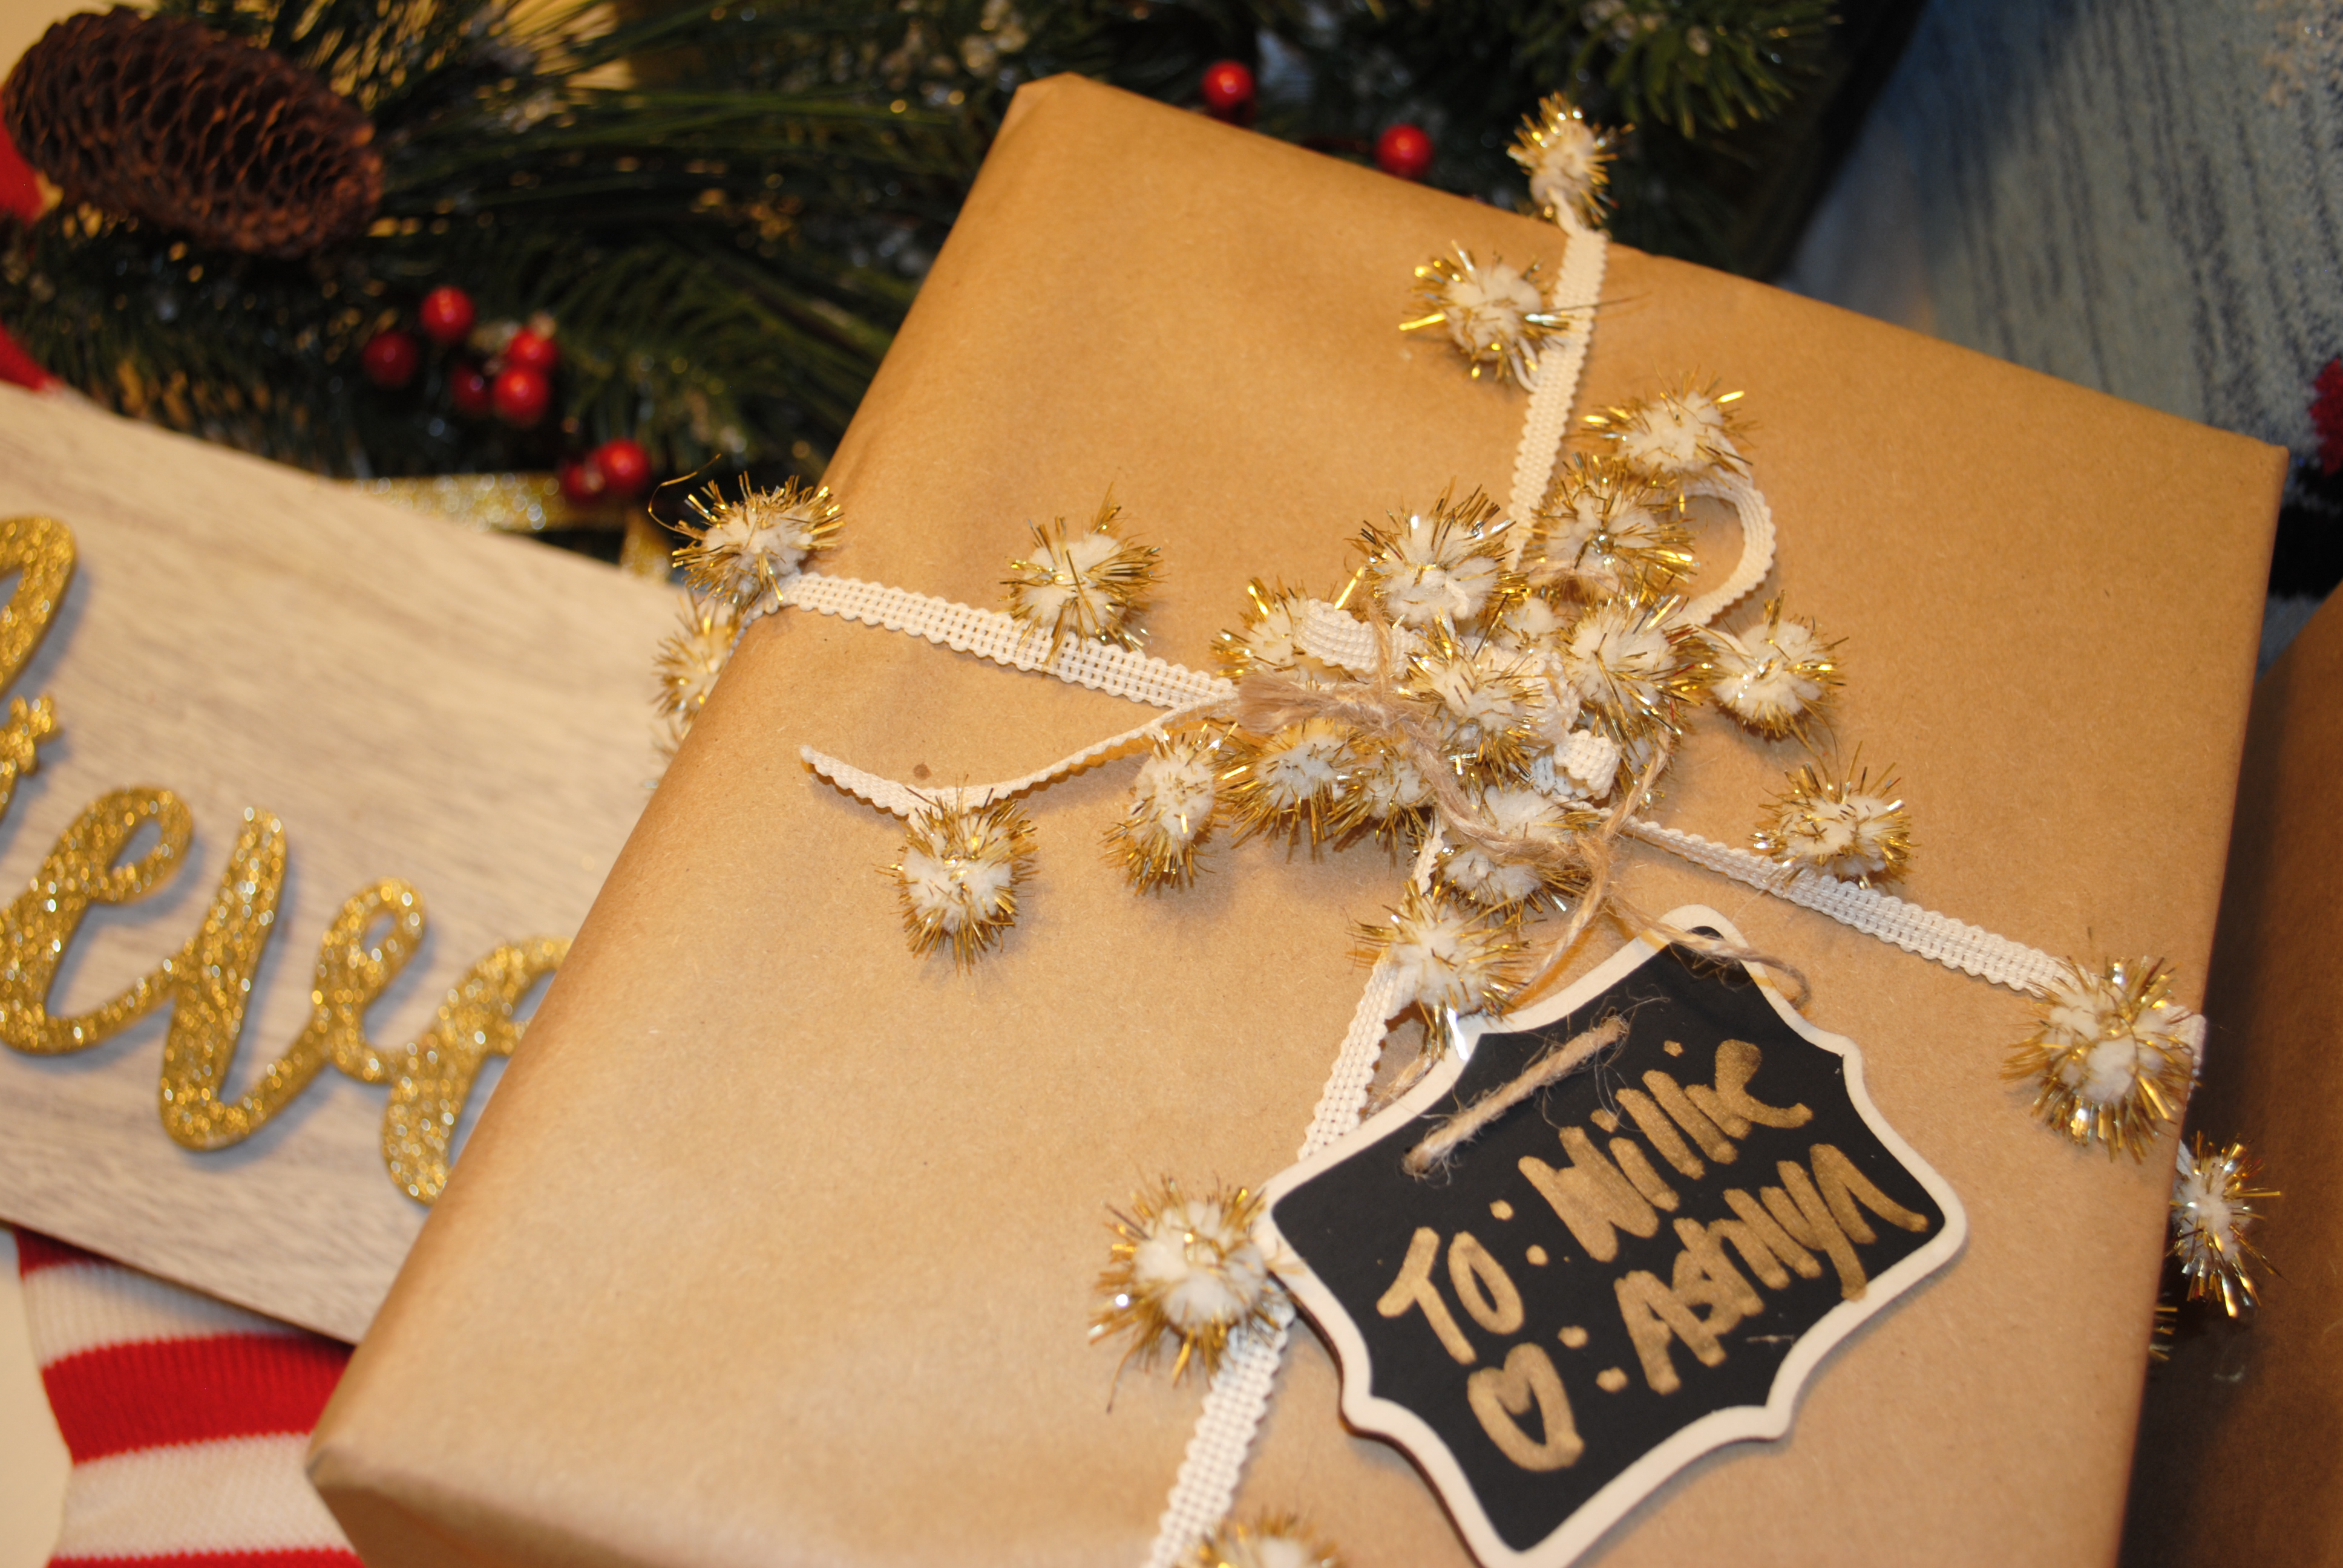
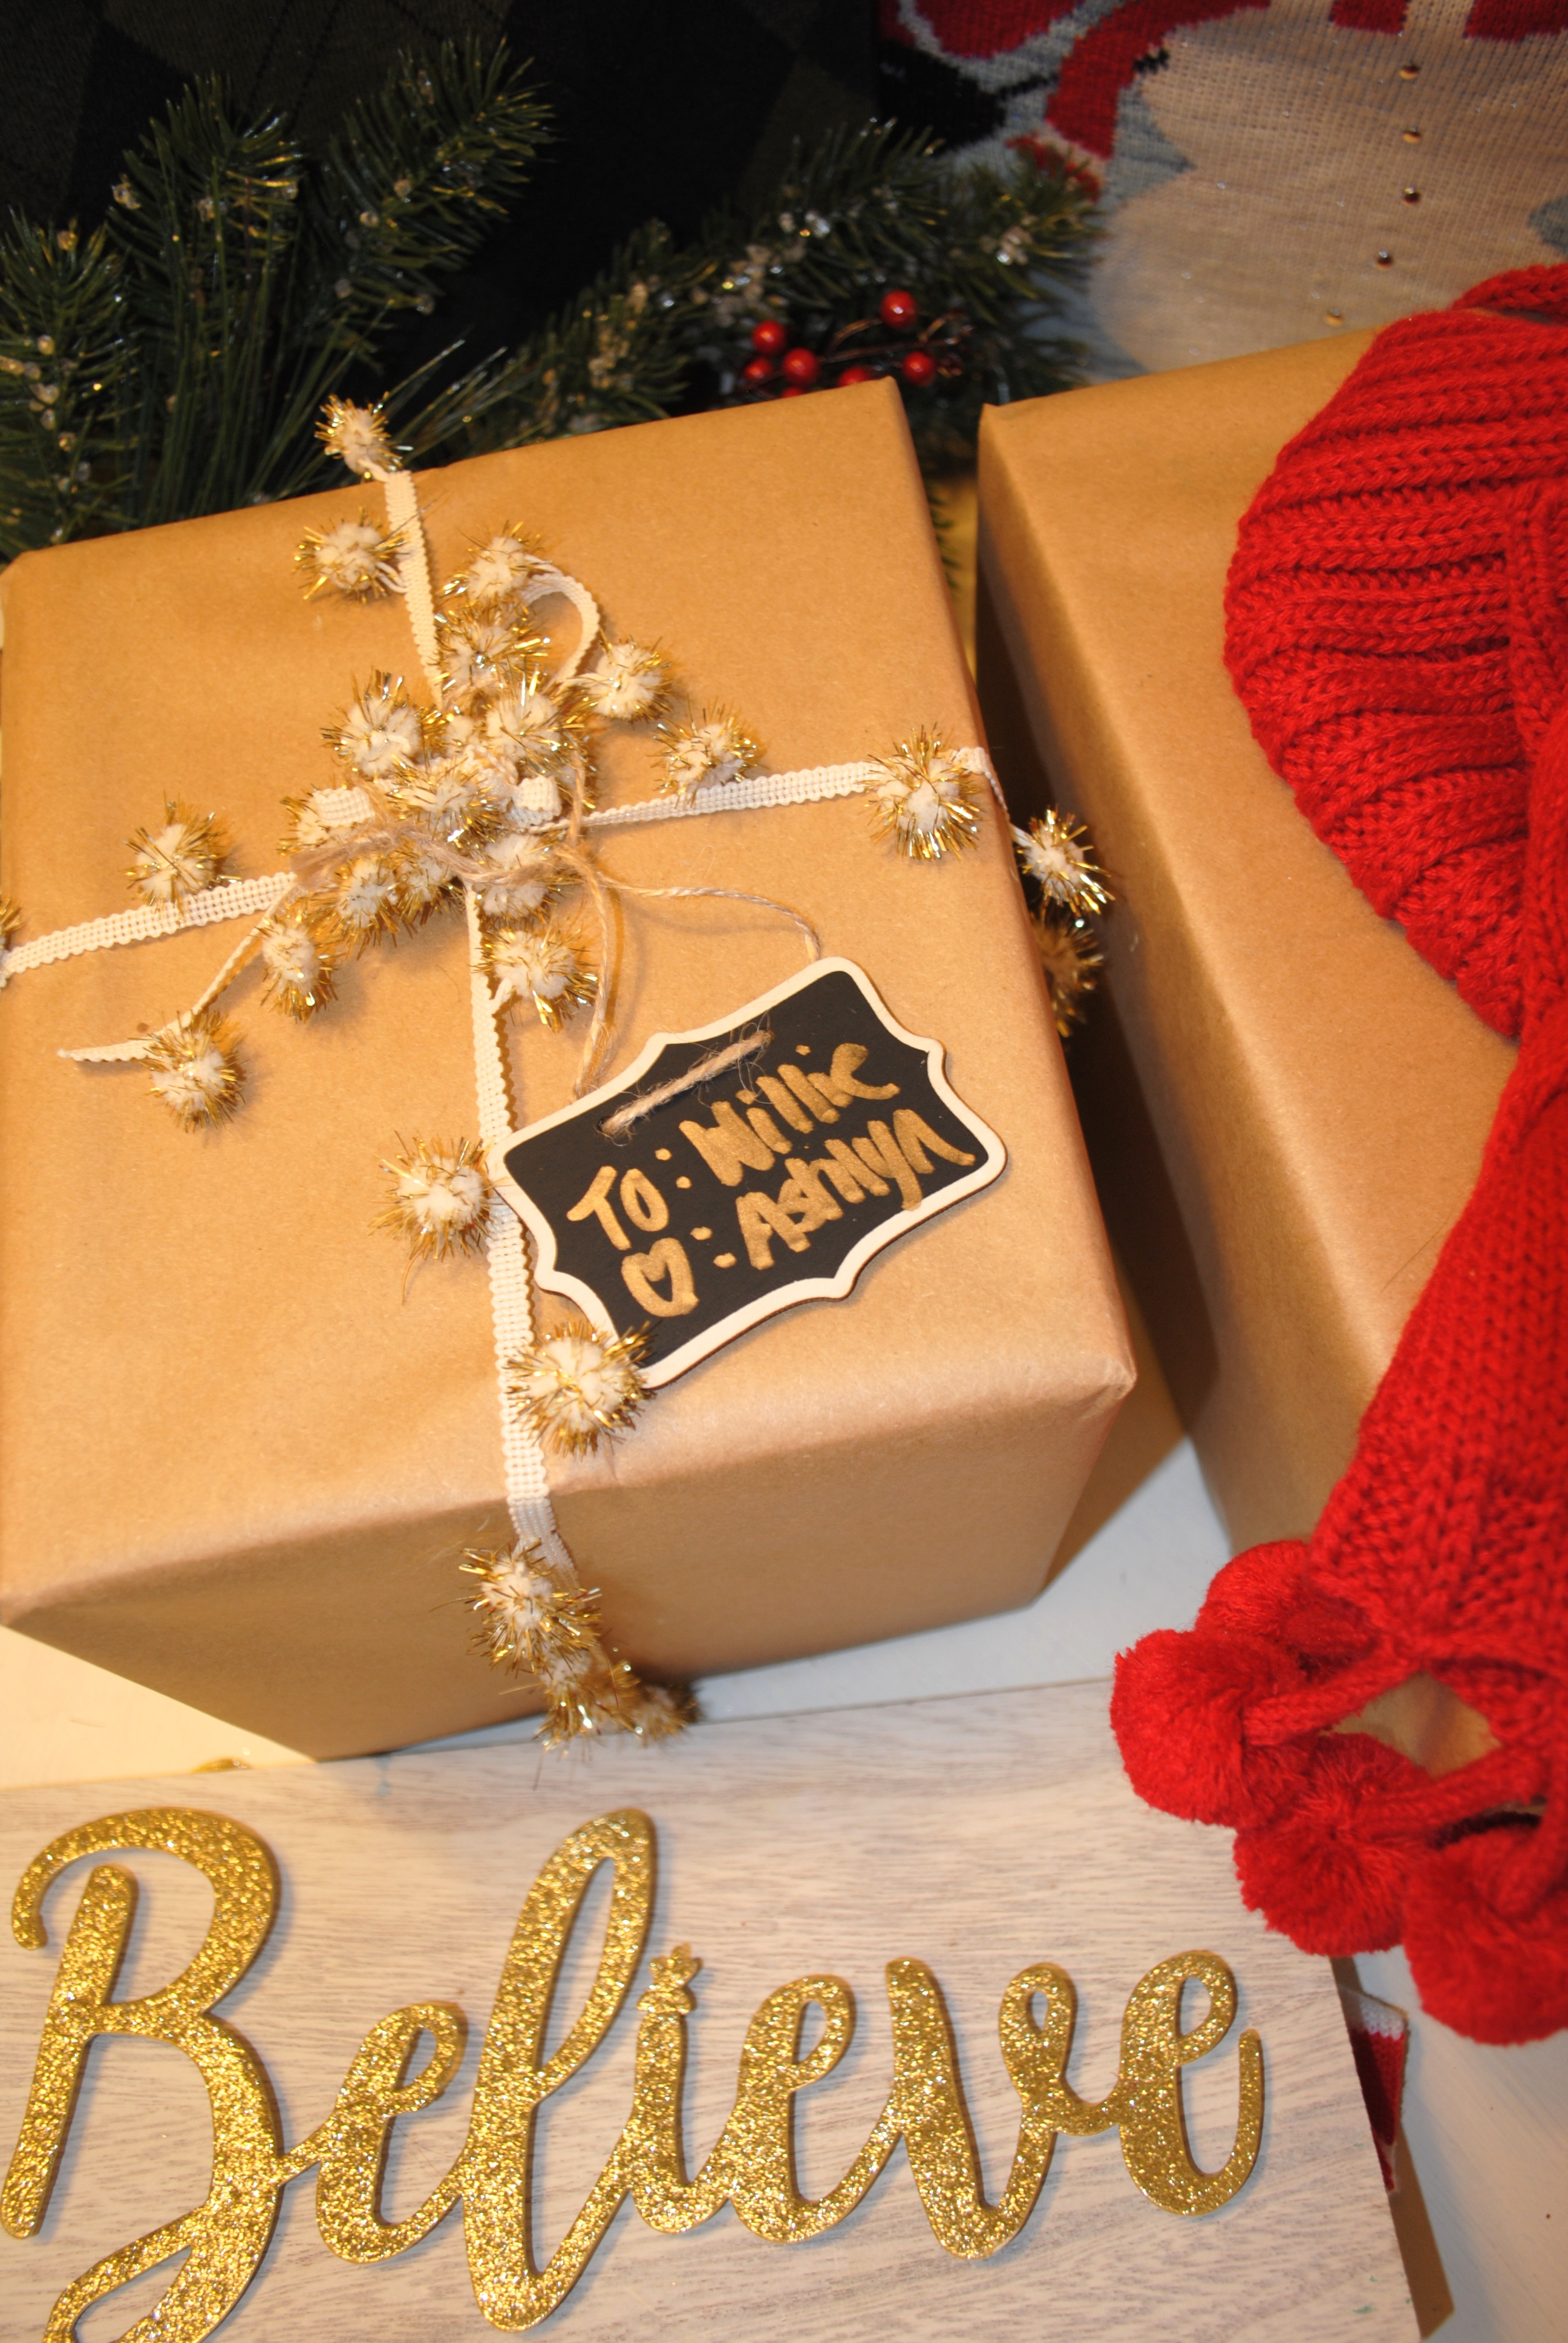
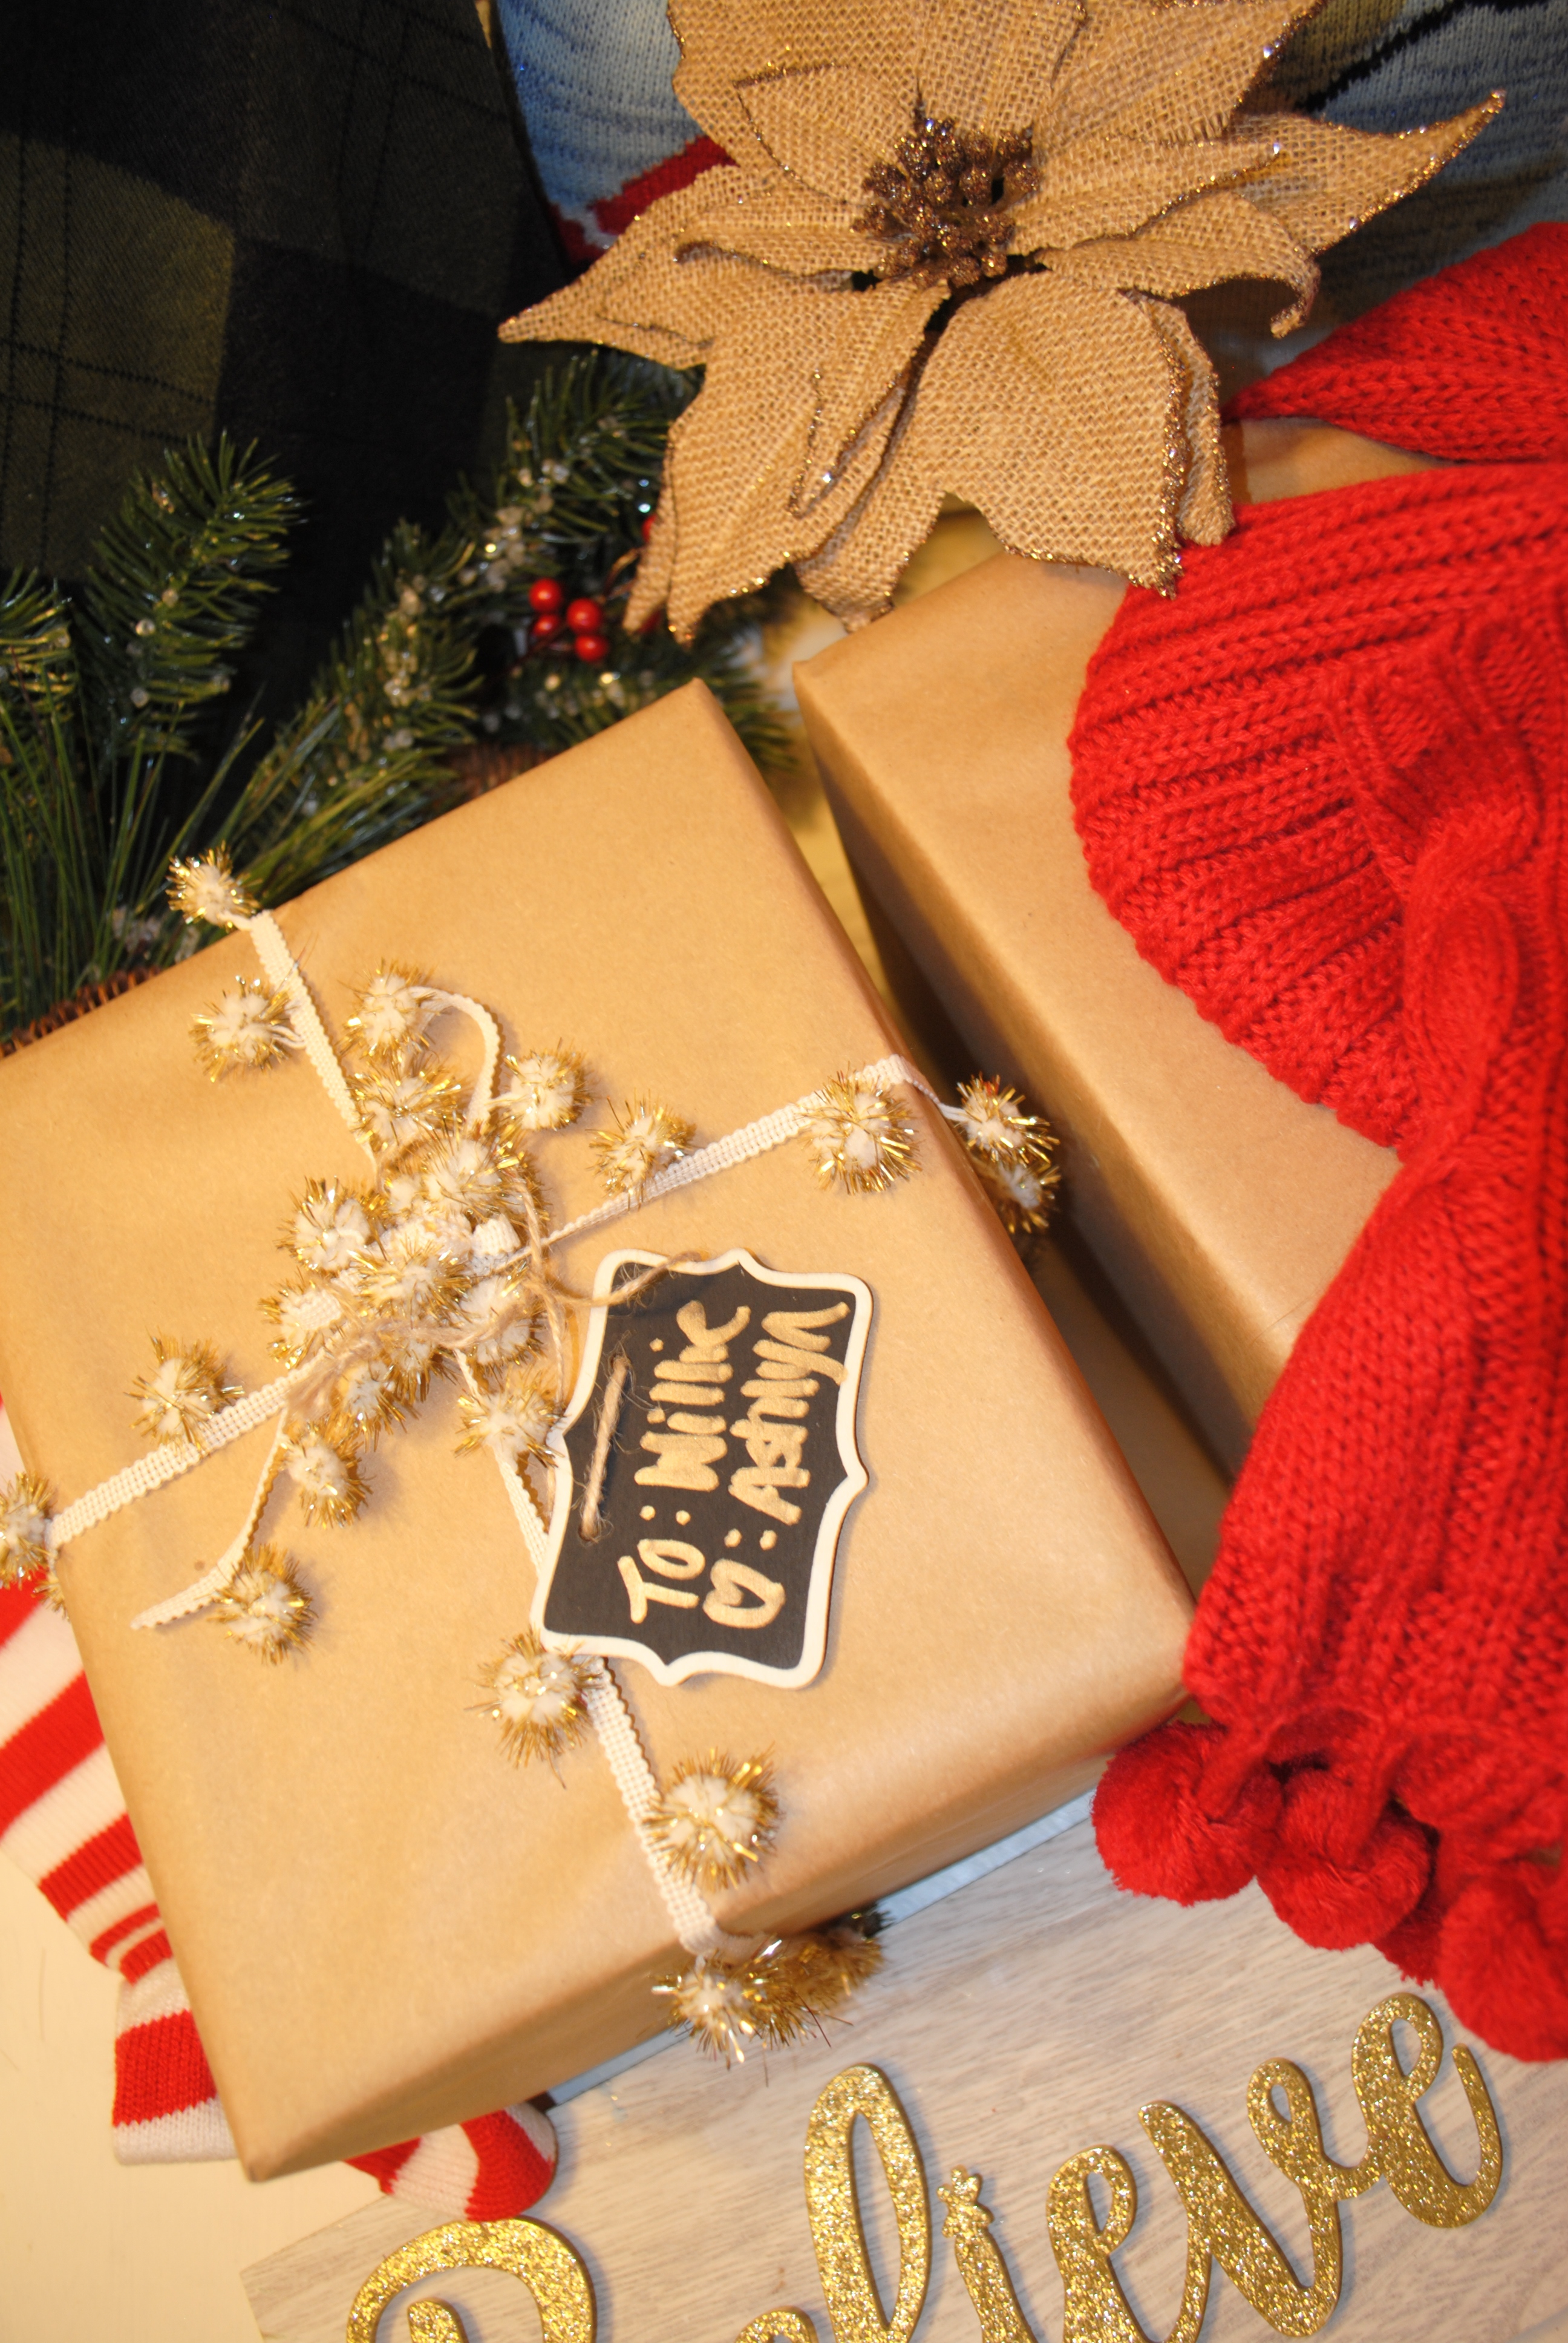
The craft paper and leftover ribbon is like a normal wrapping paper where you’ll need just scissors and tape. After measuring and centering your gift, take the long end pieces up to go under one another and secure with tape. Next, take your two short ends and make pointed ends that will meet in the middle to secure with tape. Finish with looping leftover ribbon around the gift with ultimately making a box to secure it. The craft paper roll will last you ALL Christmas if you purchase a big one, so it really is a cheap way to wrap gifts. If you don’t have leftover craft ribbon, try buying a large spool of twine and add either tree trimmings, pine cones, feathers, chalkboard sign labels, or faux flowers to finish off the DIY look.

Finally for the sweaters. I used an old hubby sweater for one box and a $3.50 thrifted Christmas sweater to create two unique wrapping ideas. You can cut these to fit, but I tried to wrestle with the fabric in order to preserve the sweater to either be worn be the recipient or donated again. Who doesn’t love a silly Christmas sweater, it’s just part of the season! To do this pick the opening side to be your face-down side to be secured with bobby pins. Then, with the arms you create a sort of knot at the top. The sweater is also an amazing and easy way to wrap odd shaped packages. Literally just pull it over the gift, secure bottom and top, add embellishment and you have an adorable gift that anyone would love. Gift wrapping doesn’t have to be perfect! I love the fun ideas that make my gifts special.

Will you try any of these ideas this Christmas? Reusing and recycling is a great way to save money while also creating memorable gifts for all your friends and family. Now I’m ready to start Christmas decorating!

Check out thredUP’s full post: Easy Holiday Gift and Décor Ideas from Our Favorite Bloggers

Tuesday, November 14, 2017

Roasted Squash Soup with Squash Bowls

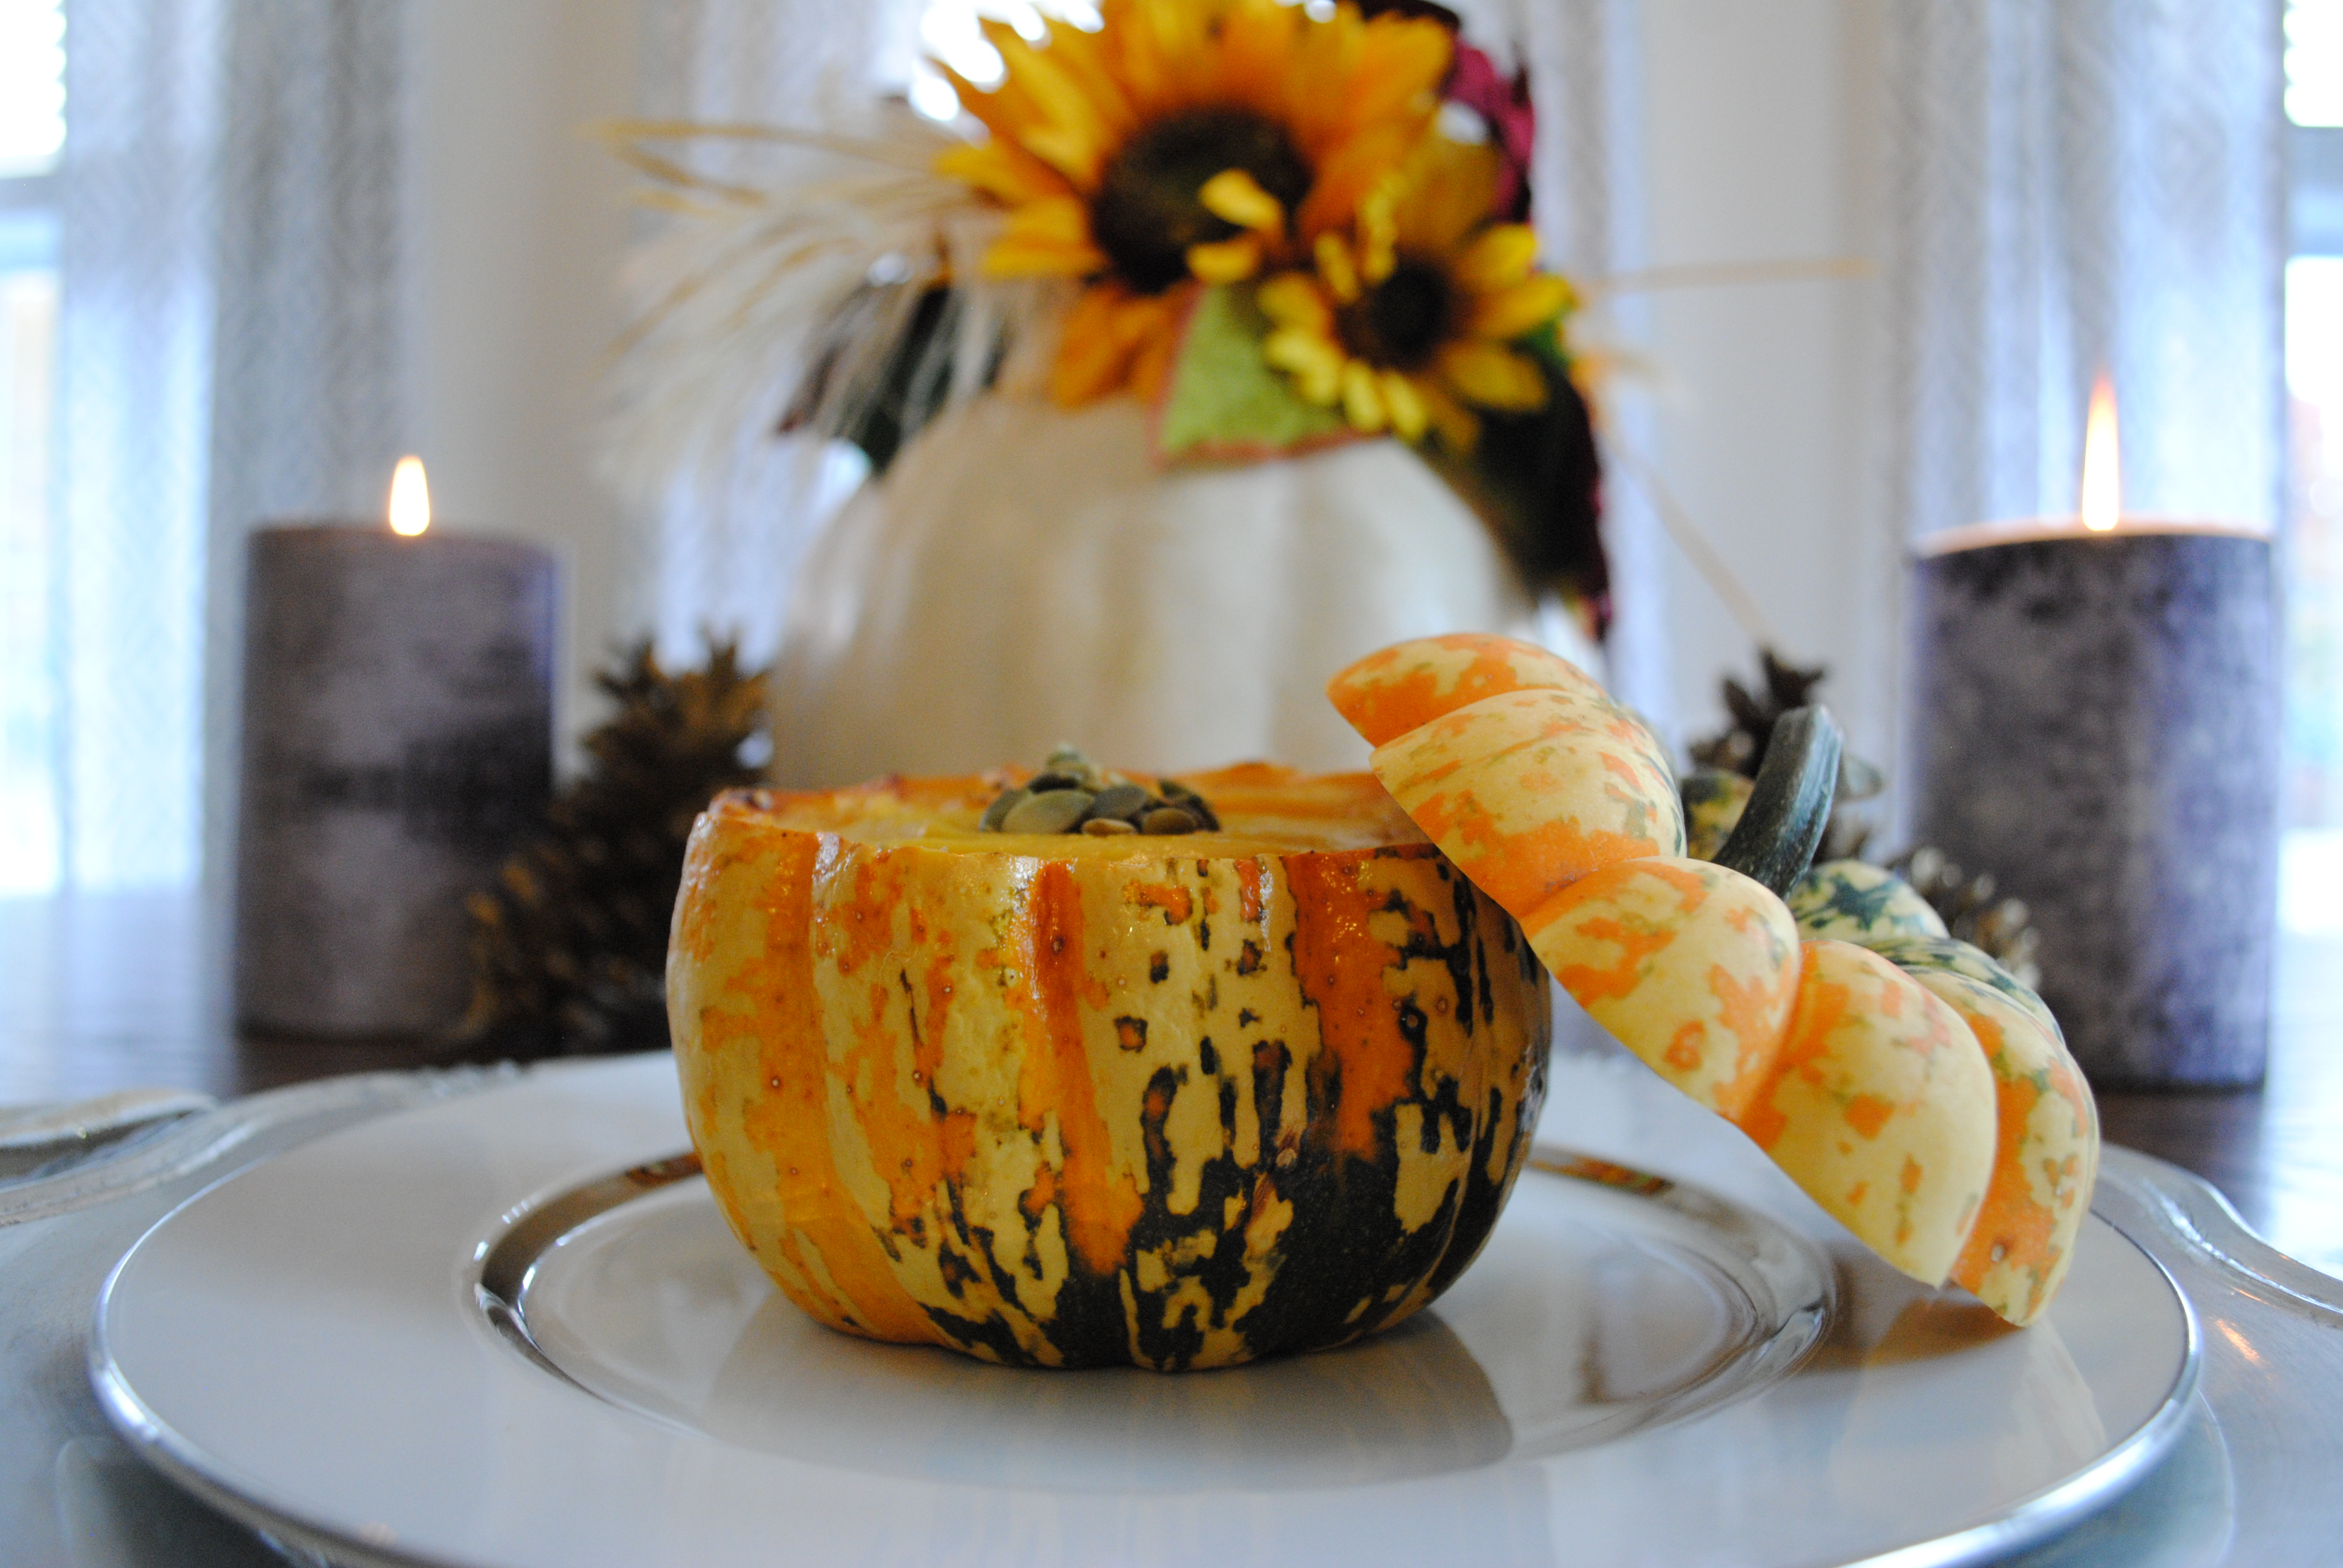
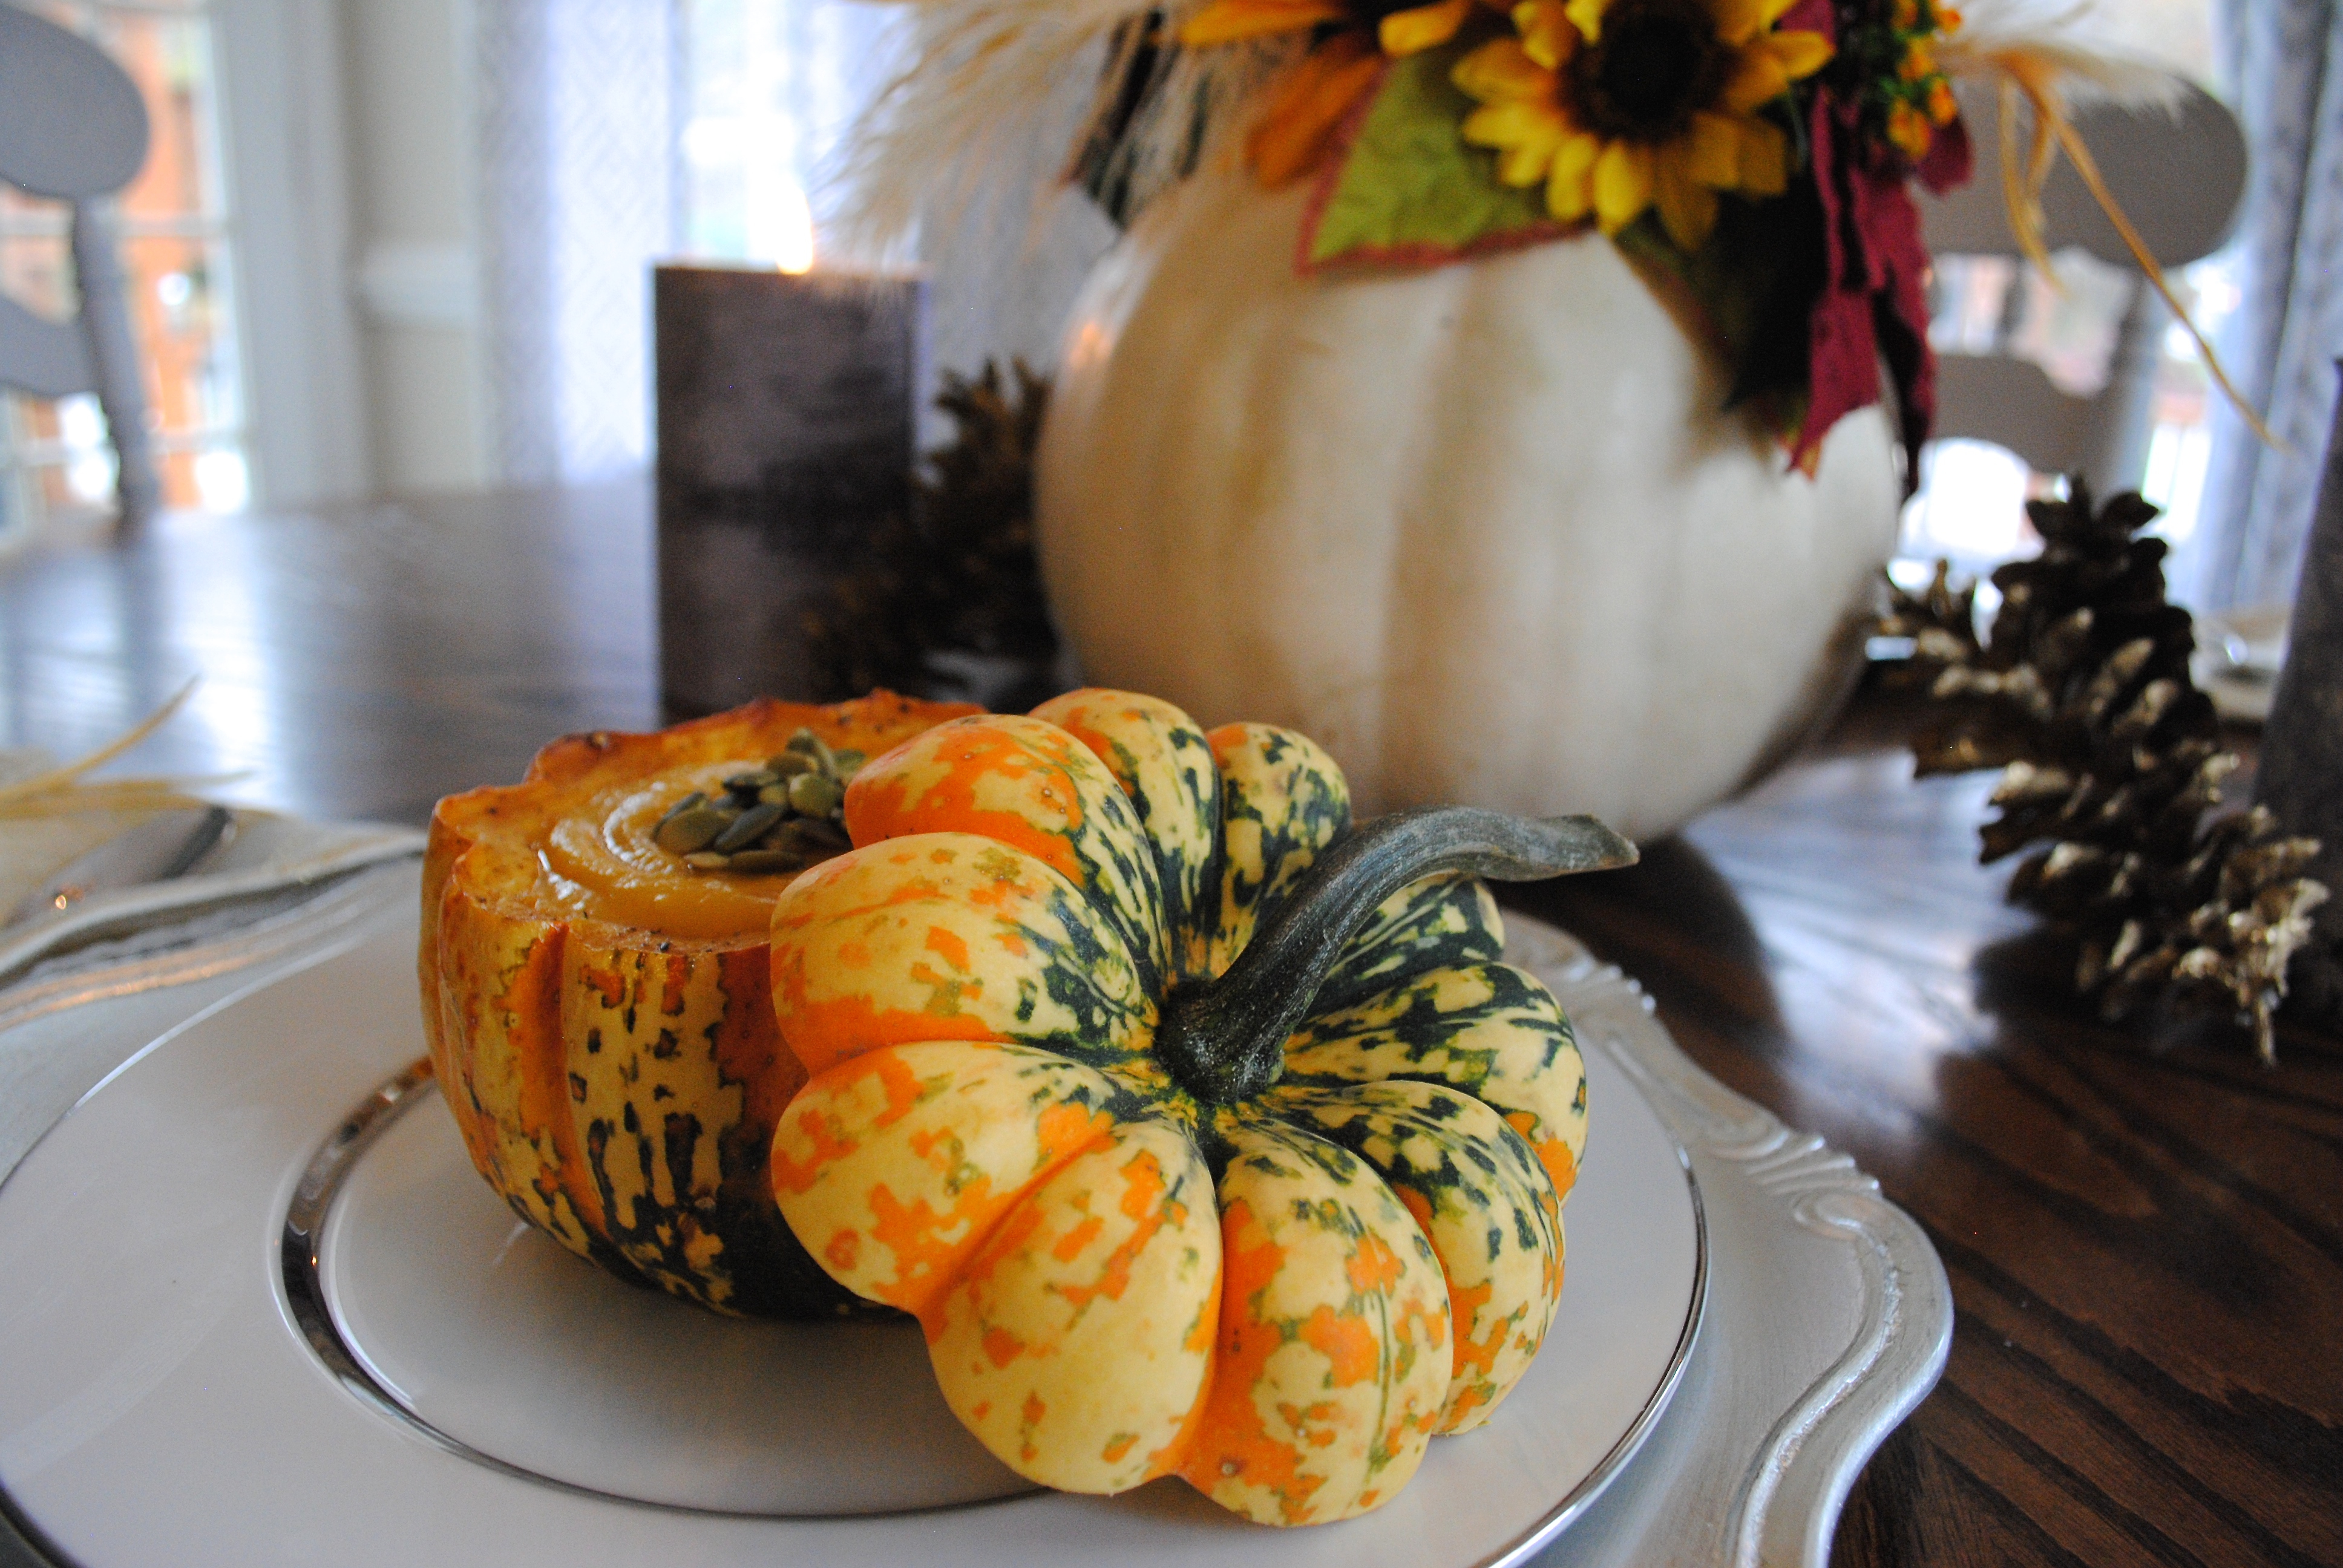
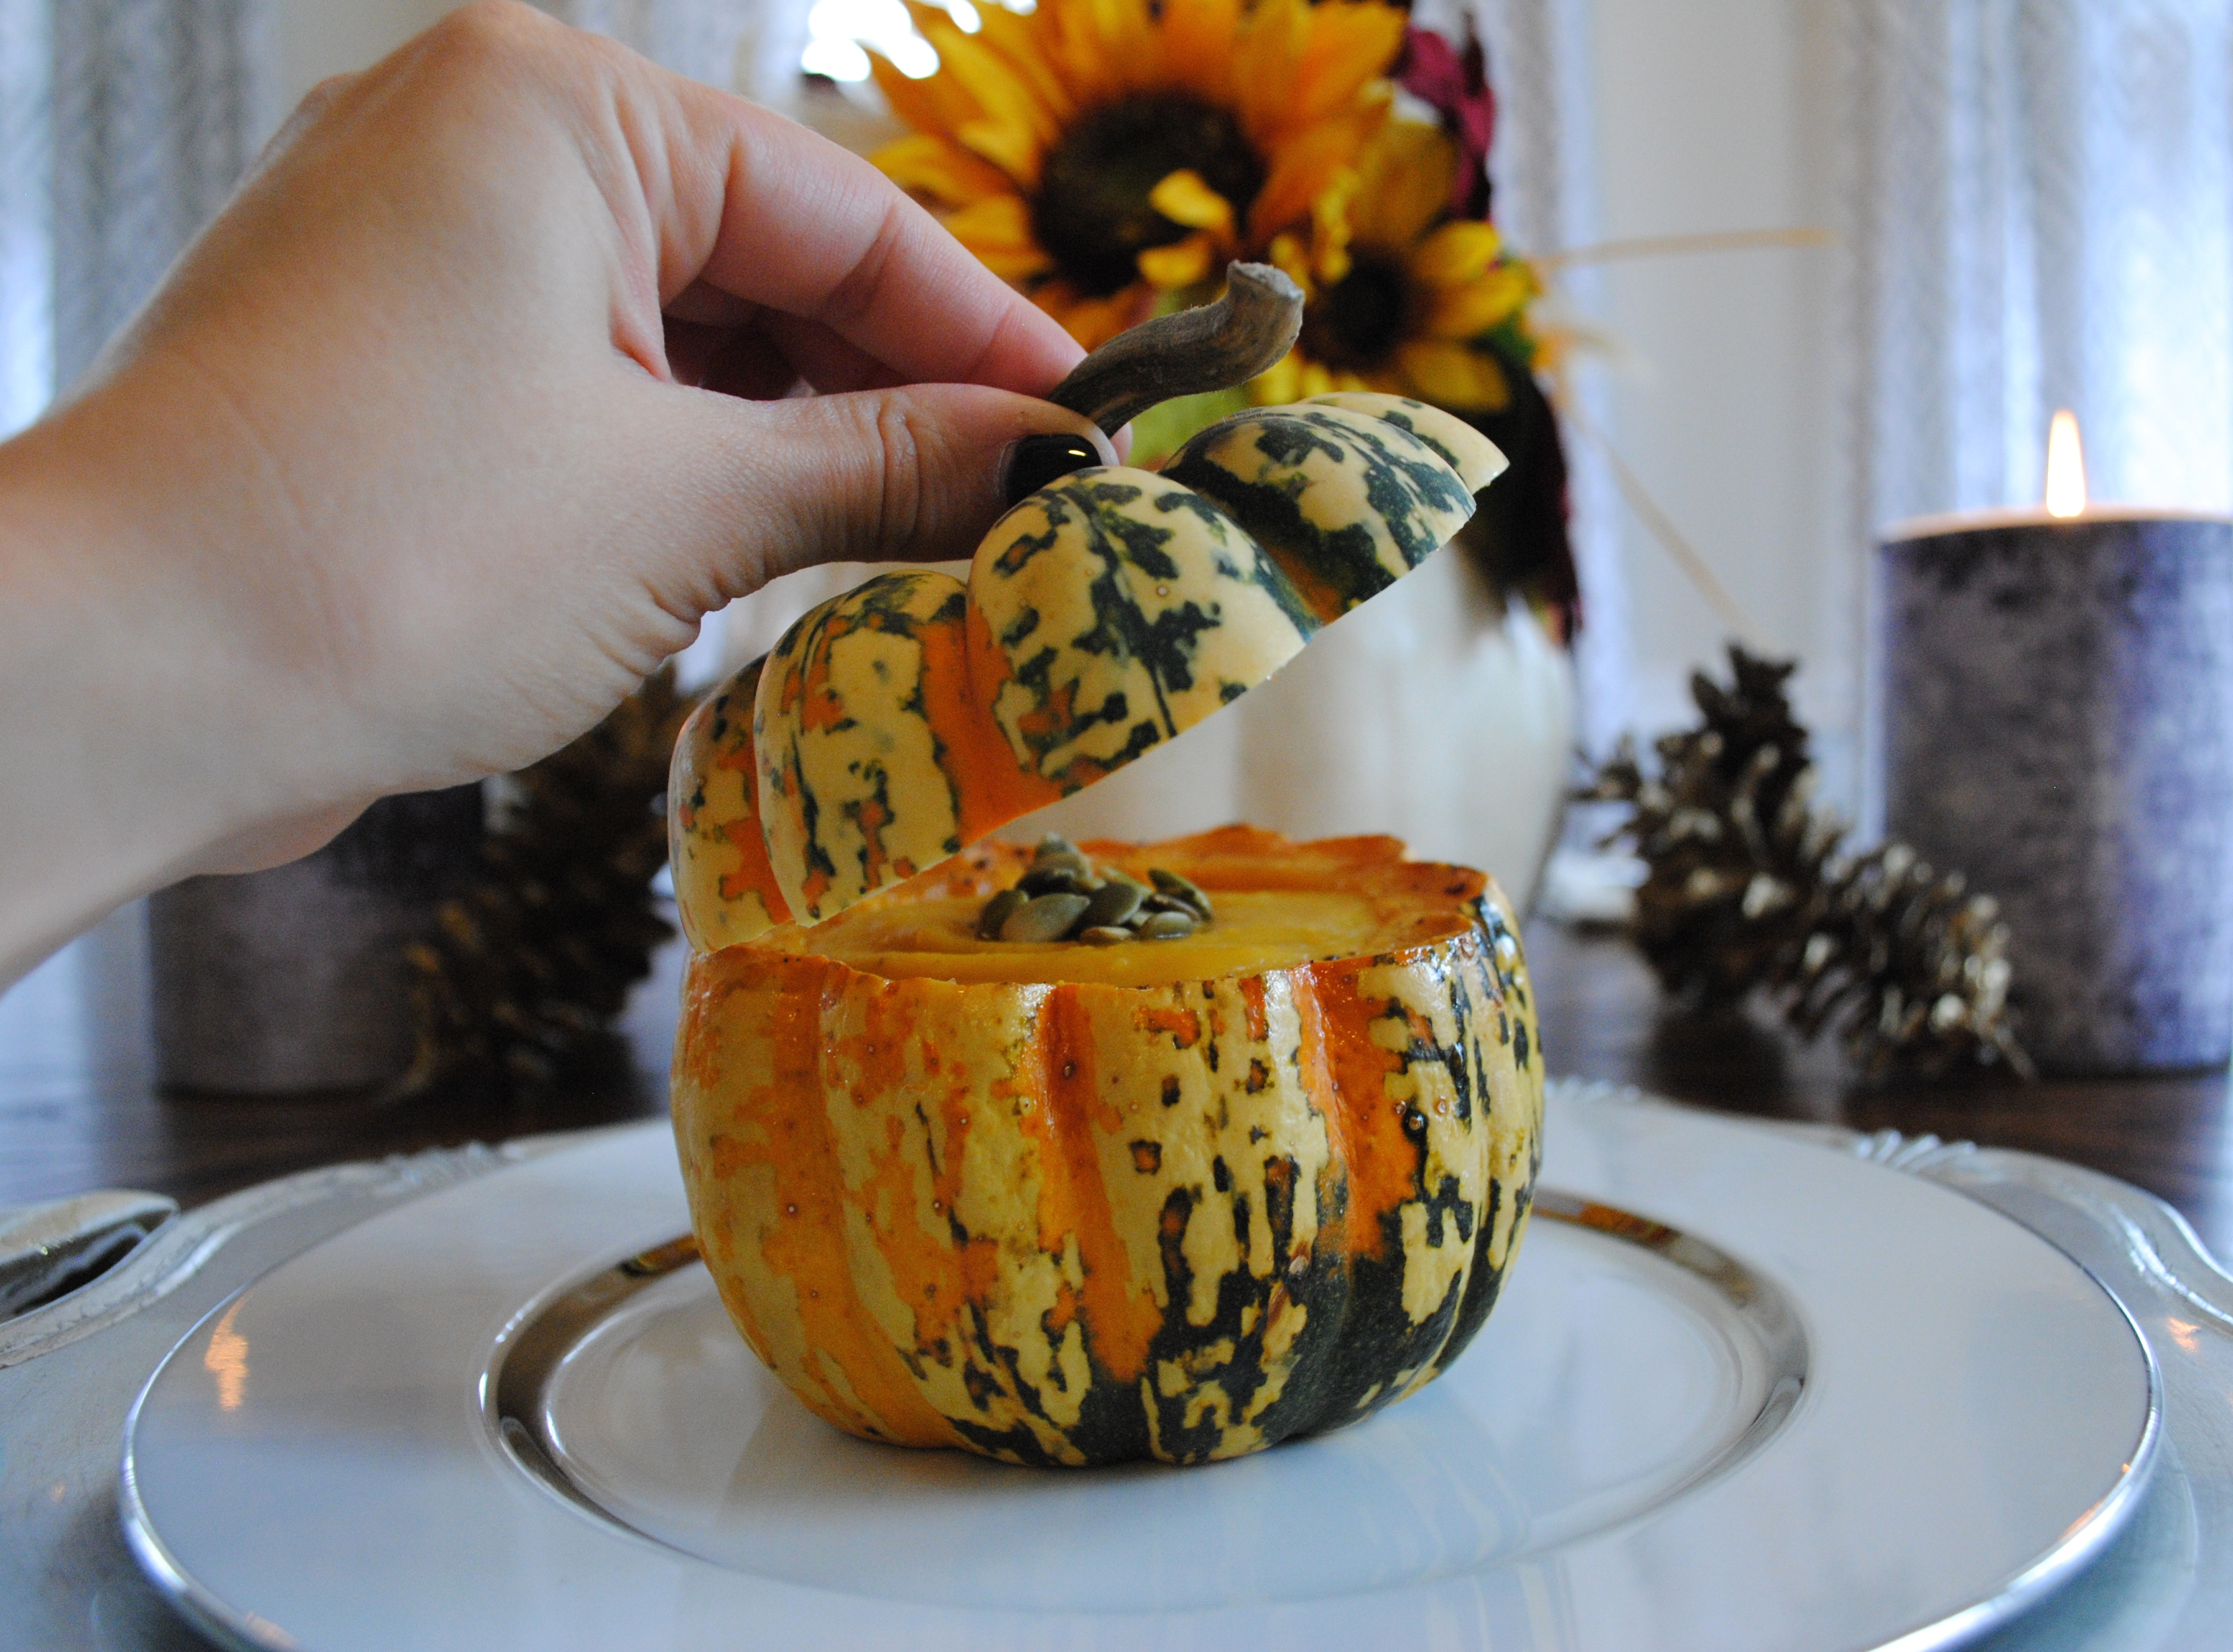
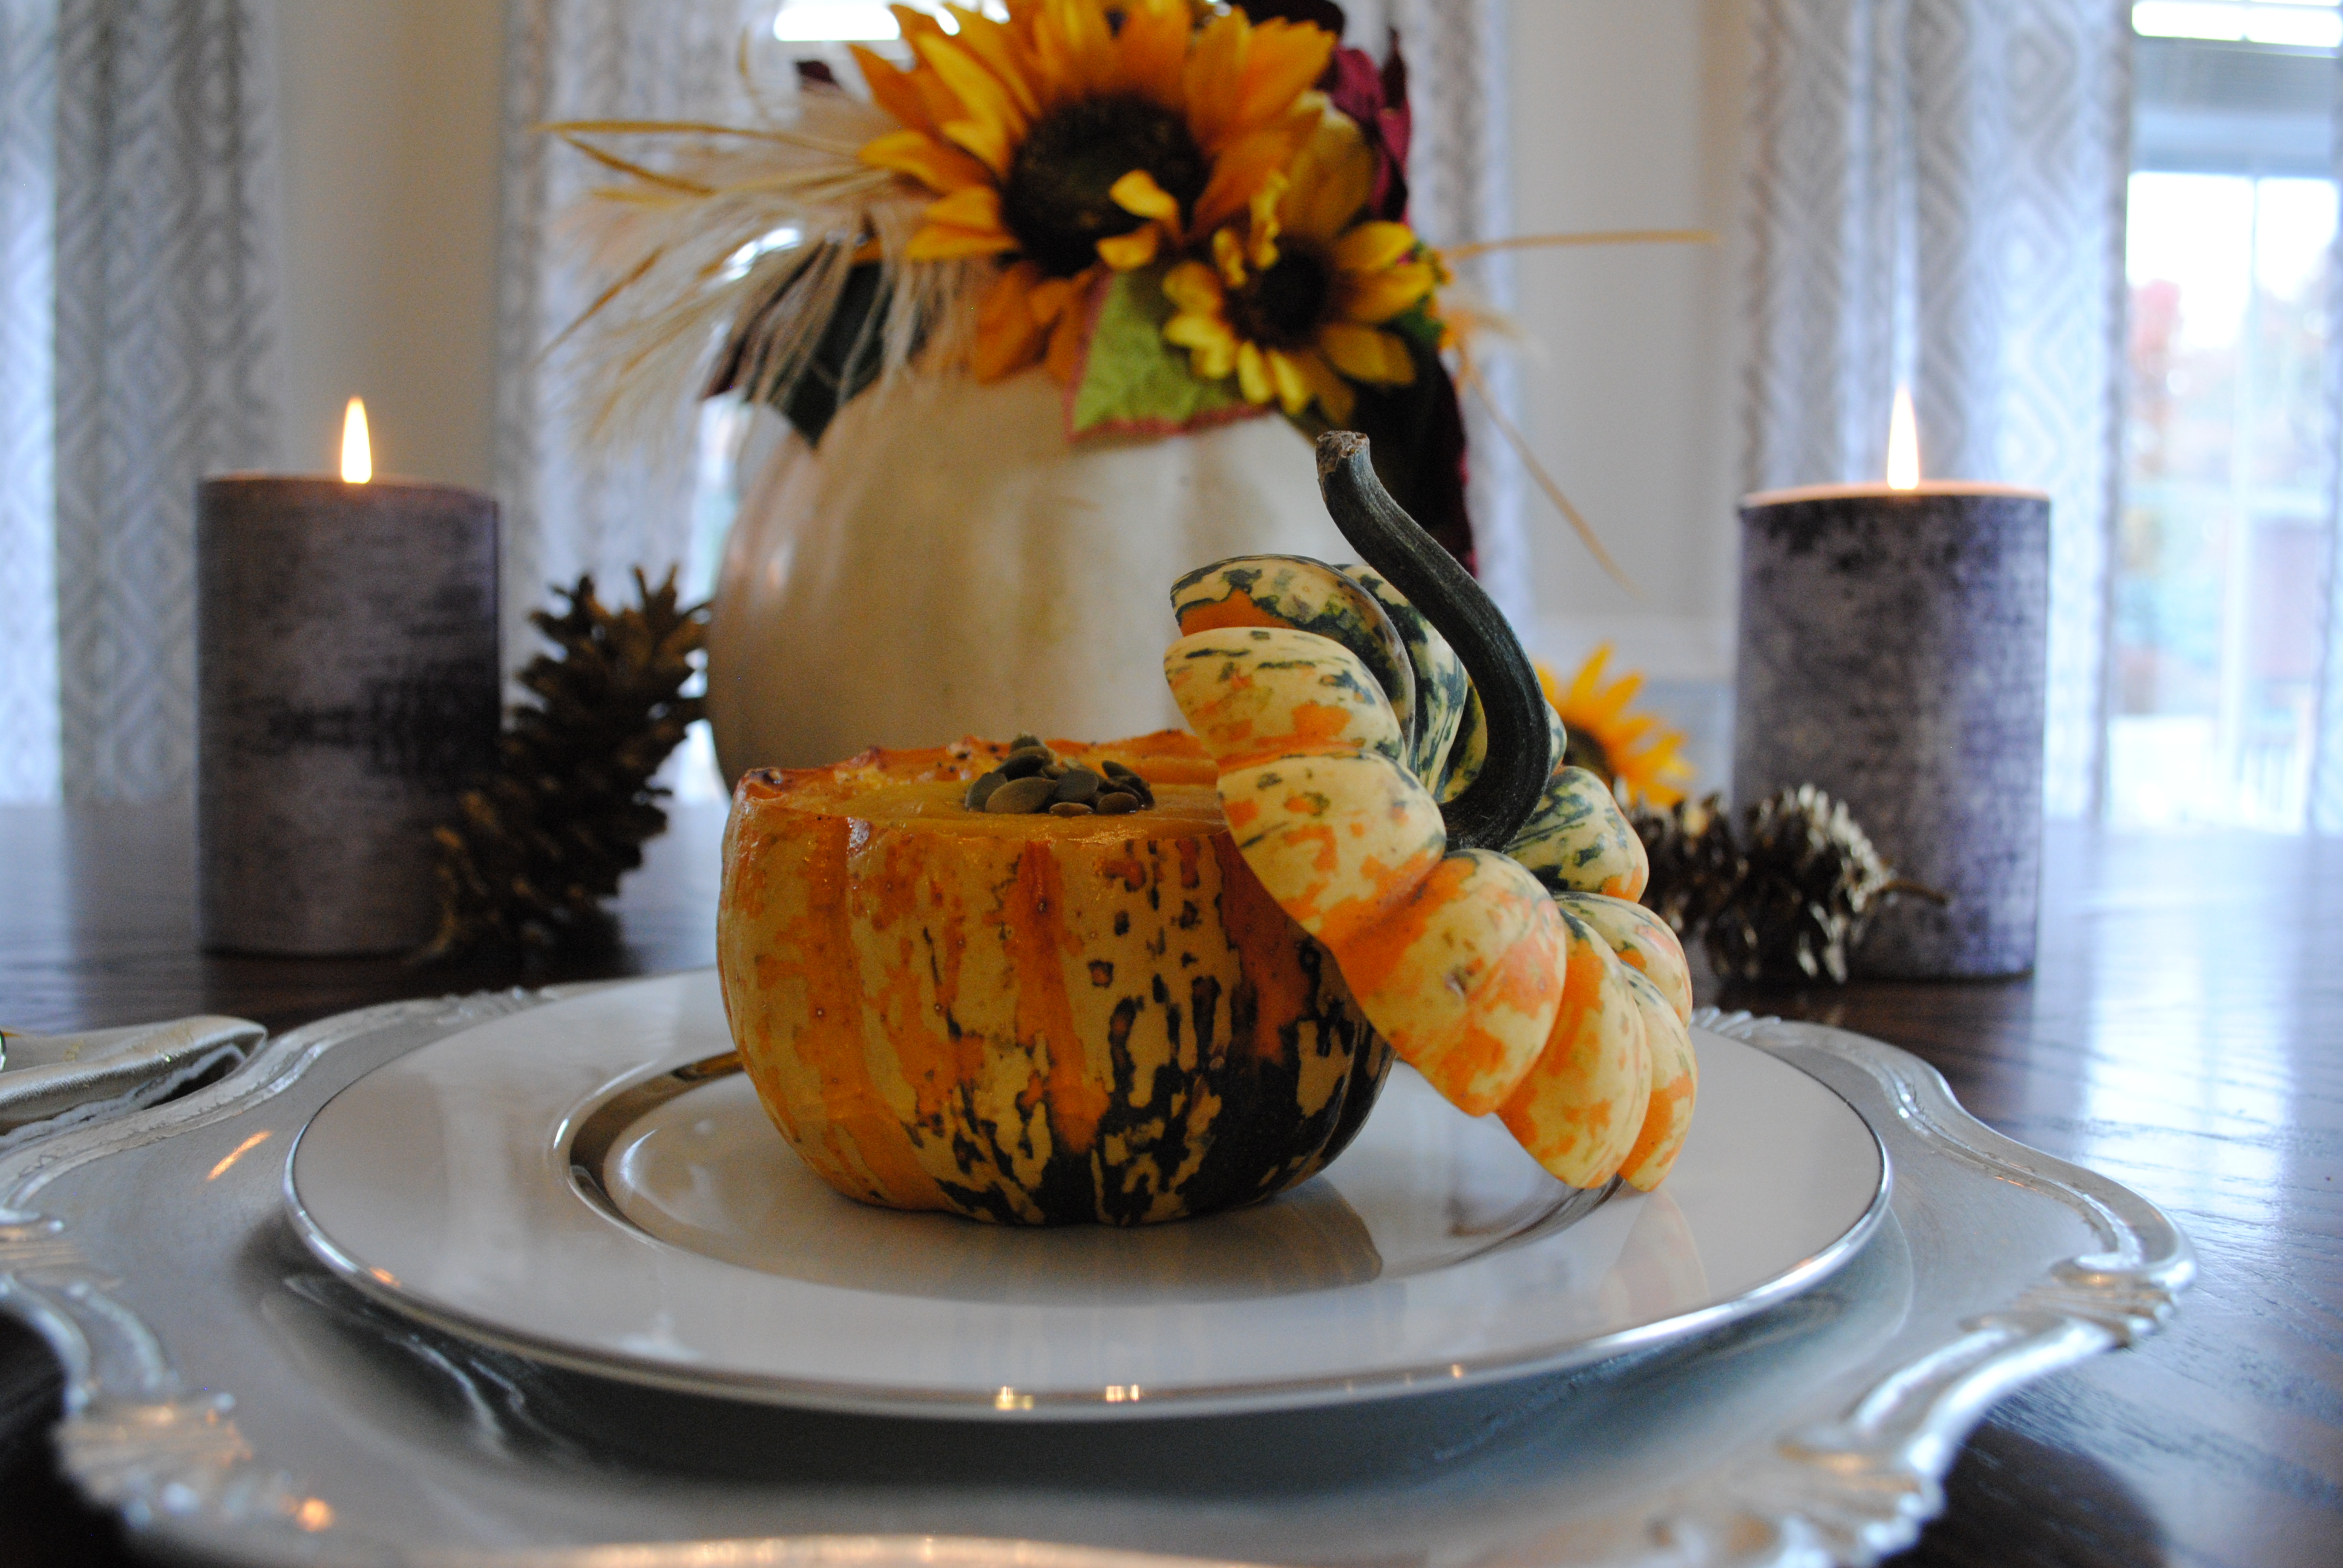
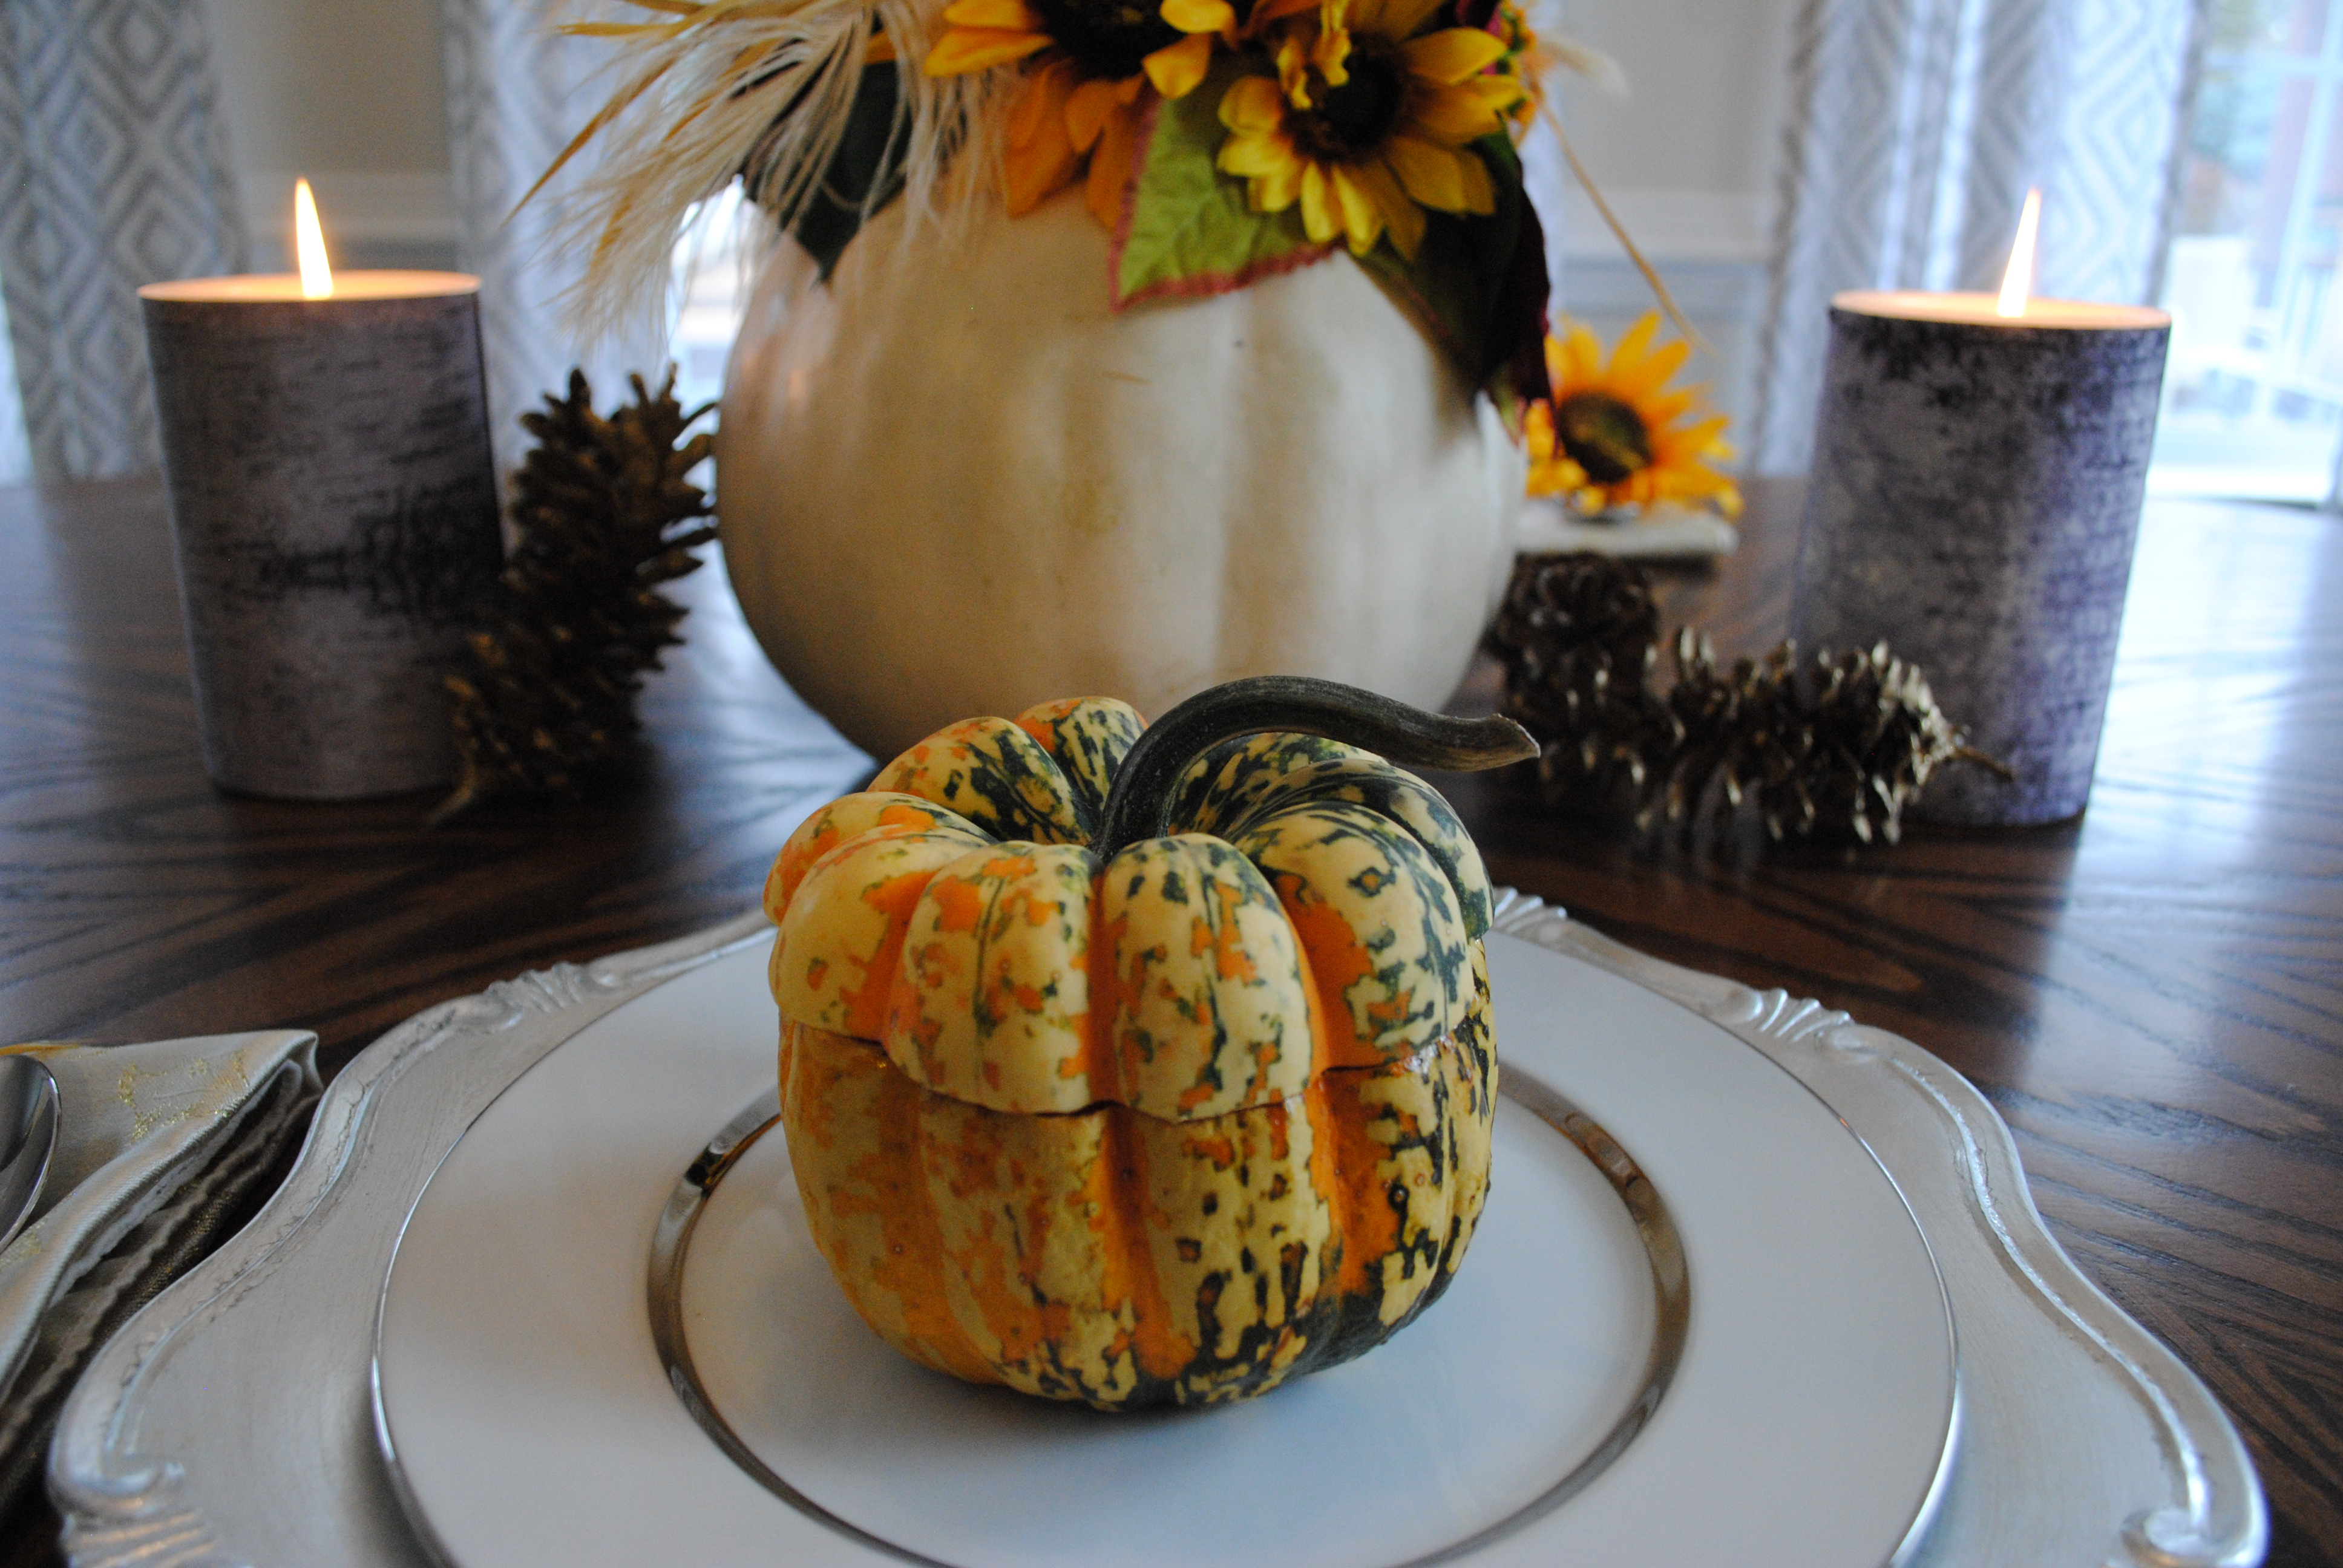
For months I have been OBSESSED with the Whole Foods triple squash soup. It has a little texture of the fresh vegetables and is the perfect light lunch with amazing fall flavors. So on a mission to have this yummy soup year-round and control my ingredients, I created this recipe. Roasting the squash brings out the delicious flavor. Then you just simmer with a little coconut milk, broth, and spices, then it’s ready to be blended. Oh and can we talk about the stunning confetti squash bowls?!? How perfect are these as a first course for Thanksgiving?

Roasted Squash Soup

Ingredients:

  • 2 Delicata Squash (peeled, deseeded, chopped)
  • 2 Butternut Squash (peeled, deseeded, chopped)
  • 2 Acorn Squash (halved, deseeded)
  • 1 Onion (chopped)
  • Drizzle of Olive Oil (just enough to cover all the squash)
  • Salt & Pepper to taste
  • 1 Can of Unsweetened Full Fat Coconut Milk
  • 1 Carton of Vegetable Broth
  • 2 tbsp. of Minced Fresh Ginger
  • 1 tsp. of Cinnamon
  • 2 tsp. of Turmeric
  • 1 tsp. of Garlic Powder

Directions:

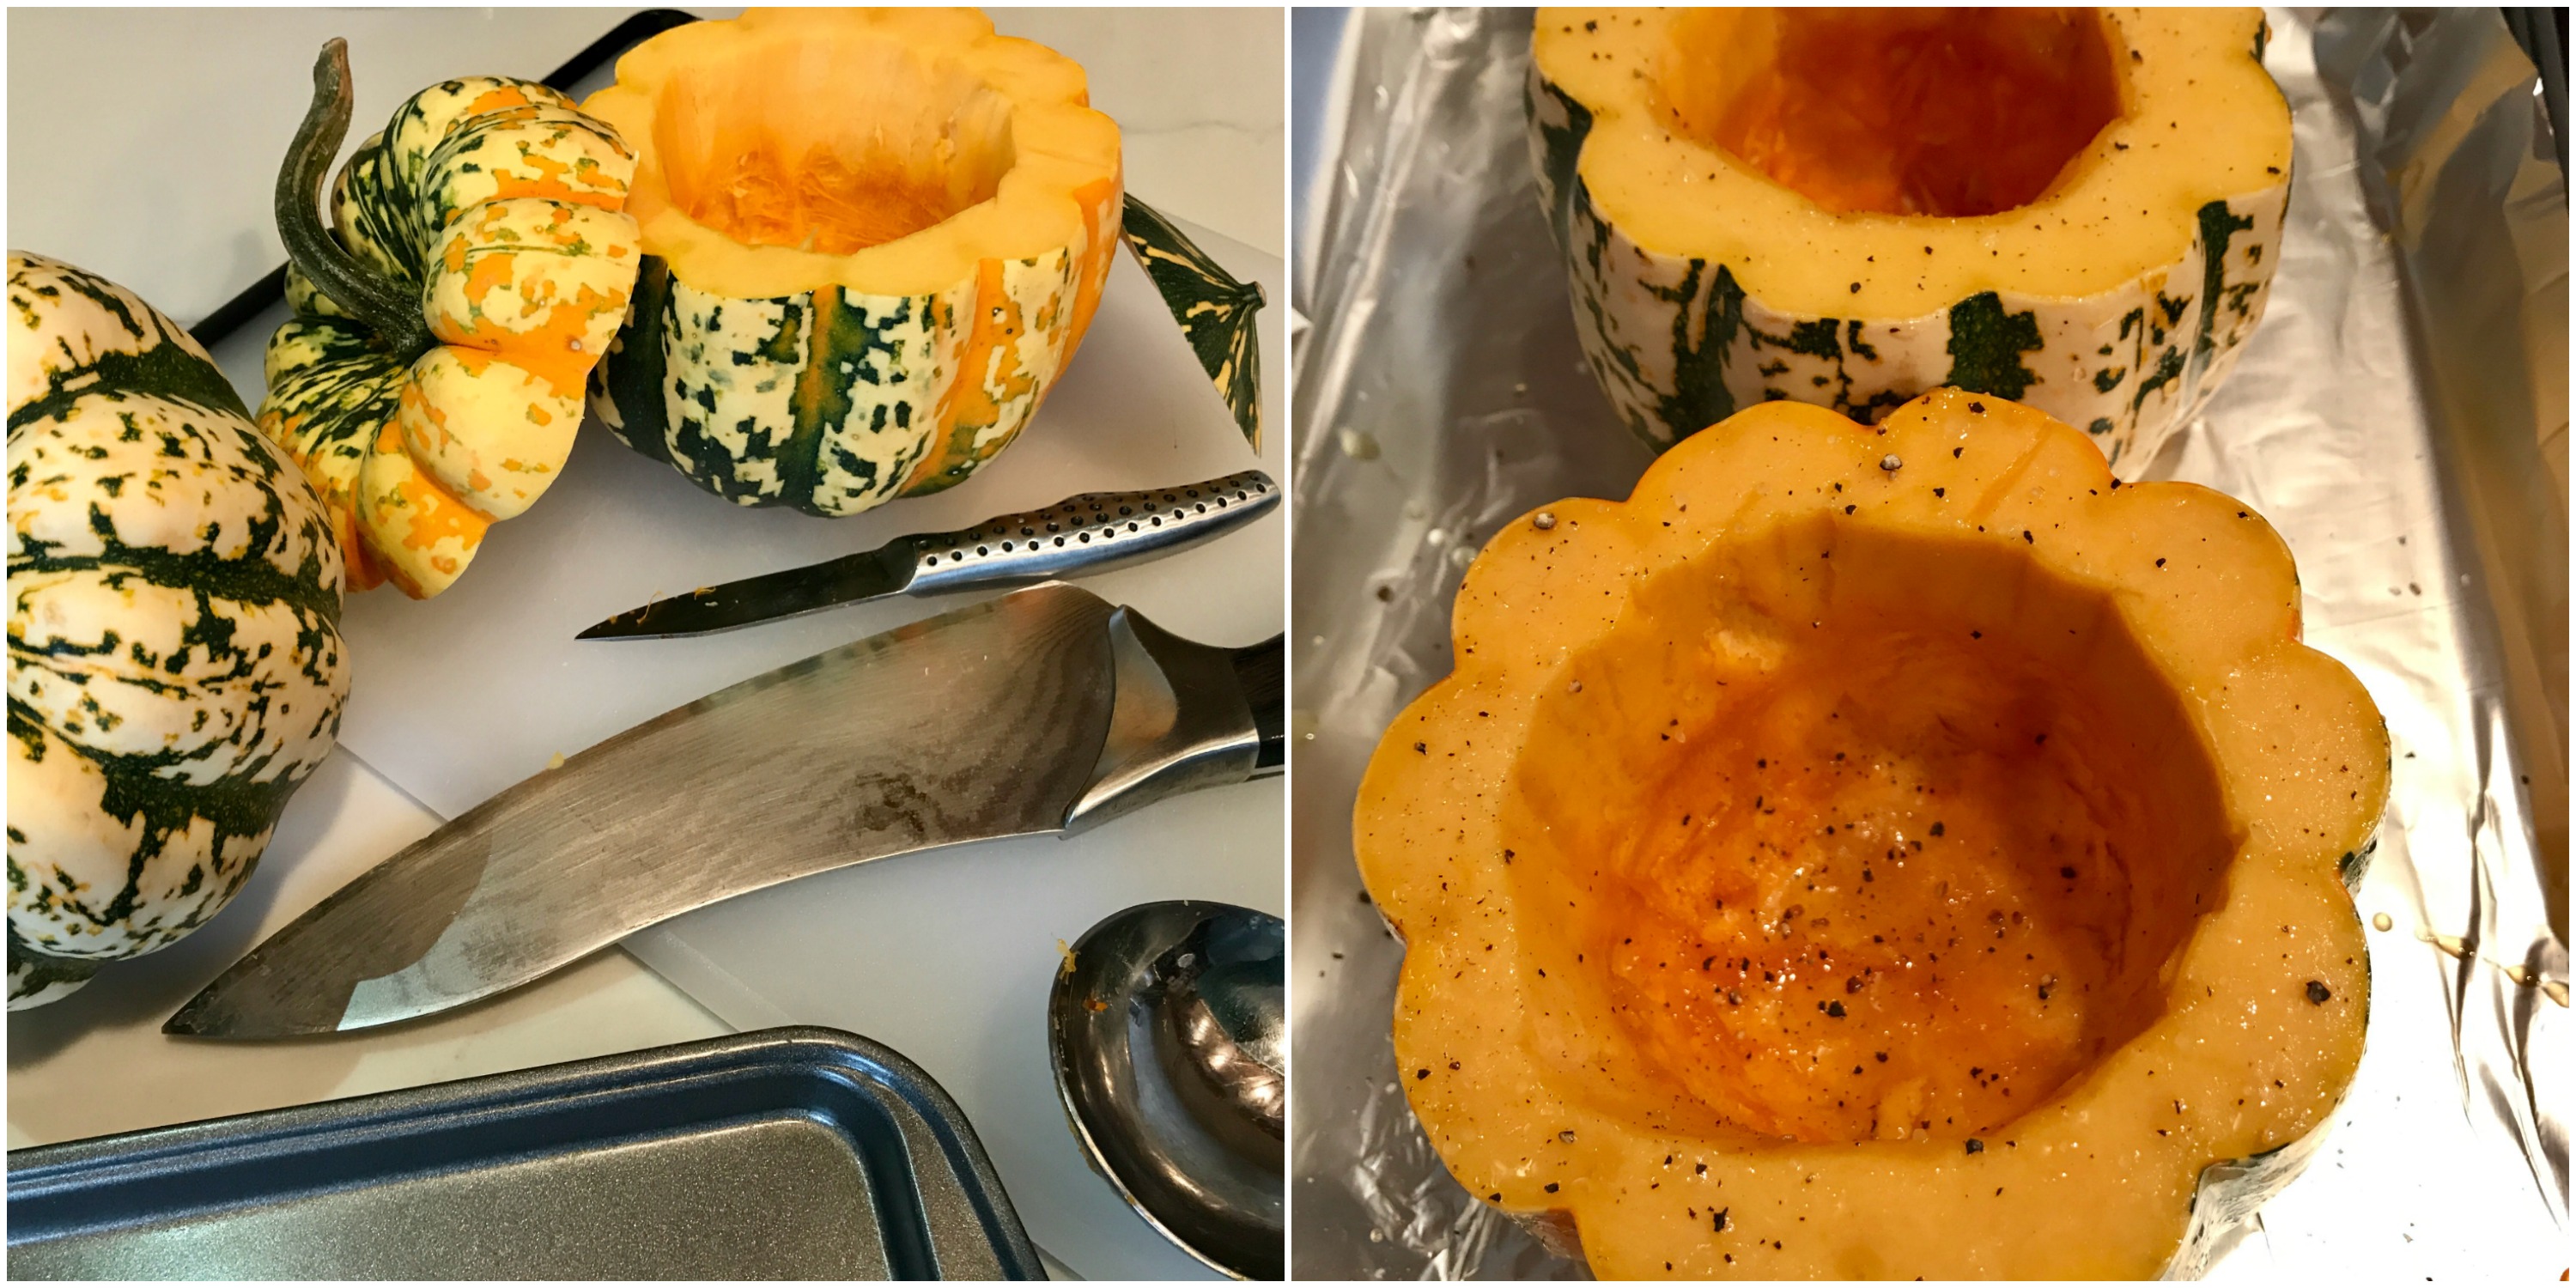
I used a triple squash combination of acorn, butternut and delicata.  For the butternut and delicata I peeled, deseeded, and diced into cubes. I put them on a baking sheets with one chopped onion, olive oil, salt and pepper. For the acorn, I just cut in half, deseeded, drizzled olive oil, salt and pepper. Both of these baking sheets I baked at 425F for 1 hour. Once cooked (should be able to pierce smoothly with fork) you can add to a simmering pot of broth, coconut milk, spices and fresh ginger for about 15-20 minutes. After simmering use an immersion blender or batch to a regular blender to create a smooth soup texture. Ladle into a bowl and enjoy! I topped mine off with a few pumpkin seeds too.

Note – this soup is diary free, gluten-free, vegan (sub honey), and can be made Whole30 or Paleo with the removal of honey and the maple syrup from the squash bowls. If making Whole30 or Paleo, be mindful of the broth and coconut milk ingredients. I’ve linked my favorite brands in the recipe. I also used all organic squash, which isn’t necessary but made it super clean all-around!

Squash Bowl

Ingredients:

  • Confetti Squash (if you can’t find these, acorn is pretty too)
  • Drizzle of Olive Oil
  • Drizzle of Maple Syrup
  • Salt & Pepper

Directions:

Carefully cut off top off (about 1/2 inch down from top) and slight off bottom to enable the squash to sit flat. Cut a circle and pierce through with spoon to scoop all inside out. Drizzle with olive oil, maple syrup, salt and pepper. Roast at 400 for 45 minutes. I did not roast the top to keep it sturdy, but if you would like to, you can.

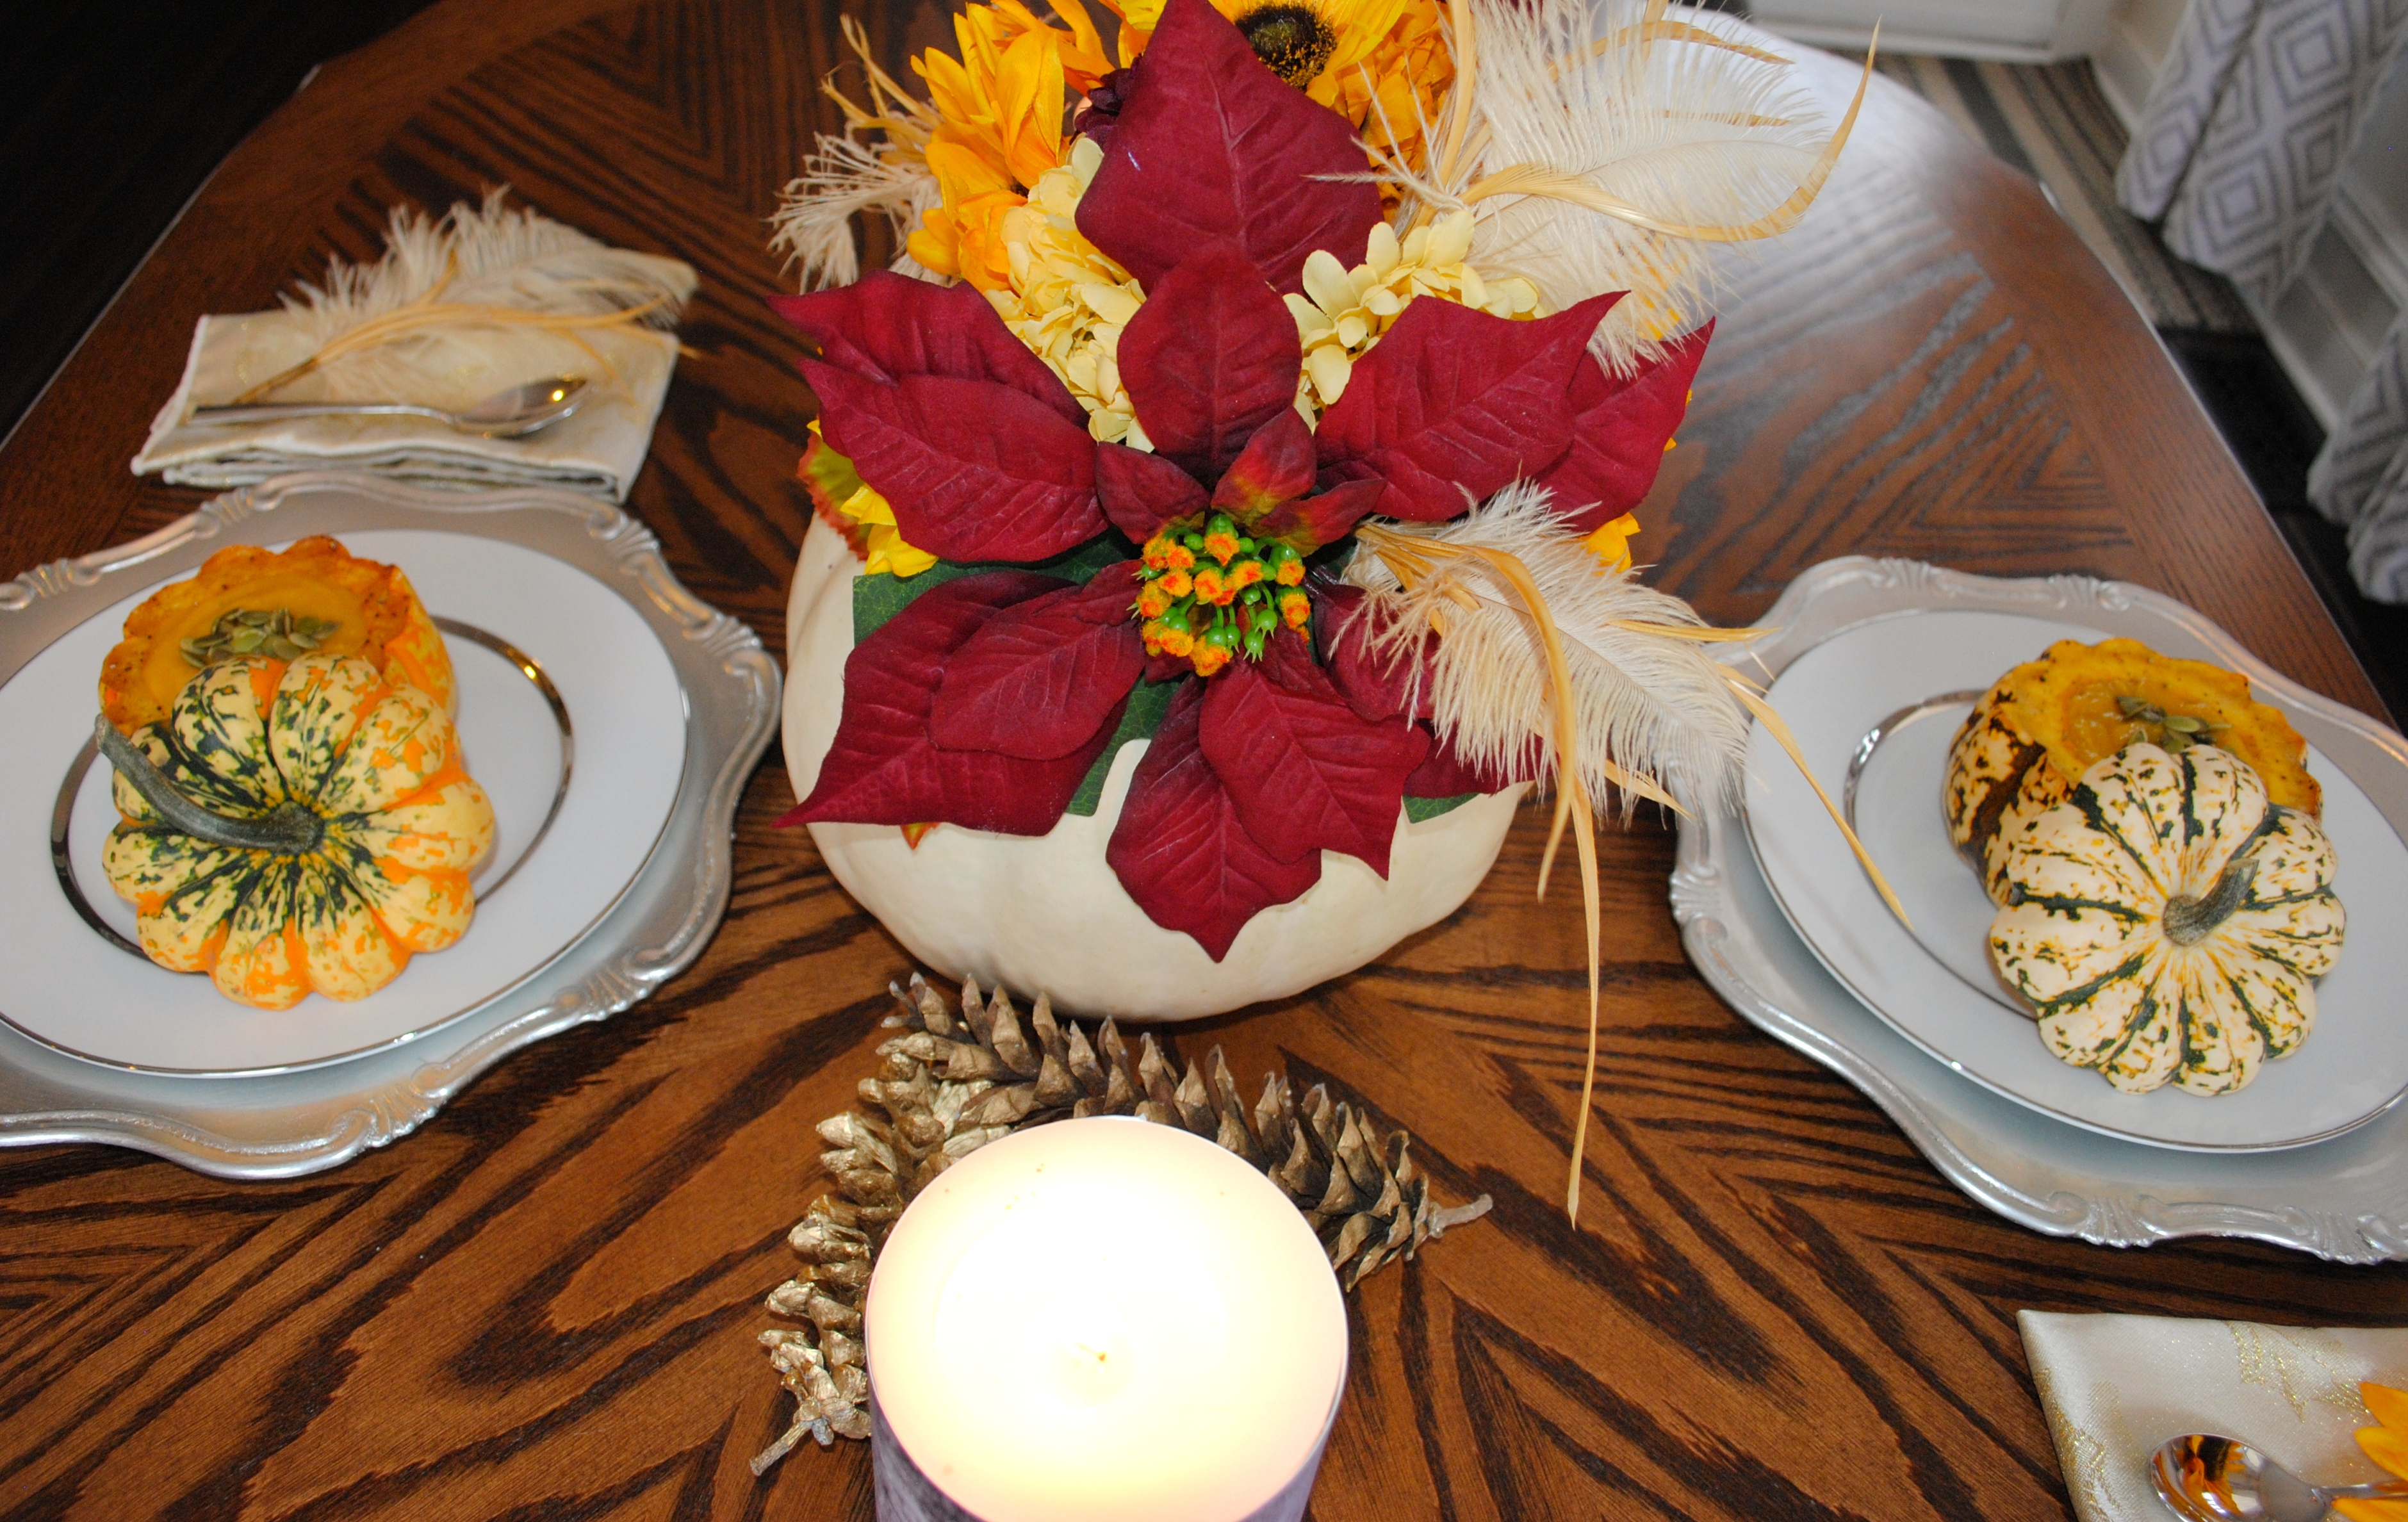
Adorning your Thanksgiving table with these cute little soup bowls will surely impress your guests. You could also treat your special someone to a fancy dinner at home and dress the table for them. Use things are the home to create a special tablescape. I used my grandmother’s china, thrift store napkins, pinecones I painted last year, and my stunning floral pumpkin centerpiece.

Friday, November 10, 2017

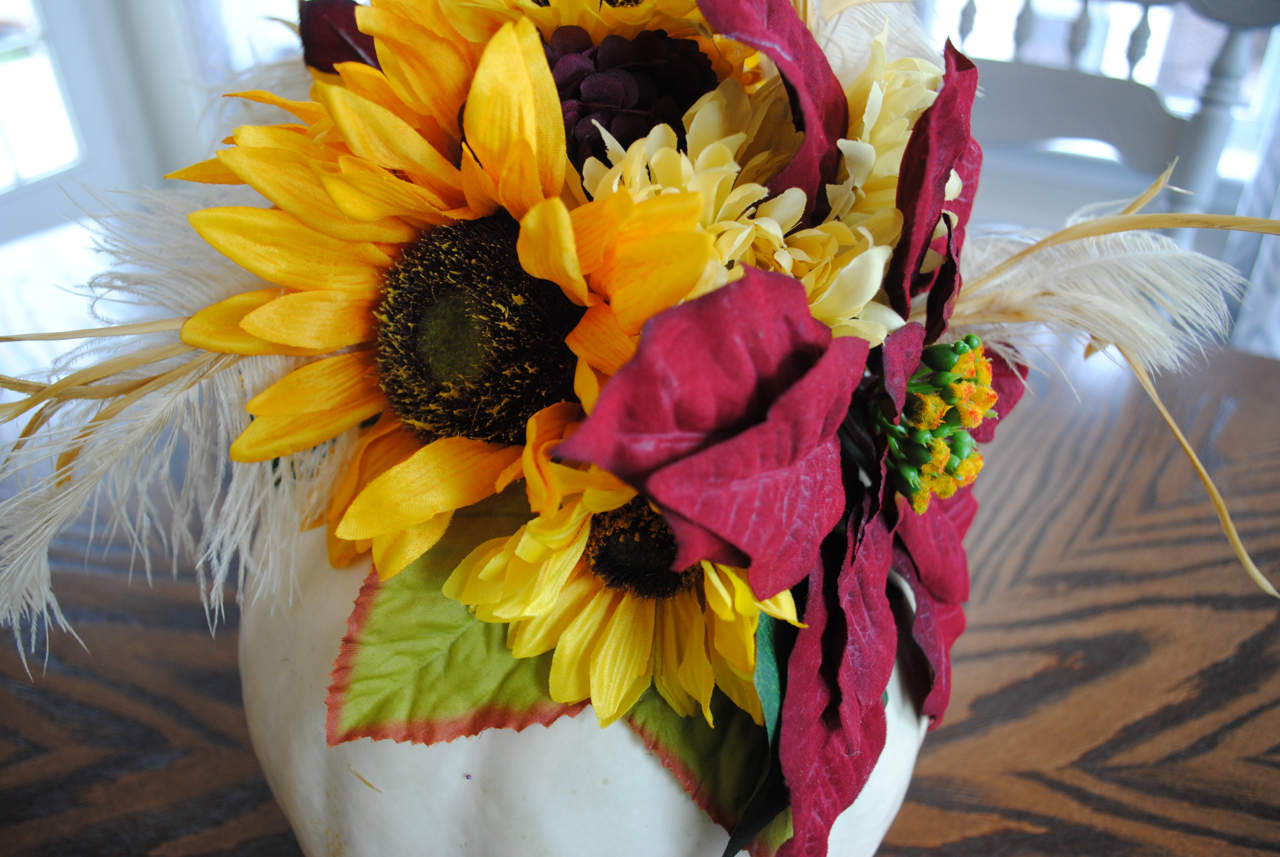
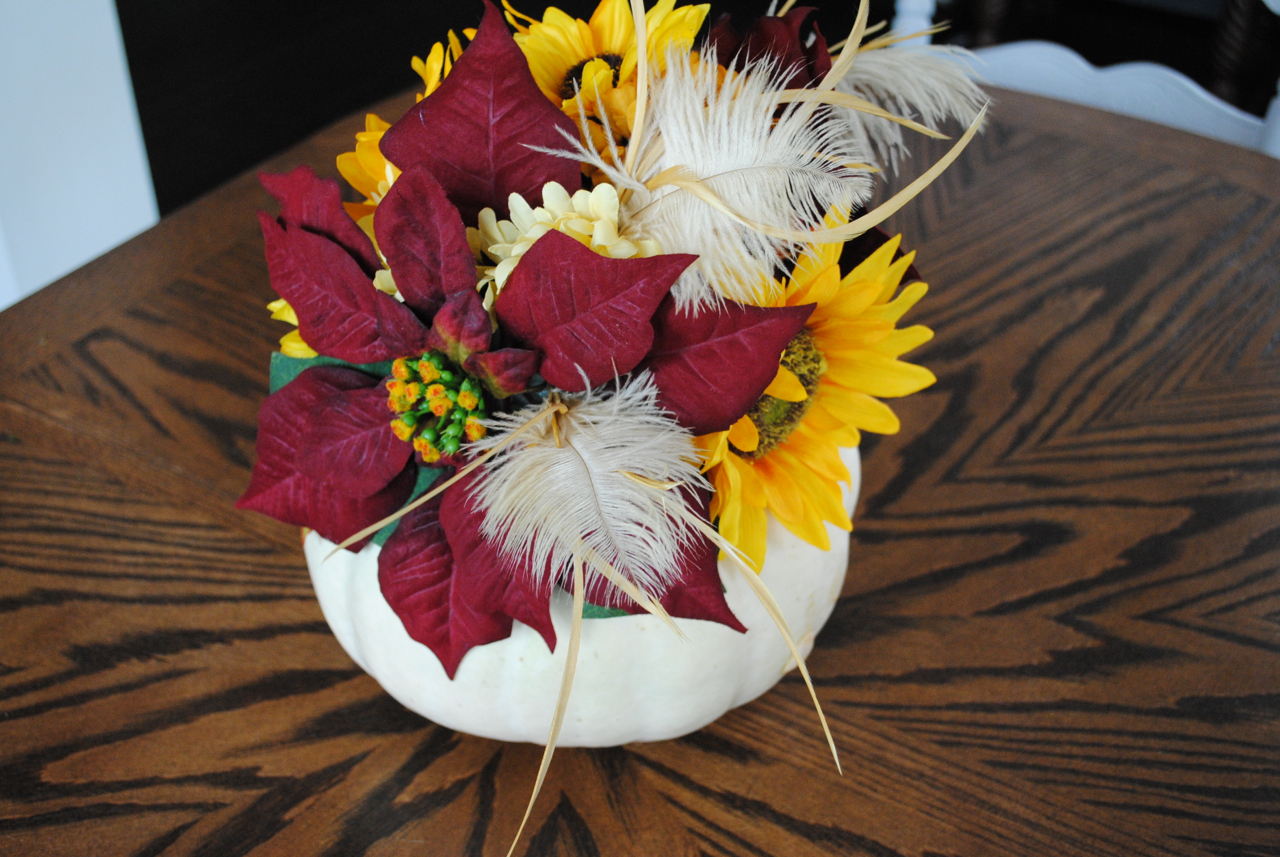
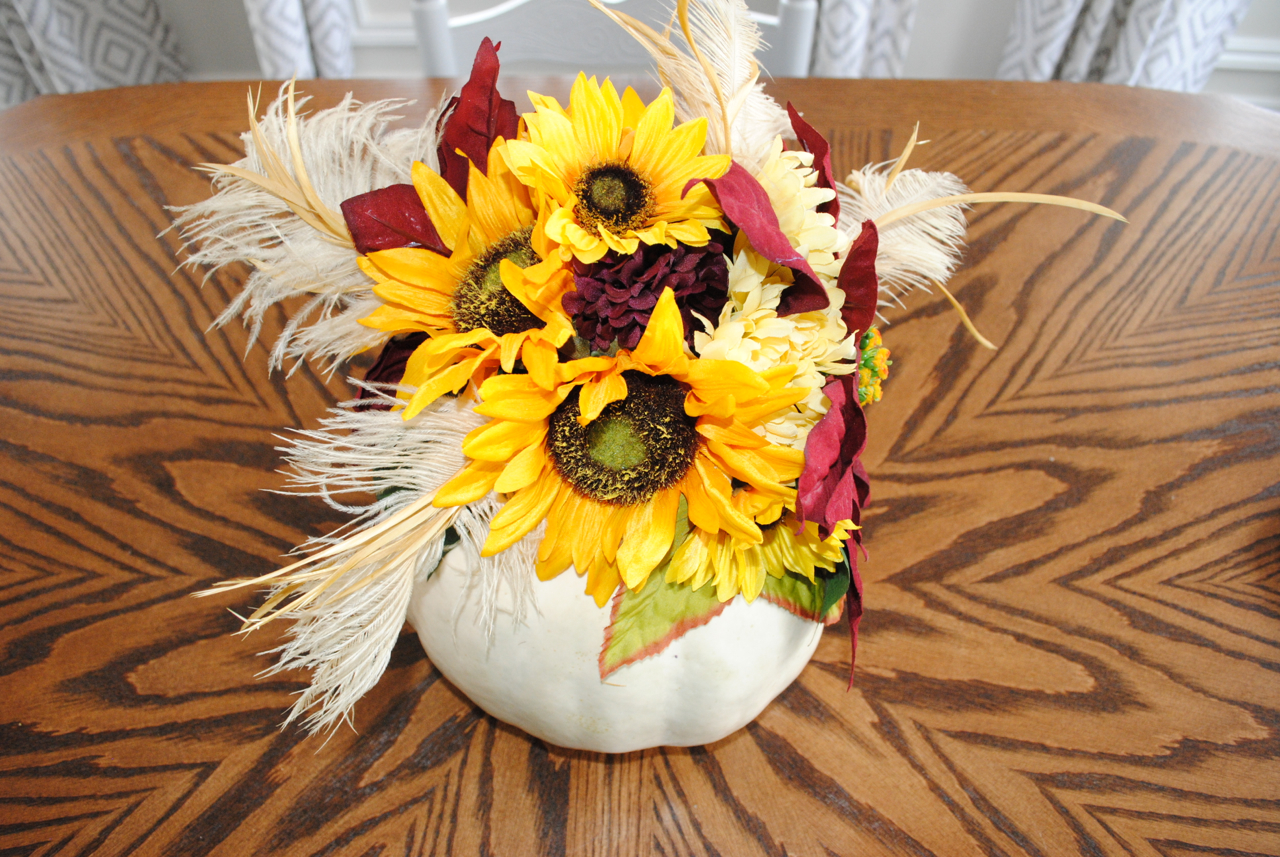
DIY Floral Pumpkin Centerpiece

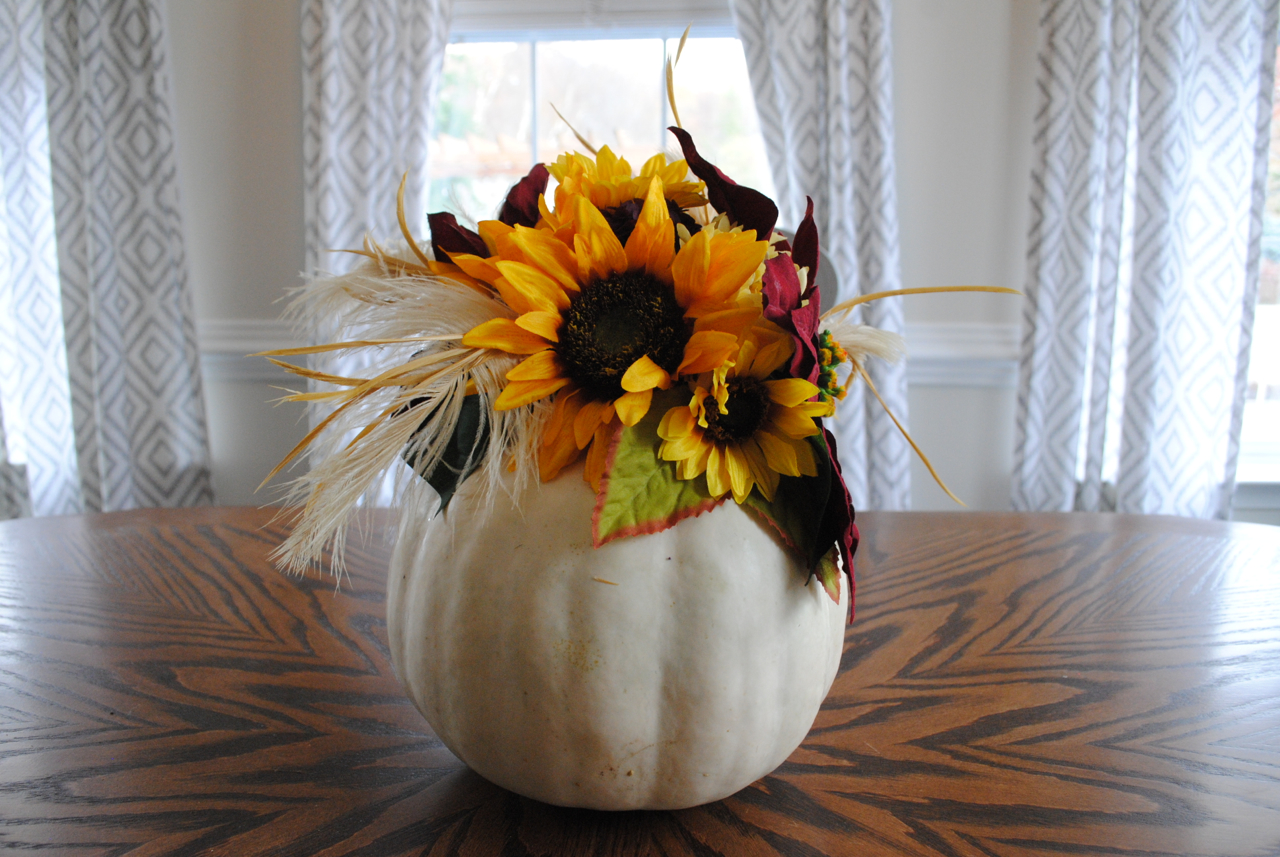
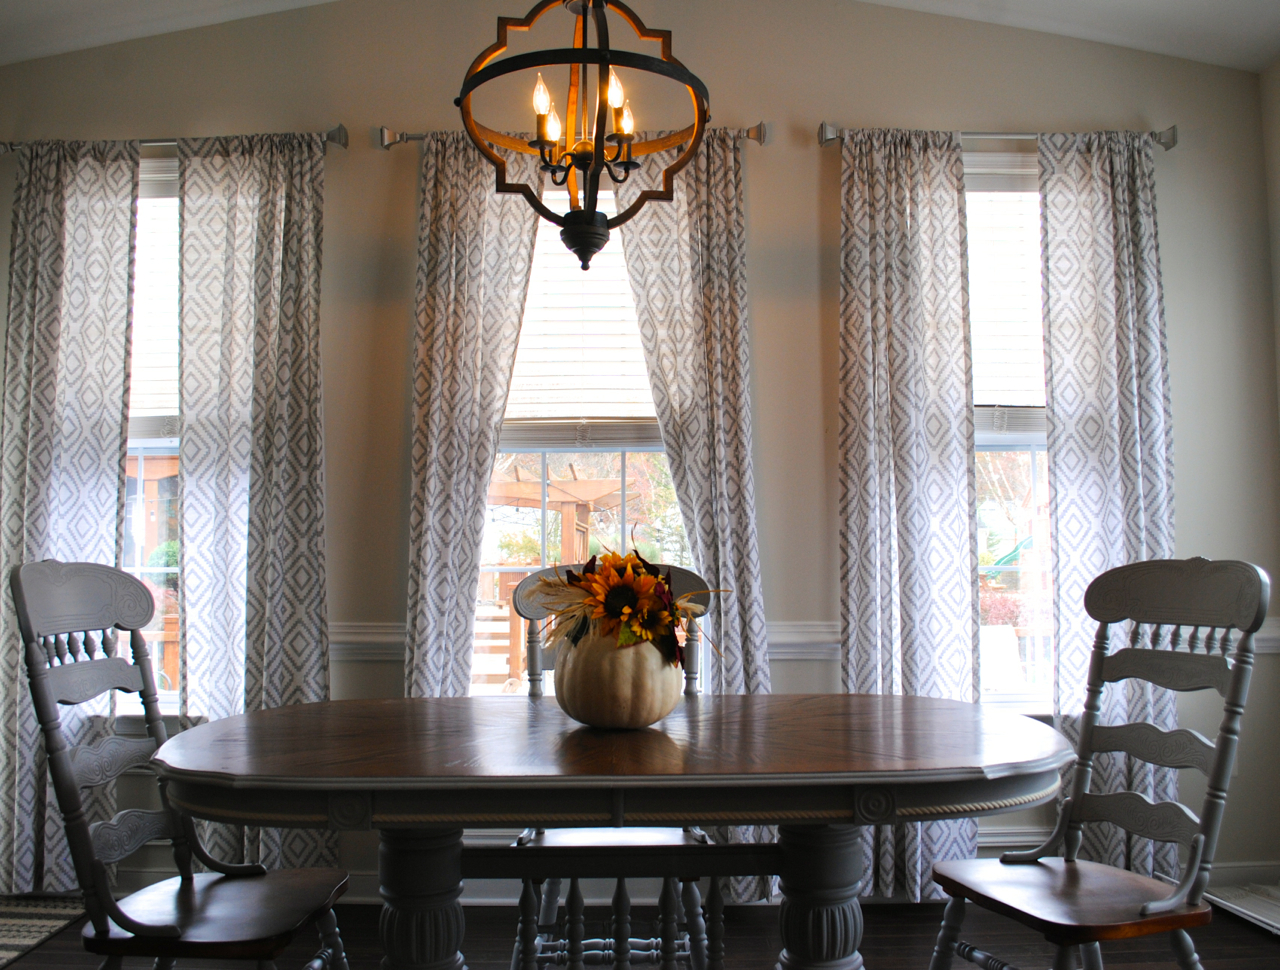
Now that Halloween is officially over, what options do you have to repurpose your uncarved pumpkins? Well here is a perfect solution to that question…a DIY Floral Pumpkin Centerpiece. This centerpiece is ideal for any fall parties, Thanksgiving, or even gift giving during the next festive months. Leaving the pumpkin uncut also lends it to multiple purposes and floral recreations.

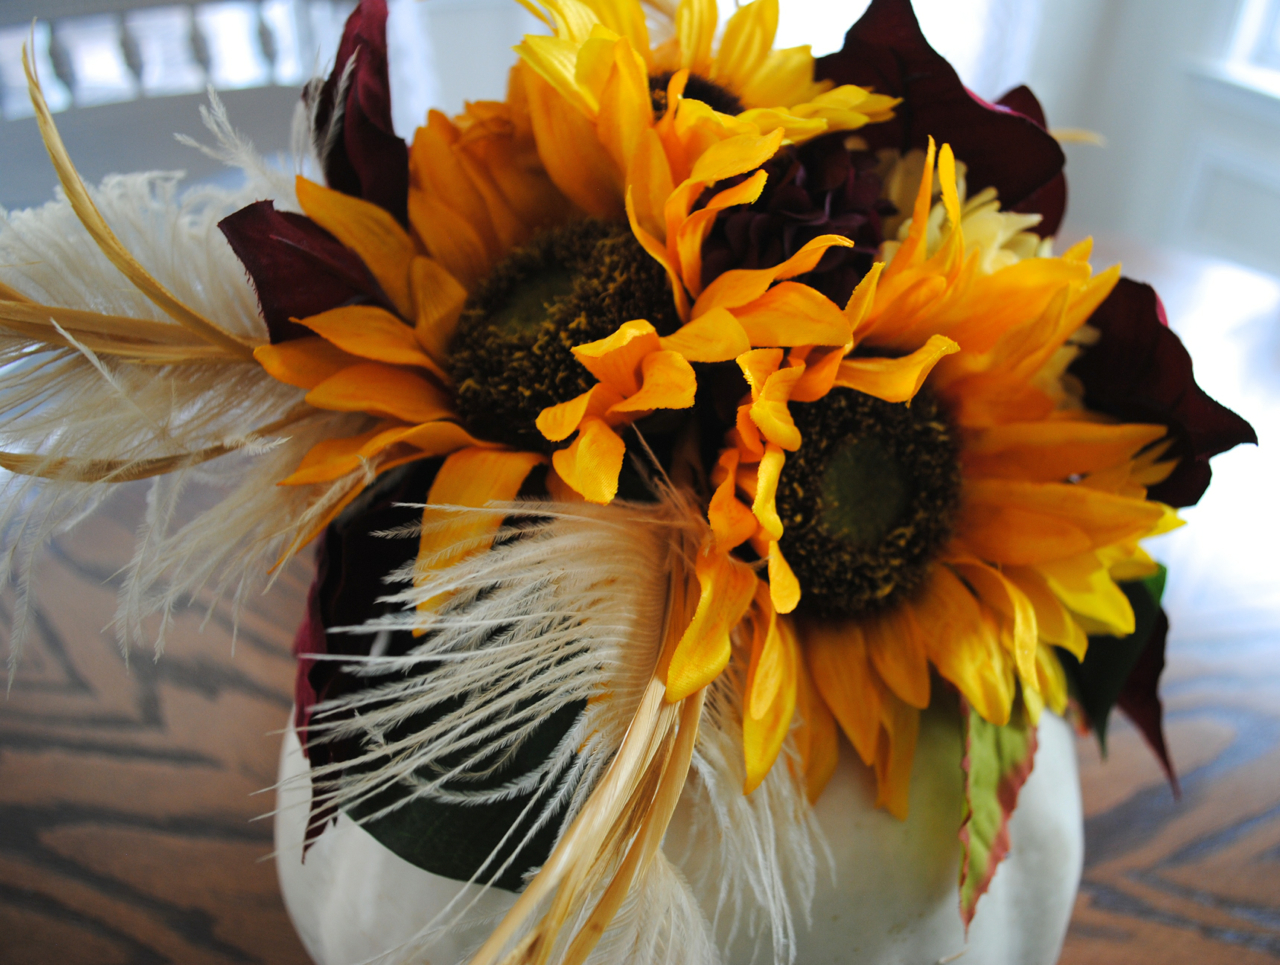
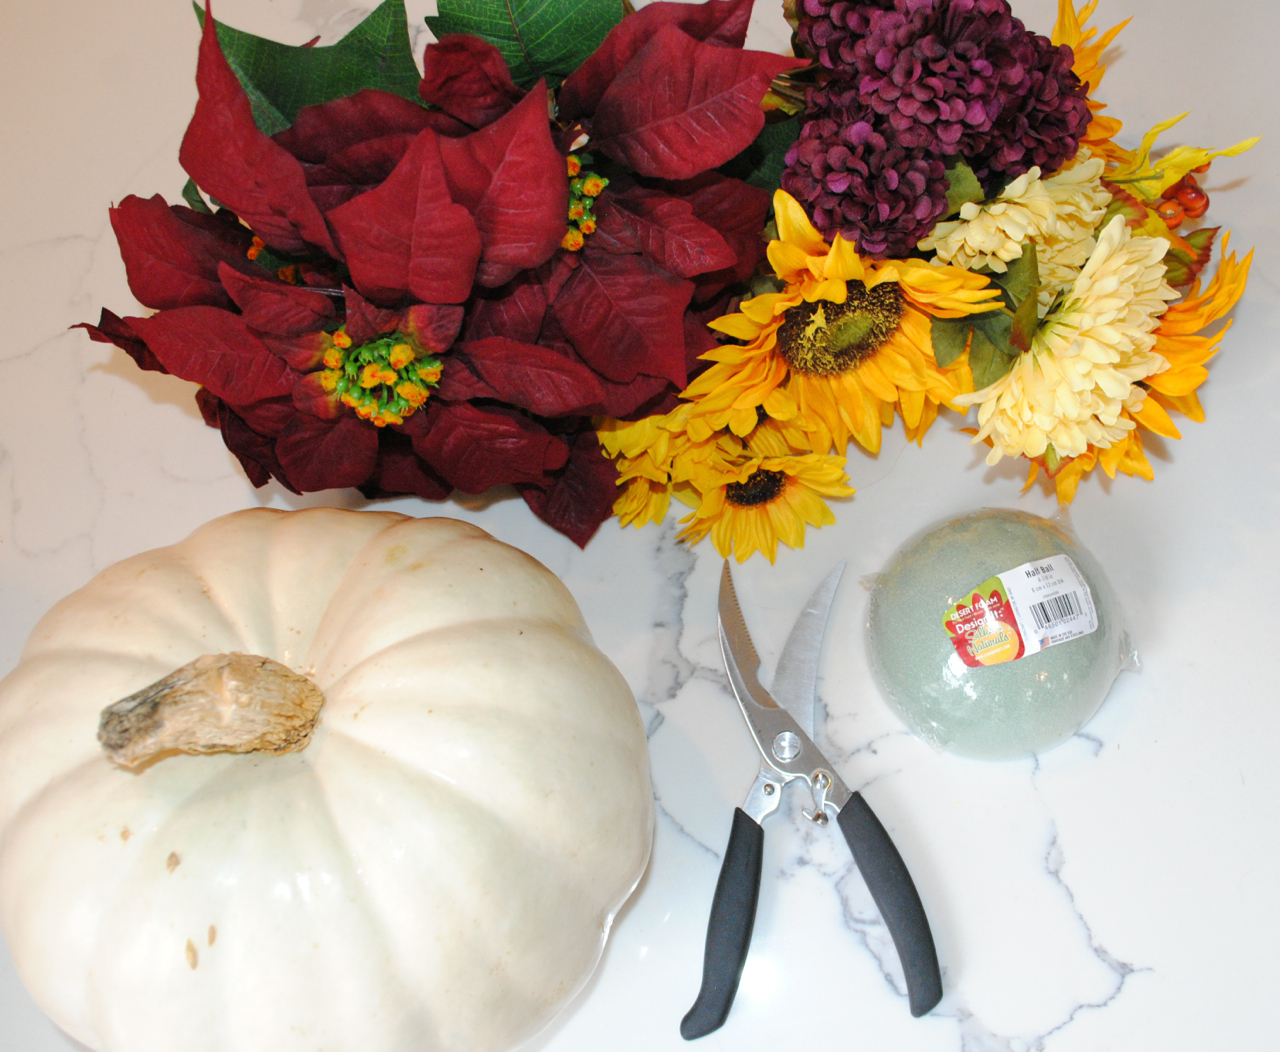
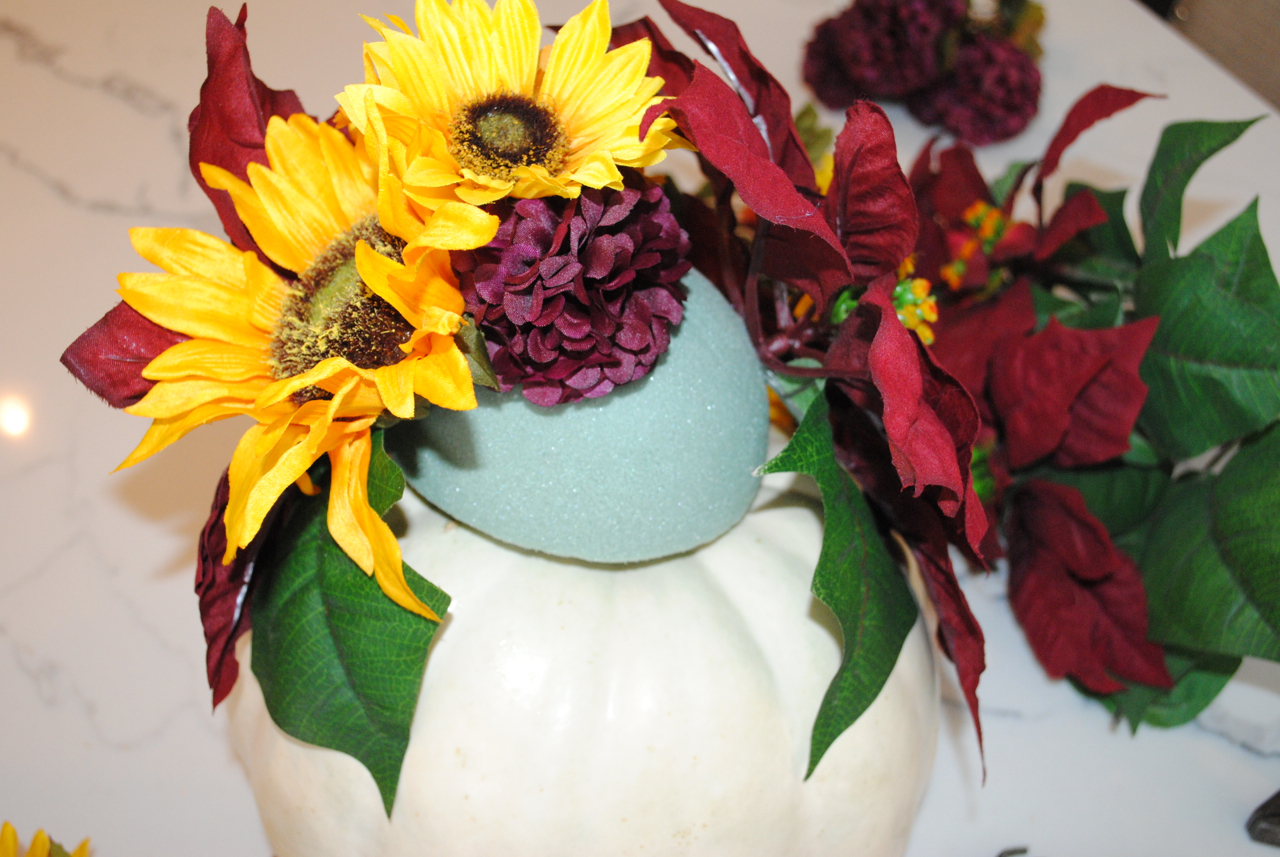
Just cut the pumpkin stem low and push foam on or if it doesn’t have a stem use some tape to hold the floral foam (I used a half circle ball version) to the top of the pumpkin. Start layering flowers, greenery, leaves, berries, feathers, or anything you like in your normal bouquets or to match a party theme. Cut the steams of the flowers (or any other additions) just long enough to be pushed into the foam to sturdy it. You can create dimension by leaving some stems longer then others or pushing some all the way flush with the foam. Note: for artificial flowers you may need wire cutters.

You can use artificial flowers (like I did) or real, just depends on the look and use you are going for.  I found these amazing fall flowers for 70% off at Jo-Ann just after Halloween, which is a complete steal! And the very large burgundy ones I found as a bunch at the thrift store for 99 cents. This pumpkin cost me under $10 to make!

This pumpkin really allows so many different variations. Different colored pumpkins and flowers can make endless possibilities. This white pumpkin was extra special to me since I picked it out with Hartley at the pumpkin patch. So finding a way to bring it in my home and extend it’s life was super exciting.