Tuesday, October 10, 2017

7-Ingredient Healthy Chicken Chili

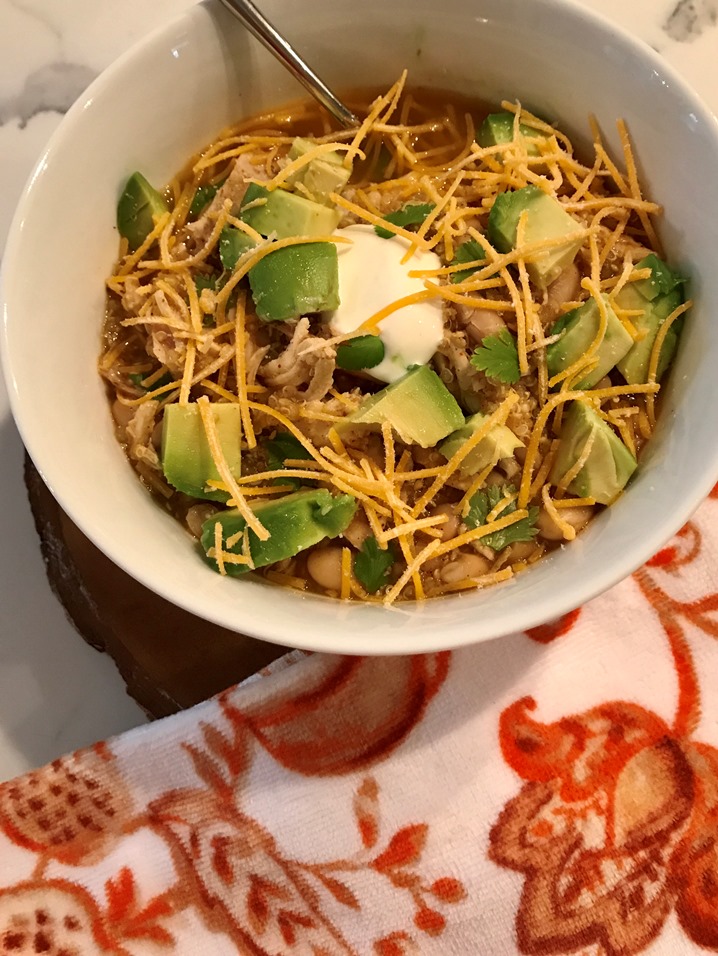
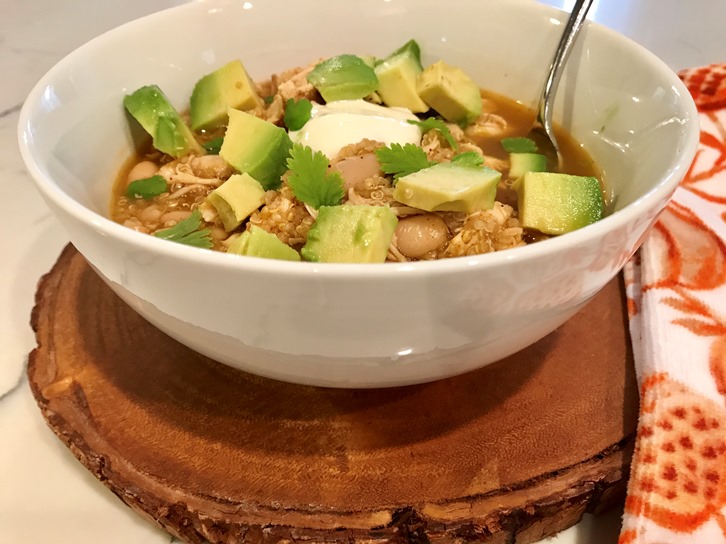
I cannot believe it’s almost the middle of October! It is finally feeling like fall here in Virginia. Fall is my favorite. Fall means cool brisk mornings, leggings (I am a proud elastic pant wearer at 19 weeks pregnant), boots, scarfs, apple/pumpkin picking, and oh of course…lots of yummy chili. I’ve been playing around with chili variations including some vegetarian recipes, but this chicken version has turned to my favorite quick meal/meal prep version.
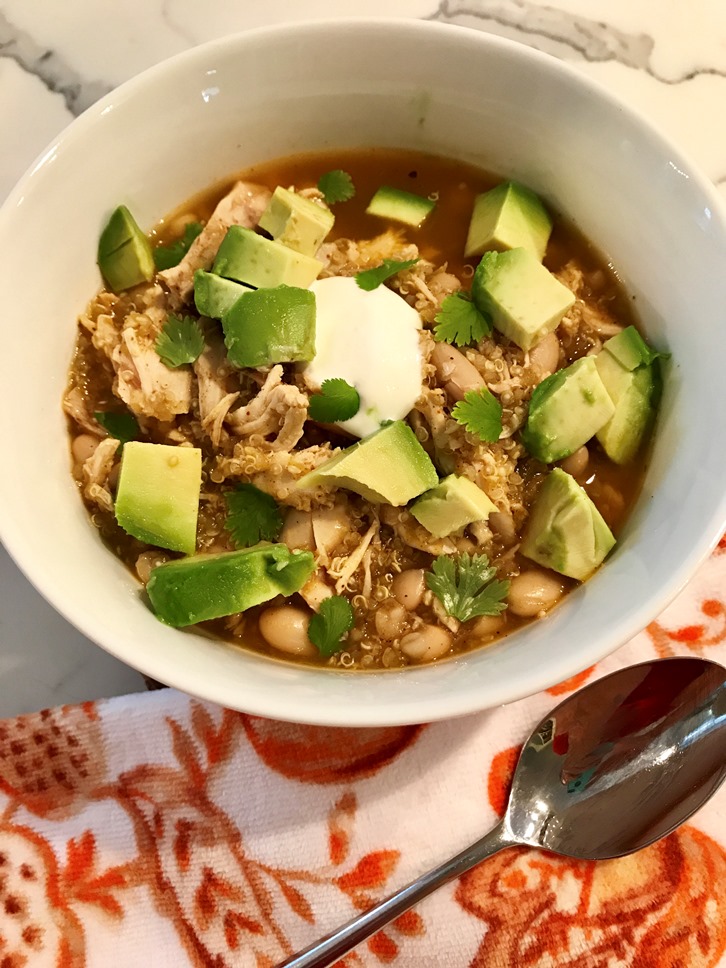
I’ve been short on meal prep time lately, so I turned to Pinterest in search for easy soups, chili, and casseroles that would make enough for our week. This recipe from Gimmie Some Oven was my inspiration behind this fabulous easy and healthy chili. I loved the idea of her recipe, but I needed a little oomph to it and wanted the ease of not cooking chicken. So by adding quinoa and using rotisserie chicken I got the added thickness I wanted with the ease and savvy approach of using the store-bought chicken (Wegmans has them for only $4.99 a bird). This recipe is super budget-friendly with the limited ingredients needed.

So why not kick off the fall season with a great new chili recipe!?! Oh and did I mention…it was husband approved!! Yes! AND what better than a recipe that doesn’t require ANY chopping?!?
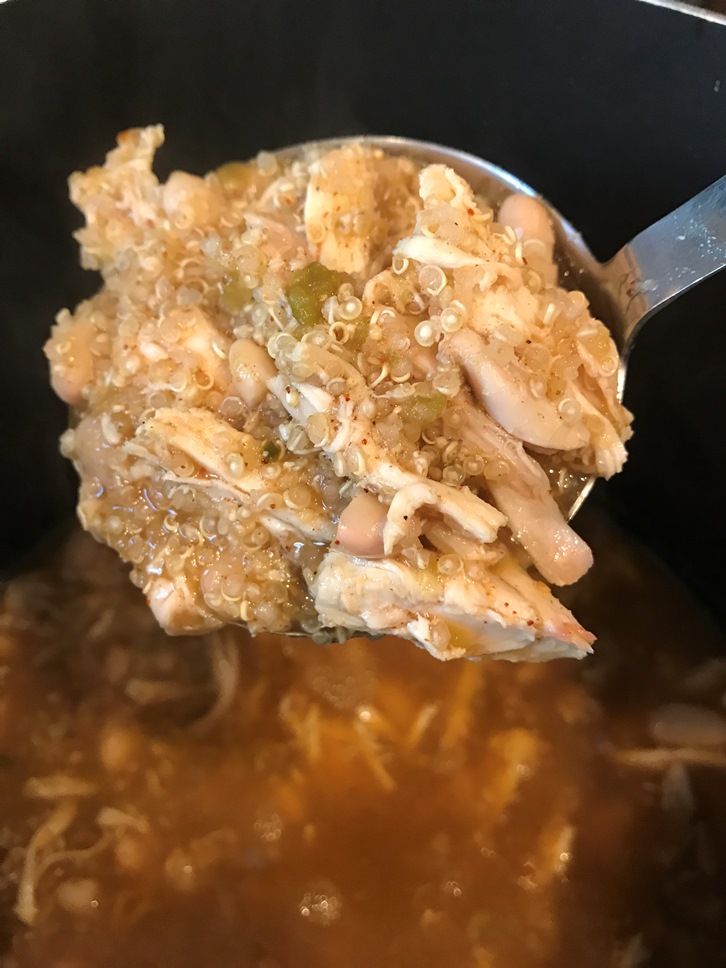
All you do is de-meat (is that even a word?!?) your chicken once it’s cooled from the rack. I HATE this part…yuck. But once all the meat is pulled off and in a separate bowl, you can start your chili base (or if your meal prepping for a quick meal during the week, just store your pulled chicken in the fridge until the night you want to use). I use the organic chicken stock from Costco because it’s super clean and has great flavor. All I do is bring the stock, quinoa, spices, and salt and pepper to a boil. Turn down the heat and let simmer for 10 minutes before adding your salsa, drained beans and chicken. Once salsa, beans and chicken are added, let simmer for another 10 minutes and that’s it! Perfect 7-Ingredient Healthy Chicken Chili in less than 25 minutes.

Ingredients:

  • 1 carton (4 cups) chicken stock + 2 cups of water (or 6 cups of broth)
  • 4 cups cooked shredded rotisserie chicken
  • 2 (15-oz) cans great northern beans, rinsed and drained
  • 2 cups (16oz) salsa verde
  • 1 cup of quinoa
  • 2 tsp. of ground cumin and chili powder
  • Salt and pepper to taste (pantry items)
  • optional toppings: diced avocado, chopped fresh cilantro, shredded cheese, sour cream
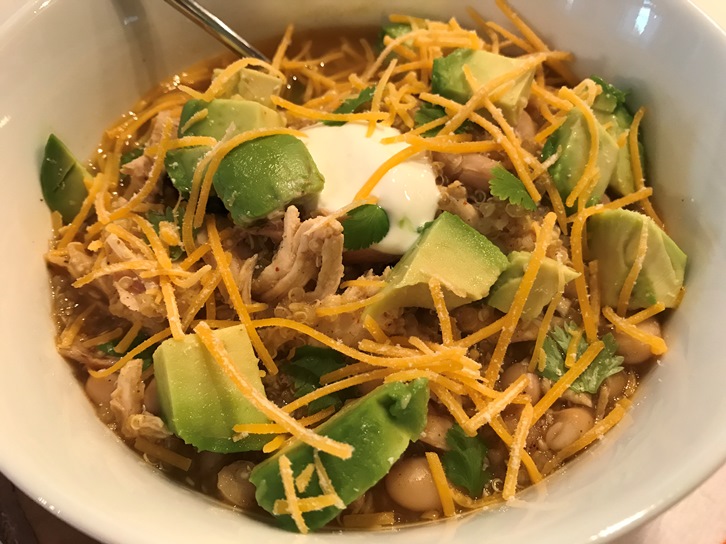
Since I am more of a lifestyle blogger, I would love your feedback on the few recipes I share. These recipes are true to my kitchen and no I am not the perfect food stylist or photographer, but I do promise they taste yummy! Let me know what you think and happy fall ya’ll!

Wednesday, September 27, 2017

DIY Chalk Finish White Entertainment Center

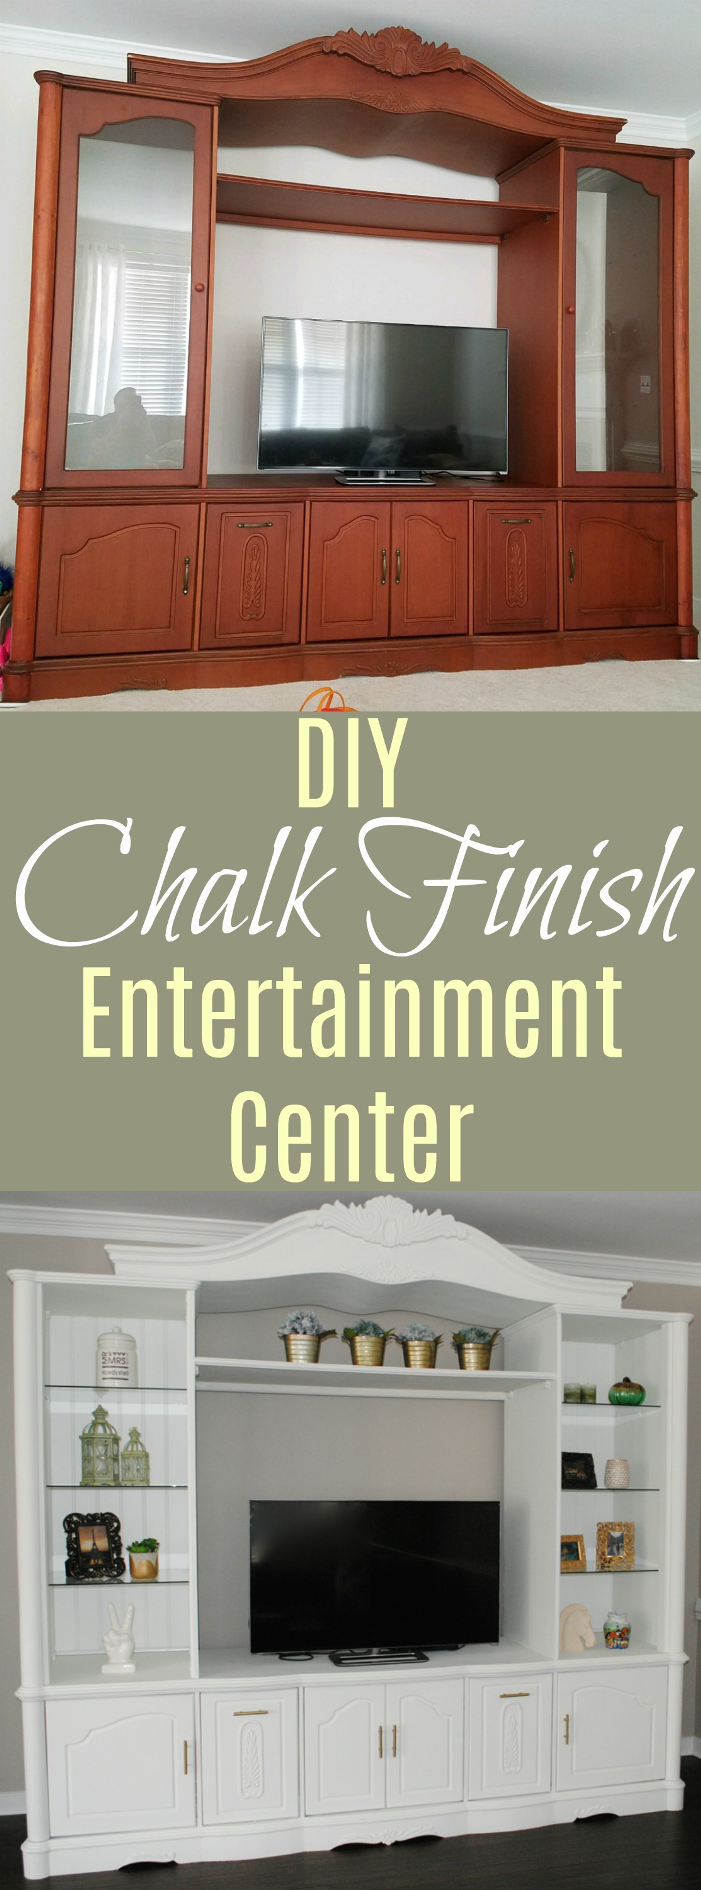
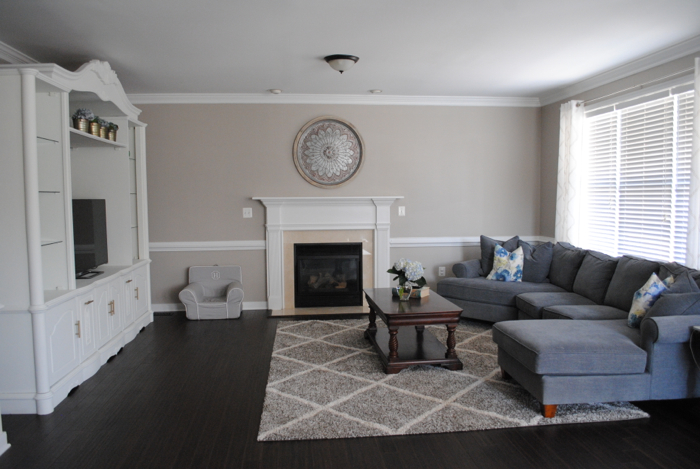
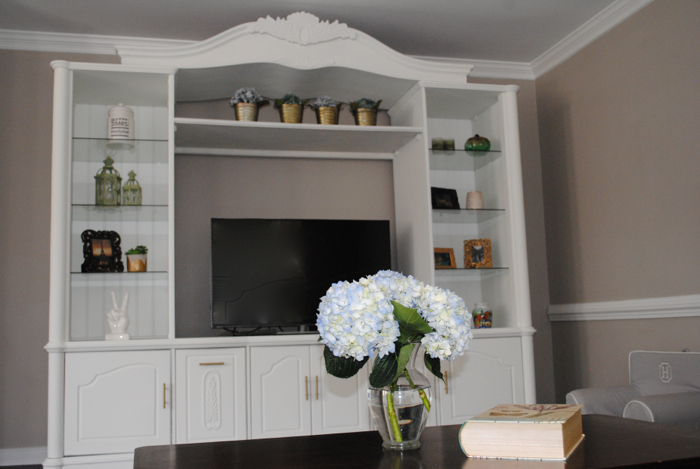
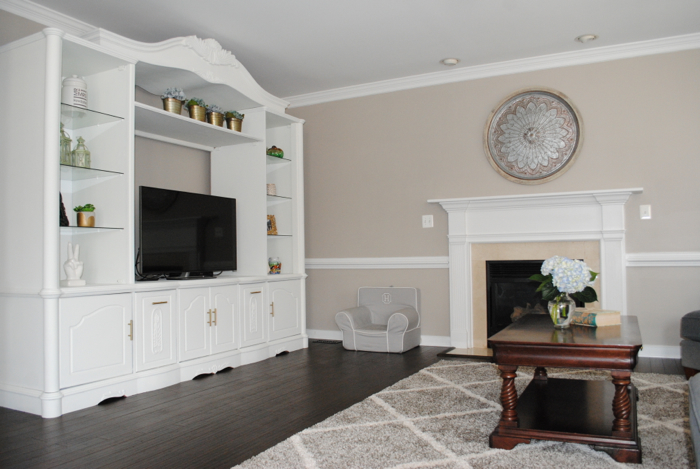
OK, OK…I know most of you were thinking OMG, I cannot believe she bought that huge, chunky, old, wood, over-the-top entertainment center. Yes, I totally get you questioning my decision to bring this mammoth of a piece into my living room. BUT, I mean you must admit, it looks pretty darn fabulous after I put my special touches on it, right?!?!

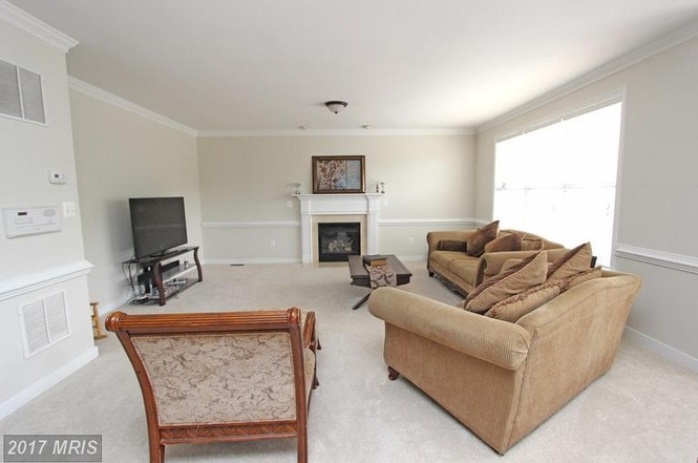
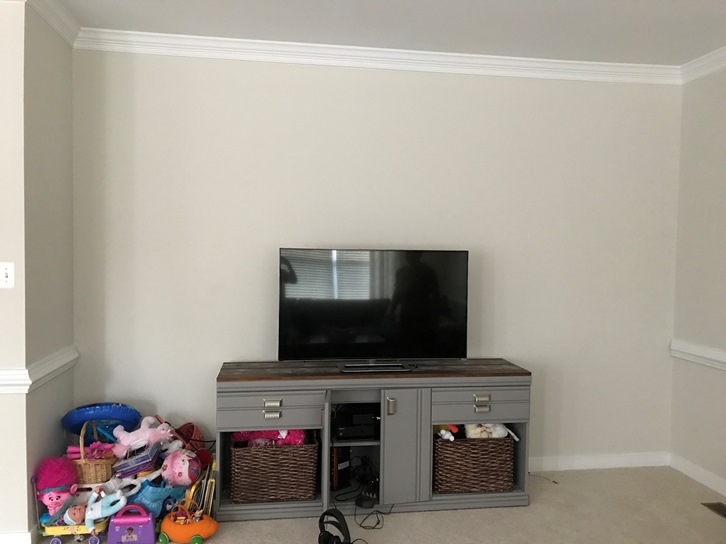
Our living room desperately need a uplift. I had hung a large canvas, curtains and created a media stand, but it still looked super sad. This is a before of our living room when we bought it and then the small media stand I created. This grey media stand looks perfect in Hartley’s playroom now. It just wasn’t enough to fill our large living room walls.

My dream was to pay for professionally installed antique door built-ins (like Joanna Gaines does), but with what I wanted costing over a thousand dollars, this just was not a possibility. So one day when we were in Habitat of Humanity Restore, we found this piece. It was originally $450, but we took the chance of no one wanting this huge wood outdated media center and waited patiently for months for it to go on 50% off. So for $225, paying for a $60 U-Haul, and a few beers for a good friend who helpfed lug this off the truck. This thing was all ready for me!  

I used Annie Sloan Old White as my first coat (because I has bought it to re-paint my dining room, but that was going to wait after this huge paint project). Then I bought 4 quarts (yes…4) Valspar Chalky Finish Paint in Kid Gloves. So about $120 worth of paint! I also used this this brush which seemed to make application easier around the detailed areas. I finished the piece off with amazing Champange Bronze handles from Wayfair that will match the hardware color I am putting in the kitchen. I still have to finish the painted areas with wax, but I just haven’t had the energy to tackle it.

New floors are bamboo. The walls I painted with Sherwin Williams Versatile Gray. The wall art above the firepalce is from Hobby Lobby. The rug, floral pillows, and curtains are from HomeGoods. The sectional is from Havertys and I LOVE the color. The coffee table is a old free hand-me-down. I was thinking of painting white to match, what do you all think?

These past few months have been full of projects, but it’s exciting to to seeing it all come together! What do you think of our living room before and after?

Monday, September 11, 2017

How to Tier & Decorate a Store-Bought Cake


When I get a vision of how I want something to look, it’s pretty hard to change my mind (as my mother and husband know very well). It is probably both a pro and con of my personality. I get determined on my plan and follow it through. Well, our triple birthday cake was one of those visions. I wanted something tiered, simply decorated, easy, budget-friendly, and a way to announce our pregnancy.

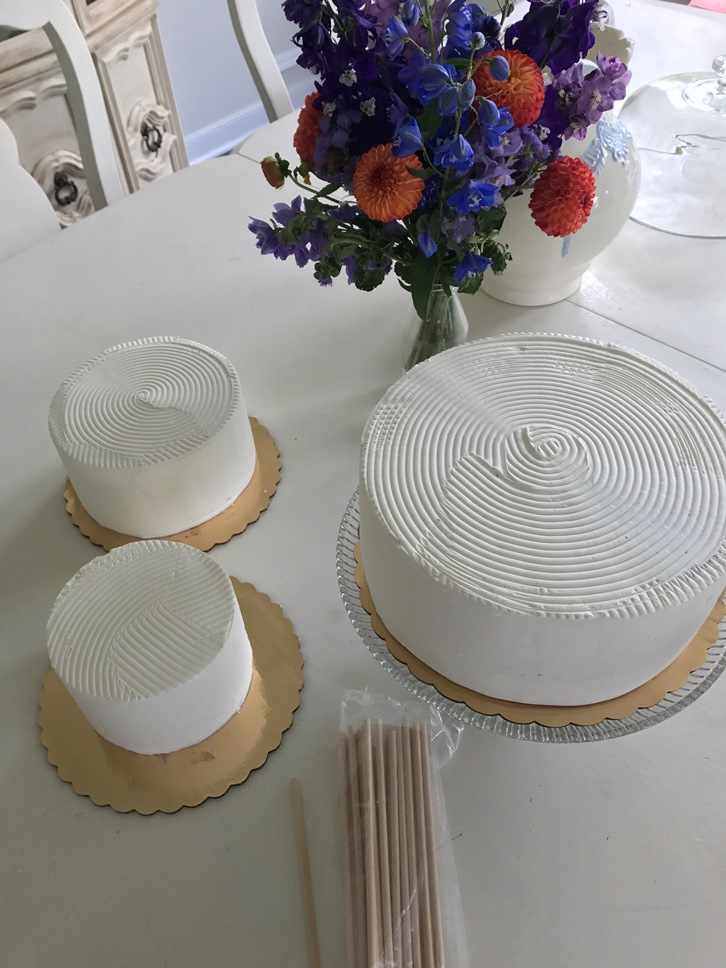
After a bunch of market research to specialty cake stores and grocery stores, I learned that designer cakes would cost about $200 and a lot of traditional grocery cakes did not have the ability to create multiple different sizes of round cakes. Then one of my many lunch trips to Whole Foods, I just figured I would ask…and behold…they did do 9”, 6”, and 4” round cakes that the bakery manager said I could tier myself at home for around $60 compared to the tiered wedding cake they could make for about $200. YES!! I was ecstatic. Having the ability to order each of the 3 layers with different special flavors for each of us (Willie got vanilla triple berry, I got chocolate chocolate ganache, and Hartley got vanilla boston crème) then they used the same buttercream outside for cohesiveness worked out perfectly. Ohh and in the long-run probably only cost me about $30 more by the time I bought pans, ingredients, and cake piping materials…oh and about 100% less stress.

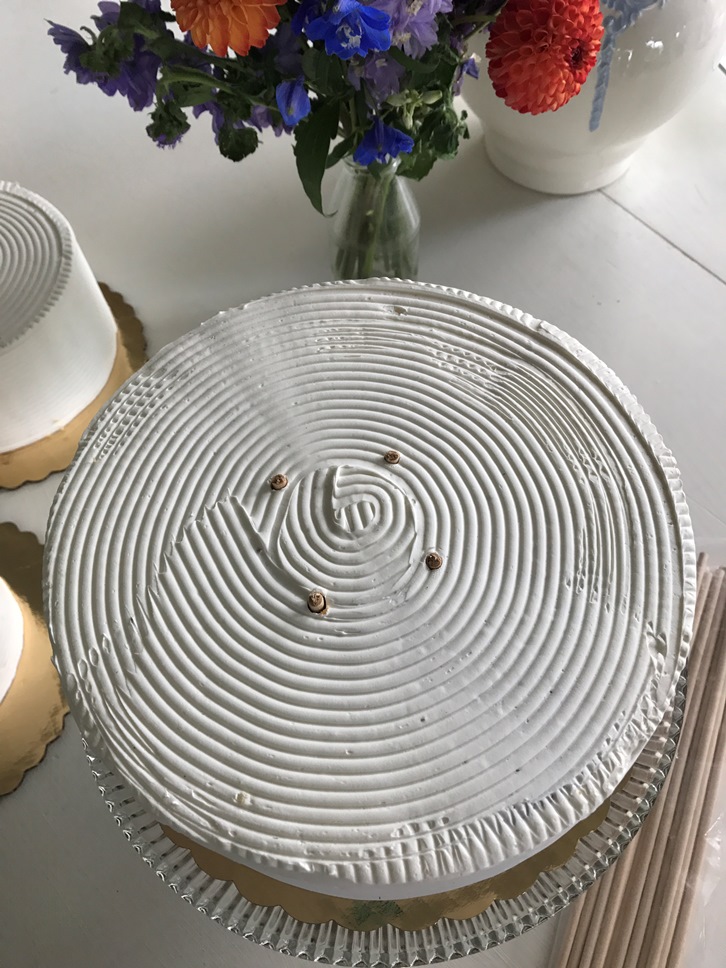
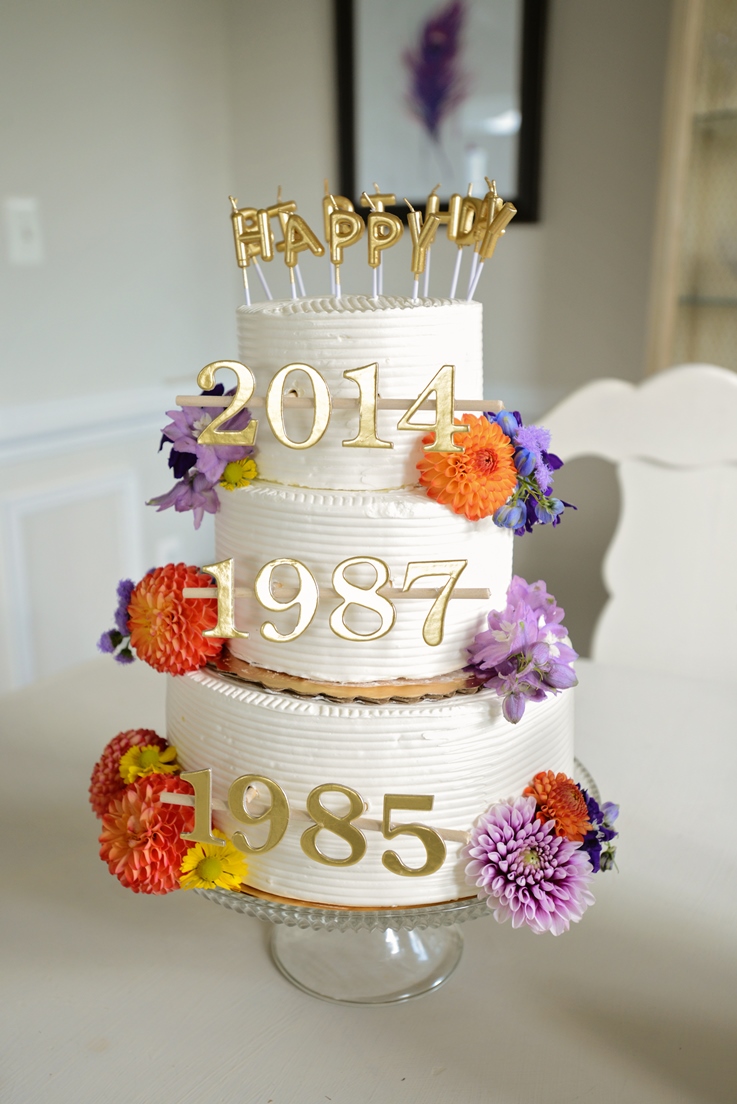
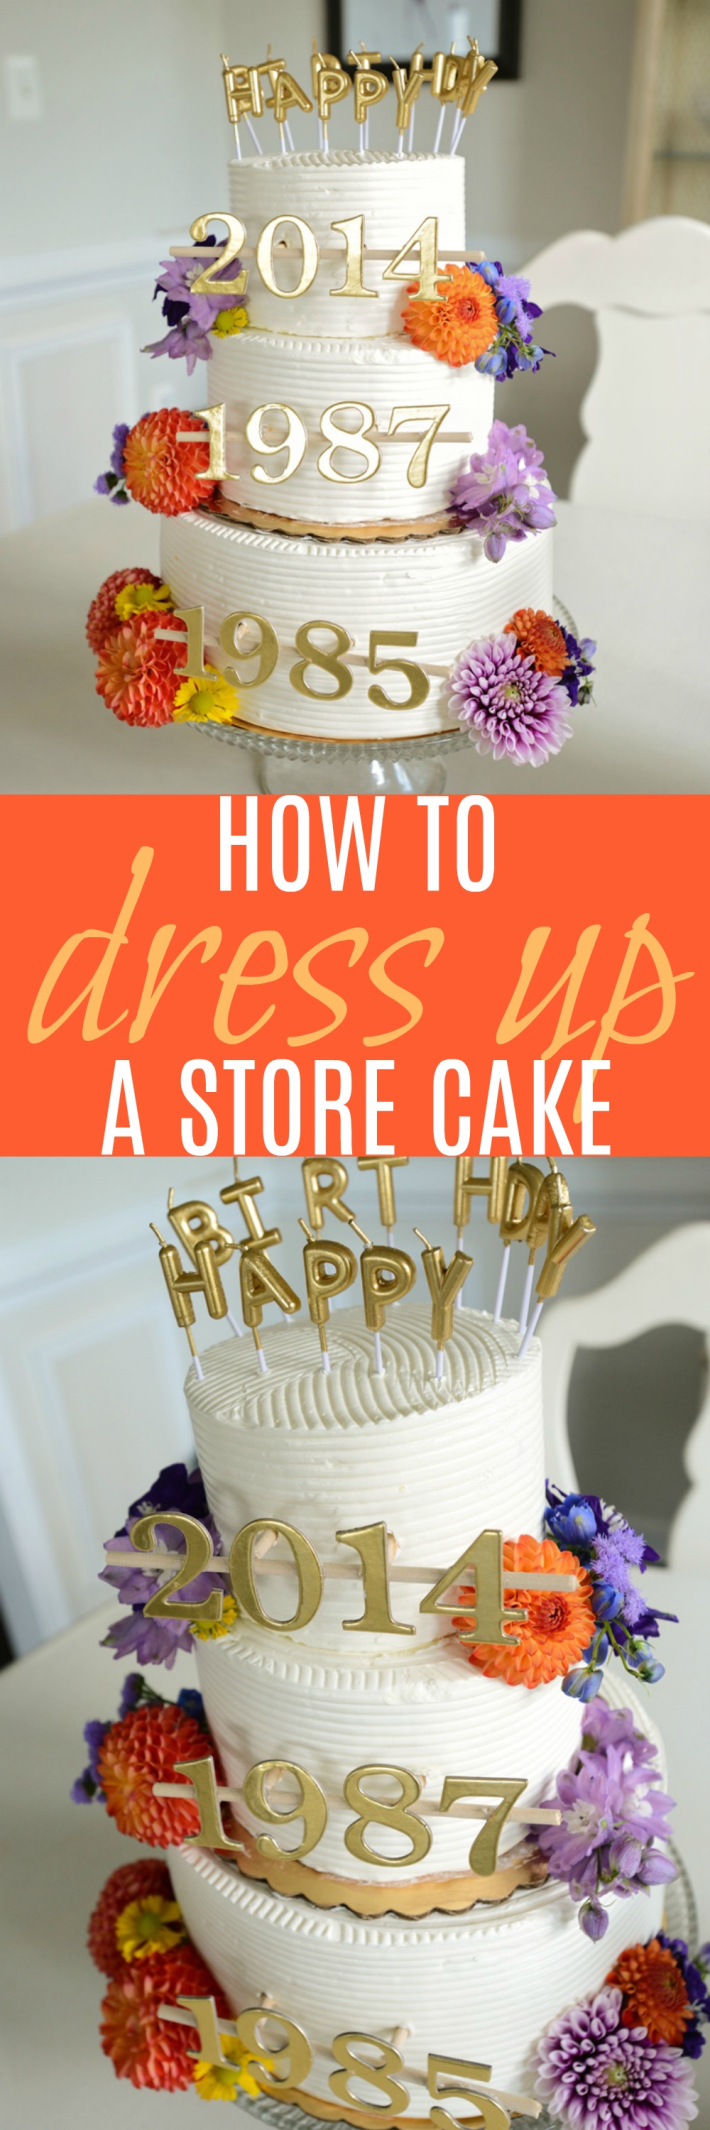
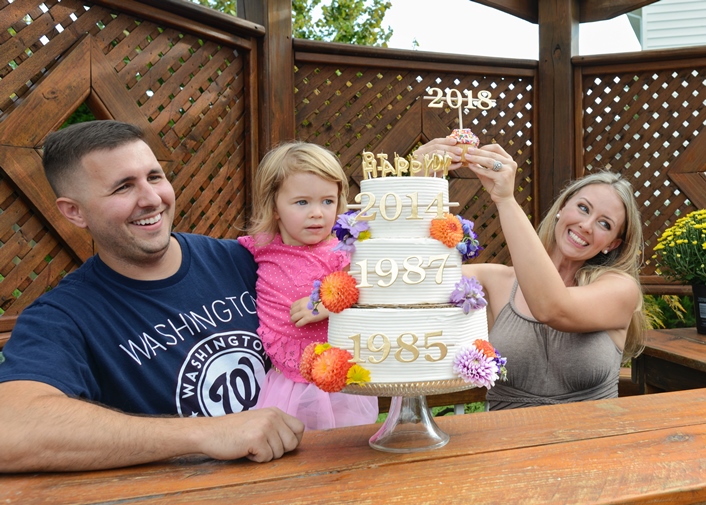
So when I got them home the morning I kept them in the fridge until about 2 hours before the party started. Then all I did was start with the 9” on my thrift store cake stand. Then, I placed a wooden dowel from the top all the way until it hit the stand to measure where I needed to cut. You want the wooden dowel to be right level or a tad below the top of your cake (notice the below pic…this is too high, I needed to cut off more to be flush with top). I placed 4 wooden rods in my 9” base cake. I also decided to leave the base cake board on the 6” to layer just for ease or transfer and it matched the gold theme we had going. But this is not necessary if you want to tier cake to cake. I did the same measuring for the 6” dowels and placed 3 to hold the 4” topper. Then, I carefully used a spatula and fingers to transfer the 4” from its cardboard base to the top of the 6” cake.

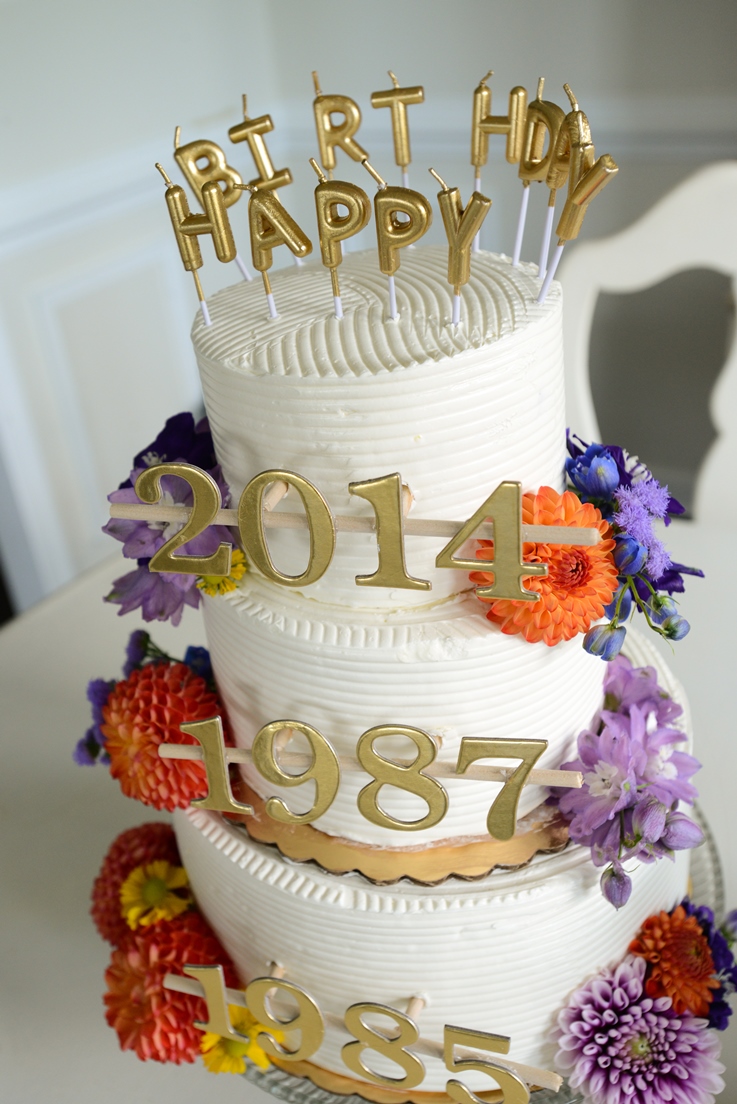
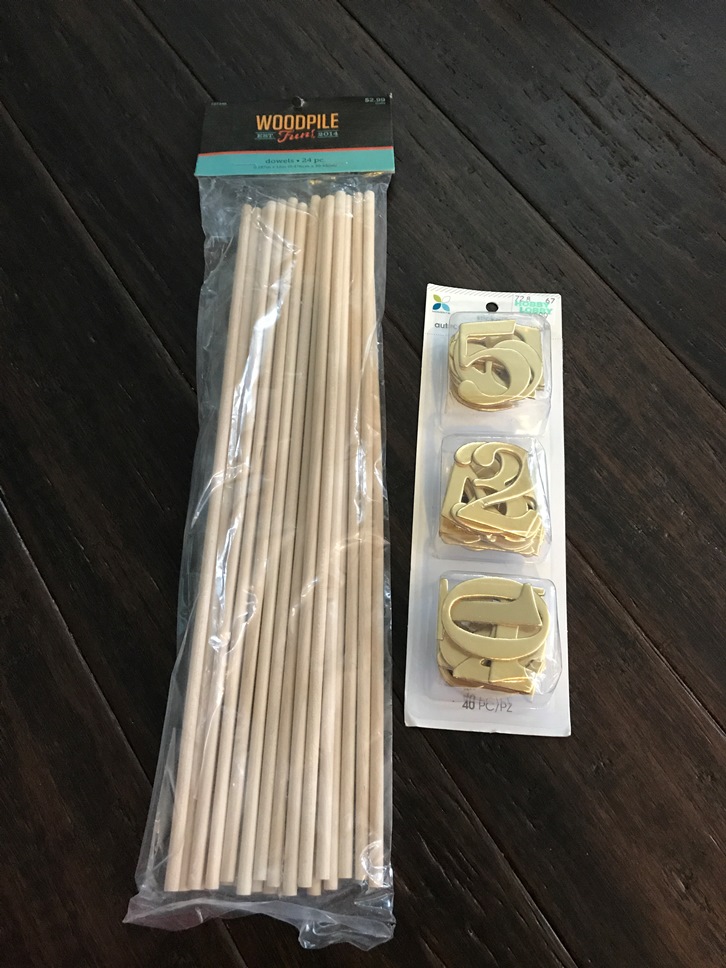
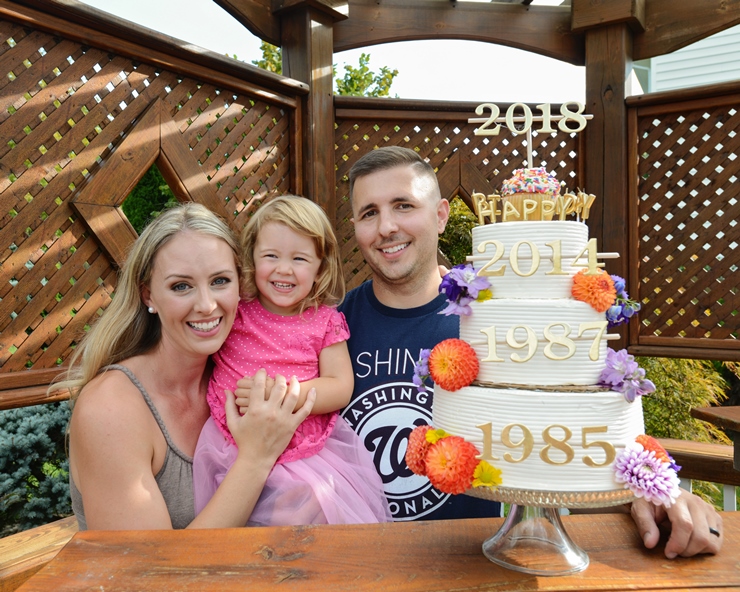
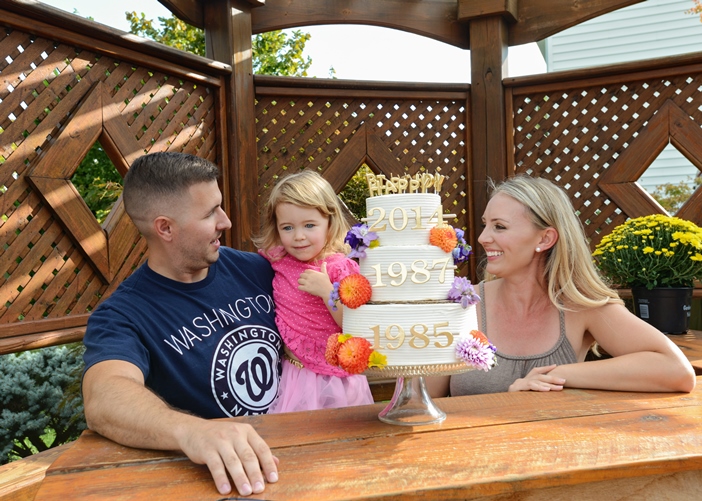
Finally once it was all tiered, I decorated using my stunning farmers market flowers I got for the party. Having a good assortment of greenery and flowers allows for the most creativity. There really is no specific technique to placement, just snip about an inch from the bloom so you have some of stem to stick into the side or bottom of the cake. Then layer different colors and sizes to your preference. I finished with the year “toppers” for each cake that I made with numbers, wooden dowels, and hot glue. Then lastly, the Happy Birthday gold candles.

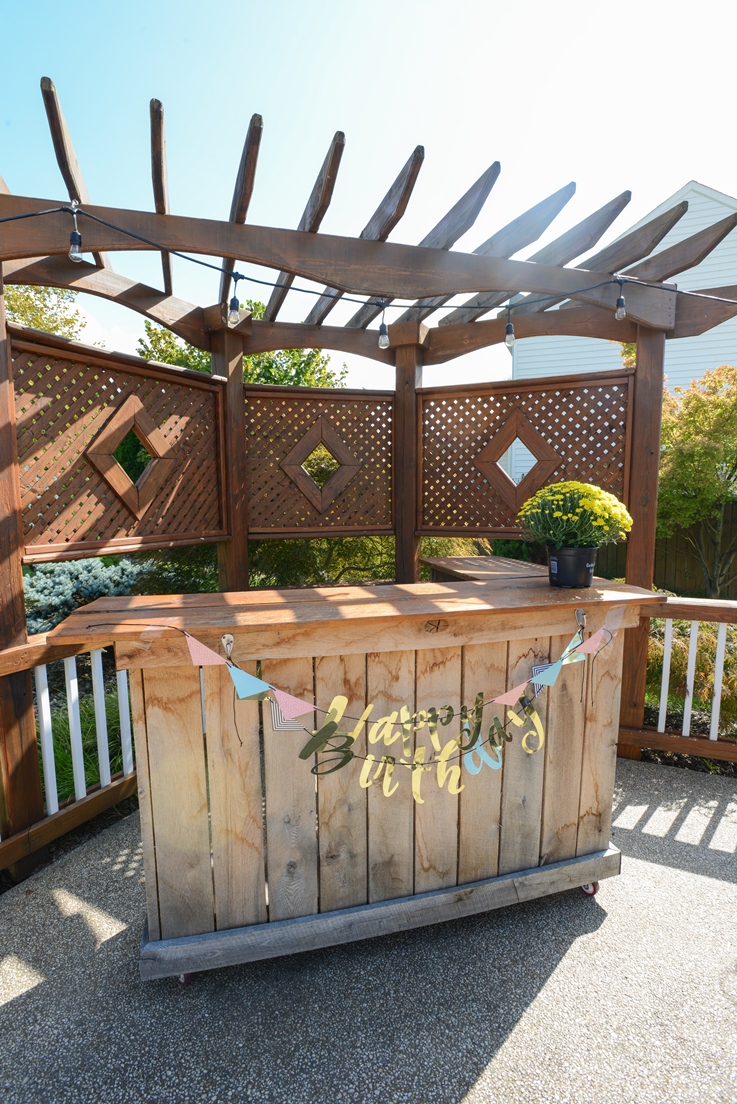
I had stashed the 2018 year in my china cabinet which Willie smuggled out along with the sprinkle cupcake. So when we got behind the bar, I just placed the 2018 on top so I could grab and SURPRISE! It was perfect. And just luckily the cupcake fit flawlessly on the top in-between the candles.

So for $60 for the cake (9” was $30, 6” was $20, and the 4” was $10) plus $6 in flowers, $3 candles, and $5 in numbers and dowels that I multi-purposed to use for my cake rods…I think it was a stunning DIY version of a decorated cake! Don’t underestimate the power of store-bought cakes. You can tier and decorate yourself for a custom vision of your own! DIY Playbook has a great naked cake version if you want to check that out too!

Photos: Myself and Kimberly Lyddane Photography

Thursday, September 7, 2017

Our Tribe’s Birthday Party

Months of planning finally paid off and we had an amazing time celebrating our tribe’s birthdays all together! Willie turns 32, I turned 30 (ekkk), and Hartley turned 3 all within a few weeks of one another, so I thought, why not have a combination birthday bash?!? Oh and finding out I was pregnant (YES) on July 4th weekend pushed me even further to have the most amazing surprise for our family and friends in September.

So SURPRISE!! We are having our 2nd child. The first trimester was stressful. I am so lucky in some ways to have skipped this nervous, anxious, worrisome first 3 months with Hartley. But we made it and everything looks healthy so far, so onto our second trimester already…whew.

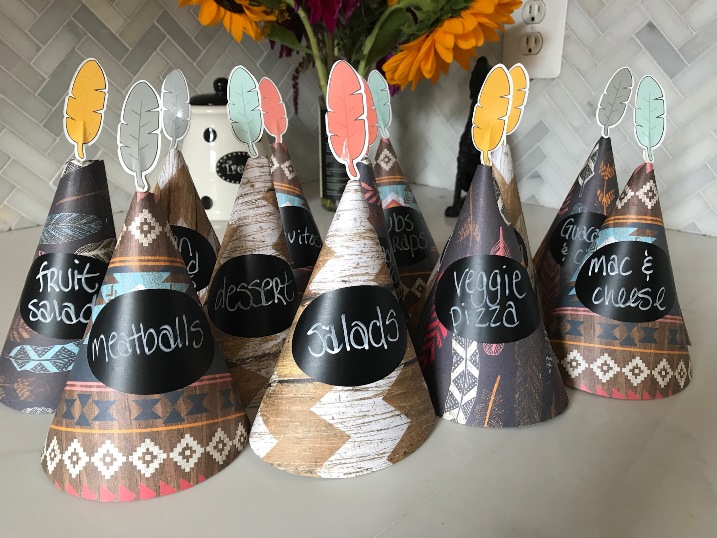
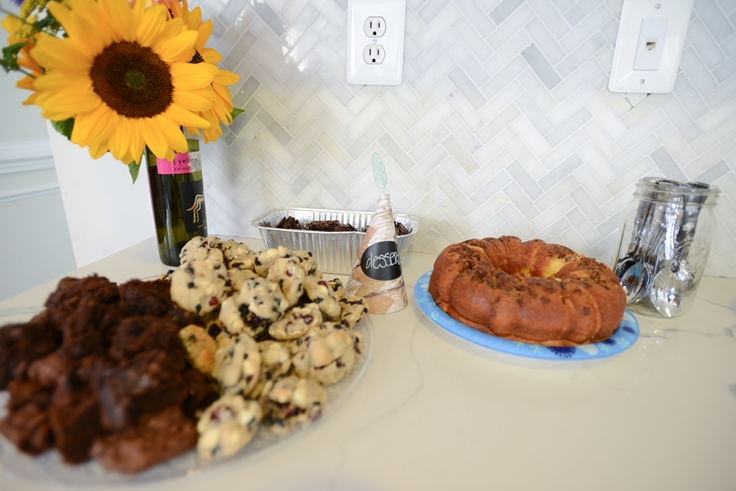
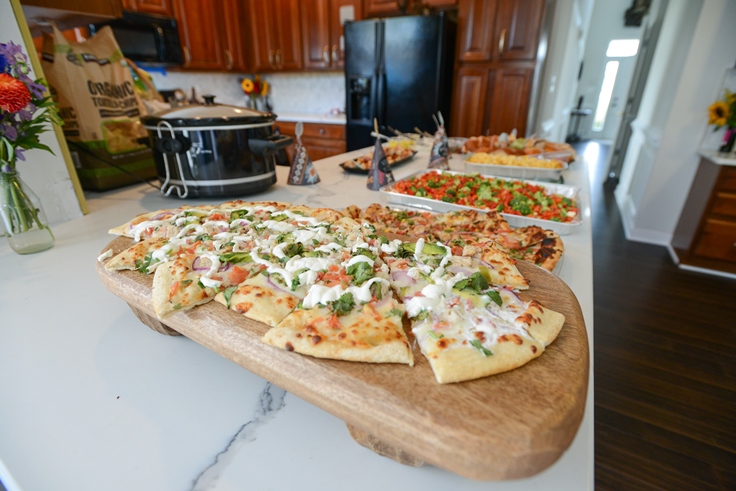
We are very blessed to have such an amazing support system. Our family and friends always go over and beyond to help and support us, so having this party to enjoy with them was fabulous. I made heavy appetizers and with help we rounded out a great menu that kept everyone full and happy. Ohhh and did I mention these adorable DIY teepee food labels I made using scrapbook paper, chalk labels, and little feather toothpicks from Hobby Lobby? I mean…how perfect are they?

For the cake I bought 3 different round cake sizes and flavors from Whole Foods and tiered and decorated myself. It turned out perfect! I will have to do a detailed post on this, because for a little over $60 this cake turned out perfect and was super yummy!!

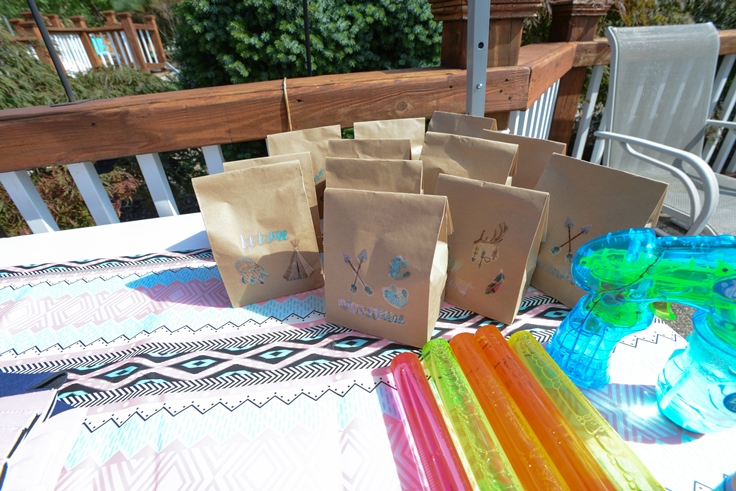
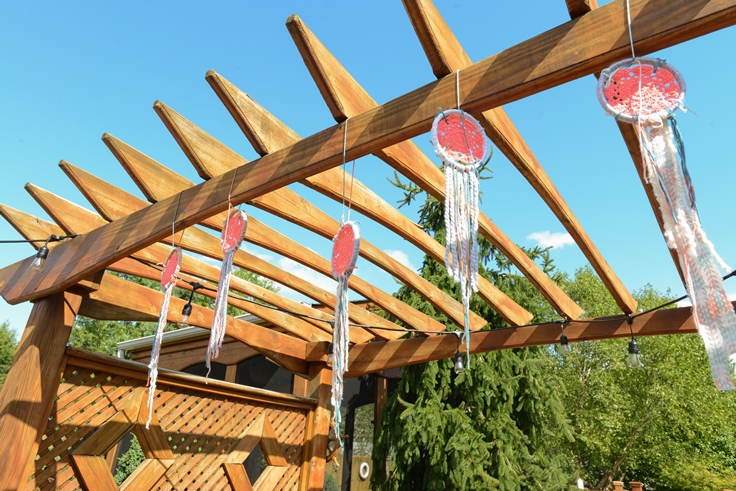
Some other details I created were using leftover mini dreamcatchers from Hartley’s room, making fun kid goodie bags, farmers market flowers, fun tribal designed plates, napkins, toothpicks from Hobby Lobby.

Thank you everyone again for showering us with love and support!

Photos: Kimberly Lyddane Photography

My Makeup: Beauty By Brigid