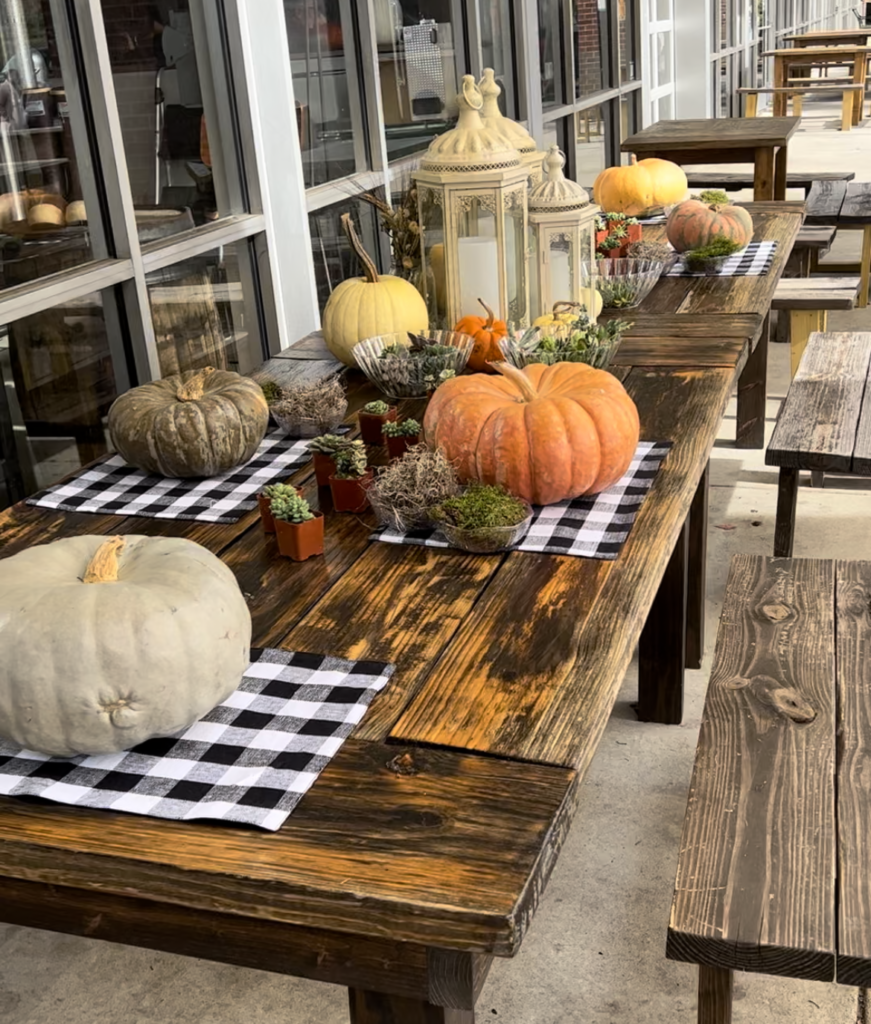
It is officially fall y’all! The week transitioning from summer to fall is always my dead period at work with system and funds shutdown…so lucky for you I have time to post a DIY tutorial. Since my last post, I had my third daughter who just turned 14 months. HOLY COW! The two older girls absolutely adore her and she is quite the daddy’s girl (which is cute but secretly super annoying to mom here). I also opened a side hustle craft business (Belle Terre Creative Market & Events). Which if you don’t follow me on Instagram, the handle is @belleterremarket. To be honest, the first year was harder than I expected. Very hard gaining vendors and followers. I think I’ve found a niche though and really enjoy hosting crafting workshops at different venues like coffeeshops, breweries and boutiques. It has really been nice meeting new people and enjoying their creativeness and fun personalities. The succulent pumpkins have been one of my favorite workshops to host because #1 I LOVE FALL, #2 they last a long time, #3 they are fairly easy to create and take care of.
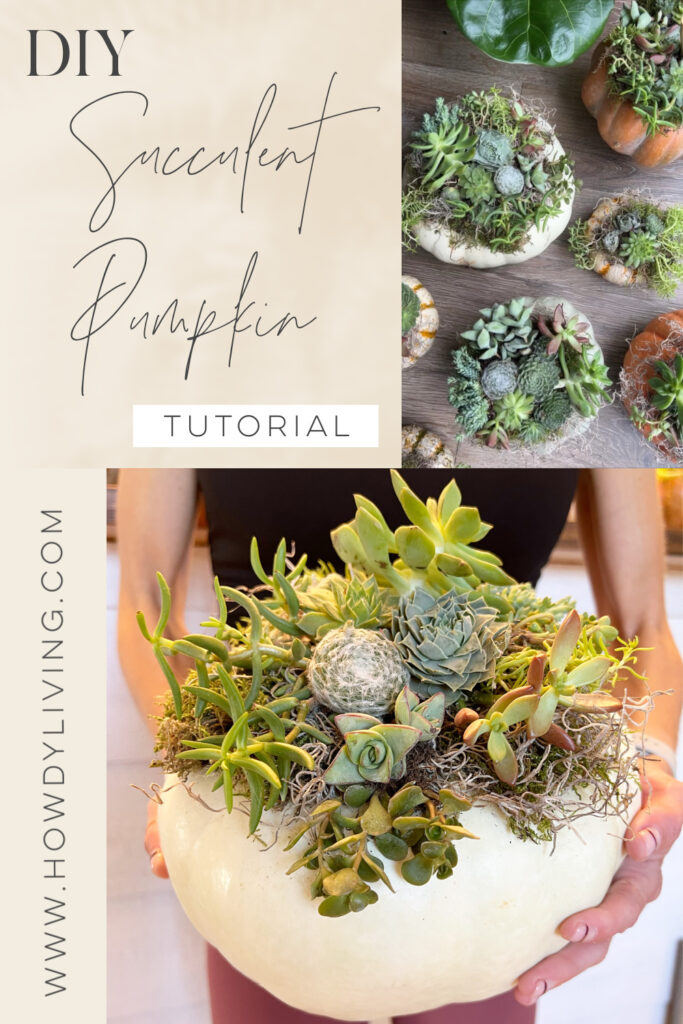
I did post a reel @howdyliving last year but it didn’t get many views, so I’m officially making a post, tutorial and a refreshed HOW TO HOST A SUCCULENT PARTY video! It really is the BEST fall craft. Great friends, cocktails, fall weather and making pumpkins makes a super special beginning of the holidays party, but this is a fun craft solo as well! So here are the directions either way you want to go 😉
First off, grab a pumpkin. You can do this with any size and type of pumpkin you like. I like a medium-sized heirloom pumpkin personally. You will then need either spray adhesive or a hot glue gun. You will then need spanish moss and green preserved moss. You can use 2″ potted succulents that have soil and roots (you will remove from nursery pot and shake excess soil off to expose roots) or succulent cuttings and/or small hen and chicks versions. I personally like to mix all 3 together. The rooted plants provide a basis for the others to root and a little more oomph. But you can use whatever you like and even incorporate dried flowers and other fall accents. I personally love Mountain Crest Gardens for sourcing succulents. Their plants are beautiful and always ship well. However, if you want a lower quantity or quicker delivery Home Depot or Amazon have great options as well.
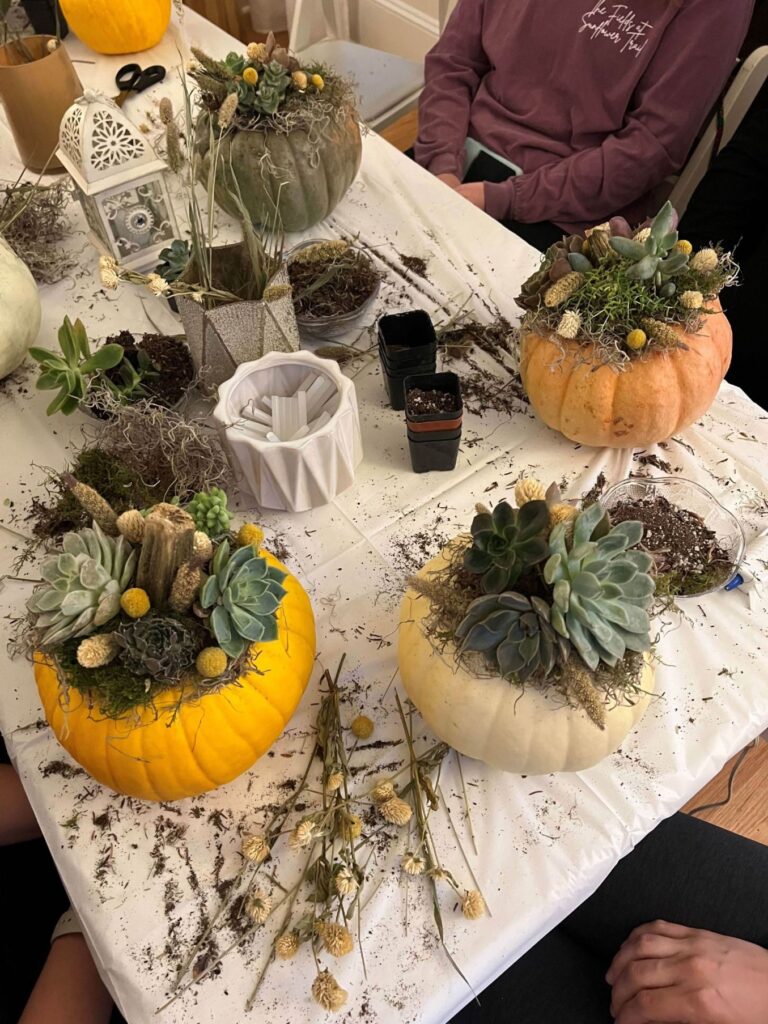
First clean your pumpkins with dawn dish soap, diluted bleach or thieves essential oil and let them dry. Next glue your moss around your pumpkin stem. Then start placing your larger succulents with glue. Try to not glue directly on stem/roots but around. Finally complete your pumpkin by filling in gaps with the smaller succulents, dried florals, dried pampas, dried pods, feathers, etc. You can really use whatever you like!
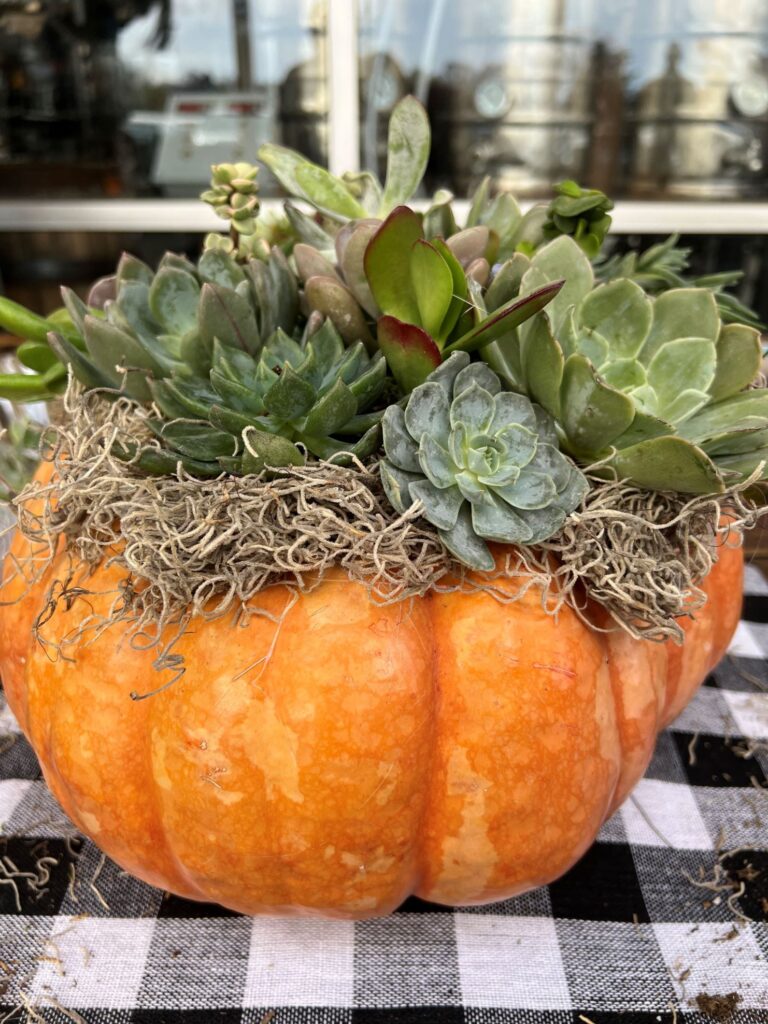
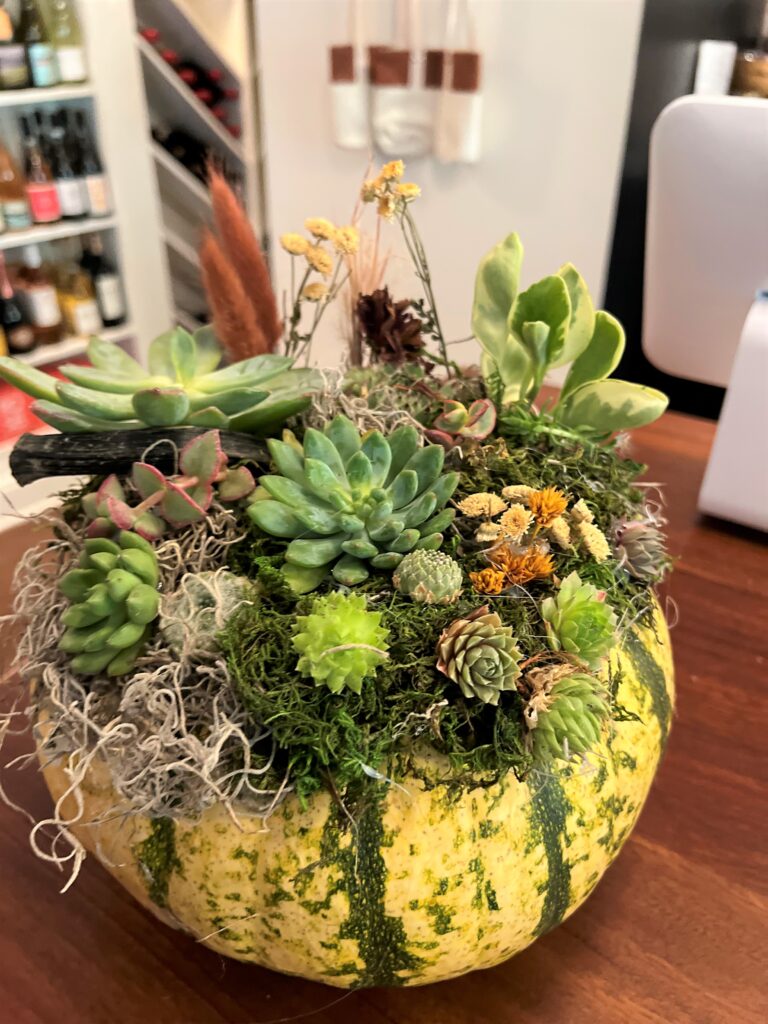
To maintain, spritz once a week to moisten the moss and hydrate any new little roots that might have formed. Give it bright, indirect light by setting it near a window indoors or on a sheltered deck or balcony (out of frost). Depending on succulent varieties used and its location, your centerpiece can retain its color and last for about 1-3 months. When ready to trash pumpkin, you can cut the top off with succulents and plant in a container.
