Monday, January 14, 2019

DIY Shiplap Fireplace Makeover

First project of 2019! This was my Mother’s Day gift that I finally got to cash in on with the cold weather not really giving us much else to do but housework. It was a weekend project that makes a HUGE impact.

Cost = $85

Supplies:

  1. Shiplap Boards (5 – Shiplap 5.375-in x 12-ft)
  2. Side Boards (1 – 5.5-in x 8-ft Painted MDF Square Moulding)
  3. Miter Saw
  4. Table Saw
  5. Air compressor, nail gun, nails,
  6. Measuring tape
  7. Level
  8. Chauk
  9. Painter’s Putty
  10. White Paint

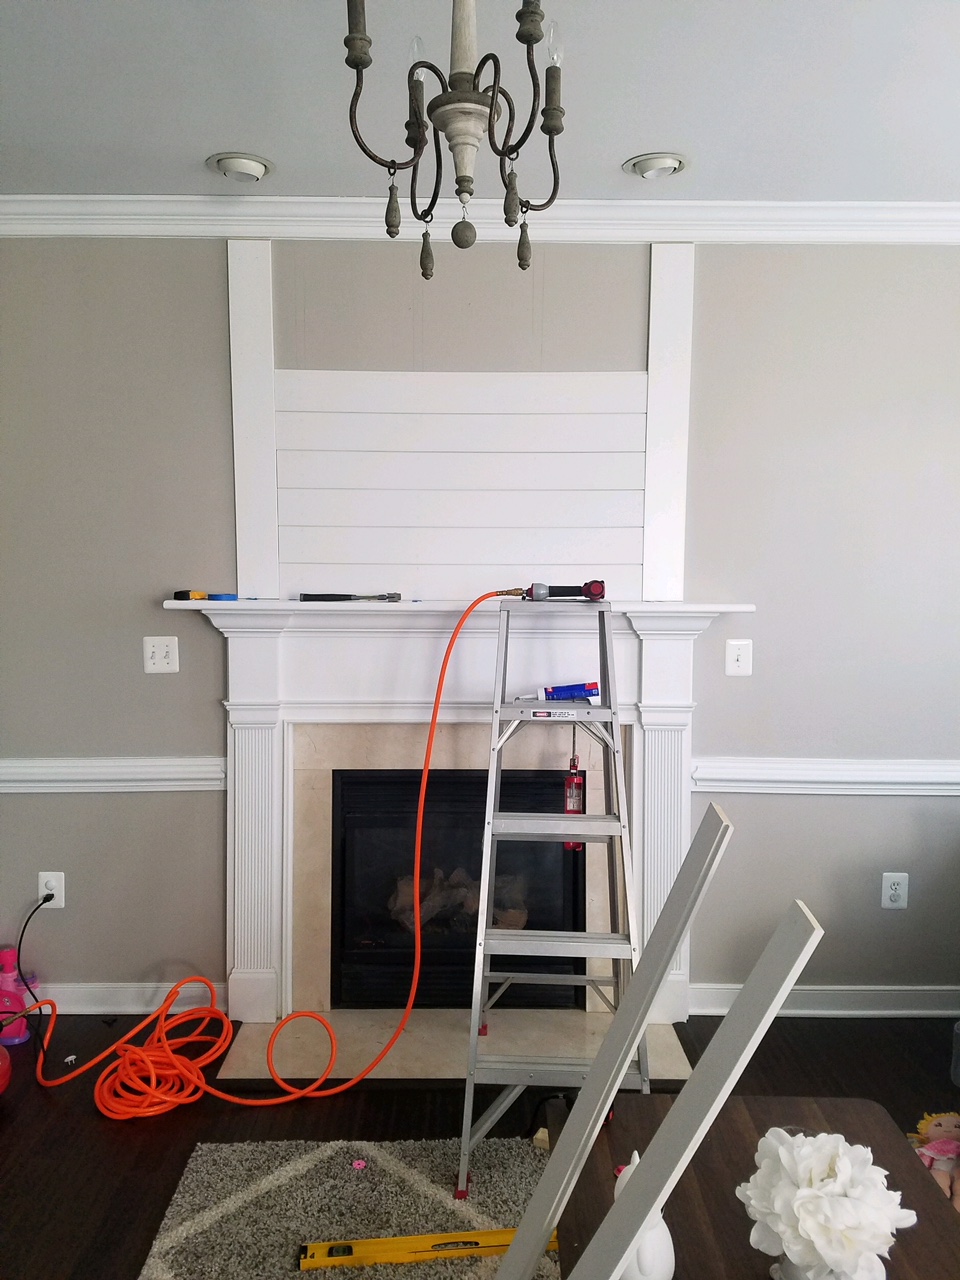
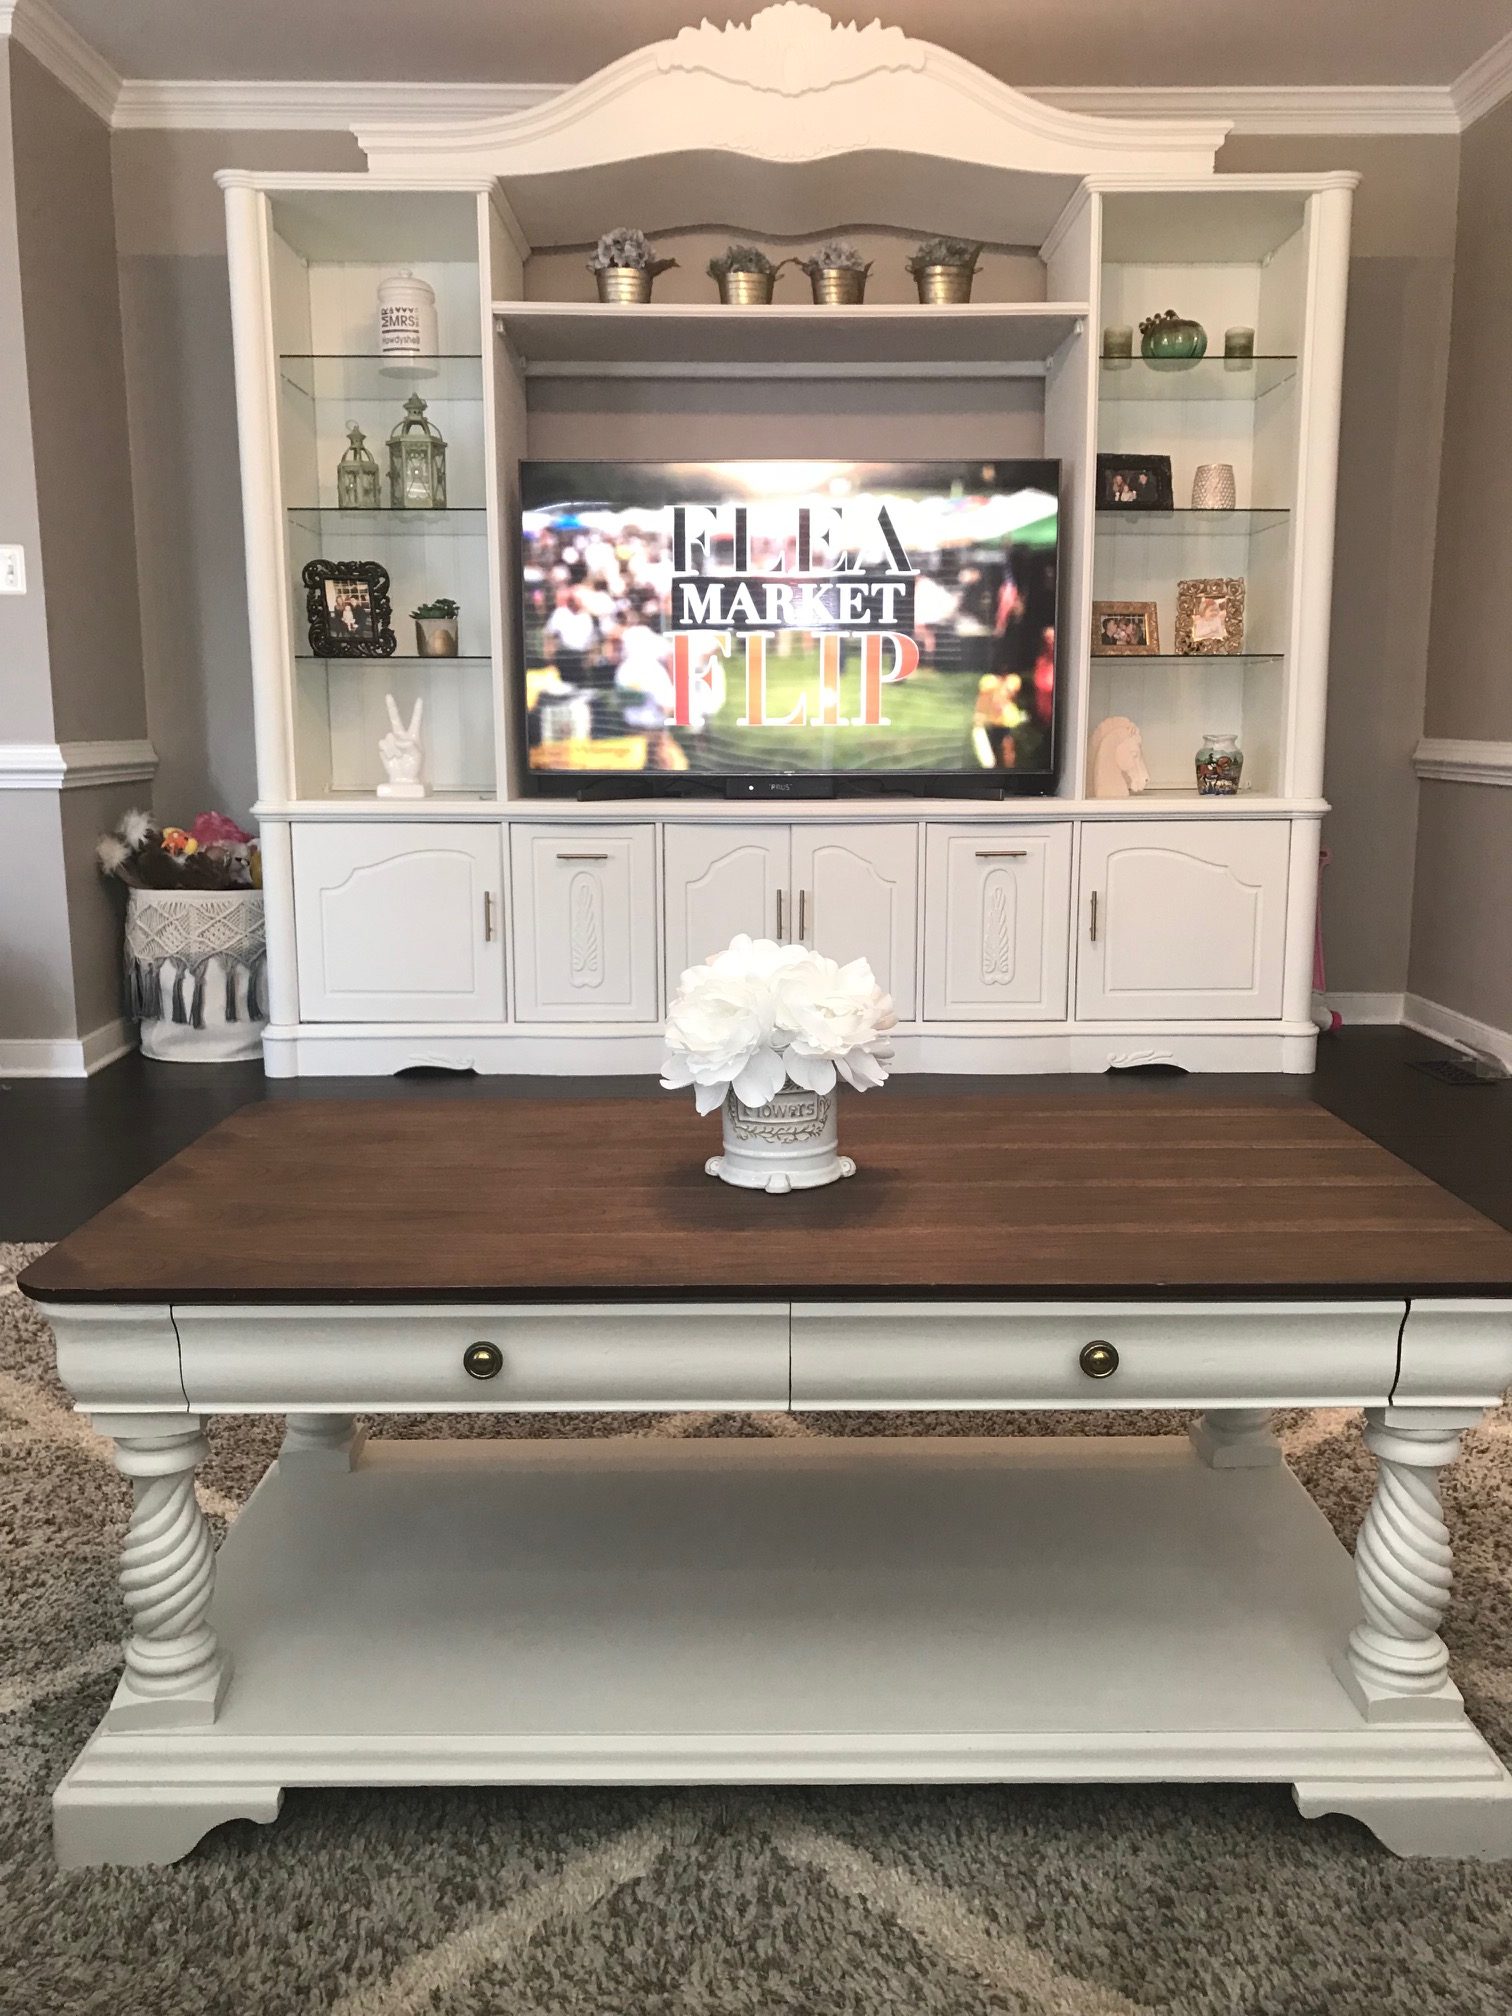
Willie started with the outside to boards to frame the fireplace. Then cut the shiplap boards to size to fit perfectly within the frame he made. Once all boards were secured with nails, he finished with silicone around the edges and putty to even out the nail holes. I then painted the wood with two coats of satin white.

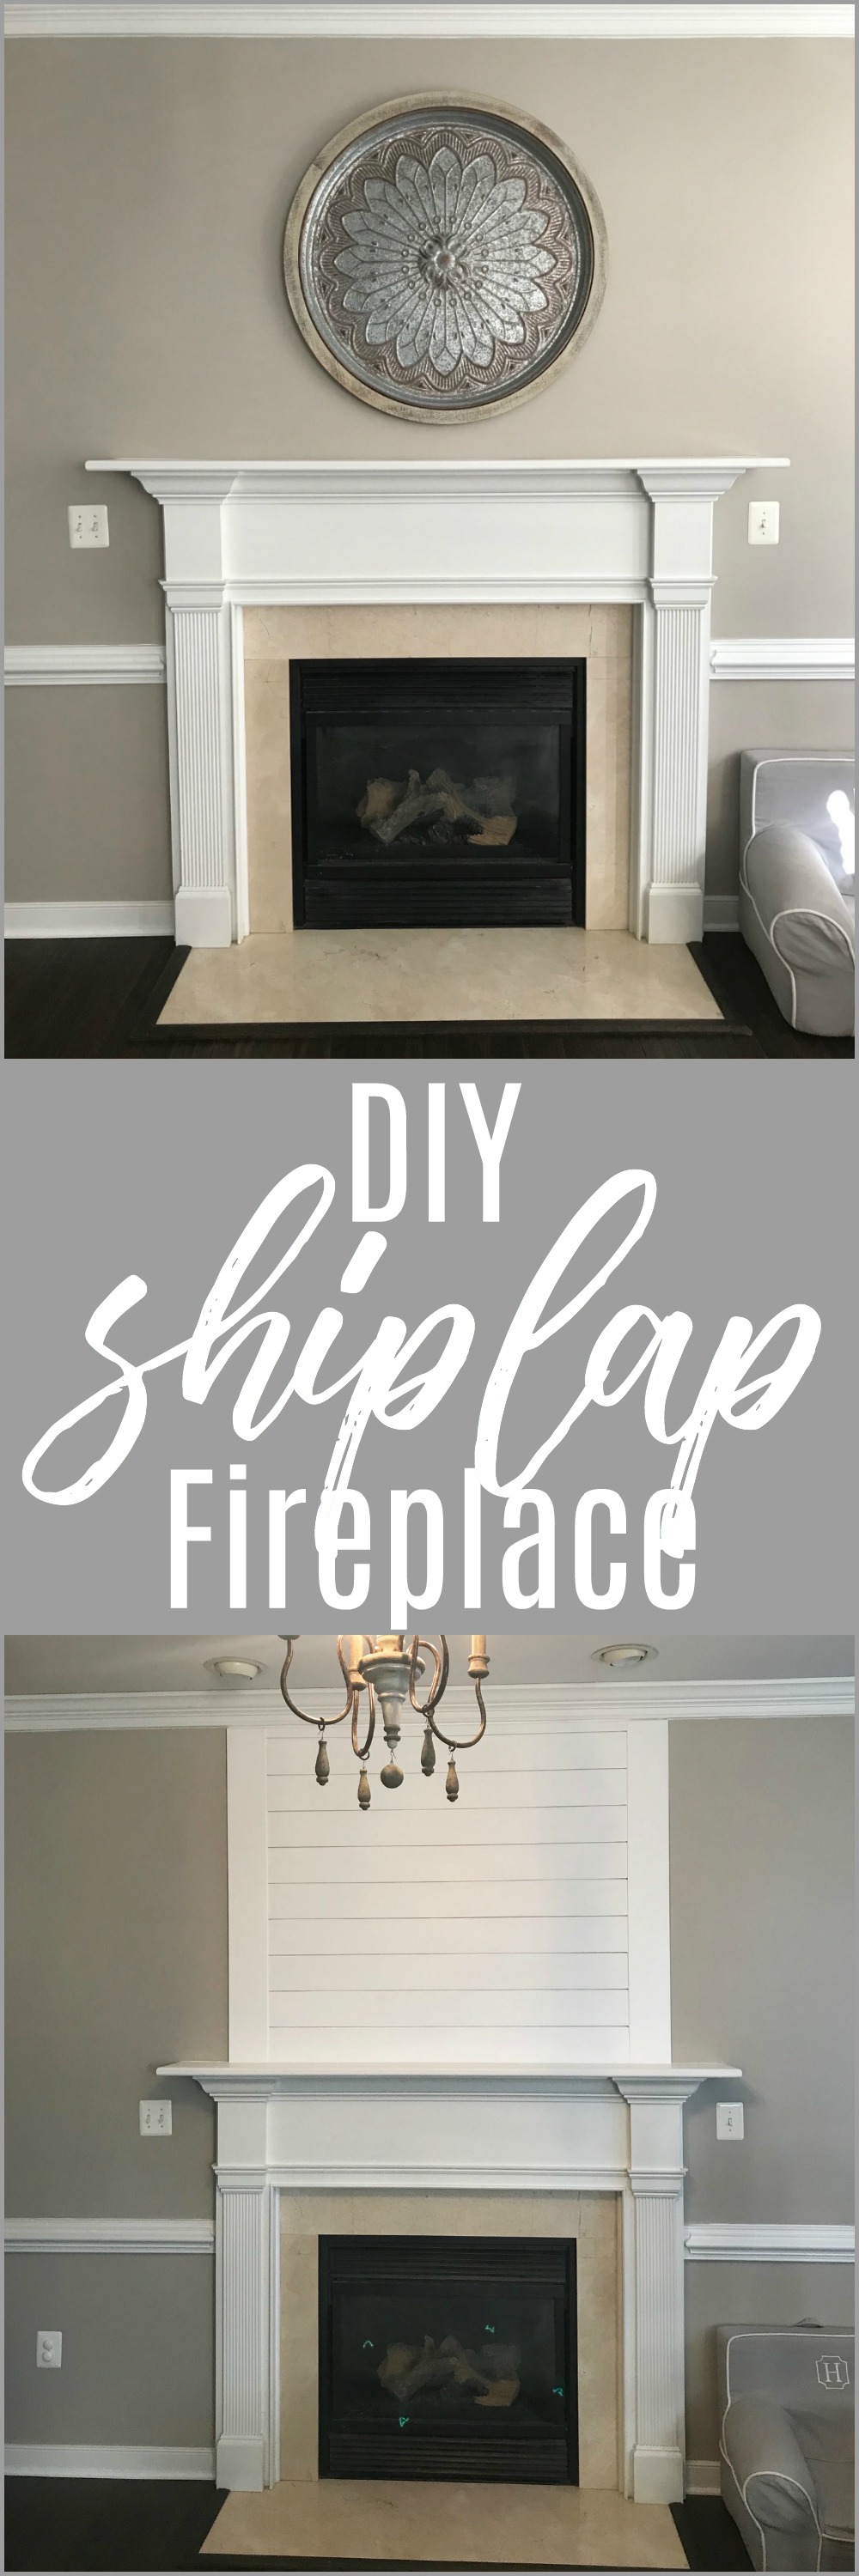
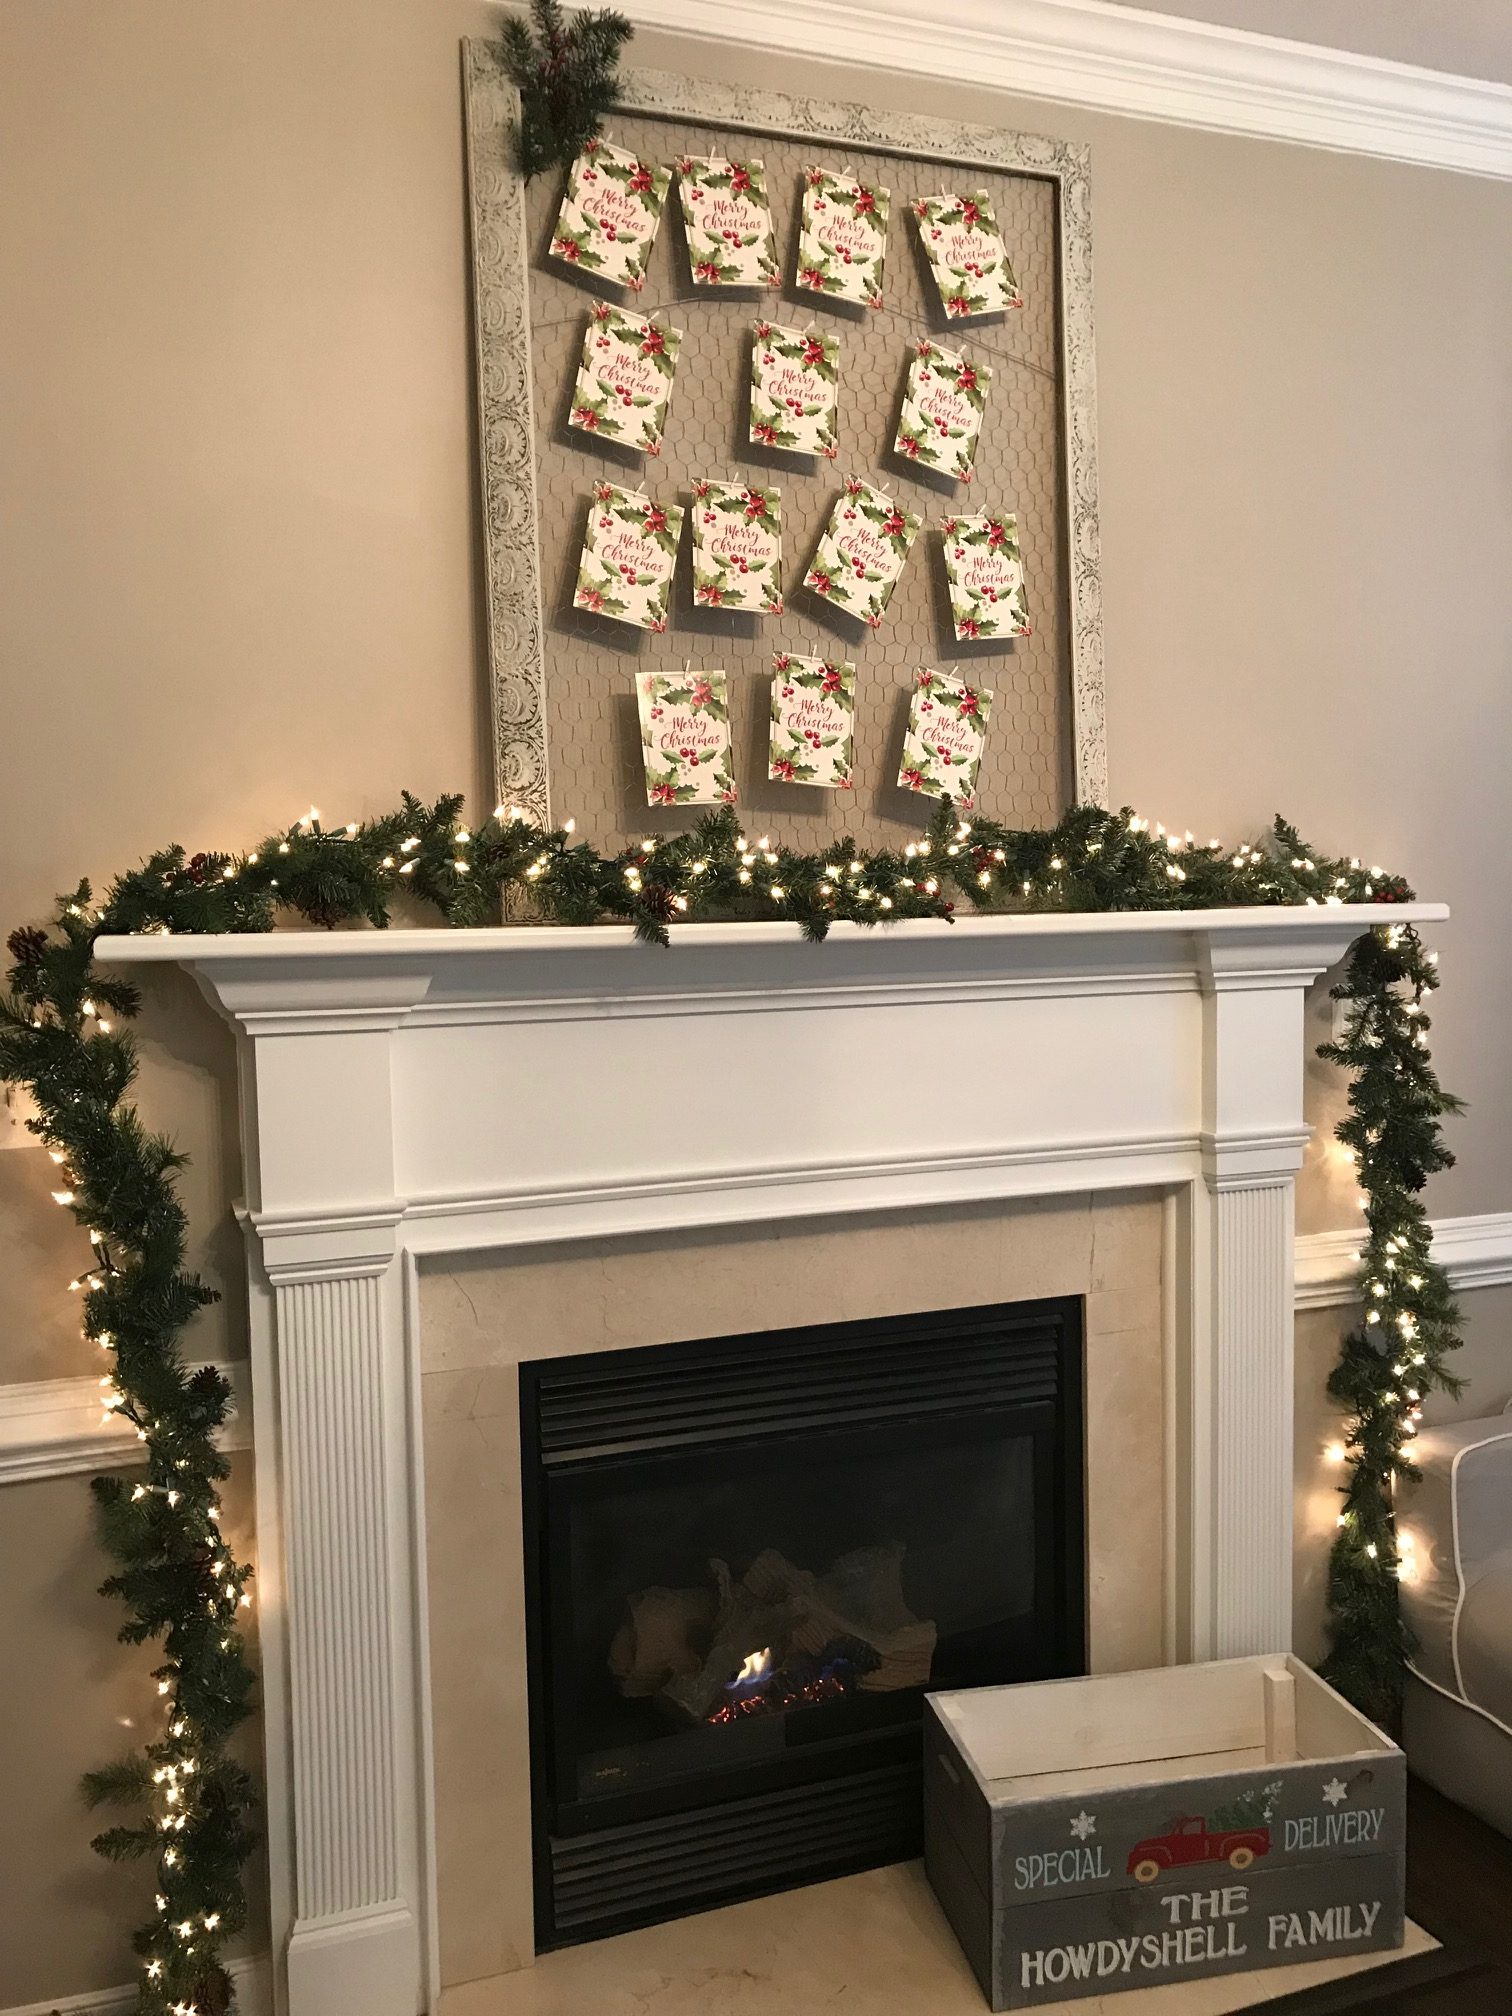
I am so happy with this project. It’s one of those changes in your home that you are like, wow it looks like it always belonged.

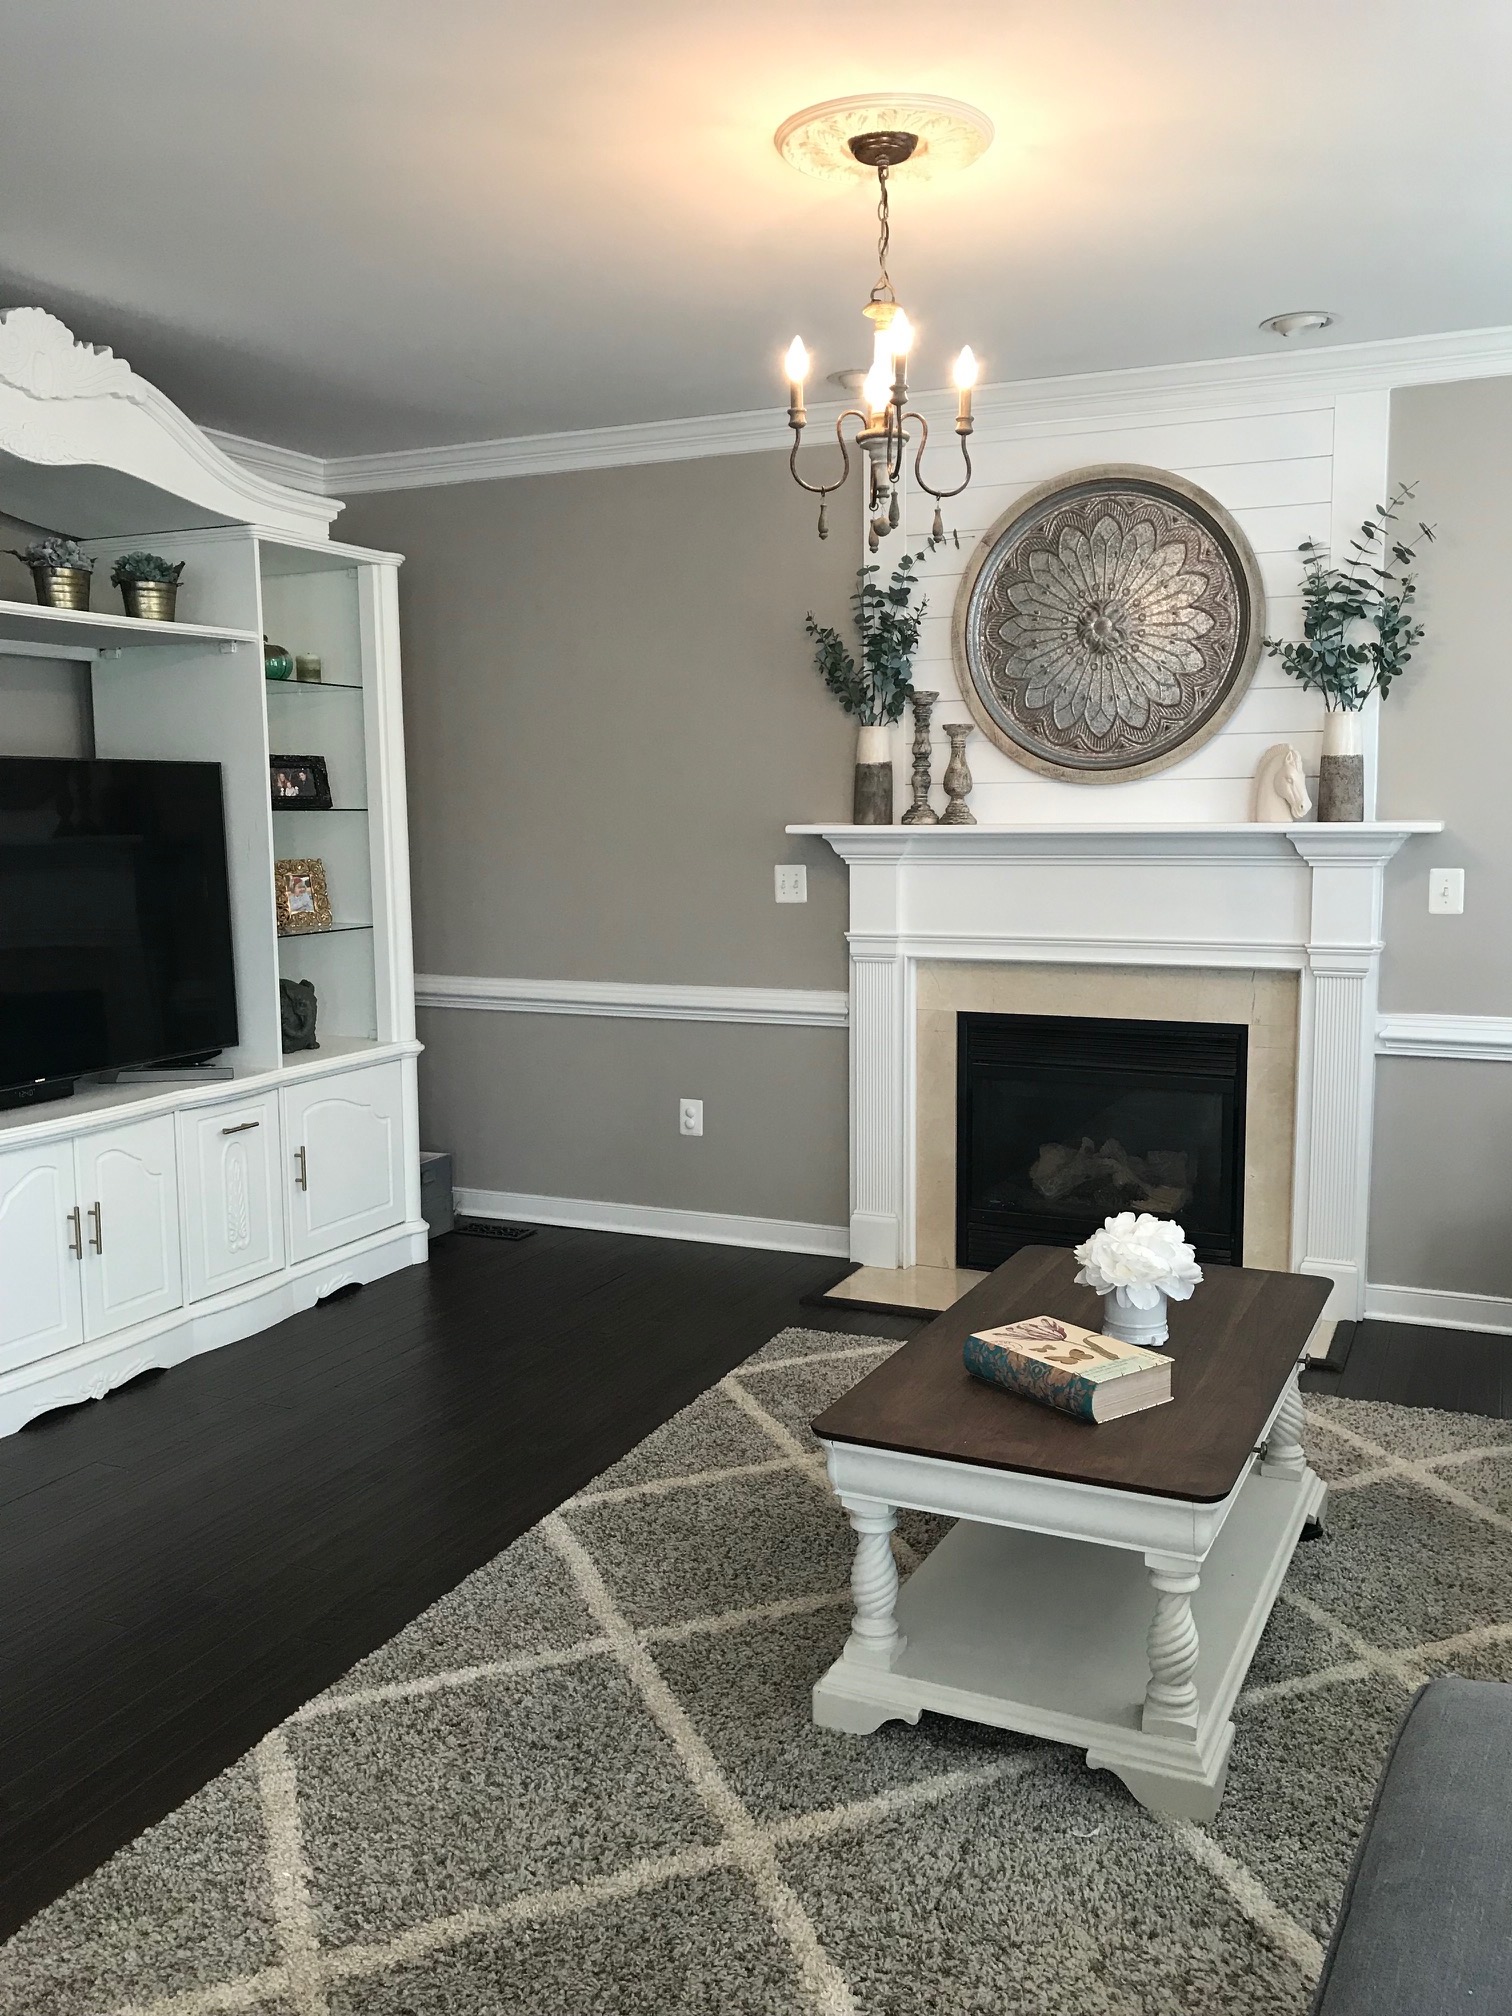
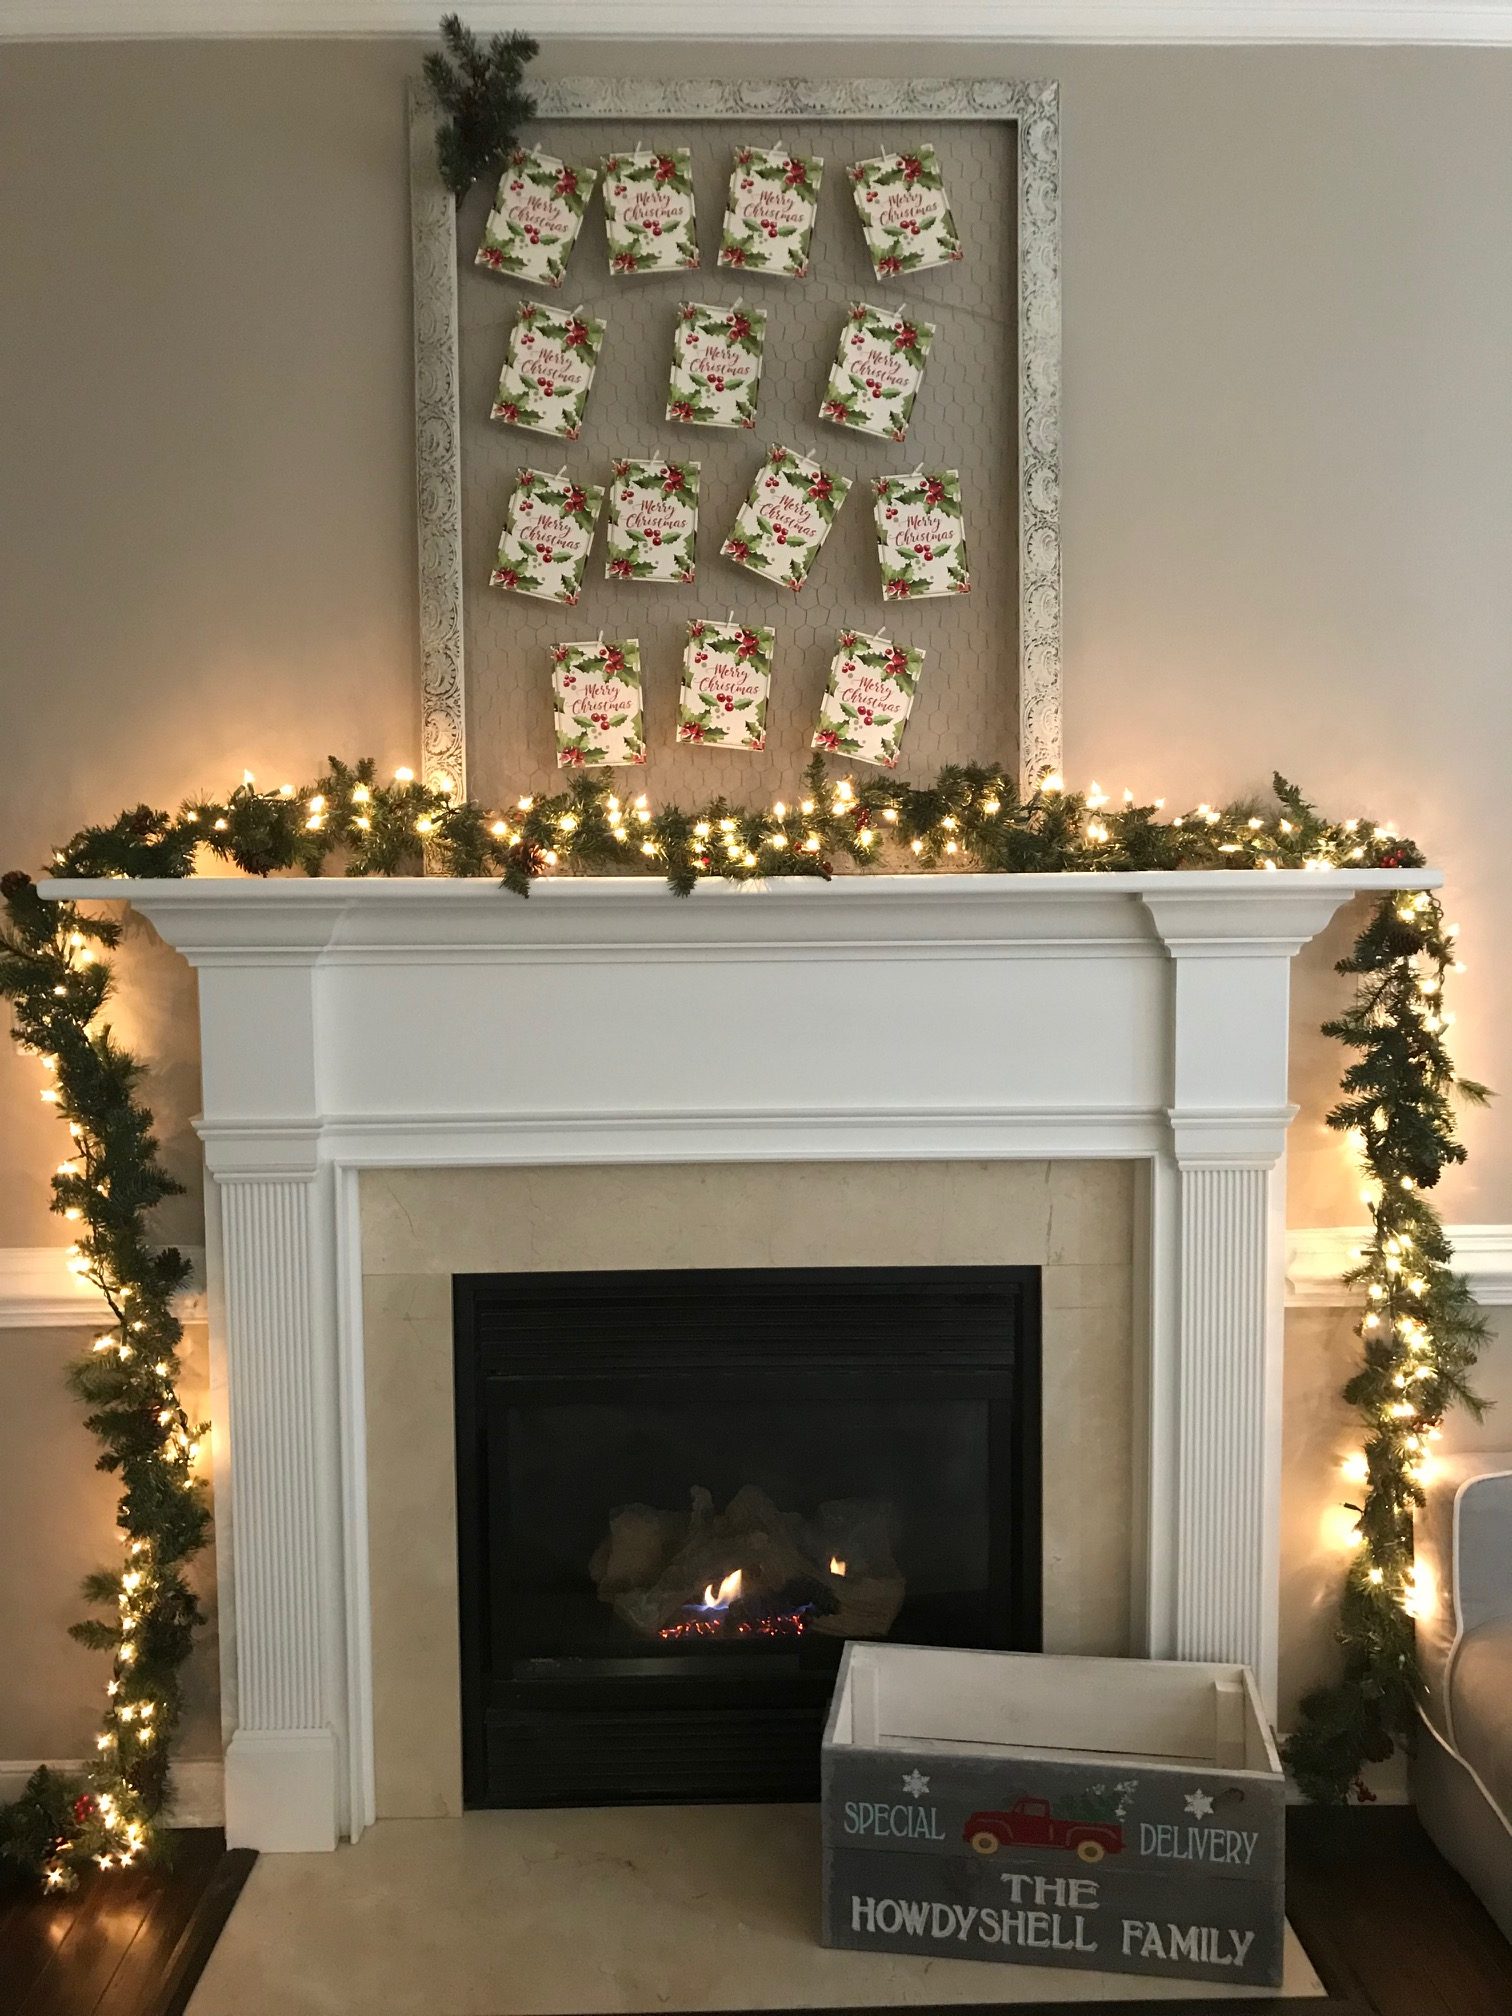
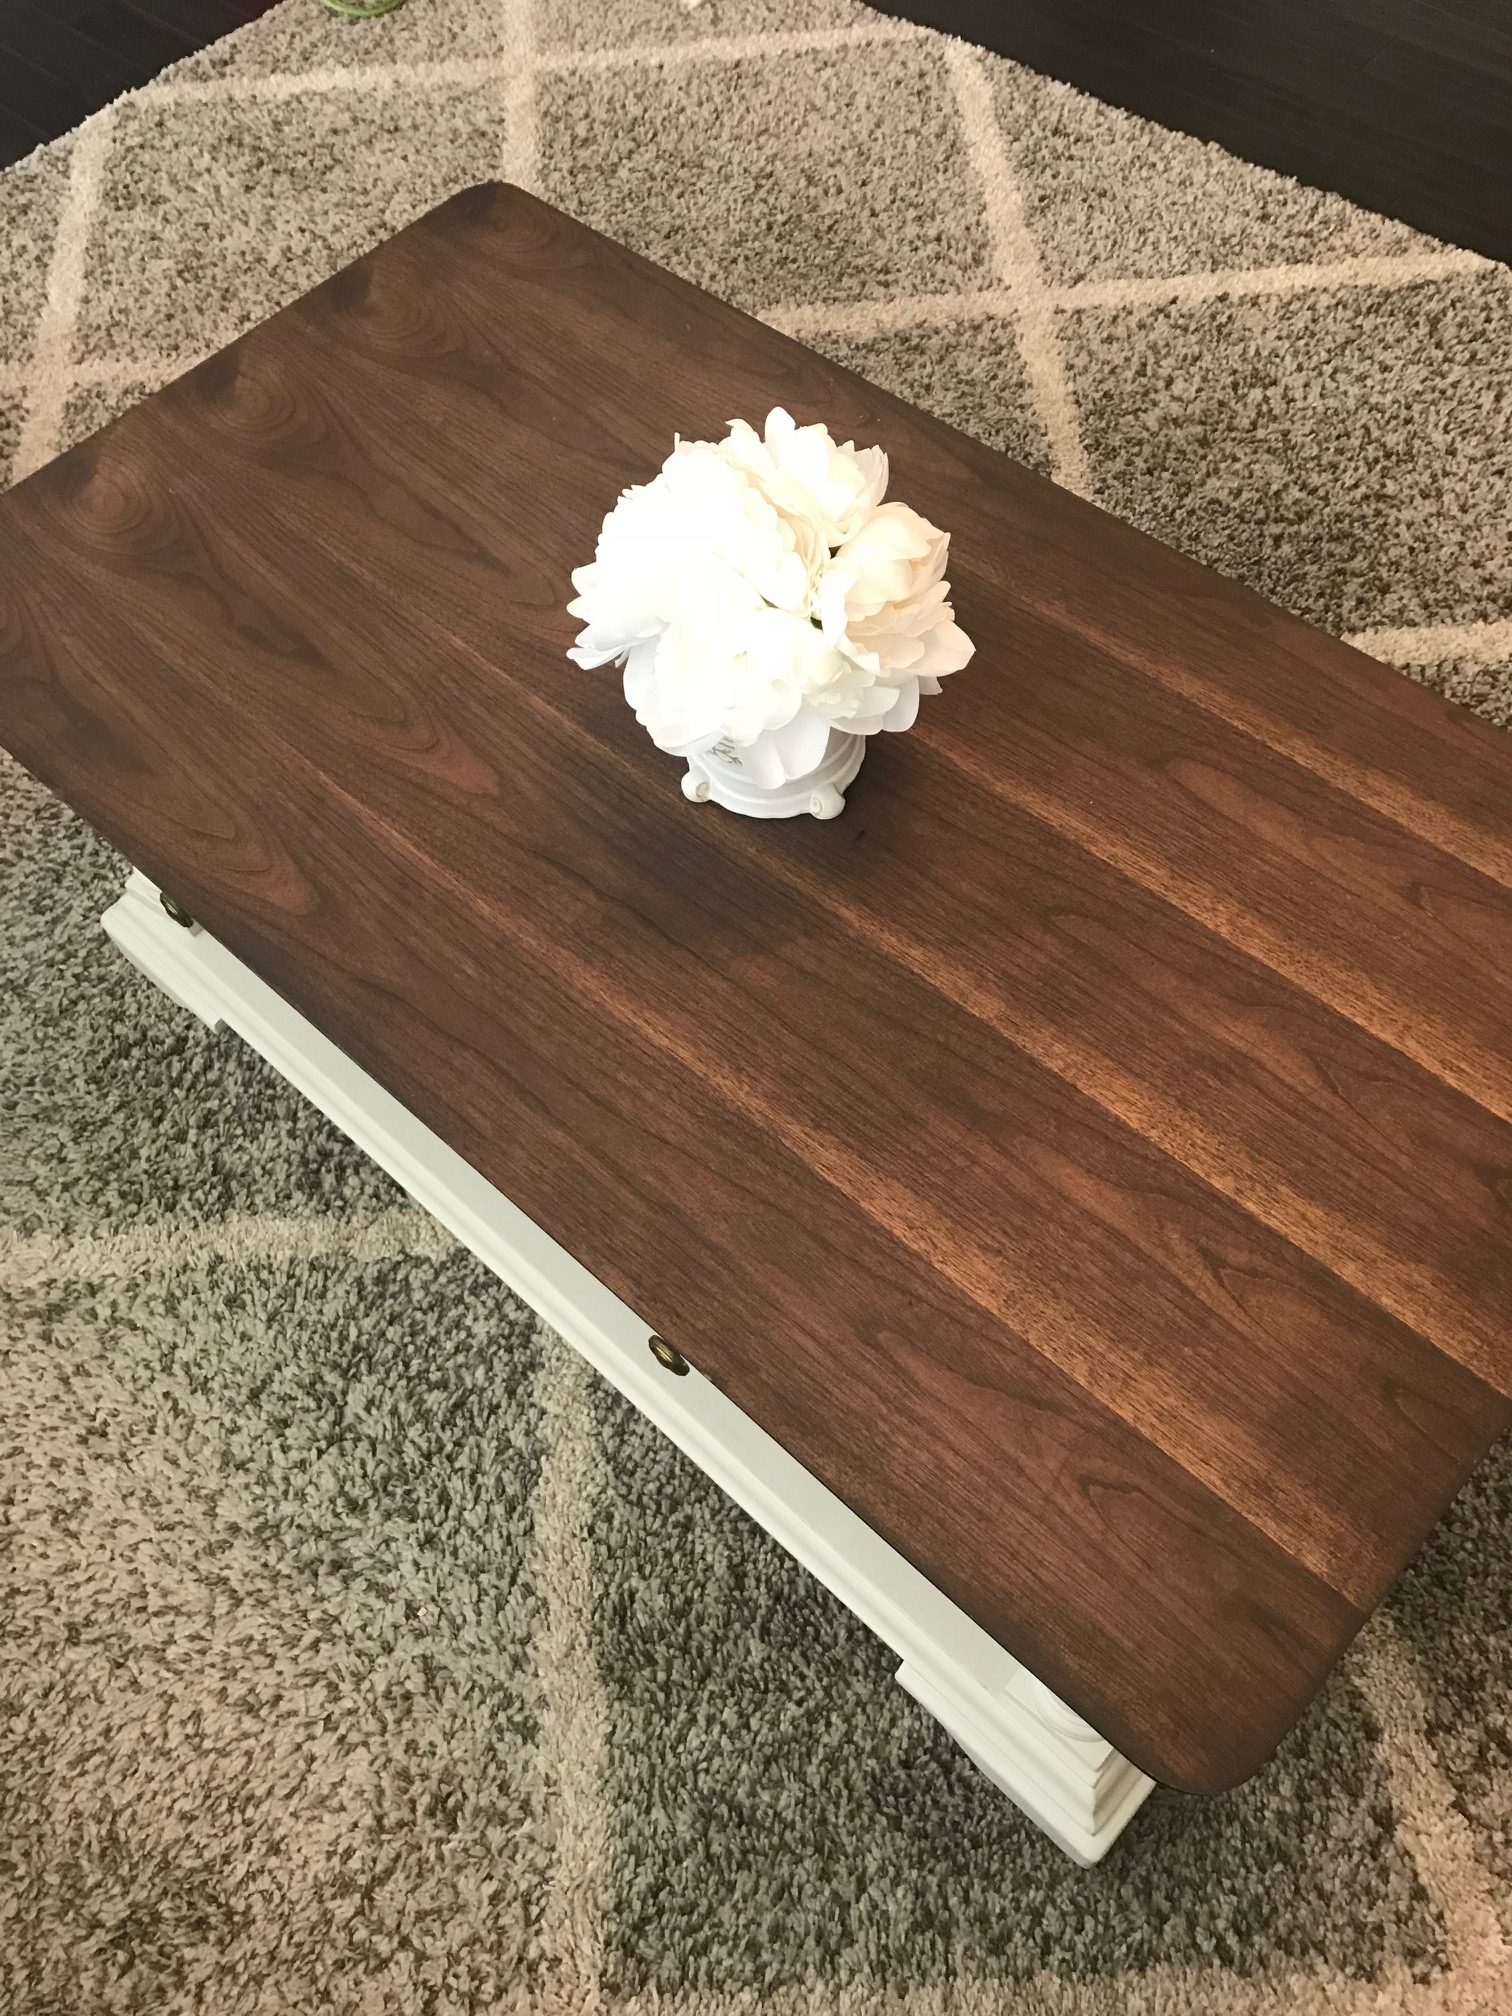
All the mantle accessories (minus horse head and shorter eucalyptus) I found at Hobby Lobby. What do you all think?

Thursday, January 10, 2019

Thrift Thursday Giveaway!

Happy 2019!! So I was hoping to get this out before the holidays as a Christmas gift to all of you wonderful people who follow me, but as you know time can get away from me. So here it is…my Happy New Year 2019 GIVEAWAY!!

Let’s start 2019 by spreading the love of recycled clothing by giving one lucky winner $100 credit to the world’s largest online secondhand store, thredUP.

This whole outfit is from thredUP. Here were my savings:

  • Bebe Blazer $25.49 (suggested retail $159 ~84% off)
  • Ann Taylor Turtleneck Sweater $19.99 (suggested retail $80 ~75% off)
  • Lauren Conrad Faux Leather Pants $20.99 (suggested retail $60 ~65% off)
  • Christian Louboutin Heels $289.99 (suggested retail ~$700)

Clean out your closets and one lucky winner will get some fabulous credits to get new items to rock in 2019! *Winner must create thredUP account to receive credits*

Here’s How to Enter

  1. Like Loves the Find Facebook page
  2. Follow me on Instagram and Pinterest
  3. Share this post or Tweet a message!
  4. Click here to sign up for my newsletter (if you haven’t already) to receive updates on future giveaways and lots of new DIY projects and budget living ideas!
  5. Check out thredUP and what they have to offer!
  6. Use the Rafflecopter widget below to enter the giveaway with multiple entries. Open to US residents only. The giveaway will run from January 10-17 with the winner announced on January 17, 2019!

a Rafflecopter giveaway

Thursday, November 29, 2018

DIY Card Holder from Thrift Frame

It’s almost December! Thanksgiving is over and everyone can finally acceptably decorate for Christmas. Christmas is my absolute favorite. It is a time of family traditions, childhood memories, family, friends, sharing, kindness, and love. One of the most precious things I receive during the holidays are cards. There is something so special about getting a letter in the mail and opening it up to see familiar faces with glowing smiles and growing families. The exciting news of marriages, babies, and new homes is always a welcomed bonus in these notes of holiday best.

My mother always pulled out the tape and attached them to her kitchen cabinets, so as a child I always would say to myself “Oh hi, [family/friend name]” and it I always felt closer to them somehow just with that simple reminder that they are always there. But since our kitchen remodel…Willie would kill me if stuck cards to our freshly painted cabinets…so I needed a new option to hang the incoming holiday cards. I thought where is the best place to show off the cards? Bingo…the fireplace mantle. And once the tree is up it will be a fabulous gathering spot for our Christmas morning. And this one will be super special as it will be Finley’s first Christmas.

So as always I set out on a mission looking for a large frame that I could either affix wire or ribbon to in order to hang the cards. After a couple of failed attempts at my normal go-to spots, I finally found a large enough frame. The picture was $25 from my favorite thrift store. It was slightly painful to undo this custom framing job (as I’m sure someone spent a fortune to do), but once I got it home I removed the paper backing and the multiple layers of matting to reveal a beautiful larger frame canvas. Originally I was going to leave the frame the original metal color but after some thinking I thought it would match better with all the shabby chic white in my living room if I painted. So with some leftover Fusion Mineral Paint (color –Champlain) from My Coffee Table Makeover, I did a super distressed paint job. Once it dry I did a fast light sanding to reveal some more of the metallic color underneath.

I highly debated about using a pretty ribbon as the method to hang the cards, but ultimately decided on using leftover chicken wire from my vegetable garden rehab. Mainly, well…duh, it was free. But also the ability to hang the cards in multiple ways. The ribbon would have been restrictive in the numerous card sizes/orientations we receive.

I absolutely love the ways this turned out! I cannot wait for all my holiday cards to start pouring in so I enjoy looking at all the special people in my life daily. Come on Christmas! Happy Thrift Thursday!

Thursday, October 25, 2018

Coffee Table Makeover

I’ve been a complete slacker. I did this table over my maternity leave and never posted! Soooo here it is, 4 months later. This gorgeous coffee table and matching side table were given to us when we first bought our townhouse by Willie’s manager at the time. After over 7 years in our home it had it share of bumps, stains, dog marks, stickers, and all the fun furniture mishaps that happen in a house full of chaos. It was due for an upgrade! You may remember me asking about it when I shared my painted entertainment center.


I found two new products in my beloved town of Occoquan. The Reclaimed Treasures shop owner convinced me that these products outshined most on the market. She was right…the paint product (Fusion Mineral Paint), like chalk paint, requires little prep (a clean surface) and already included the protective component so there was no need for an additional step of waxing your project…wow! Waxing is such a huge task that nearly all my projects never get it, so having this all-in-one paint was great! I used the Fusion Mineral Paint color of Champlain. Here is the color swatch:

So first I sanded the top with a medium-course sandpaper using a circular sander. I then went over it again with fine course paper. Once I got down to the bare would I was ready for the stain.

The stain, another great new product by Homestead House. The “poly”/protective coat was built in. So after applying and drying, you’re done! It is a matte stain so it worked well for what I was going for but if you do want the sheen or extra protection, give it a coat of poly.


I love this table! So happy I got to bring a fresh new light to it and glad it can stay as a centerpiece in my home for a few more years.